
The Pastry Project: Learn to make croissants, danishes and more
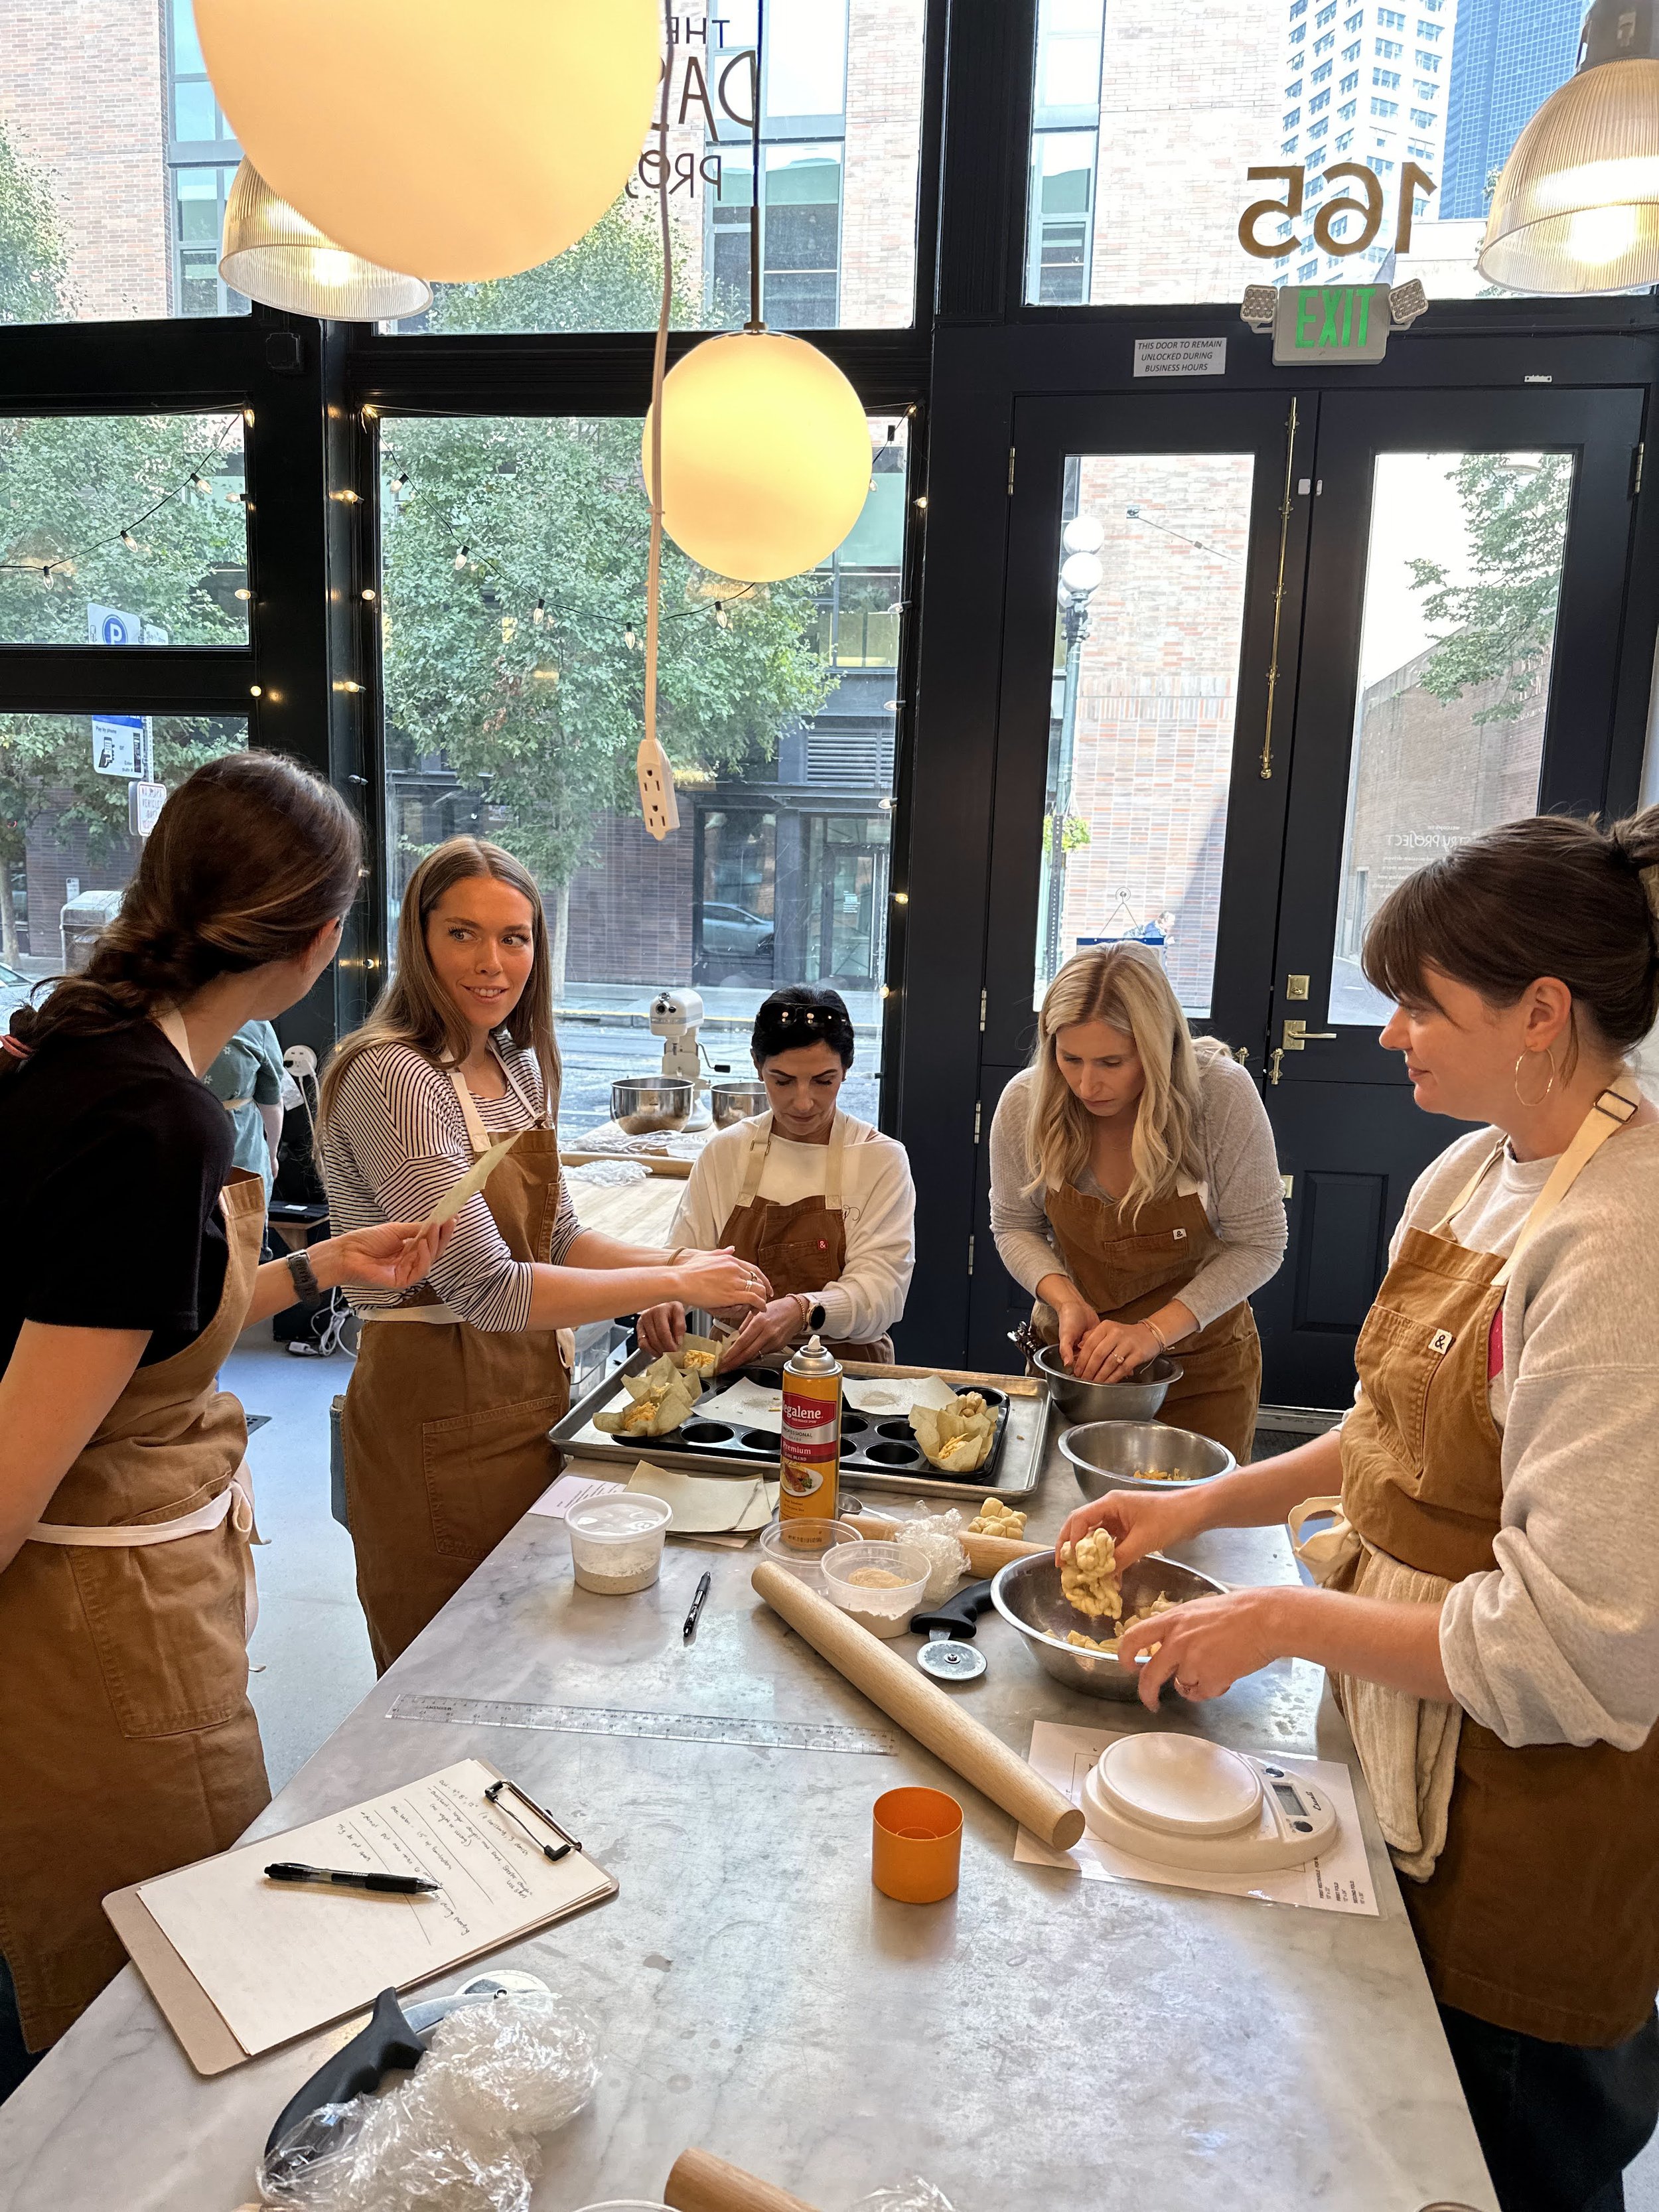
We had a delicious day this past Thursday learning to make laminated dough with Co-Founder of The Pastry Project, Heather Hodge. Guests learned to make filled danishes, croissants and pain au chocolat.

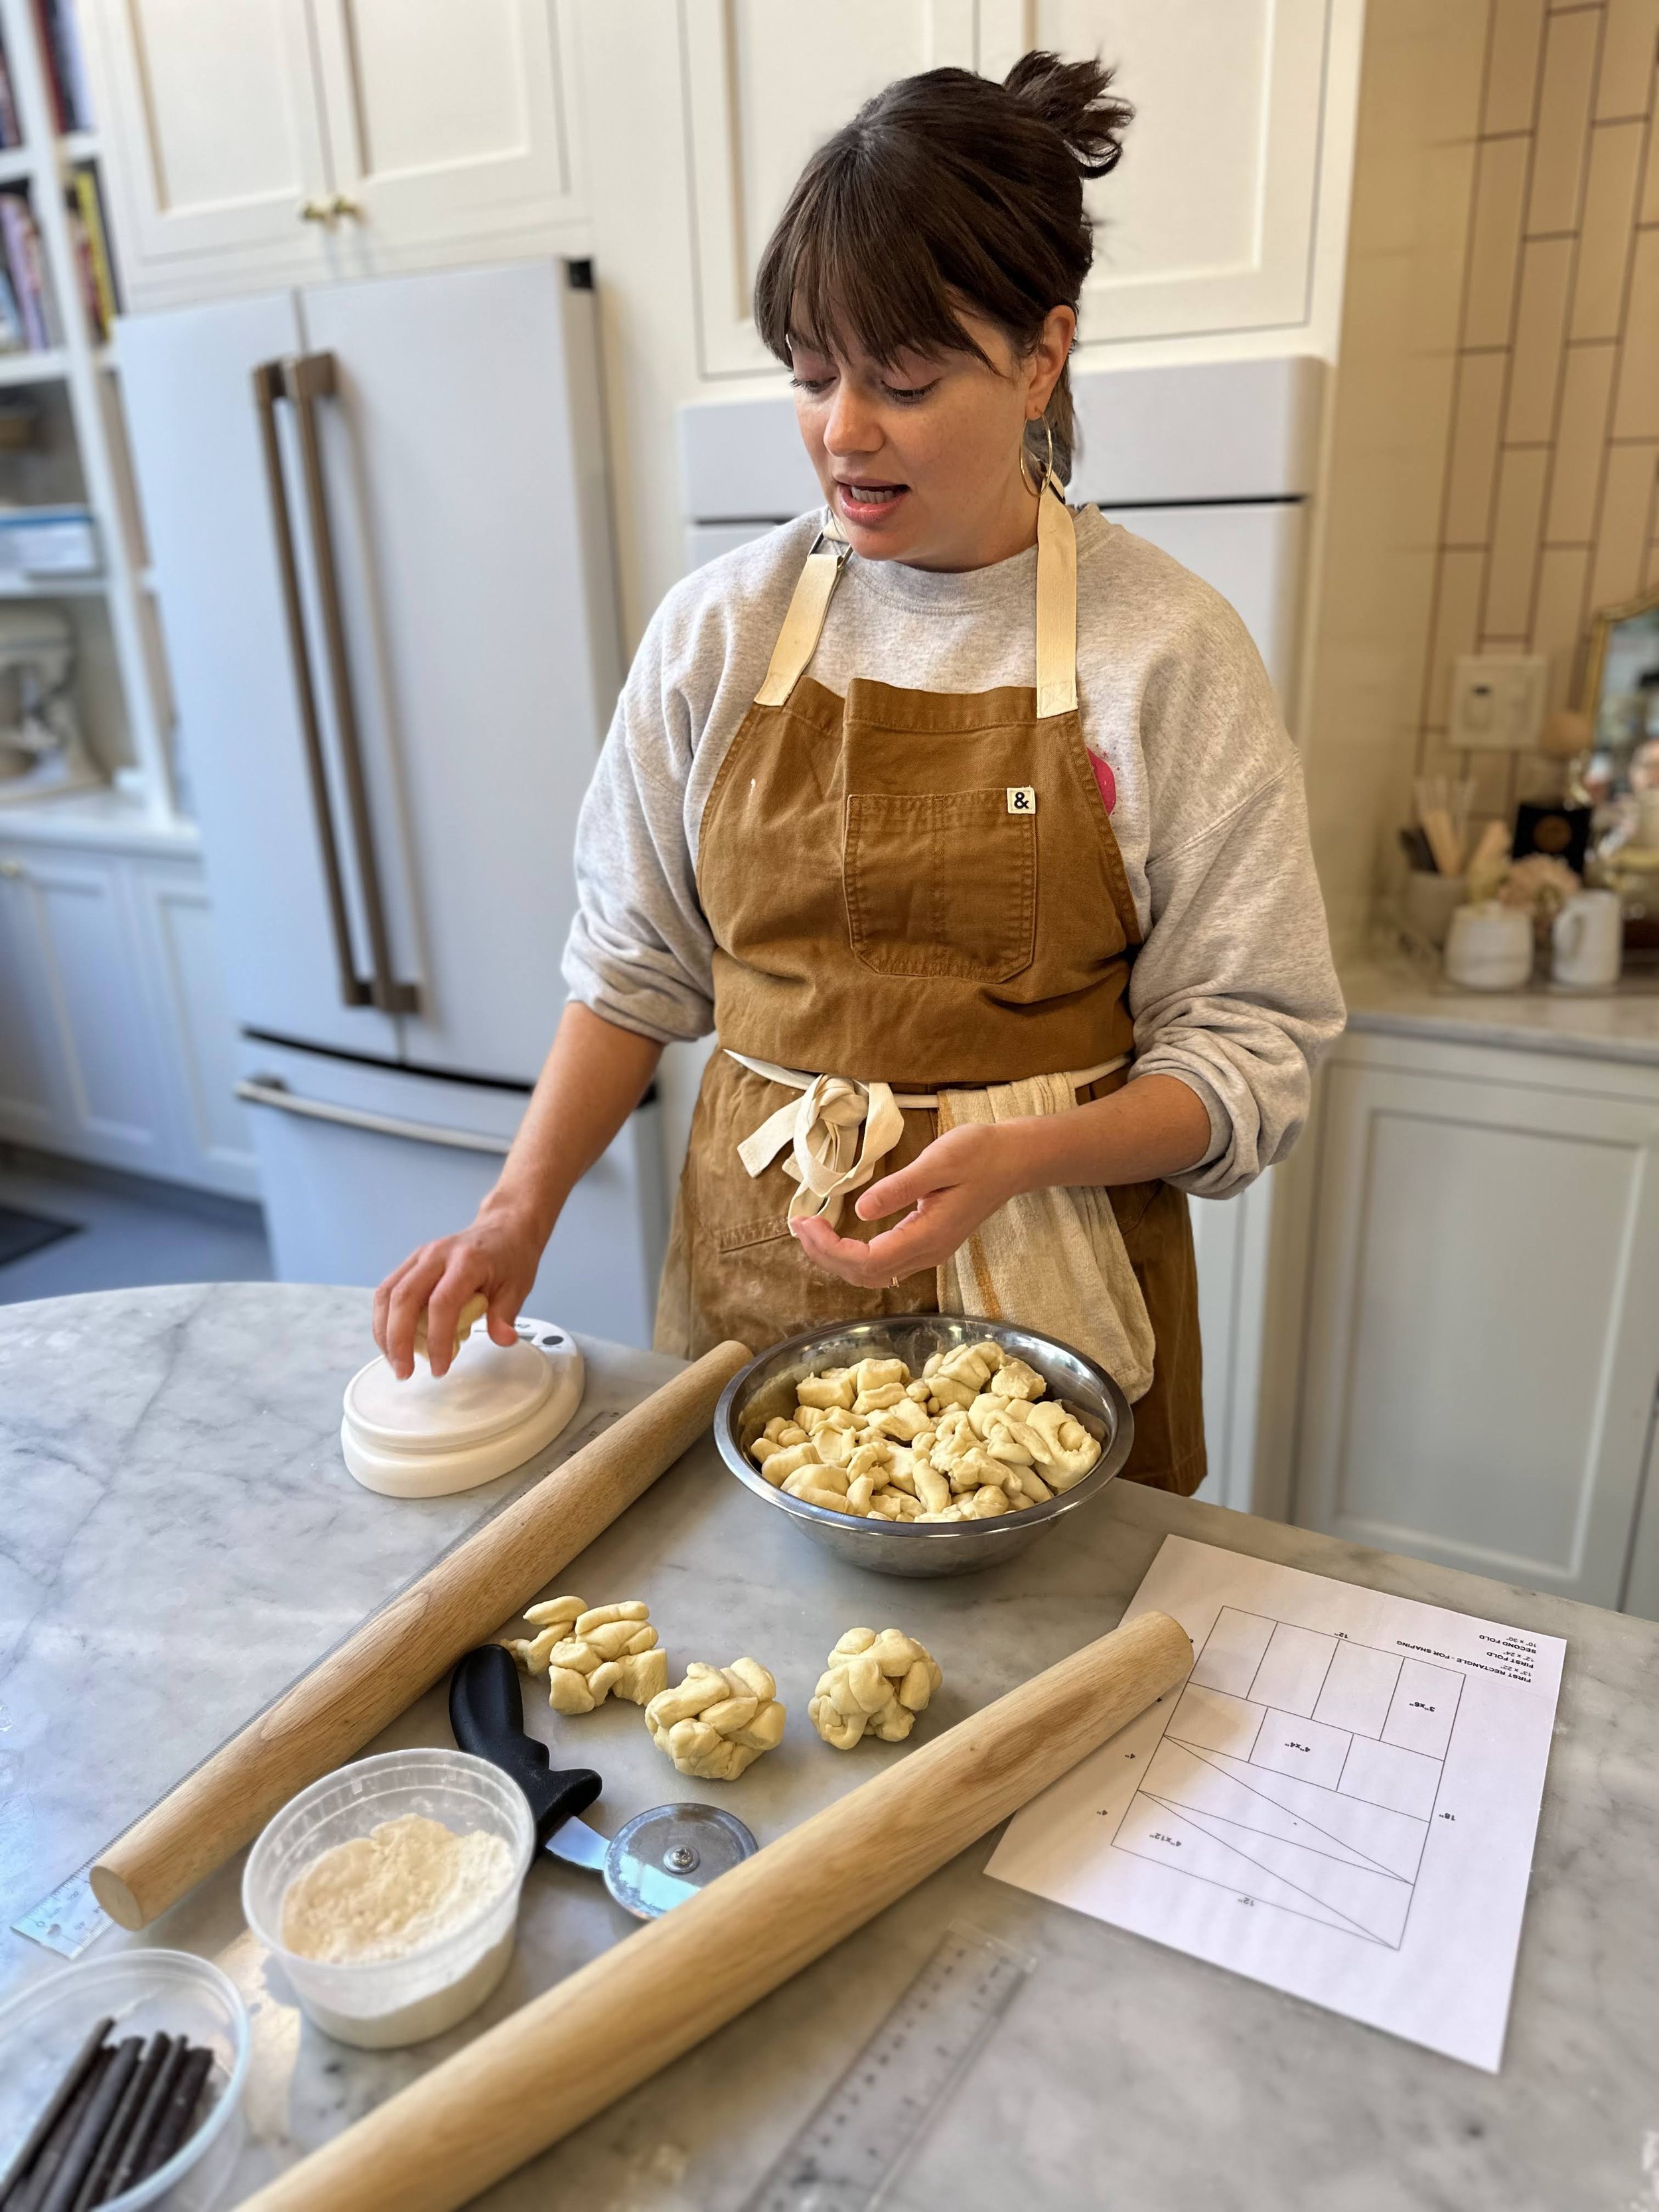
We began our morning with iced cold brew coffees served alongside homemade pumpkin spice syrup (yes, you need to try this deliciousness and we’ve posted the recipe below). Following some quick introductions, Heather Hodge, Co-Founder of The Pastry Project began teaching us about the fascinating process of dough lamination.
Making croissants and laminated pastries from scratch is a two day process that involves mixing, chilling, locking in the butter, laminating, proofing and resting the dough. Heather flipped the traditional step-by-step process on its head by having us start with “Day Two” in the dough process so that we could accomplish all the steps in our four-hour workshop.

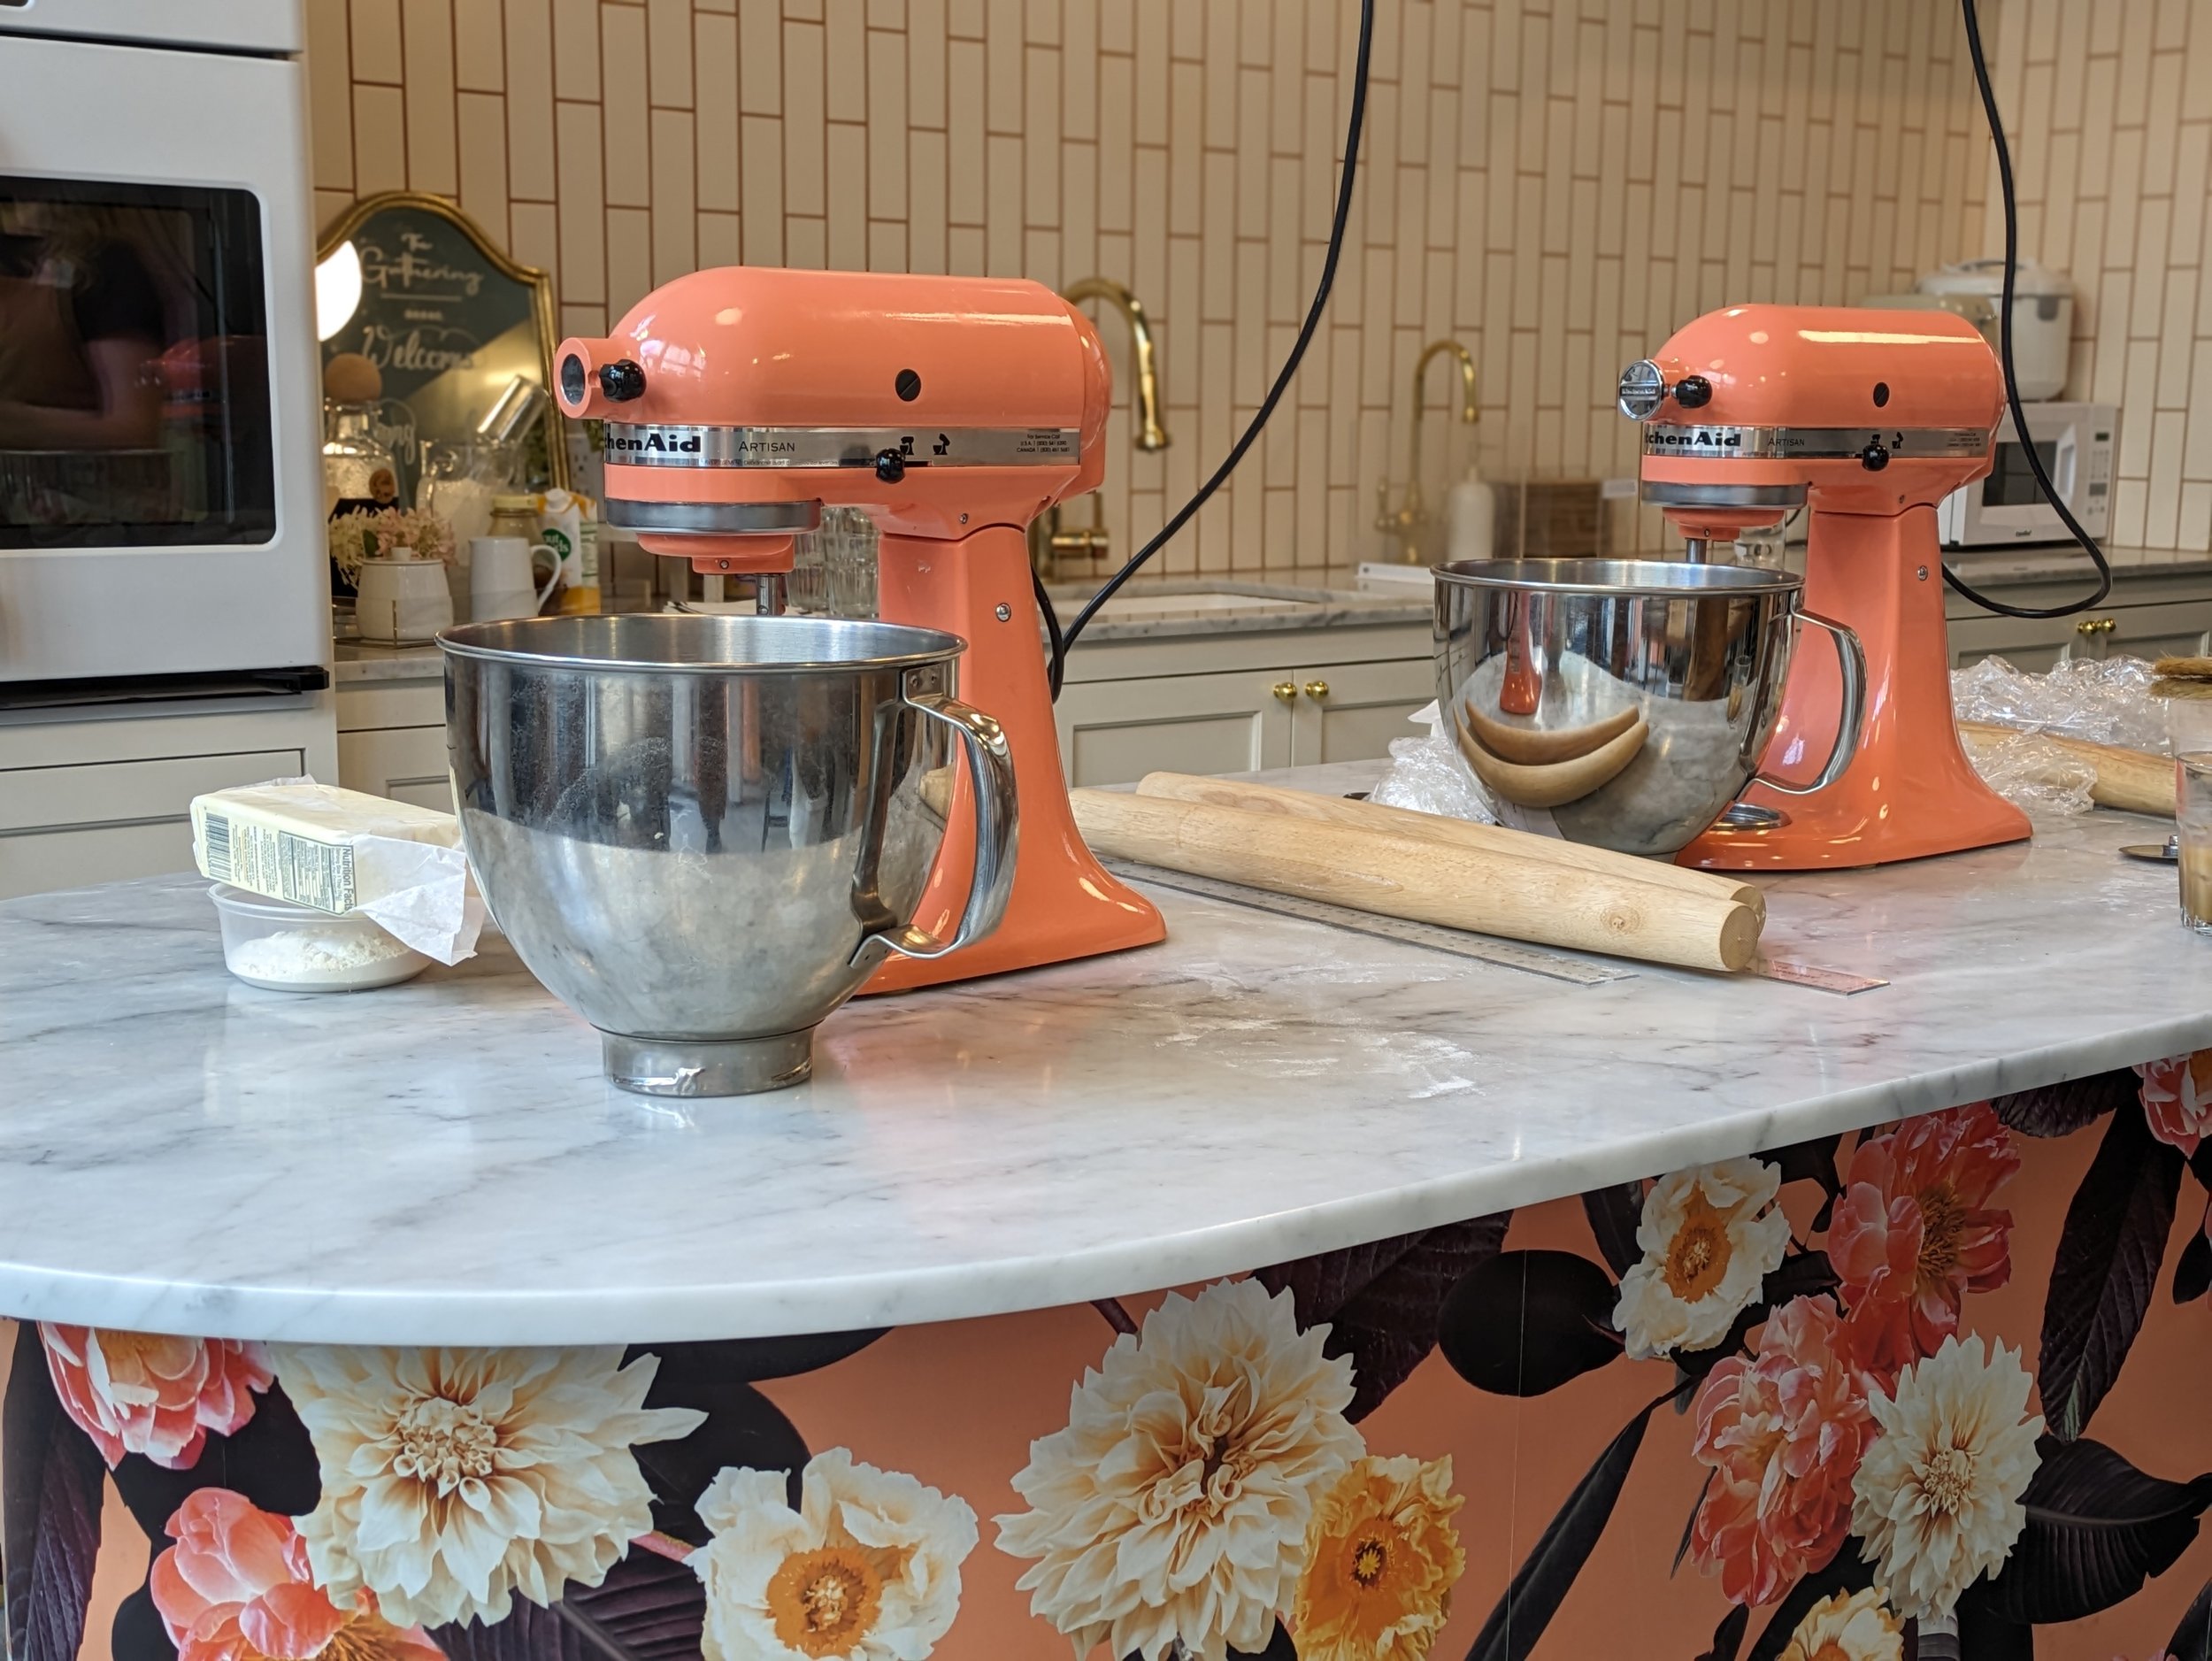
Heather strongly believes in using the ingredients that are locally available to you. No special or gourmet ingredients are required. Her preferred choice of flour is King Arthur All Purpose Flour which is easy to find at any local grocery store (this is our go to choice for cookies and cakes too!). **Her favorite salt is Diamond Crytal salt for it’s light flake.
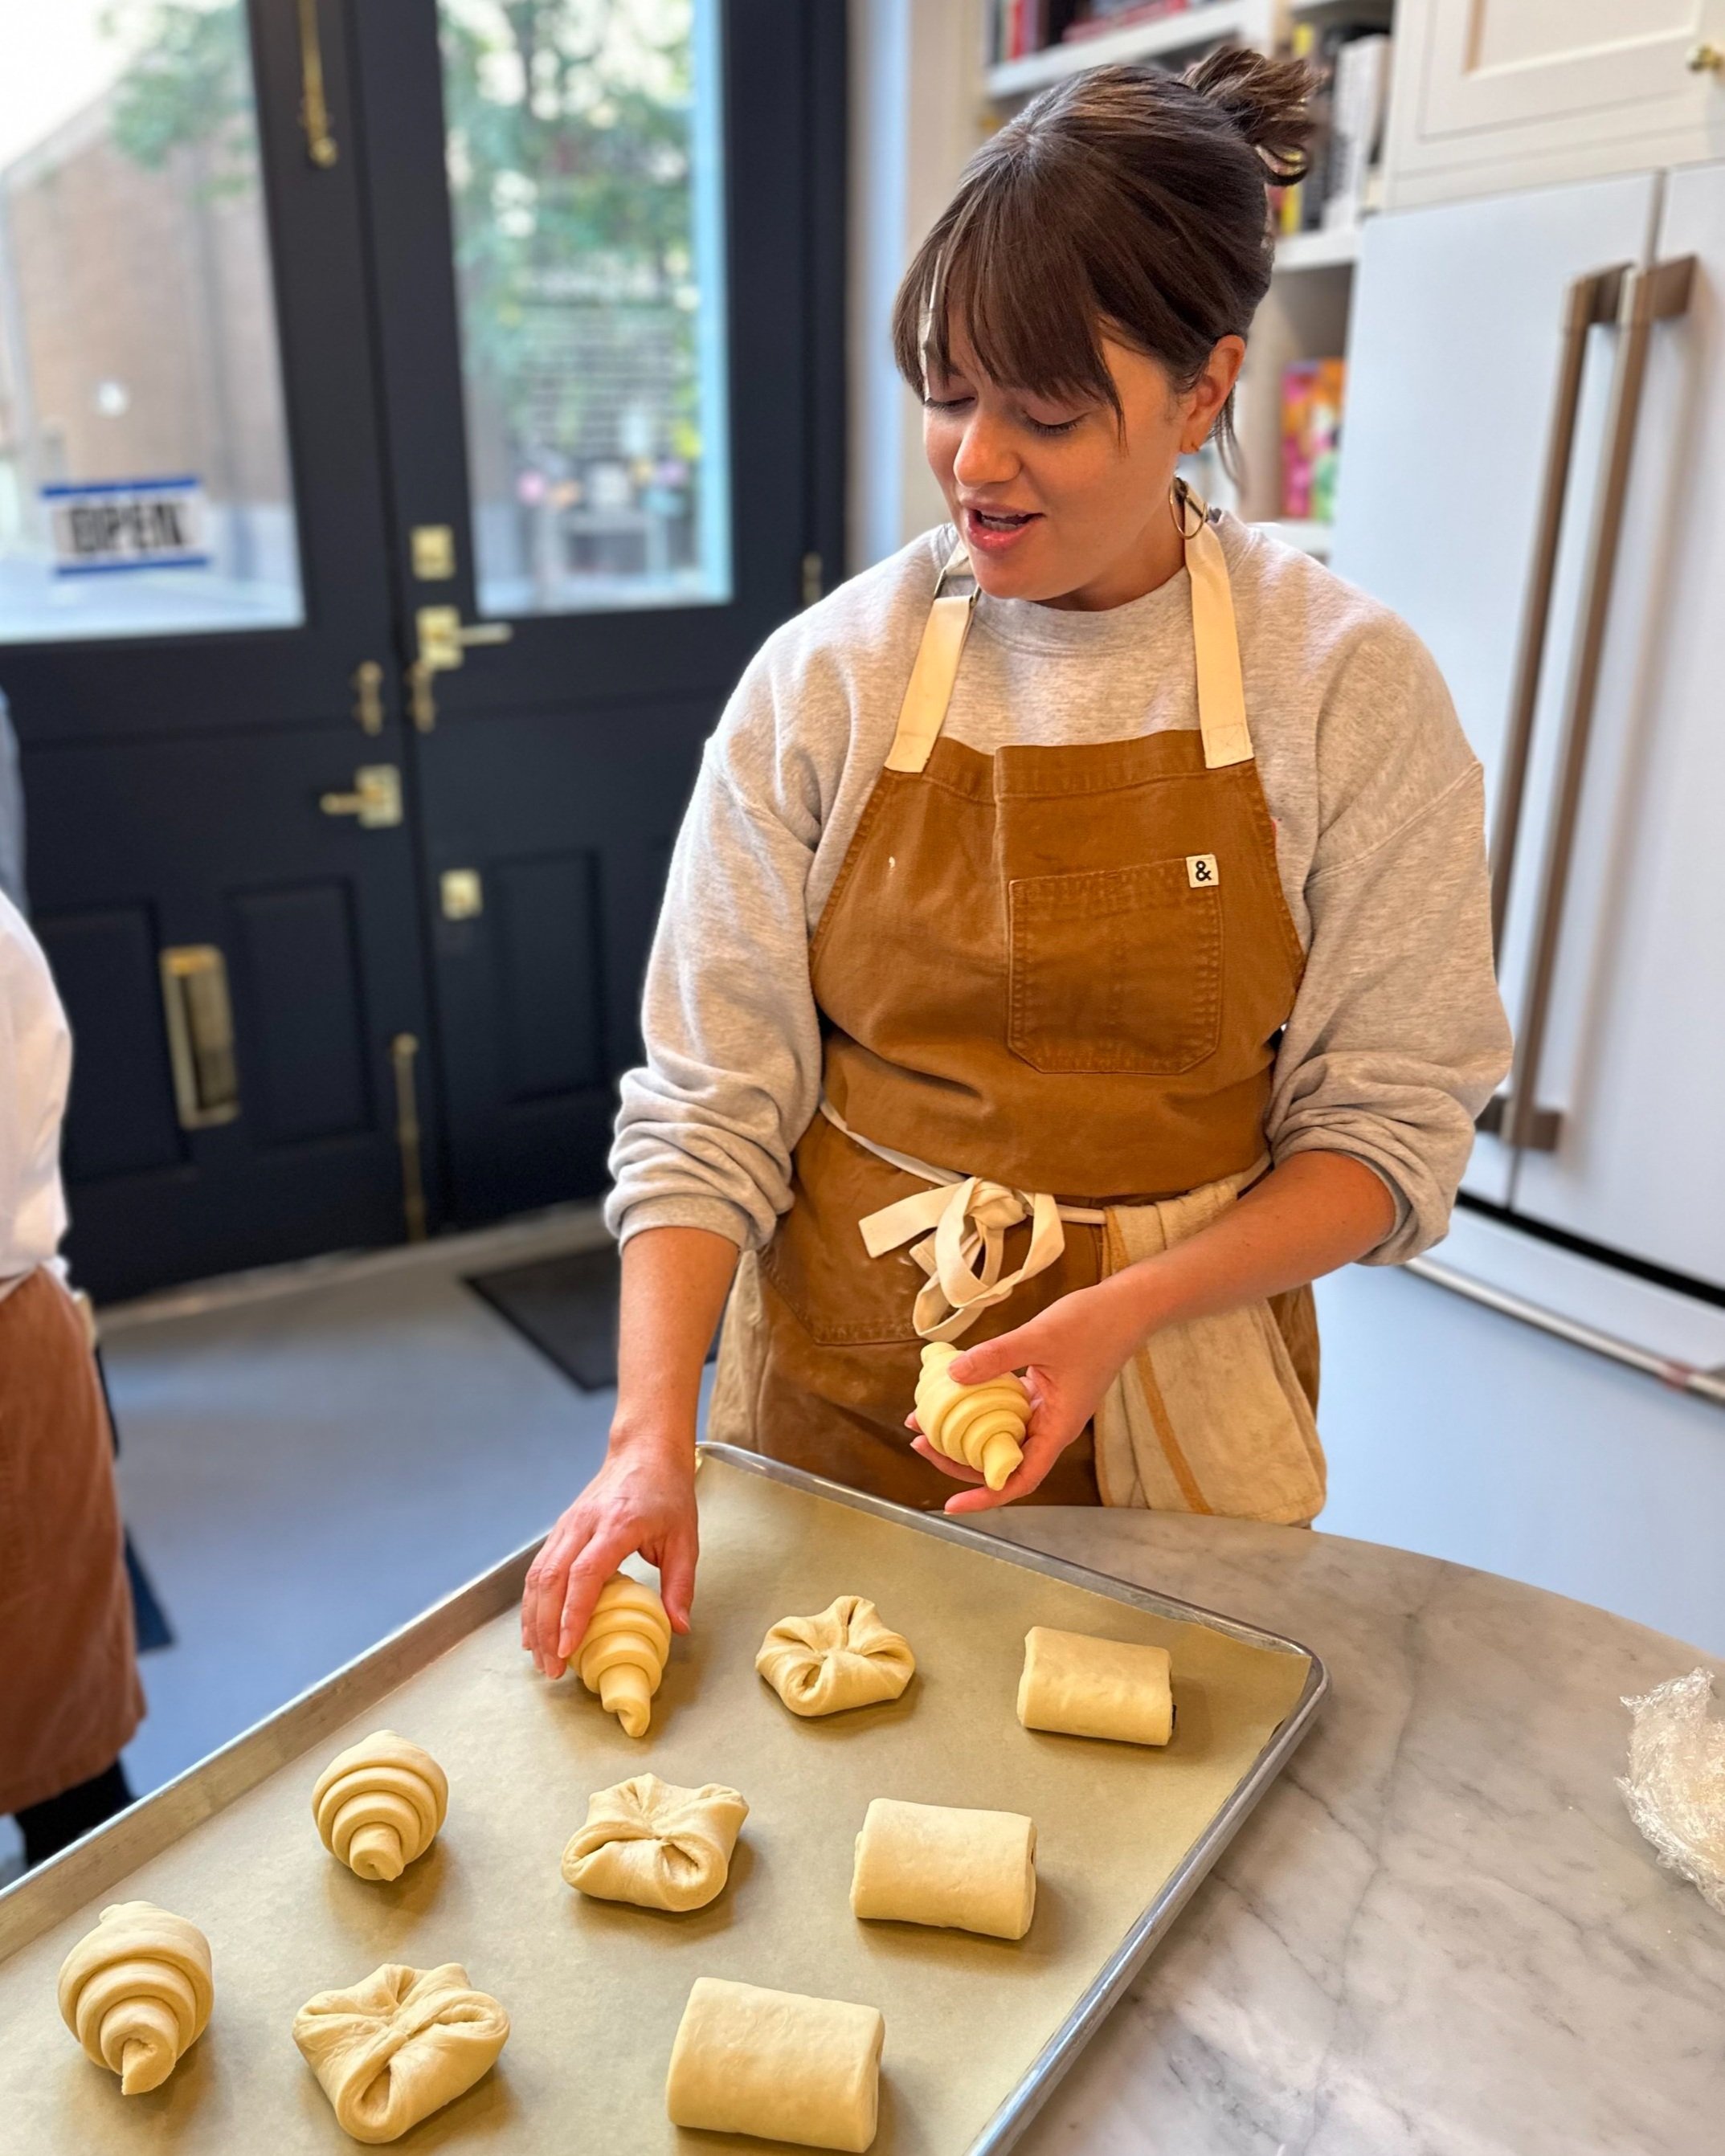
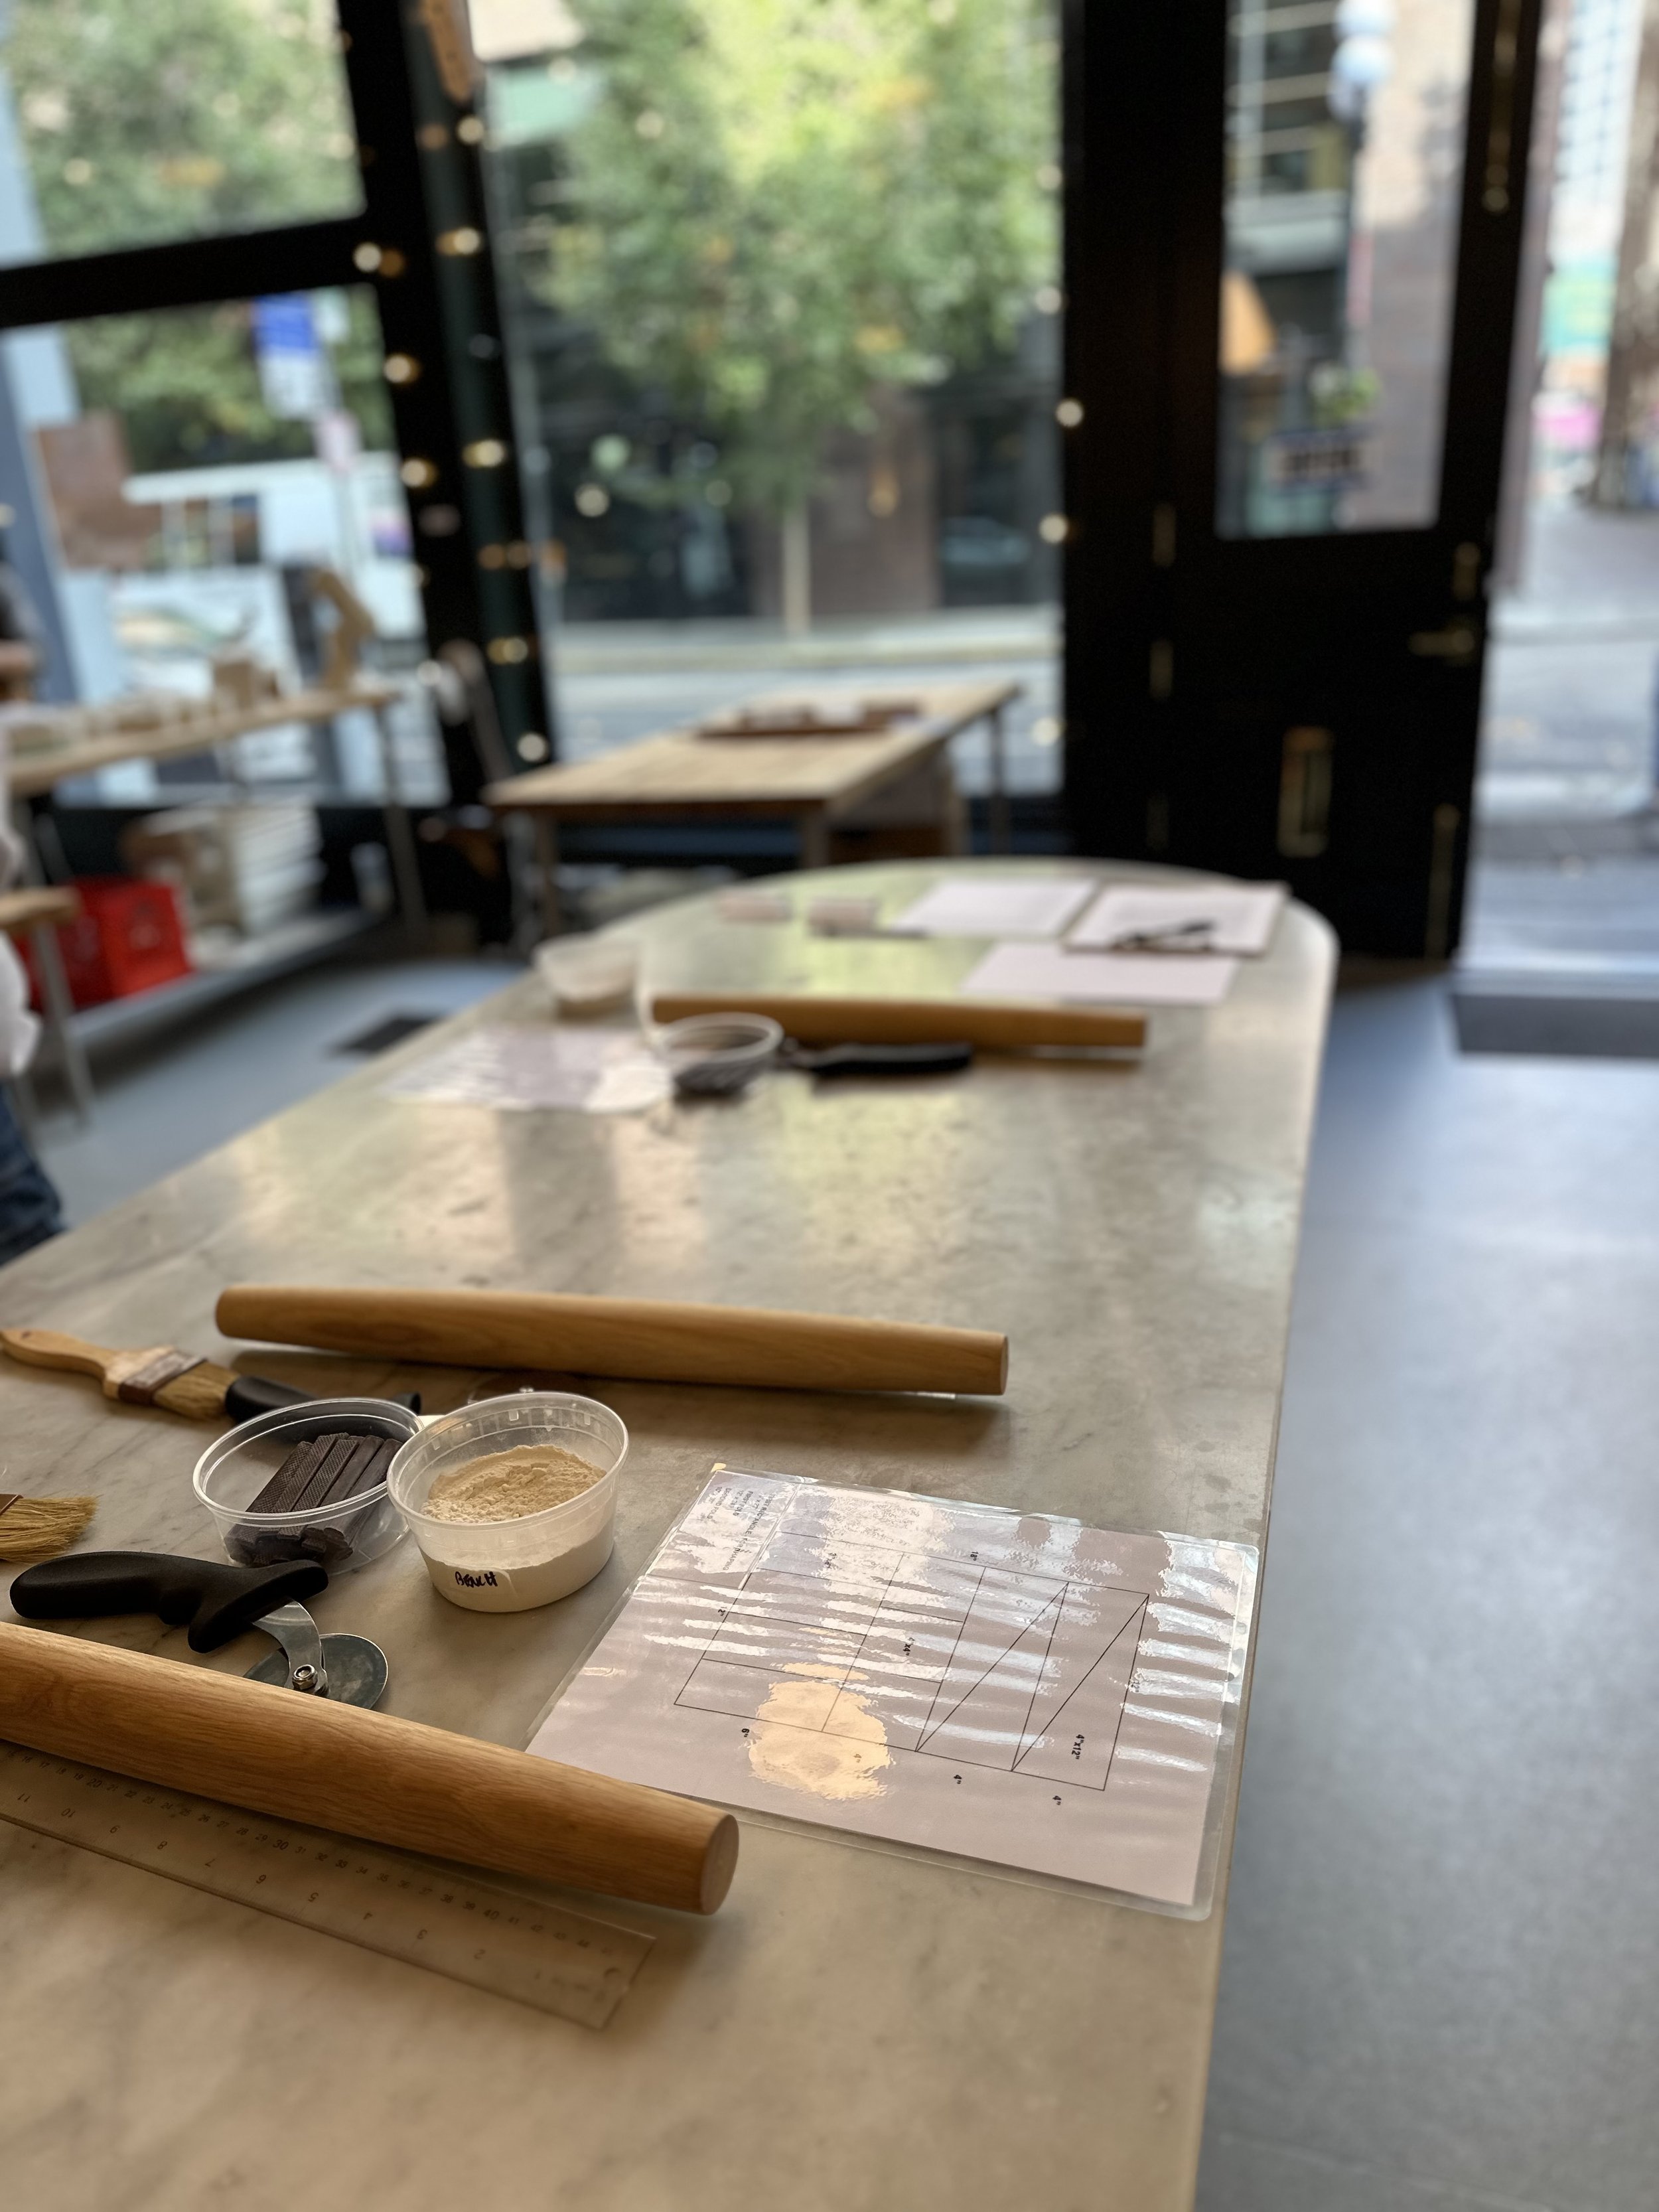
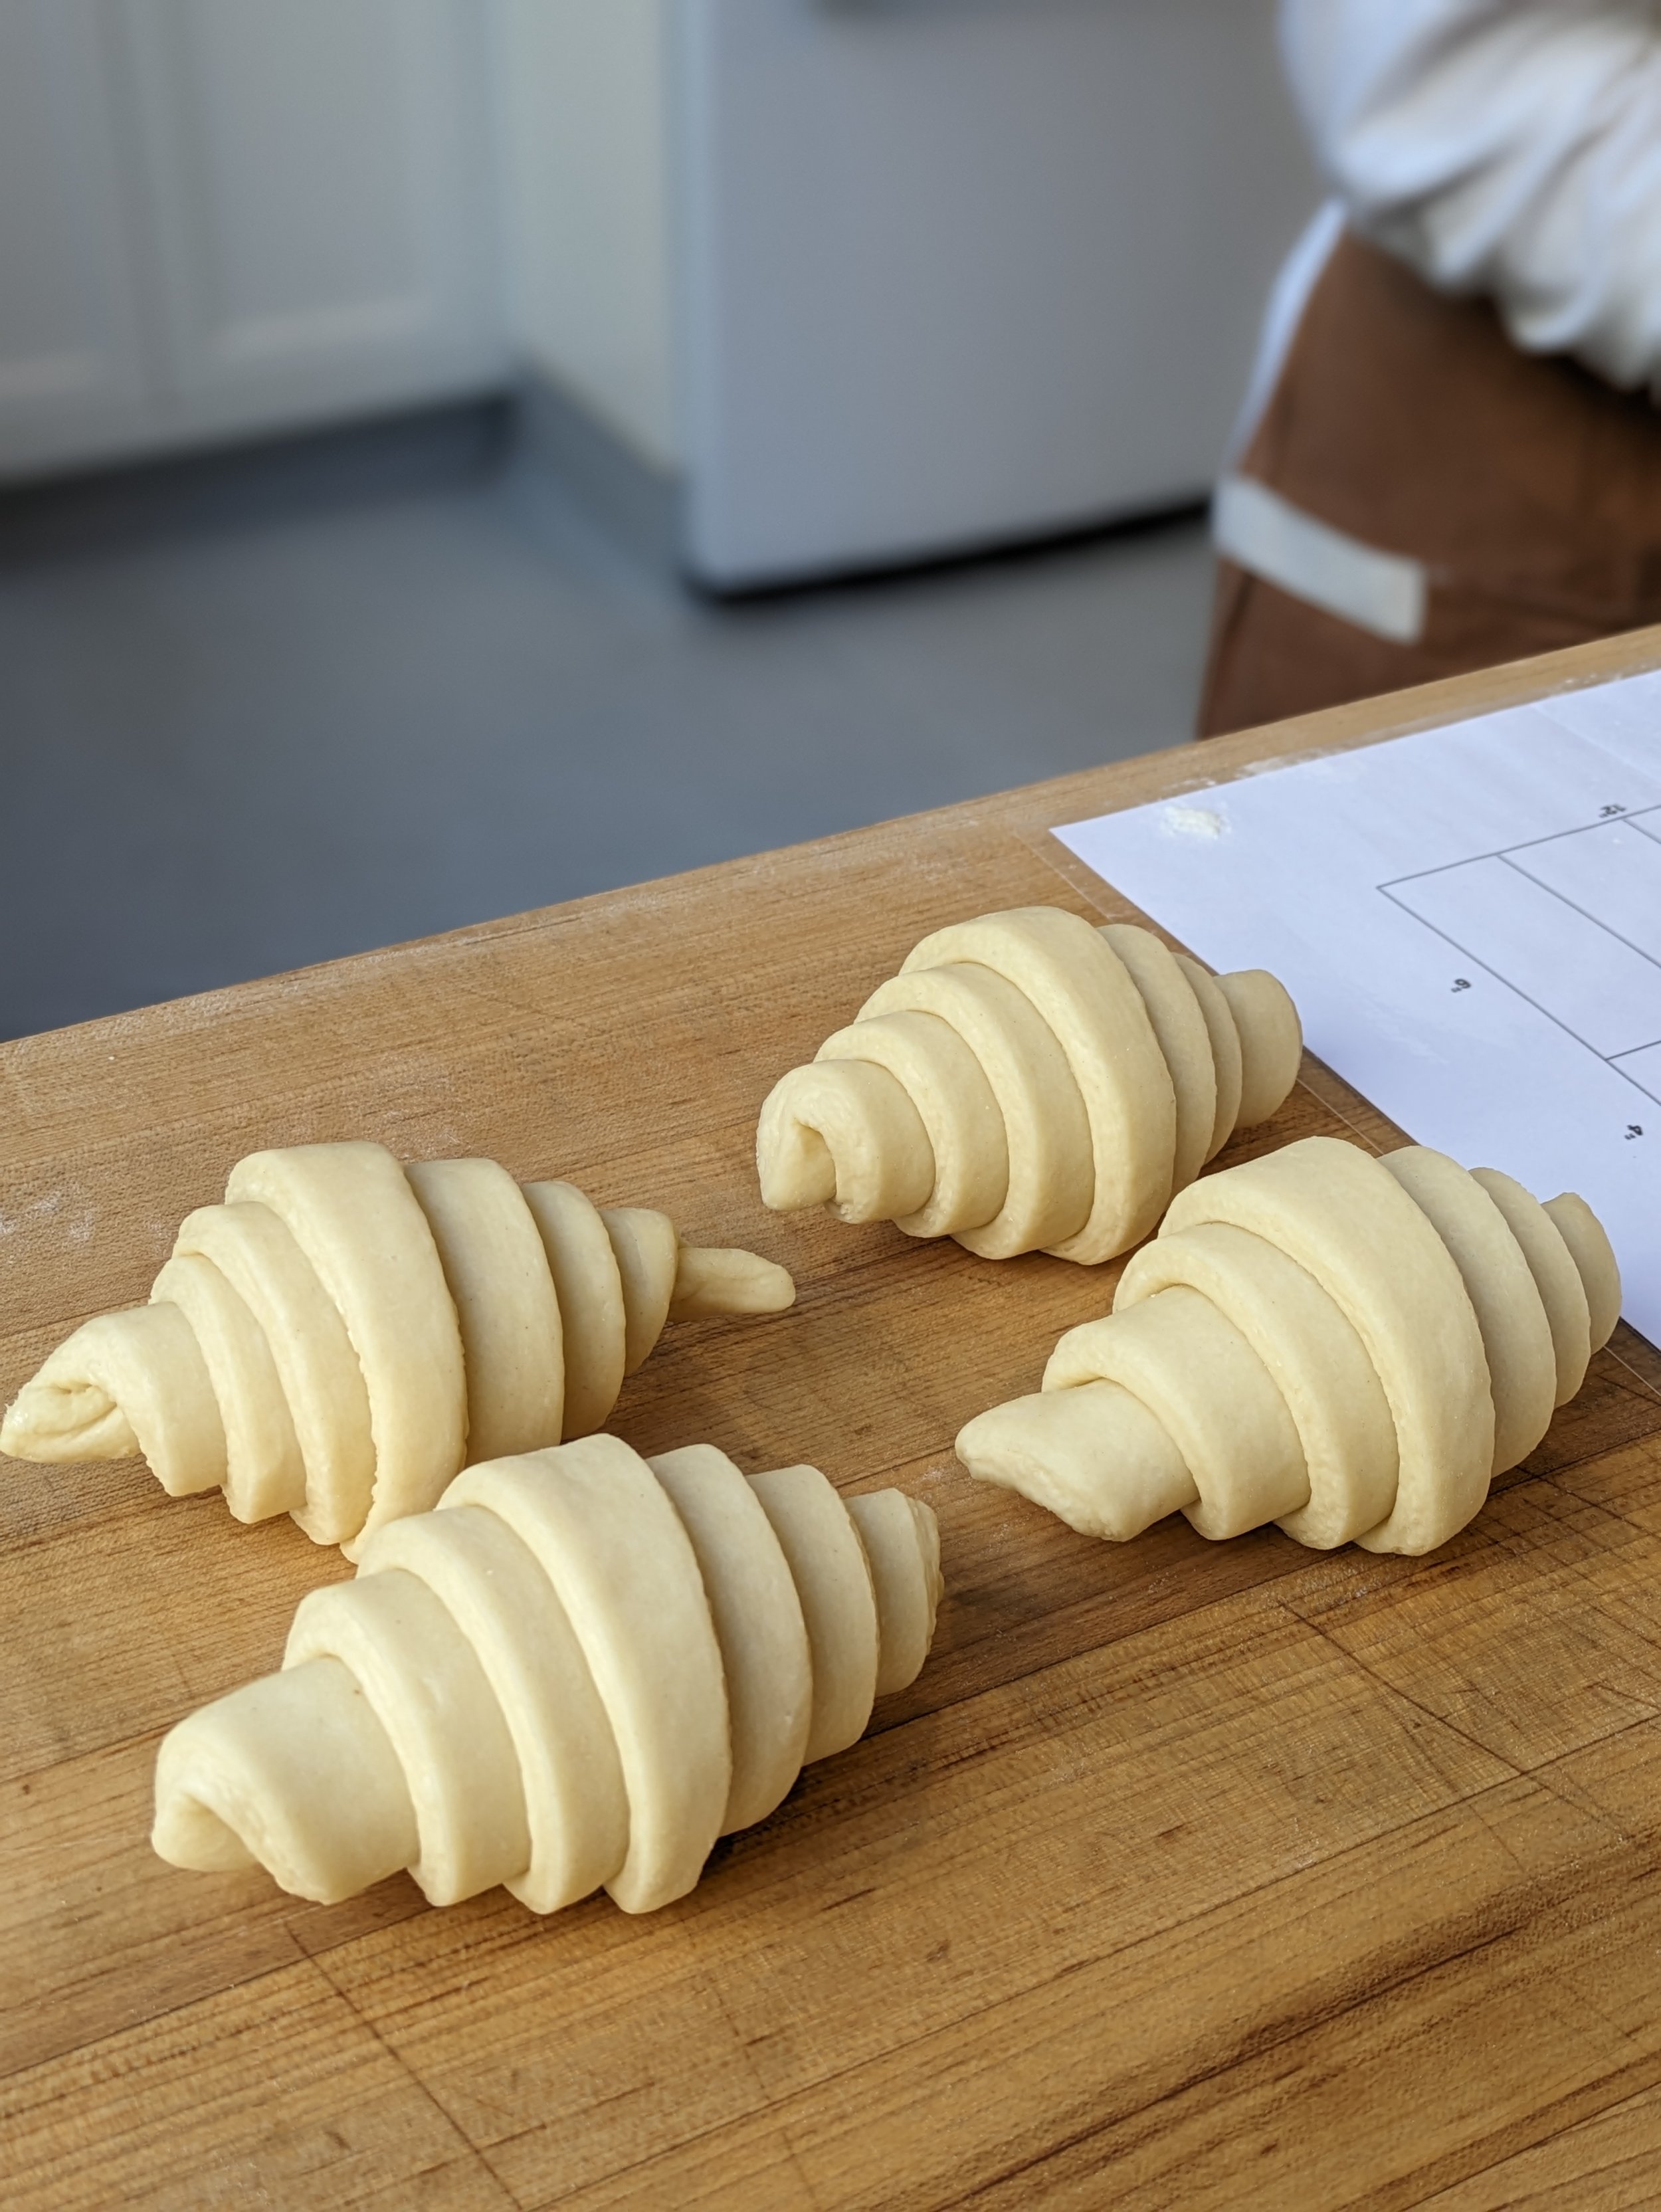
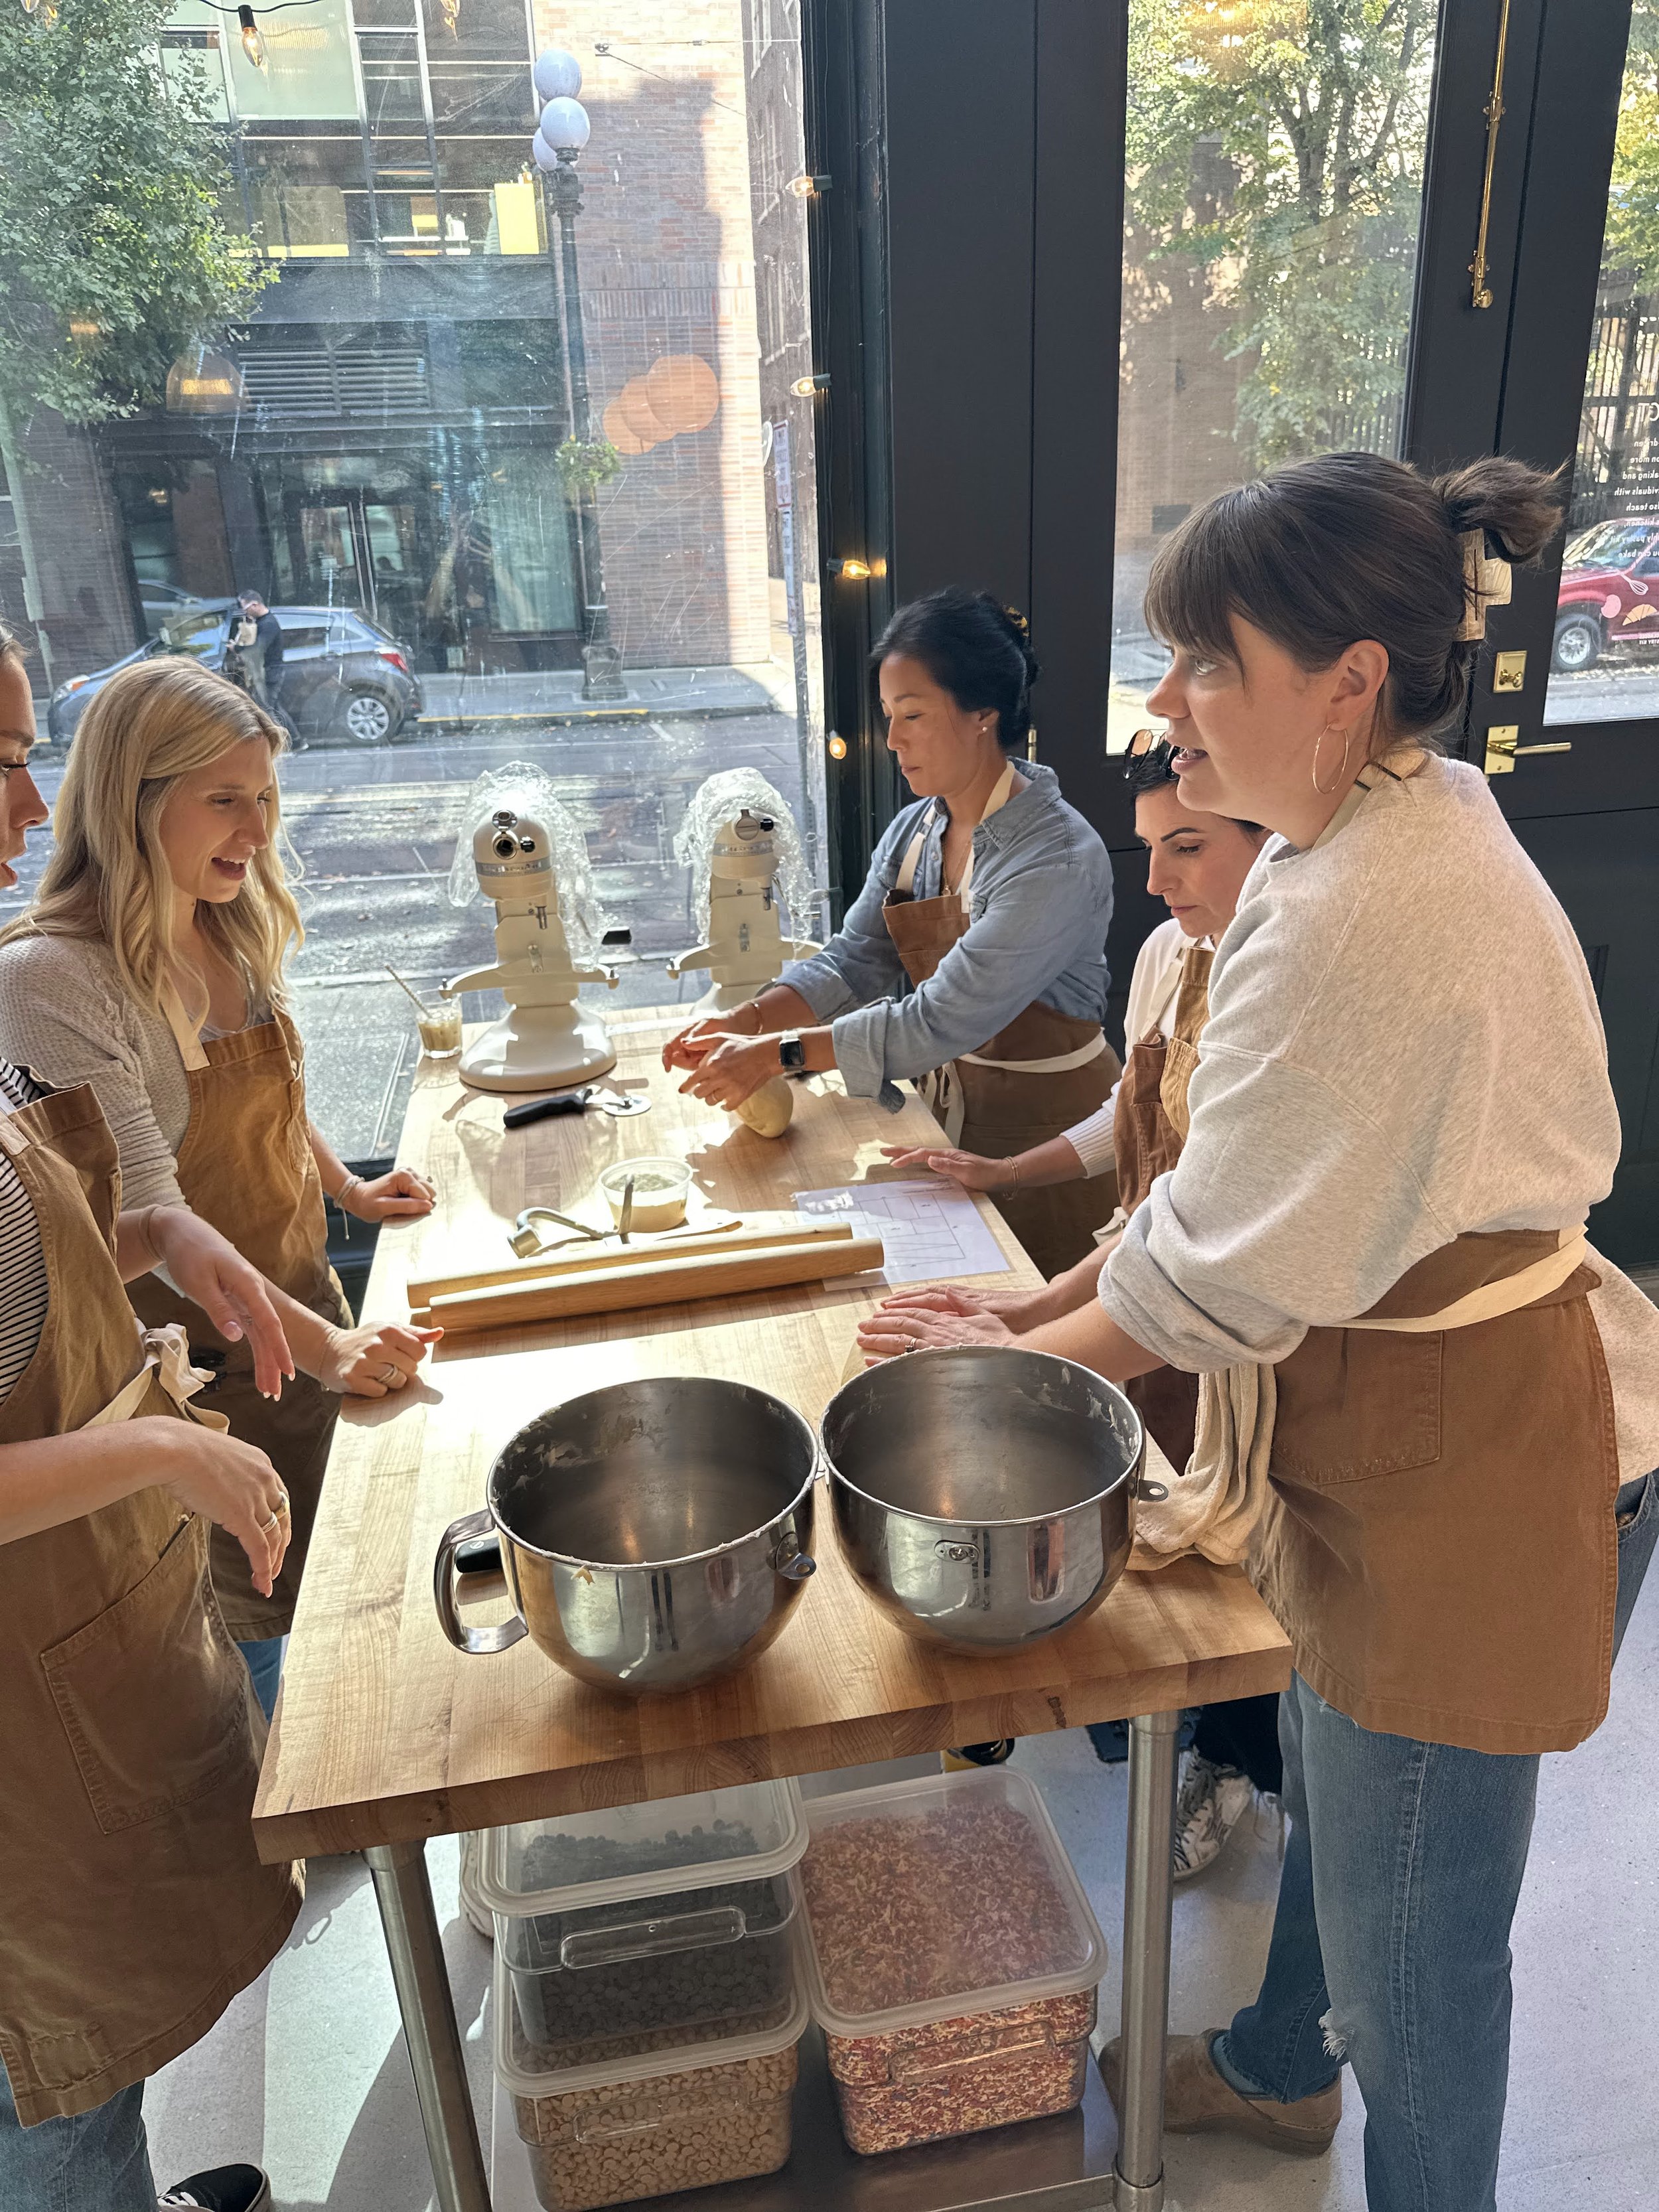
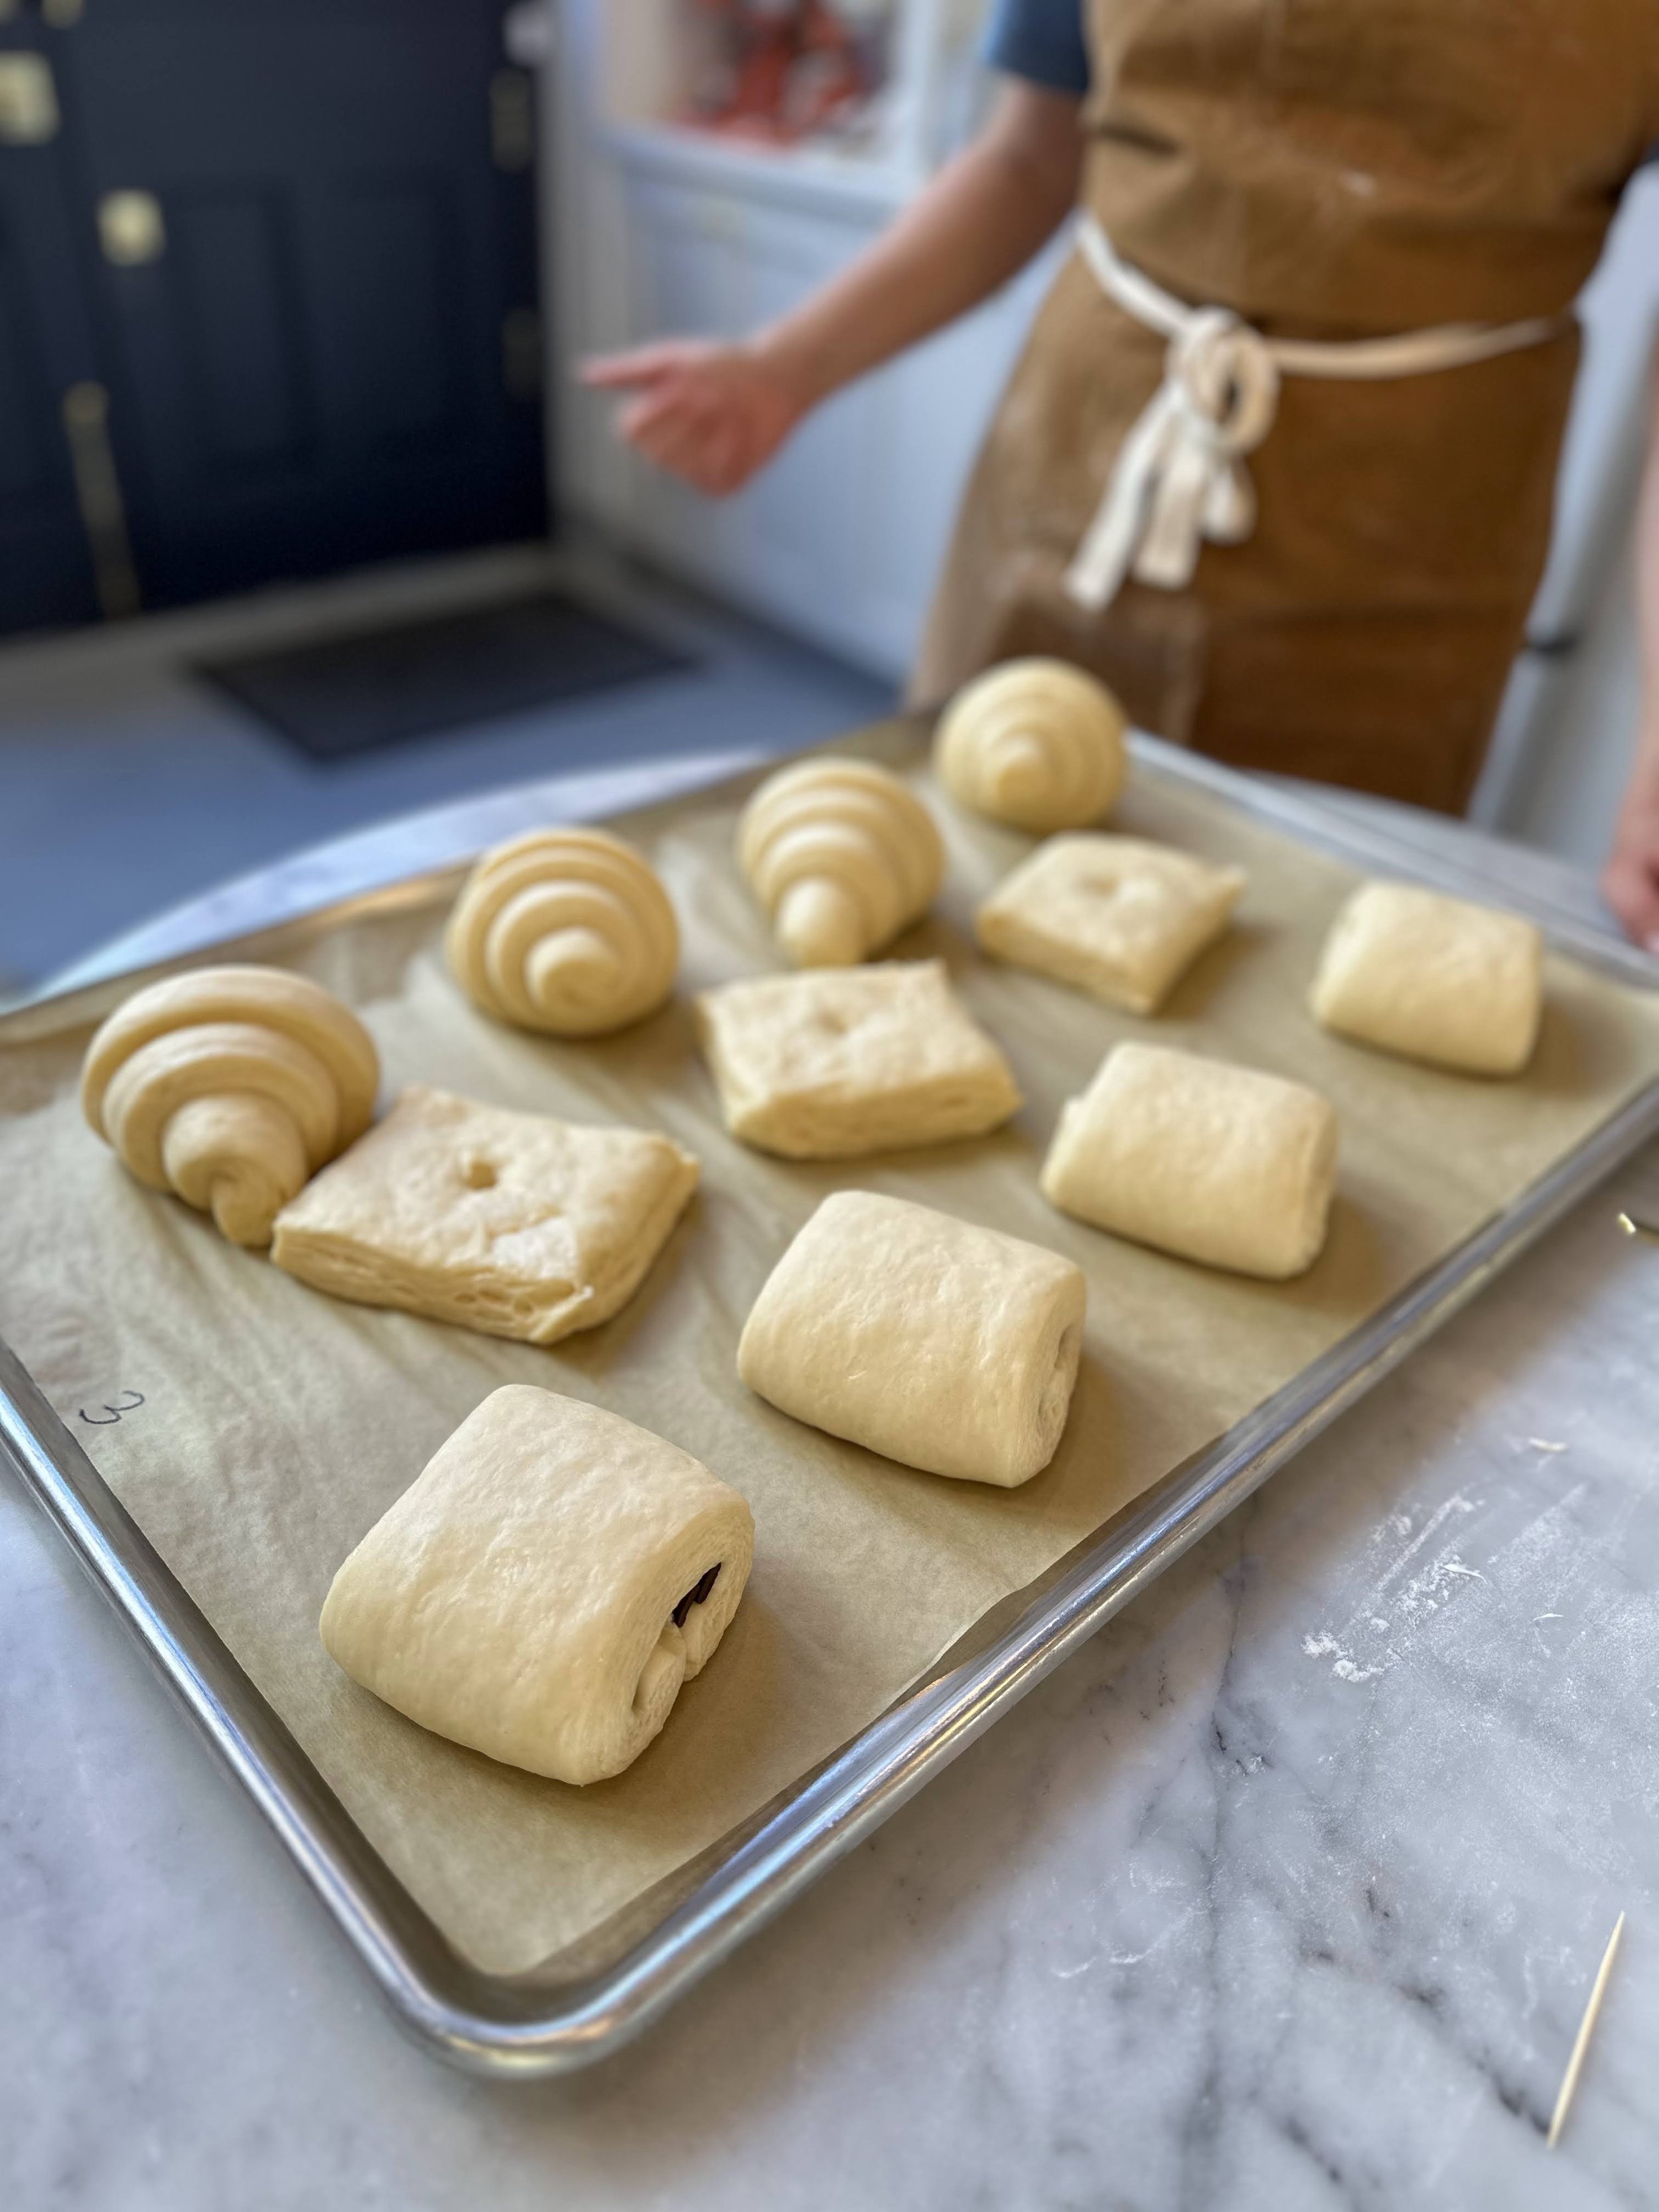
To begin the hands-on portion of the workshop each pair of attendees were given a finished block of laminated, chilled dough. Our first step was to roll out our dough - wowza that was hard work! If you ever get tired during this step of the process simply cover your dough with saran wrap and give it (and yourself) a little time to rest. This break will give the gluten a chance to relax and make it easier to continue the rolling process. Once we had our dough rolled out we then measured and cut our dough into squares and triangles. These shapes would soon become our croissants, danishes and pain au chocolat!
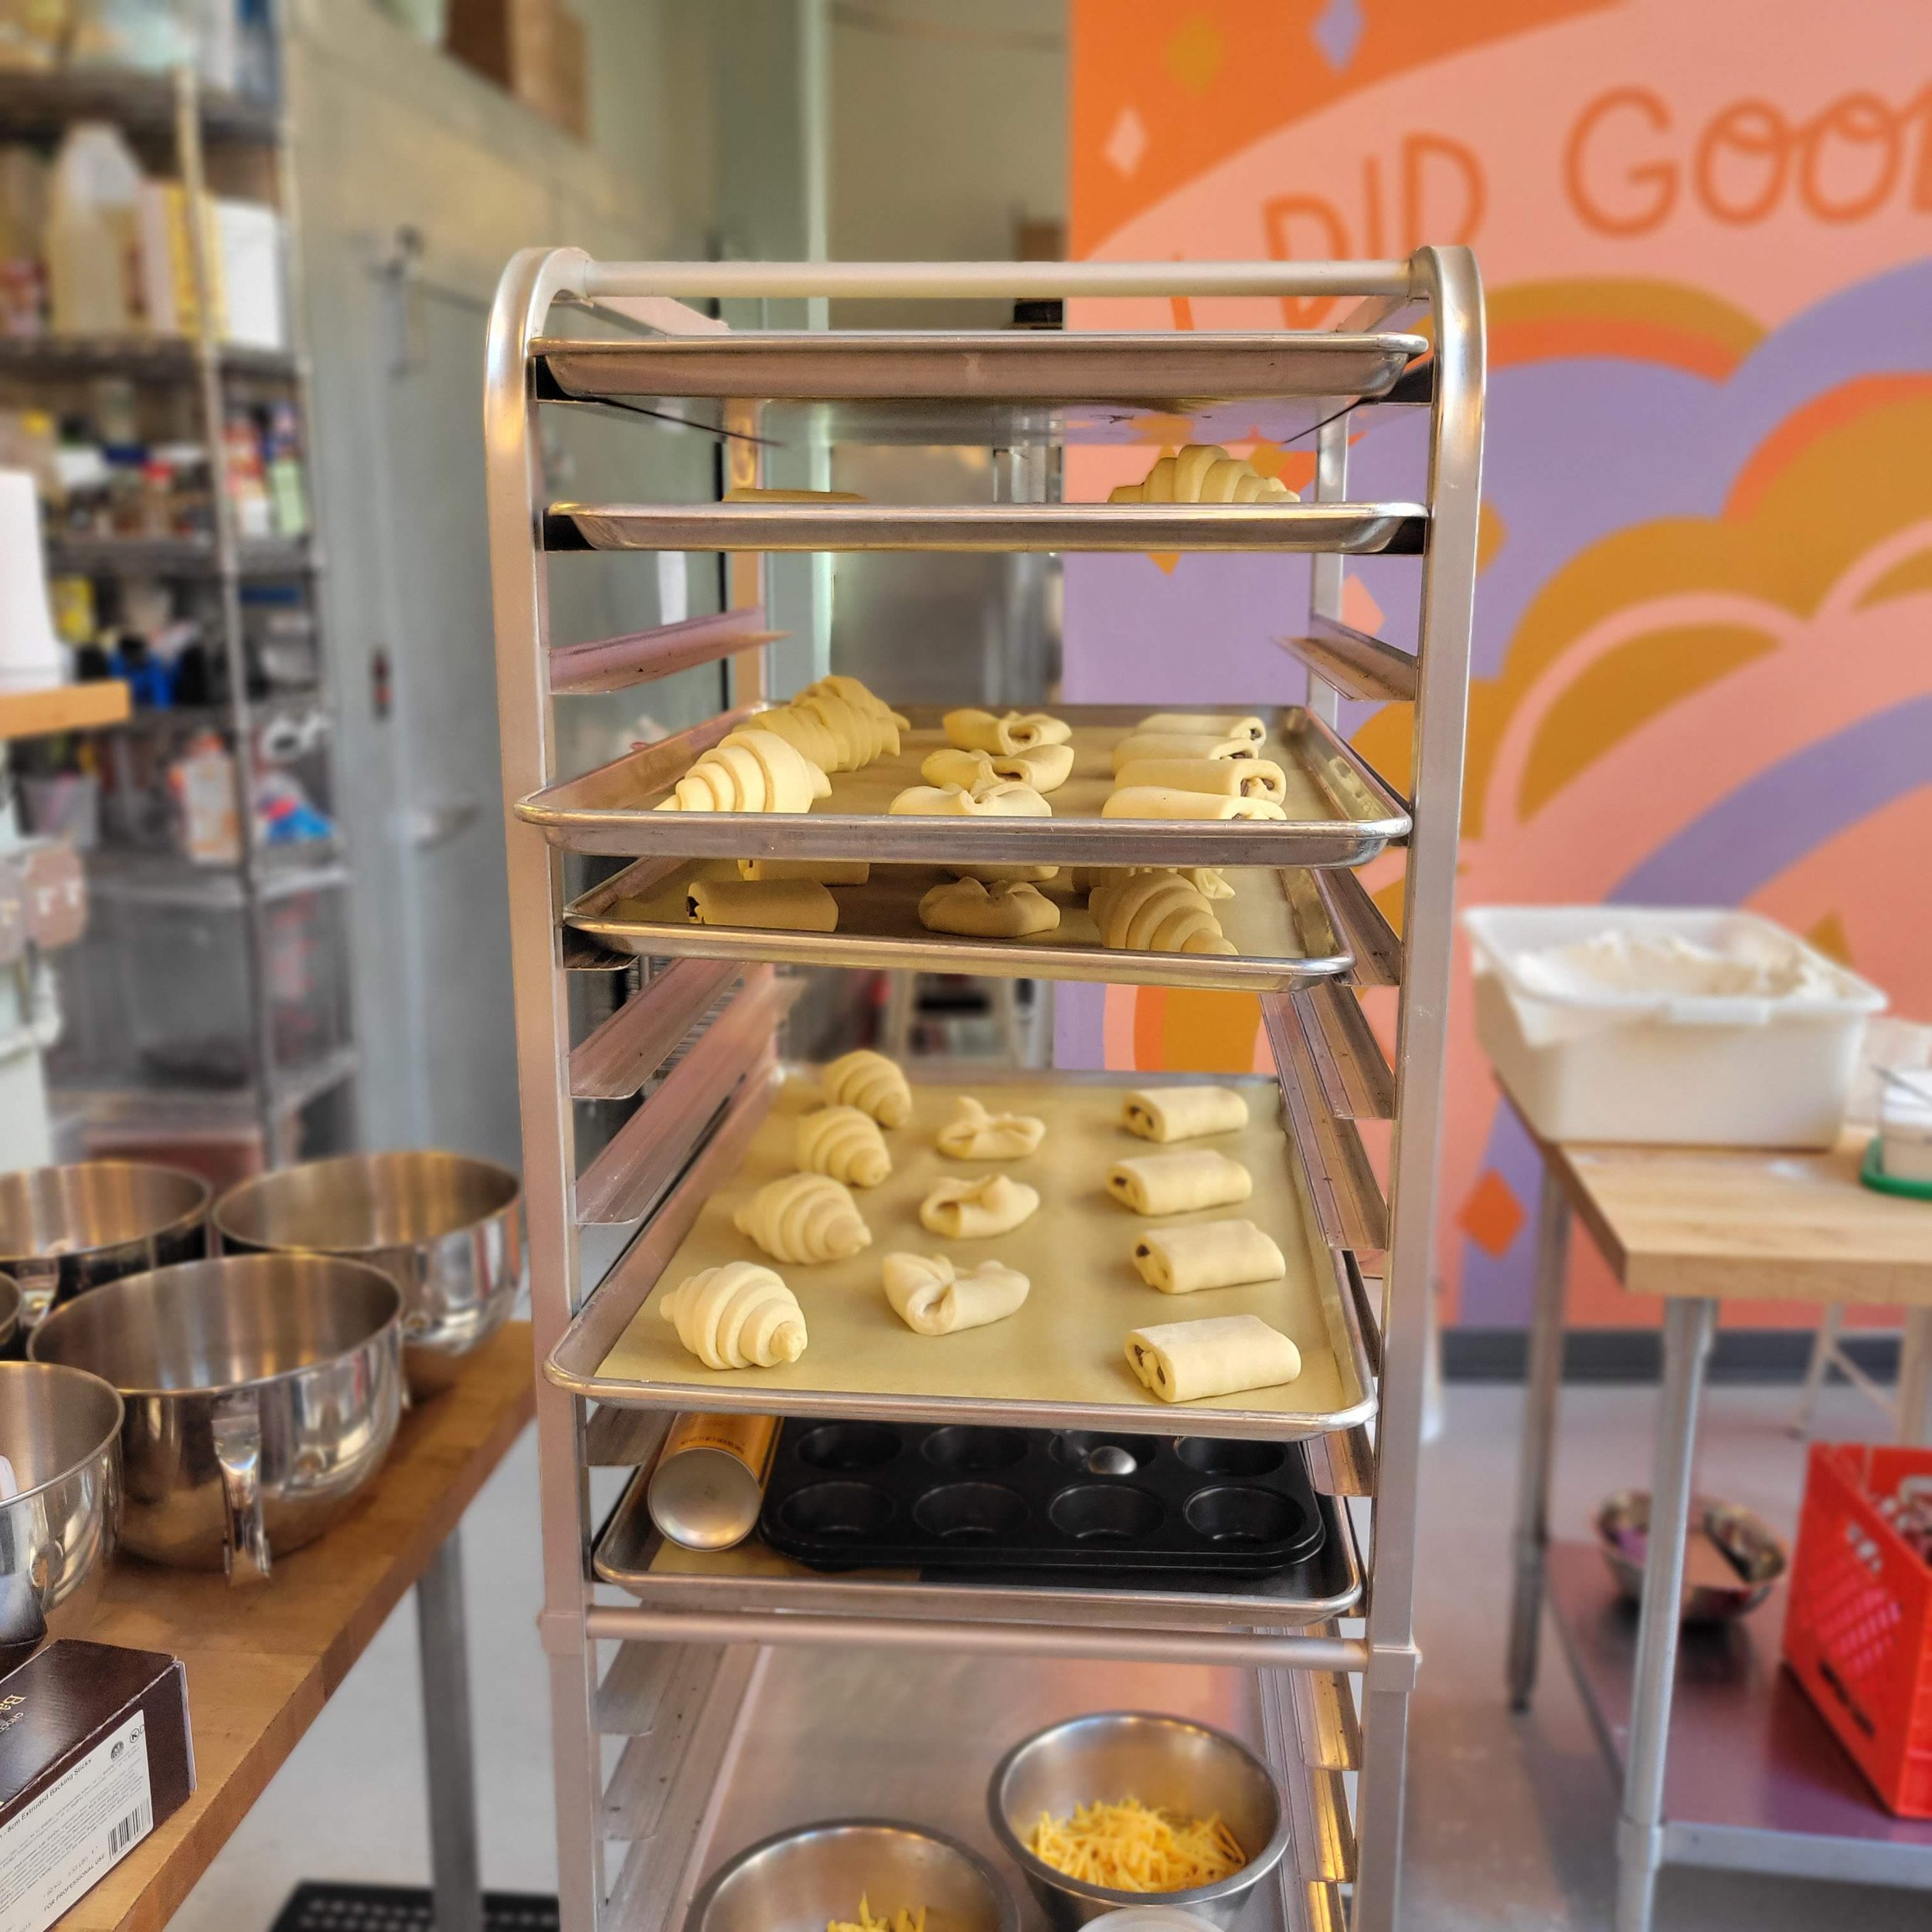
Once our croissants were shaped we placed them on parchment lined baking sheets to proof for the duration of the class. Never place more than six croissants on a sheet pan at home while proofing. They need space to rise and room on the tray to bake! Croissant dough likes to proof in a warm environment, around 75’-80’ is perfect.
When making croissants and pastries don’t throw away your dough scraps that are leftover from the cutting process. In class we used ours to make delicious cheesy pull-aparts. You can find more info for these cheesy delights below!
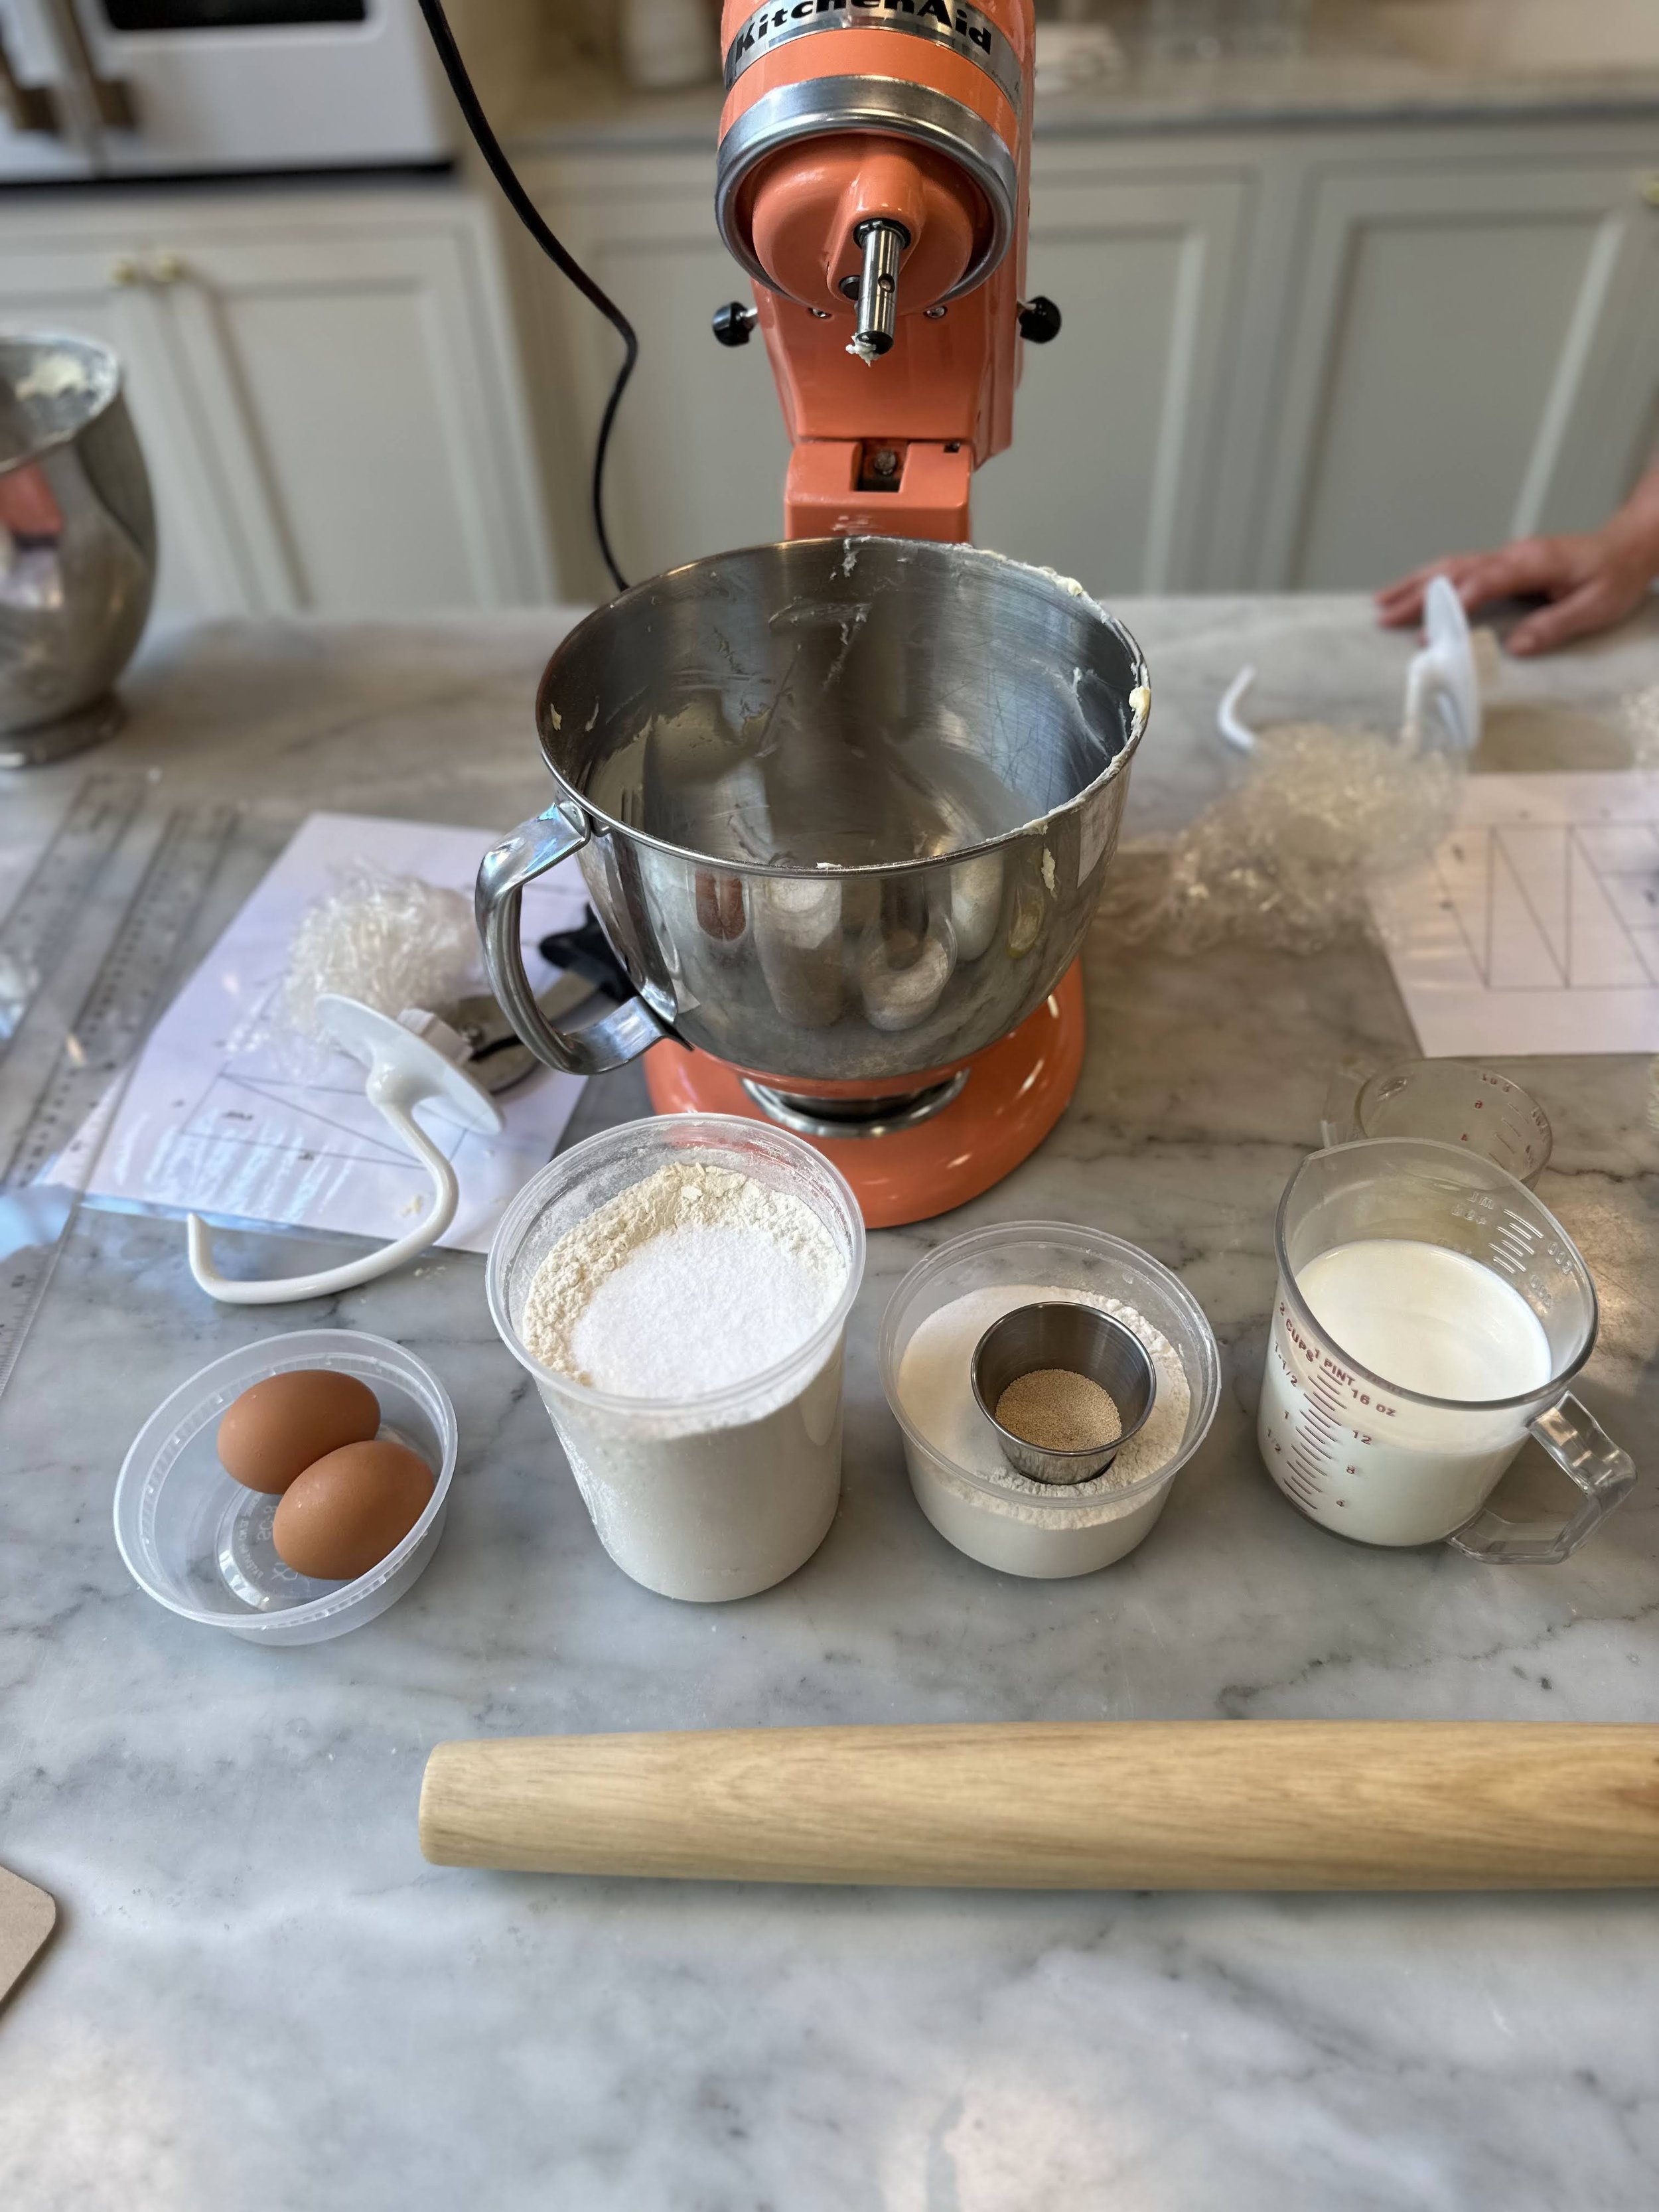
Once we finished prepping our pull-aparts it was time to turn back the clock to “Day One” of our dough making process. We began by making our dough. The basic ingredients included milk, all-purpose flour, bread flour, yeast, butter, eggs, salt and sugar. These ingredients were put into stand mixers with the dough hook attachment and mixed on low speed for a full 5 minutes before kneading, rolling and refrigerating.
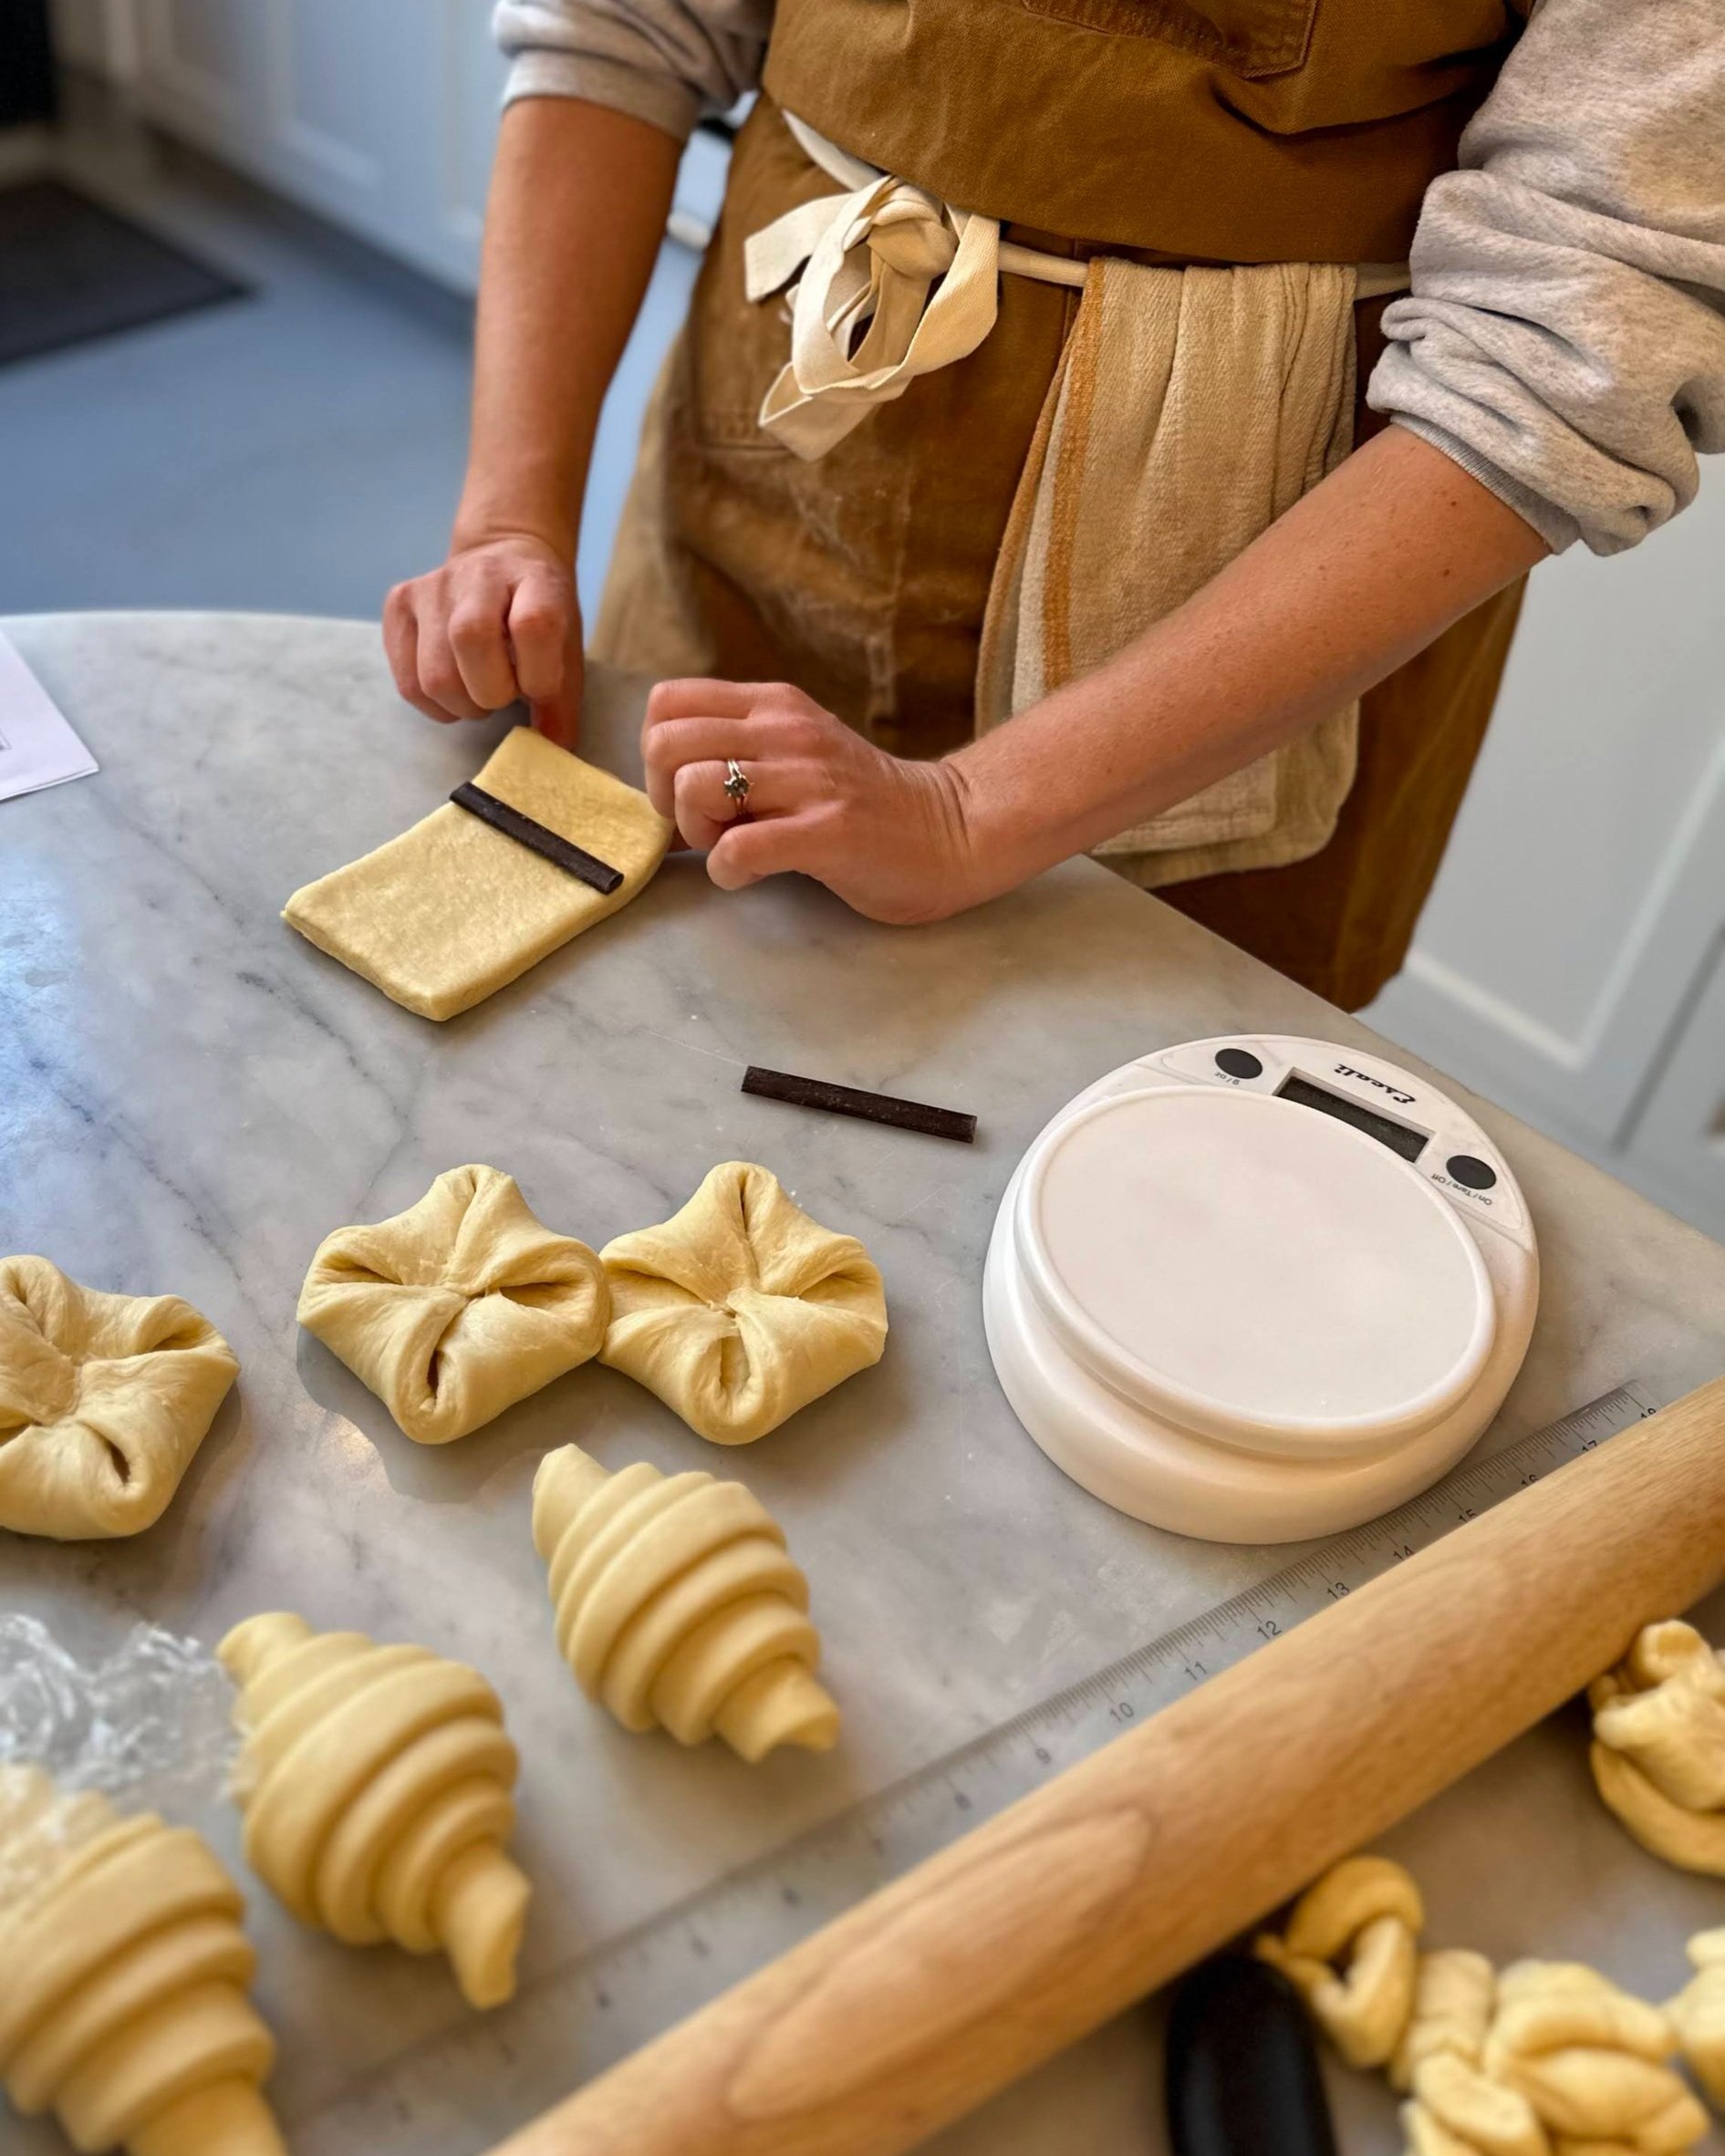
You don’t need to buy chocolate batons when making pain au chocolat. You can slice or break up any type of chocolate bar, or even use chocolate chips. Remember no fancy ingredients required! The Pastry Project uses batons because they save time with their large production numbers.
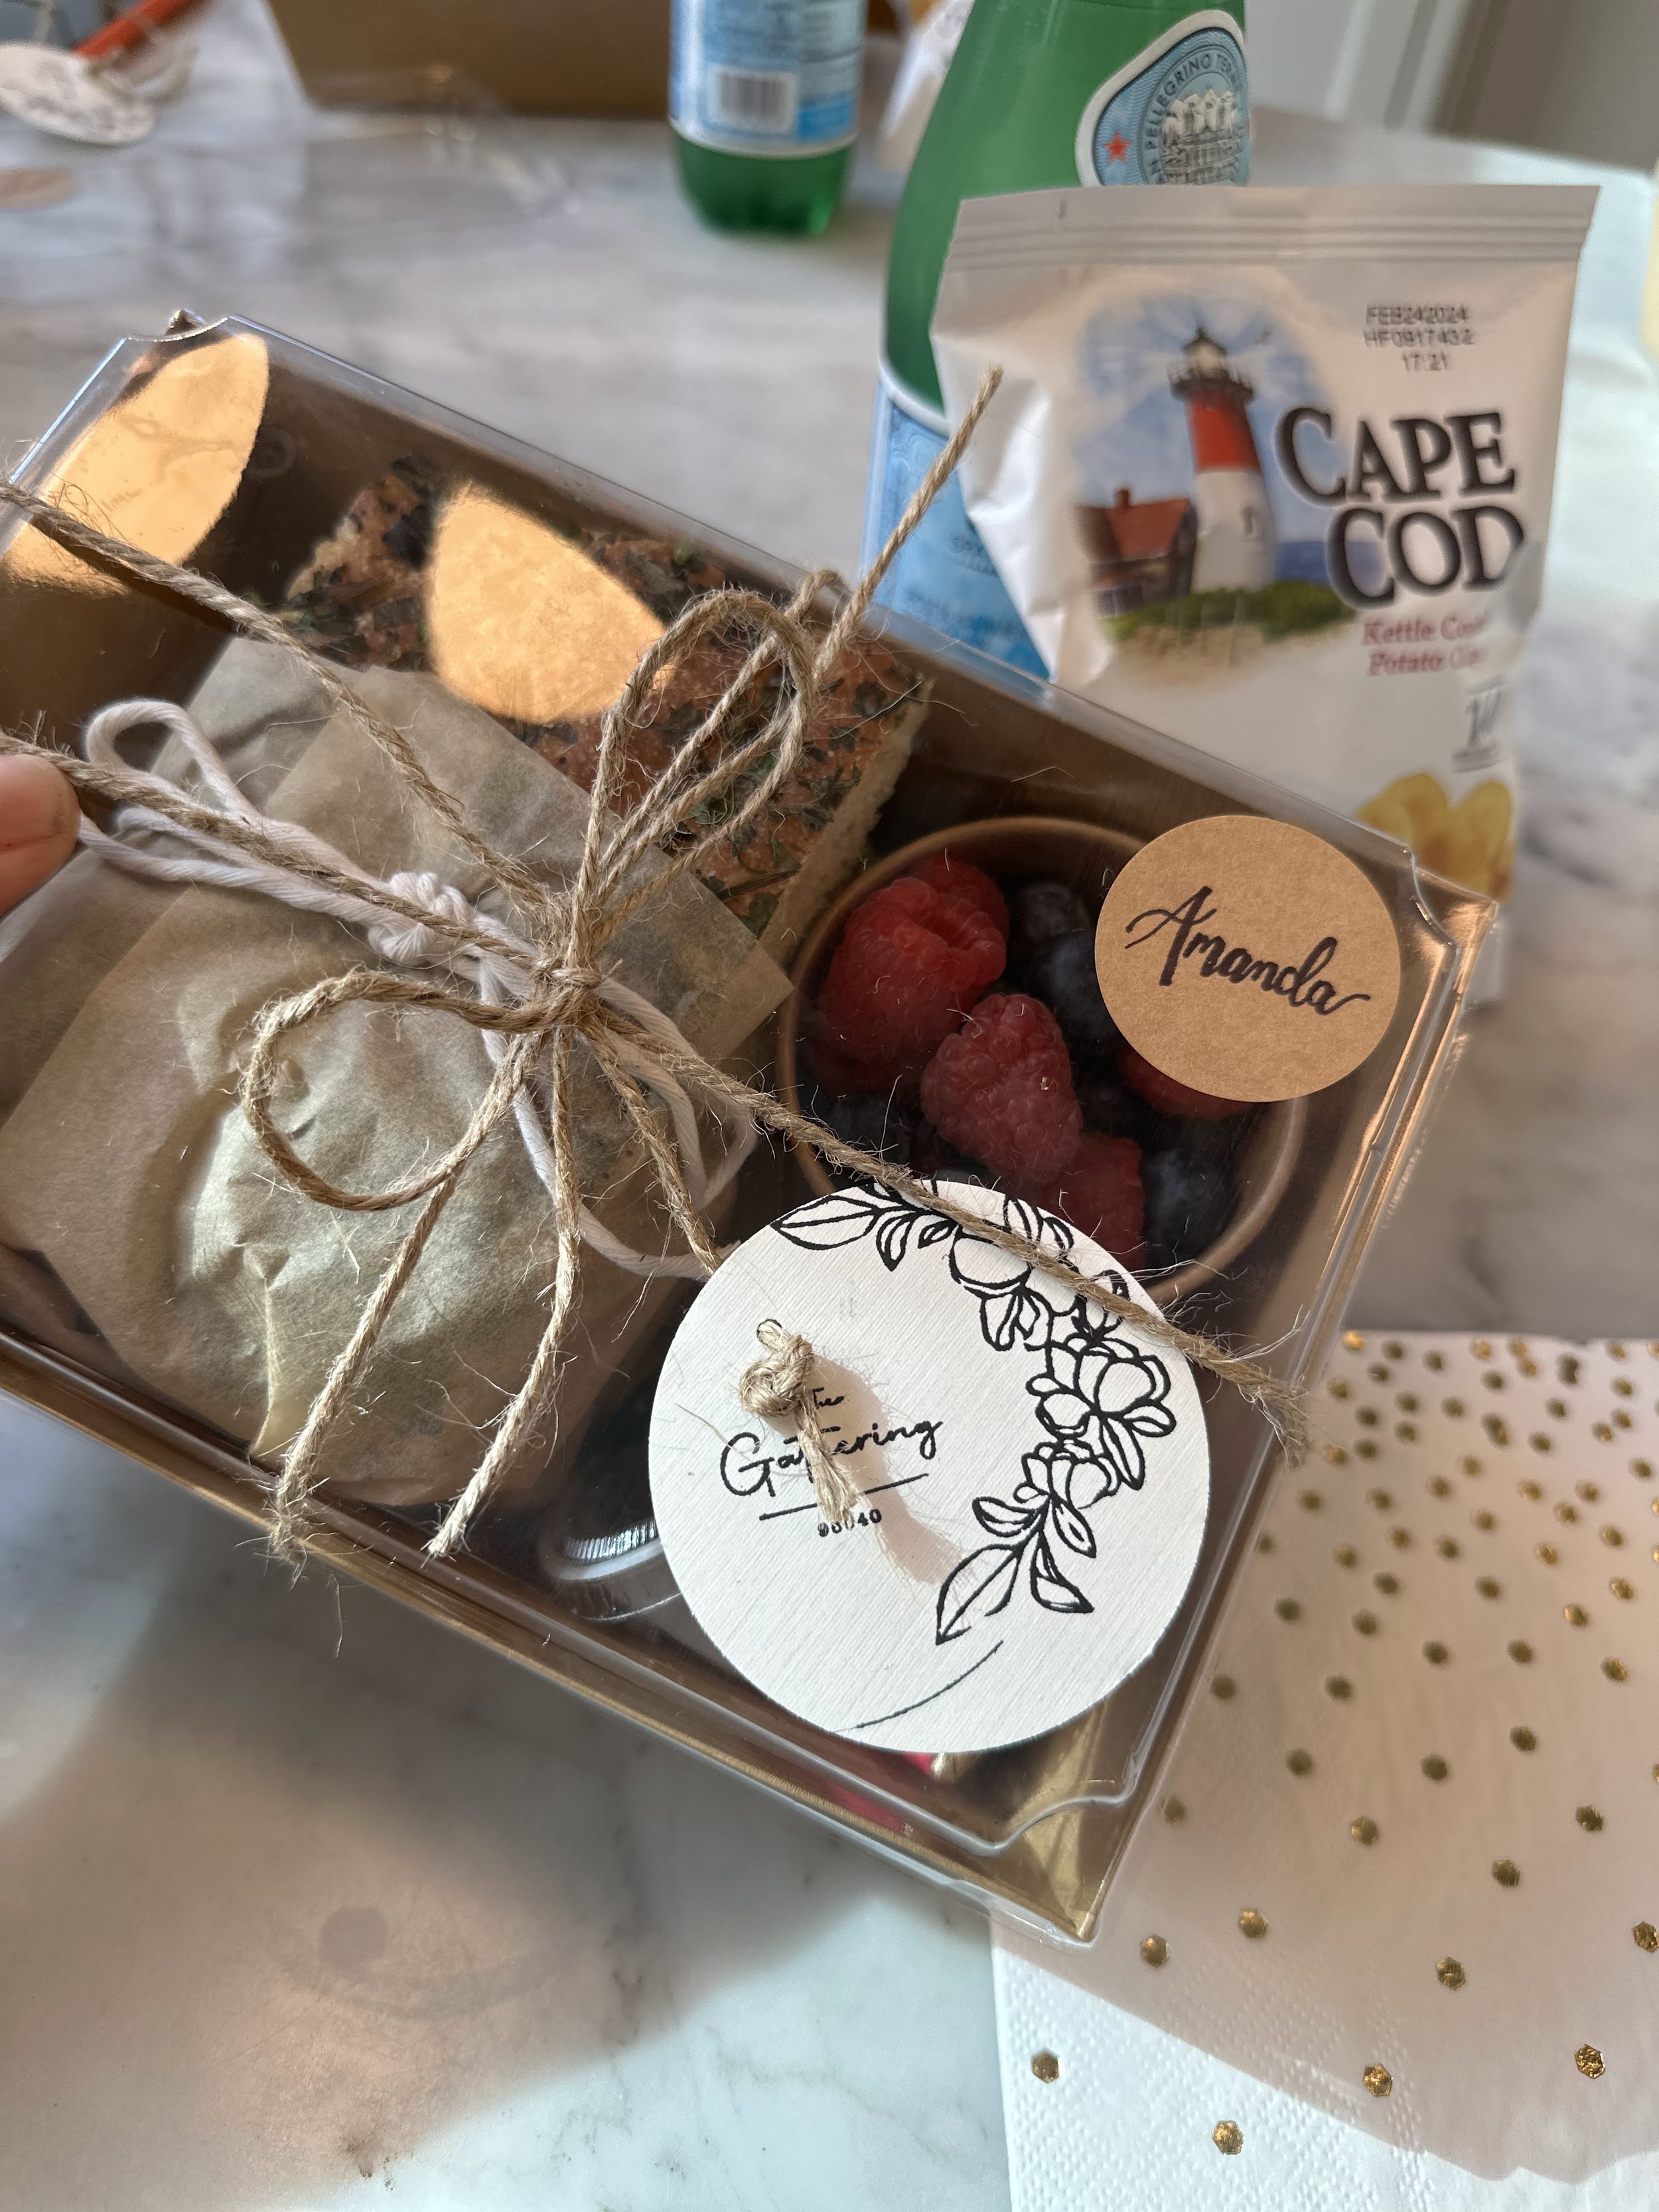
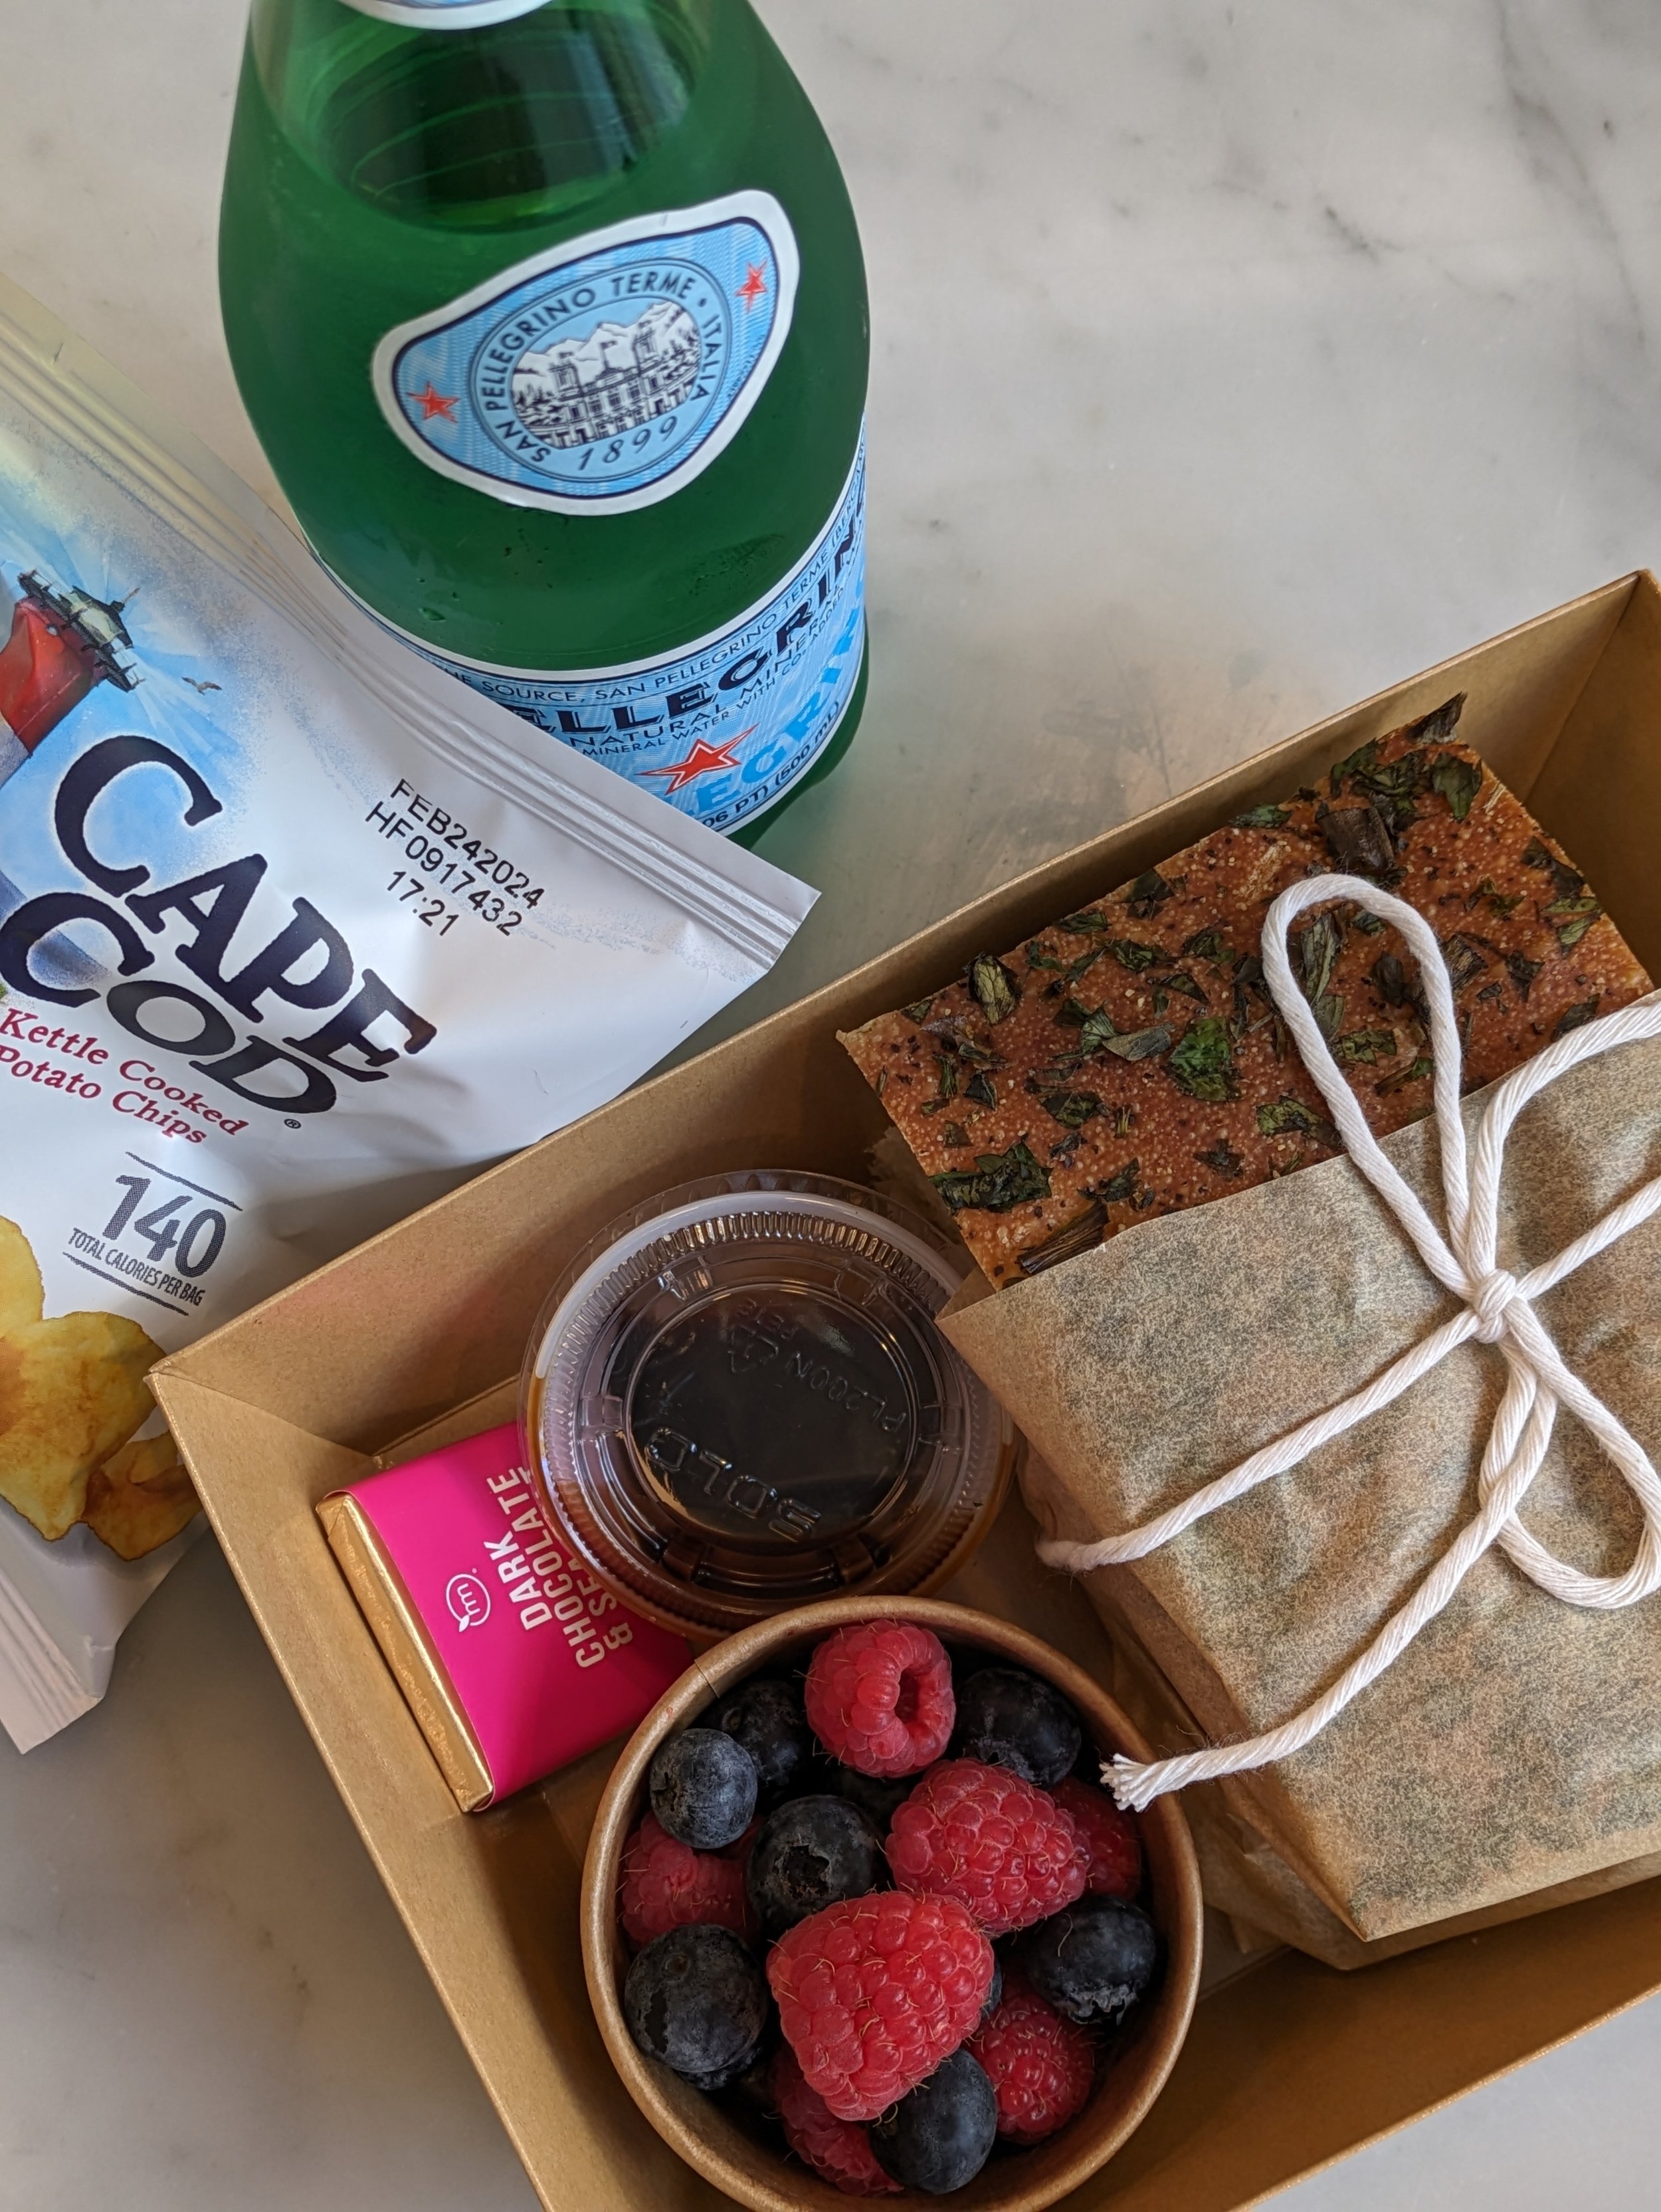
At this point in the workshop we cleared off the workspaces and took a 30 minute lunch break. Attendees were given a custom box lunch that included a sandwich of choice (either caprese with prosciutto and pesto, or turkey with arugula and basil aioli on freshly baked focaccia), a small cup of fresh berries, a bag of chips, a square of salted dark chocolate and a Pellegrino. It was lovely to get off our feet and catch up with our guests while we munched on our tasty meals.
After our dough chilled for 30 minutes we needed to lock in our butter. This sounds exactly like what the actual process is. You’re basically sealing a large slab of butter (and we mean large - one whole pound!) into a pocket of dough. Imagine the way a notecard looks inside an envelope and you’ll get the picture. After some time for the dough and butter to chill we then began rolling and folding our dough until we ended up with a large 10x30 slab of dough. At this point you can fold and freeze your dough to prevent further rising. Dough can last up to a month frozen at this stage. When you’re ready to use it simply put it in the fridge overnight and by morning you’ll be ready to get rolling!
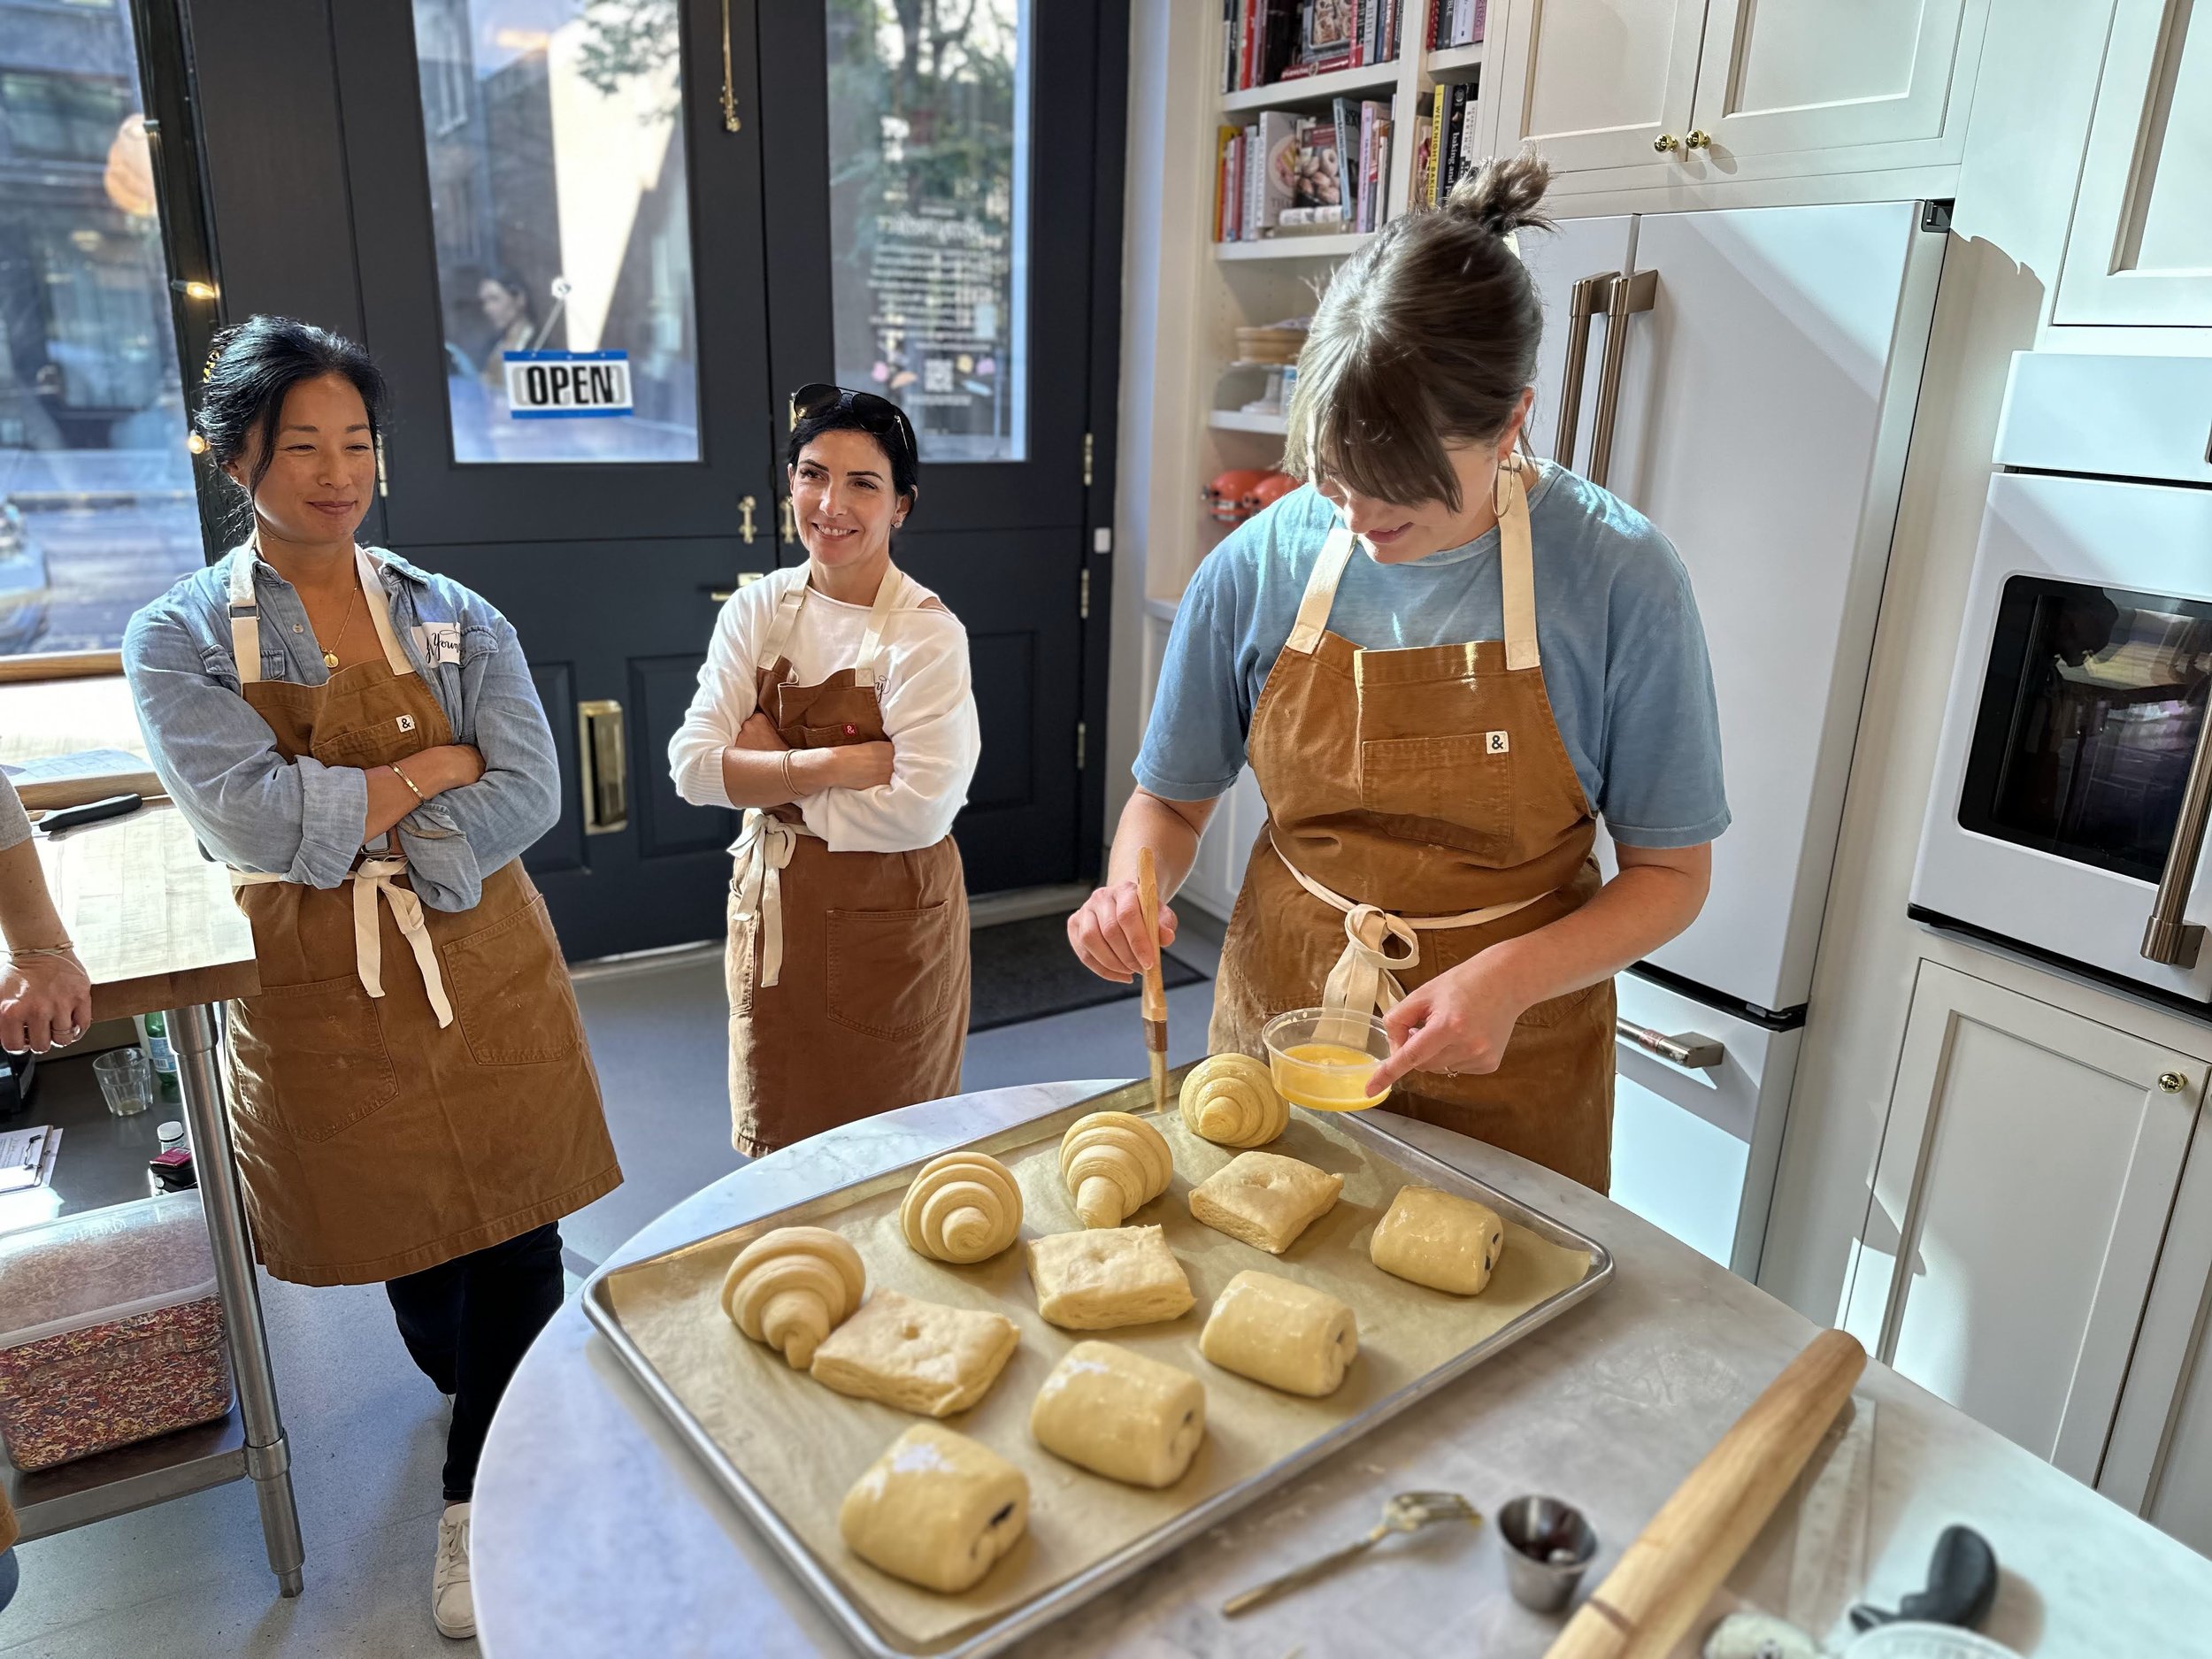
We finished up the last steps of the croissant making process by egg washing our proofed and shaped dough and making a cream cheese filling for our danishes. Once our croissants were brushed with the egg wash, we filled our danishes with a mixture of cream cheese filling and homemade raspberry jam. We then popped our croissants in the oven for about 18 minutes and viola - out came perfectly flaky croissants. The kitchen was filled with gasps and exclamations when the golden croissants emerged from the oven.
Heather’s tips and tricks for laminated pastry:
Making your dough: Always crack your eggs into a separate bowl (not directly into your mixer) - no one wants egg shells in their pastries!
Dough made and frozen in advance allows fermentation to begin with the yeast, but it will start to die after a couple of weeks in the freezer (two weeks is ideal, but it can last up to 4 weeks).
Don't get cocky - even for professionals, it’s important to keep your recipe nearby to prevent mistakes.
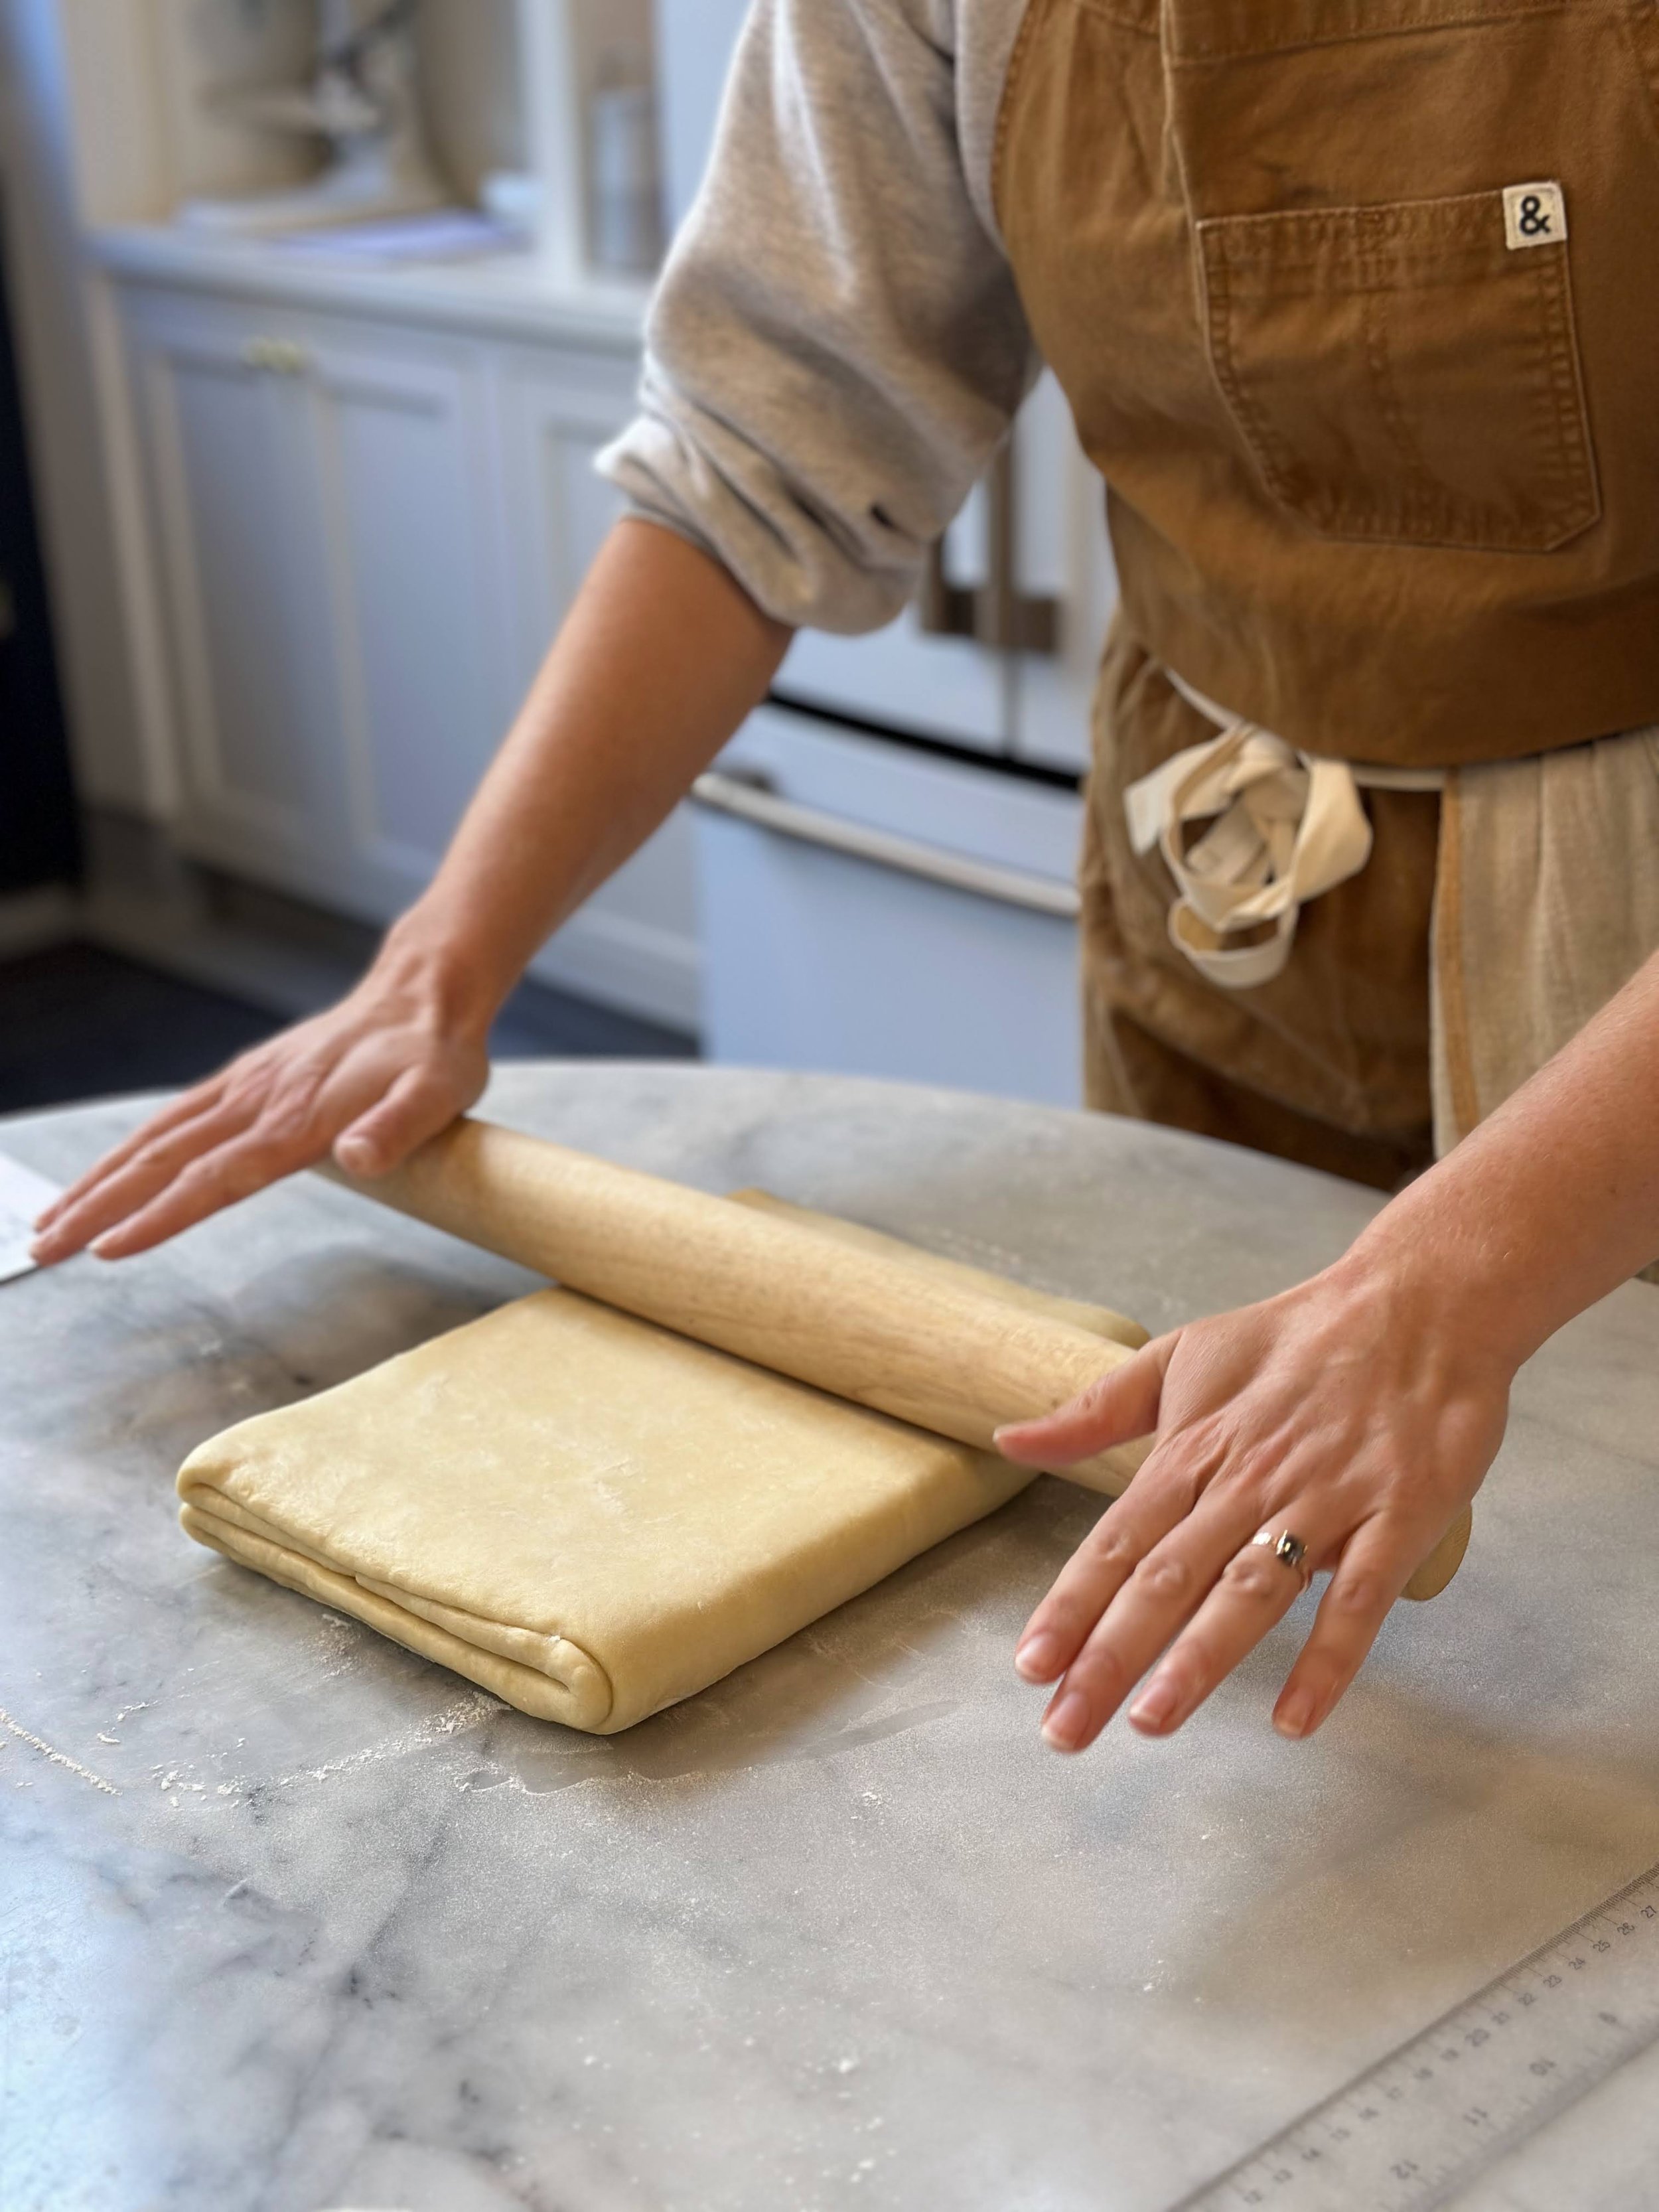
Rolling your dough: Don’t over flour your dough while rolling it out. Add the tiniest amount of flour to your workspace at a time. Heather takes a small pinch and then tosses it over her slab with an open hand so it creates a fine layer of flour dust. Think of it as tiny marbles that help move the dough around.
Use your core and plant your feet while rolling!
Imagine your dough is a book and keep your binding to the left as you roll. Before your dough gets longer than your rolling pin, rotate it to get to your desired size.
Lift your dough off the work surface with your hands periodically to relax it so it does not become overstretched.
Cutting your dough: Trim all edges to expose the layers. If they remain pinched, they won't puff properly.
When cutting dough lay cut triangles and rectangles on top of each other to prevent a skin from forming, then cover lightly with plastic.
Proofing you dough: Croissant dough likes a warm (75-80 degree) environment that’s nice and humid. In temperatures over 90 degrees F, the butter will prematurely begin to melt.

Cheesy Pull-Aparts:
Ingredients: Dough scraps (or store bought dough), shredded cheddar cheese, powdered white cheddar, dried parsley, red pepper flakes, garlic powder
Cut dough scraps into small dough pieces then assemble with shredded cheddar cheese, spices, or other toppings. Gently ball up (75g of dough each) and place on a lightly greased square parchment sheet, then place into muffin tin. Set aside to proof.
**Pro Tip: Don’t have the time or energy to make croissant dough? You can use pre-made puff pastry or biscuit dough from the grocery store. Using tulip muffin cups is an easy way to dress up your baked goods.

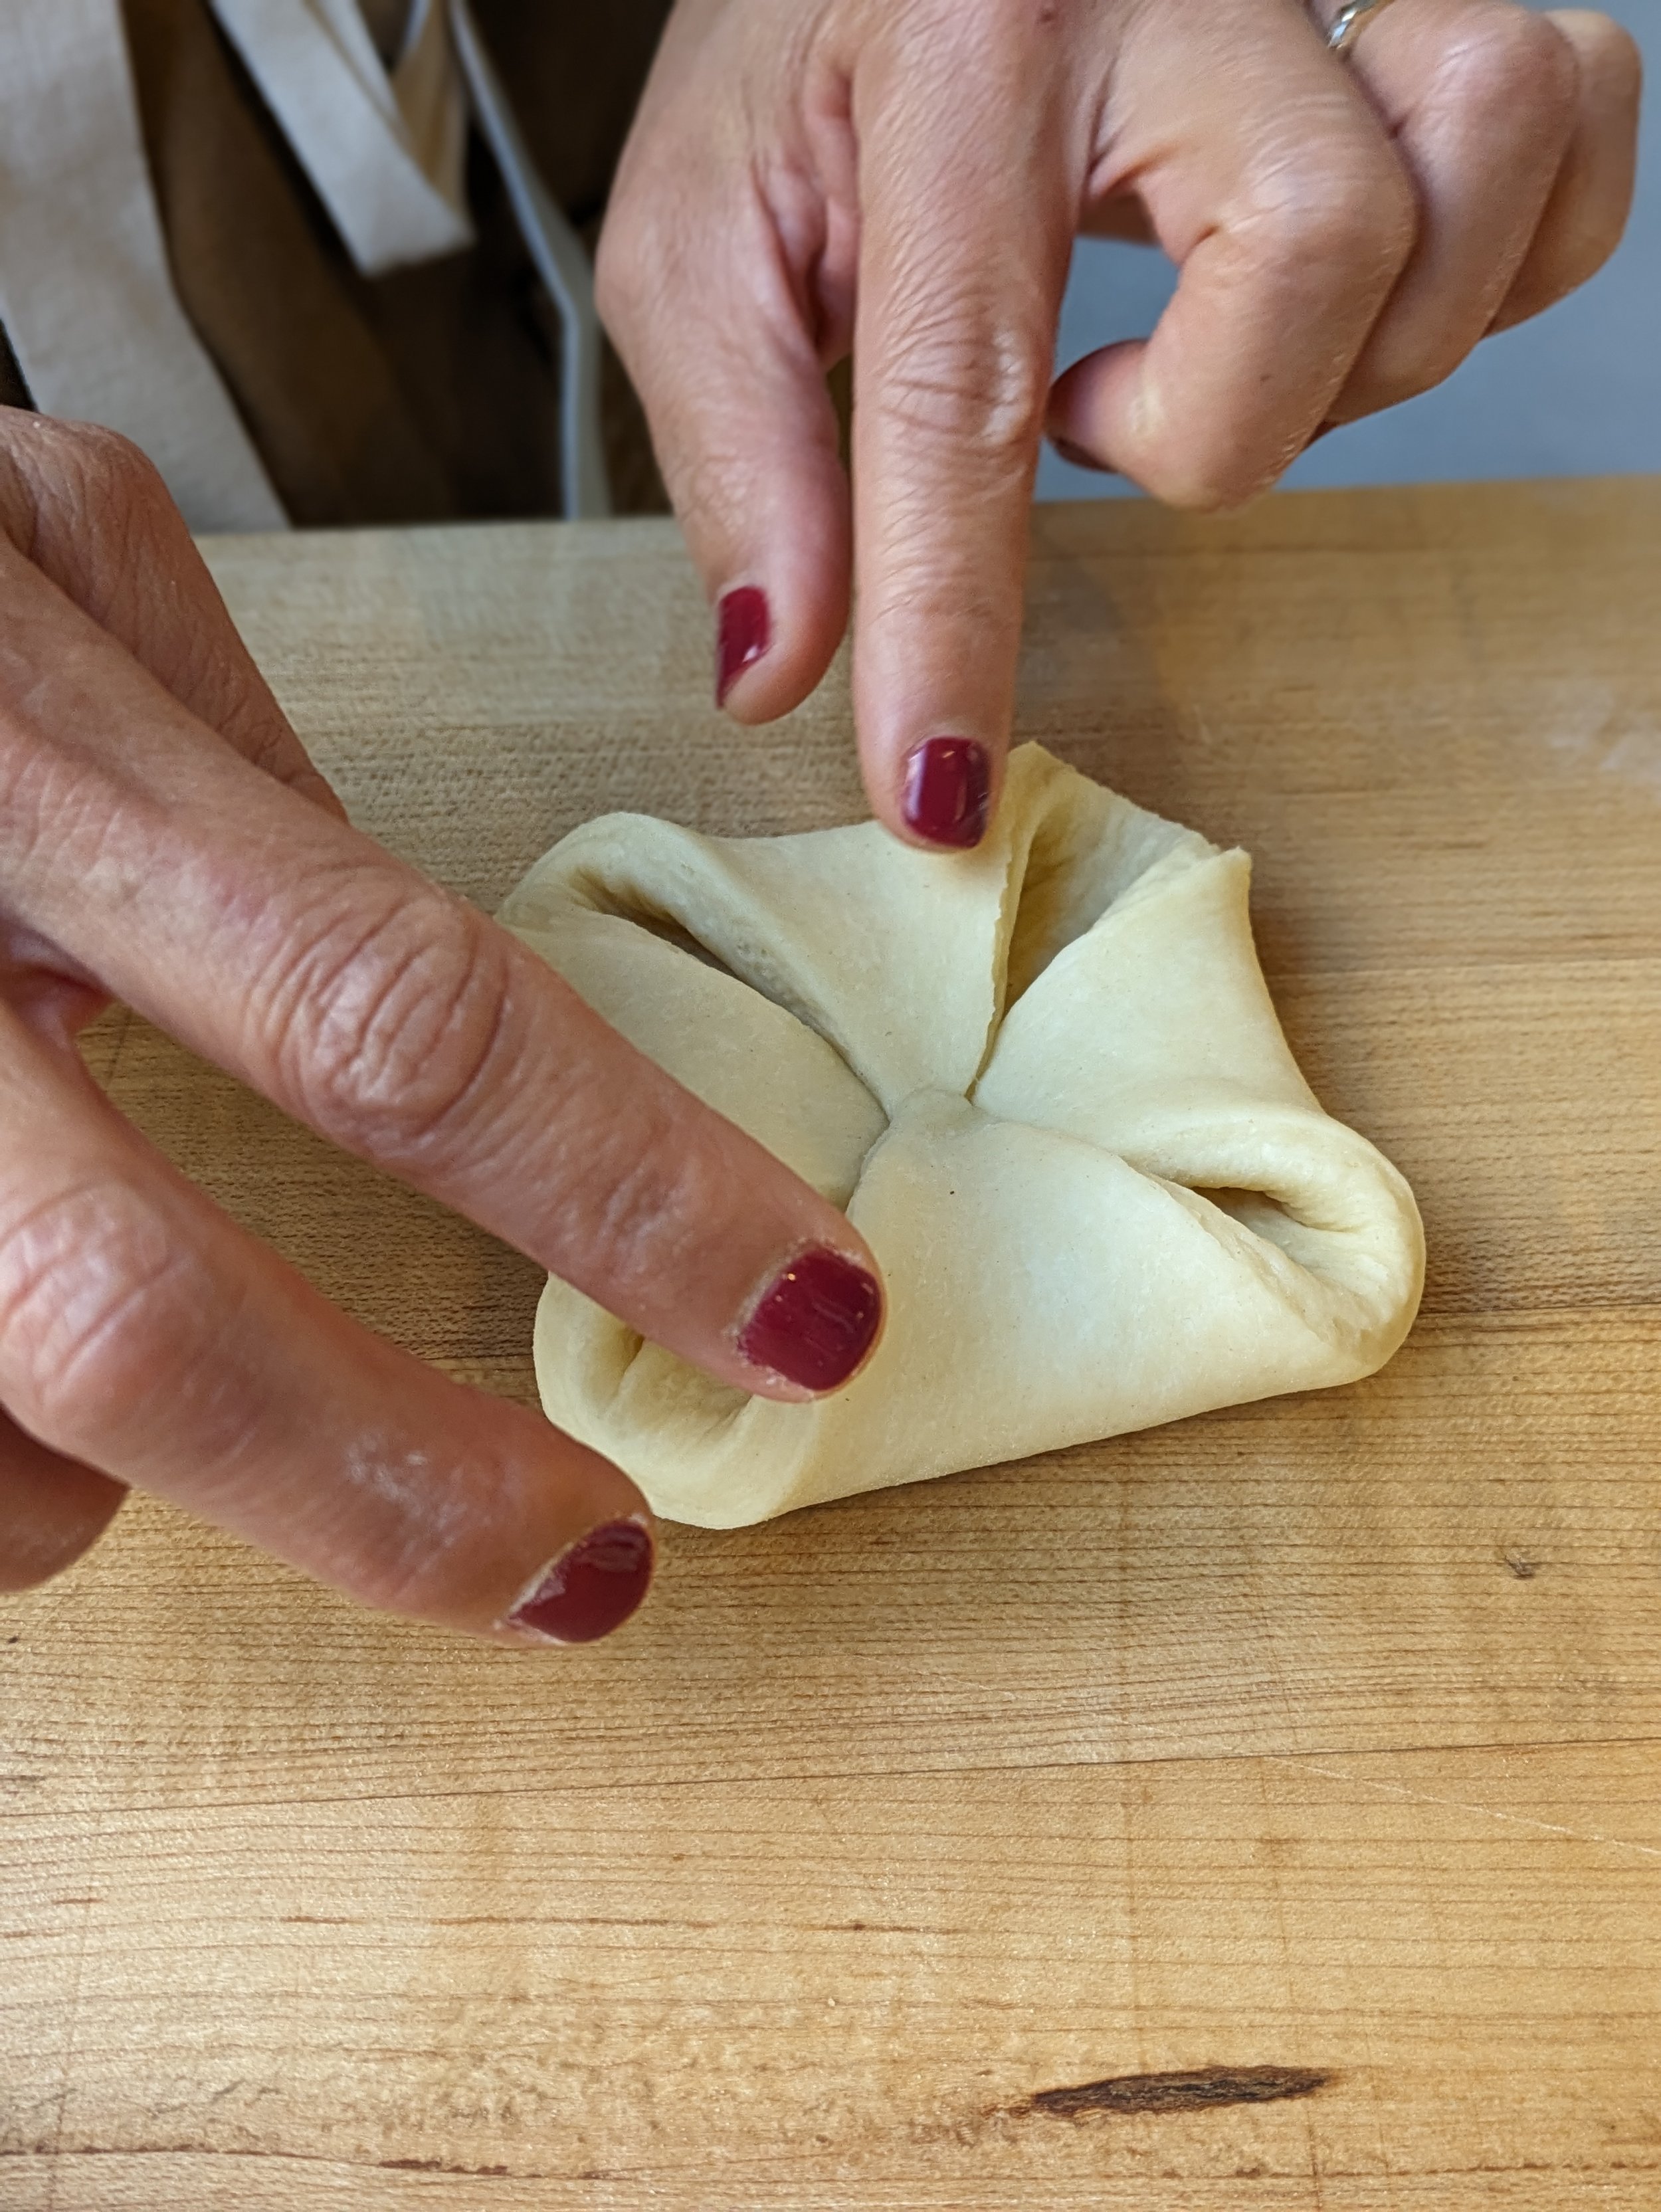
You can fill danishes with any combination of ingredients. We used cream cheese filling with raspberry jam but you could try using a pumpkin cream cheese filling, or even make it savory. If going the savory route smear the center of your danish with some mustard, then add a slice of ham, and a sprinkle of cheese, and then pinch over the top.
-
1 lb Raspberries, frozen and thawed
8 oz Sugar
2 TB Lemon juice
This simple jam recipe is delicious for filling cakes, spreading on biscuits and scones, or just having it on a piece of toast. It’s less sweet than many jams, and you can swap out the raspberries with any fruit you desire.
Combine berries, sugar, and lemon juice in a heavy-bottomed saucepan and mix to combine. Turn burner on to medium, and bring to a boil, stirring every couple of minutes to avoid scorching.
Once jam is boiling, reduce heat to low and allow to cook, reducing and thickening as it simmers until desired consistency is reached. You can test the consistency by spooning a teaspoon onto a cold plate to see how it sets.
When jam is desired thickness, give it a taste and confirm it has the sweetness and acidity you desire. If you want it sweeter or more tart, add some more sugar or lemon juice until you have the flavor you desire.
Ensure you continue cooking to the correct consistency if you make additions. Cool and store in fridge for up to 2 weeks or freezer for up to 1 year.
-
8 oz Cream cheese
3 oz Sugar
1 Egg
1/4 tsp Salt
With a hand mixer or a stand mixer with the paddle attachment, beat cream cheese until smooth and creamy. Scrape the bowl, and add the sugar. Mix again until smooth and creamy.
Scrape the bowl, add the egg and salt and mix until smooth.
-
1 Egg
2 TB Warm water
Whisk the egg and water until smooth and incorporated. Brush over your proofed pastries before baking.
While we wish we could include ALL of the tips, tricks and recipes for making croissants at home we think this particular skill is best left to the experts (though we were pretty darn proud of the croissants we made - and one of our kiddos even said it was the best he’d ever had!). If you missed this workshop and would like to learn the art of laminated dough be sure to check The Pastry Project calendar for updated class schedules! The Pastry Project Class Calendar
Each workshop attendee took home freshly baked croissants, danishes, pain au chocolat, a batch of dough for making croissants at home, and a copy of all recipes and pastry techniques covered in the workshop.
“I want you to worry less about perfection and more about doing your best. They’re going to be beautiful!”
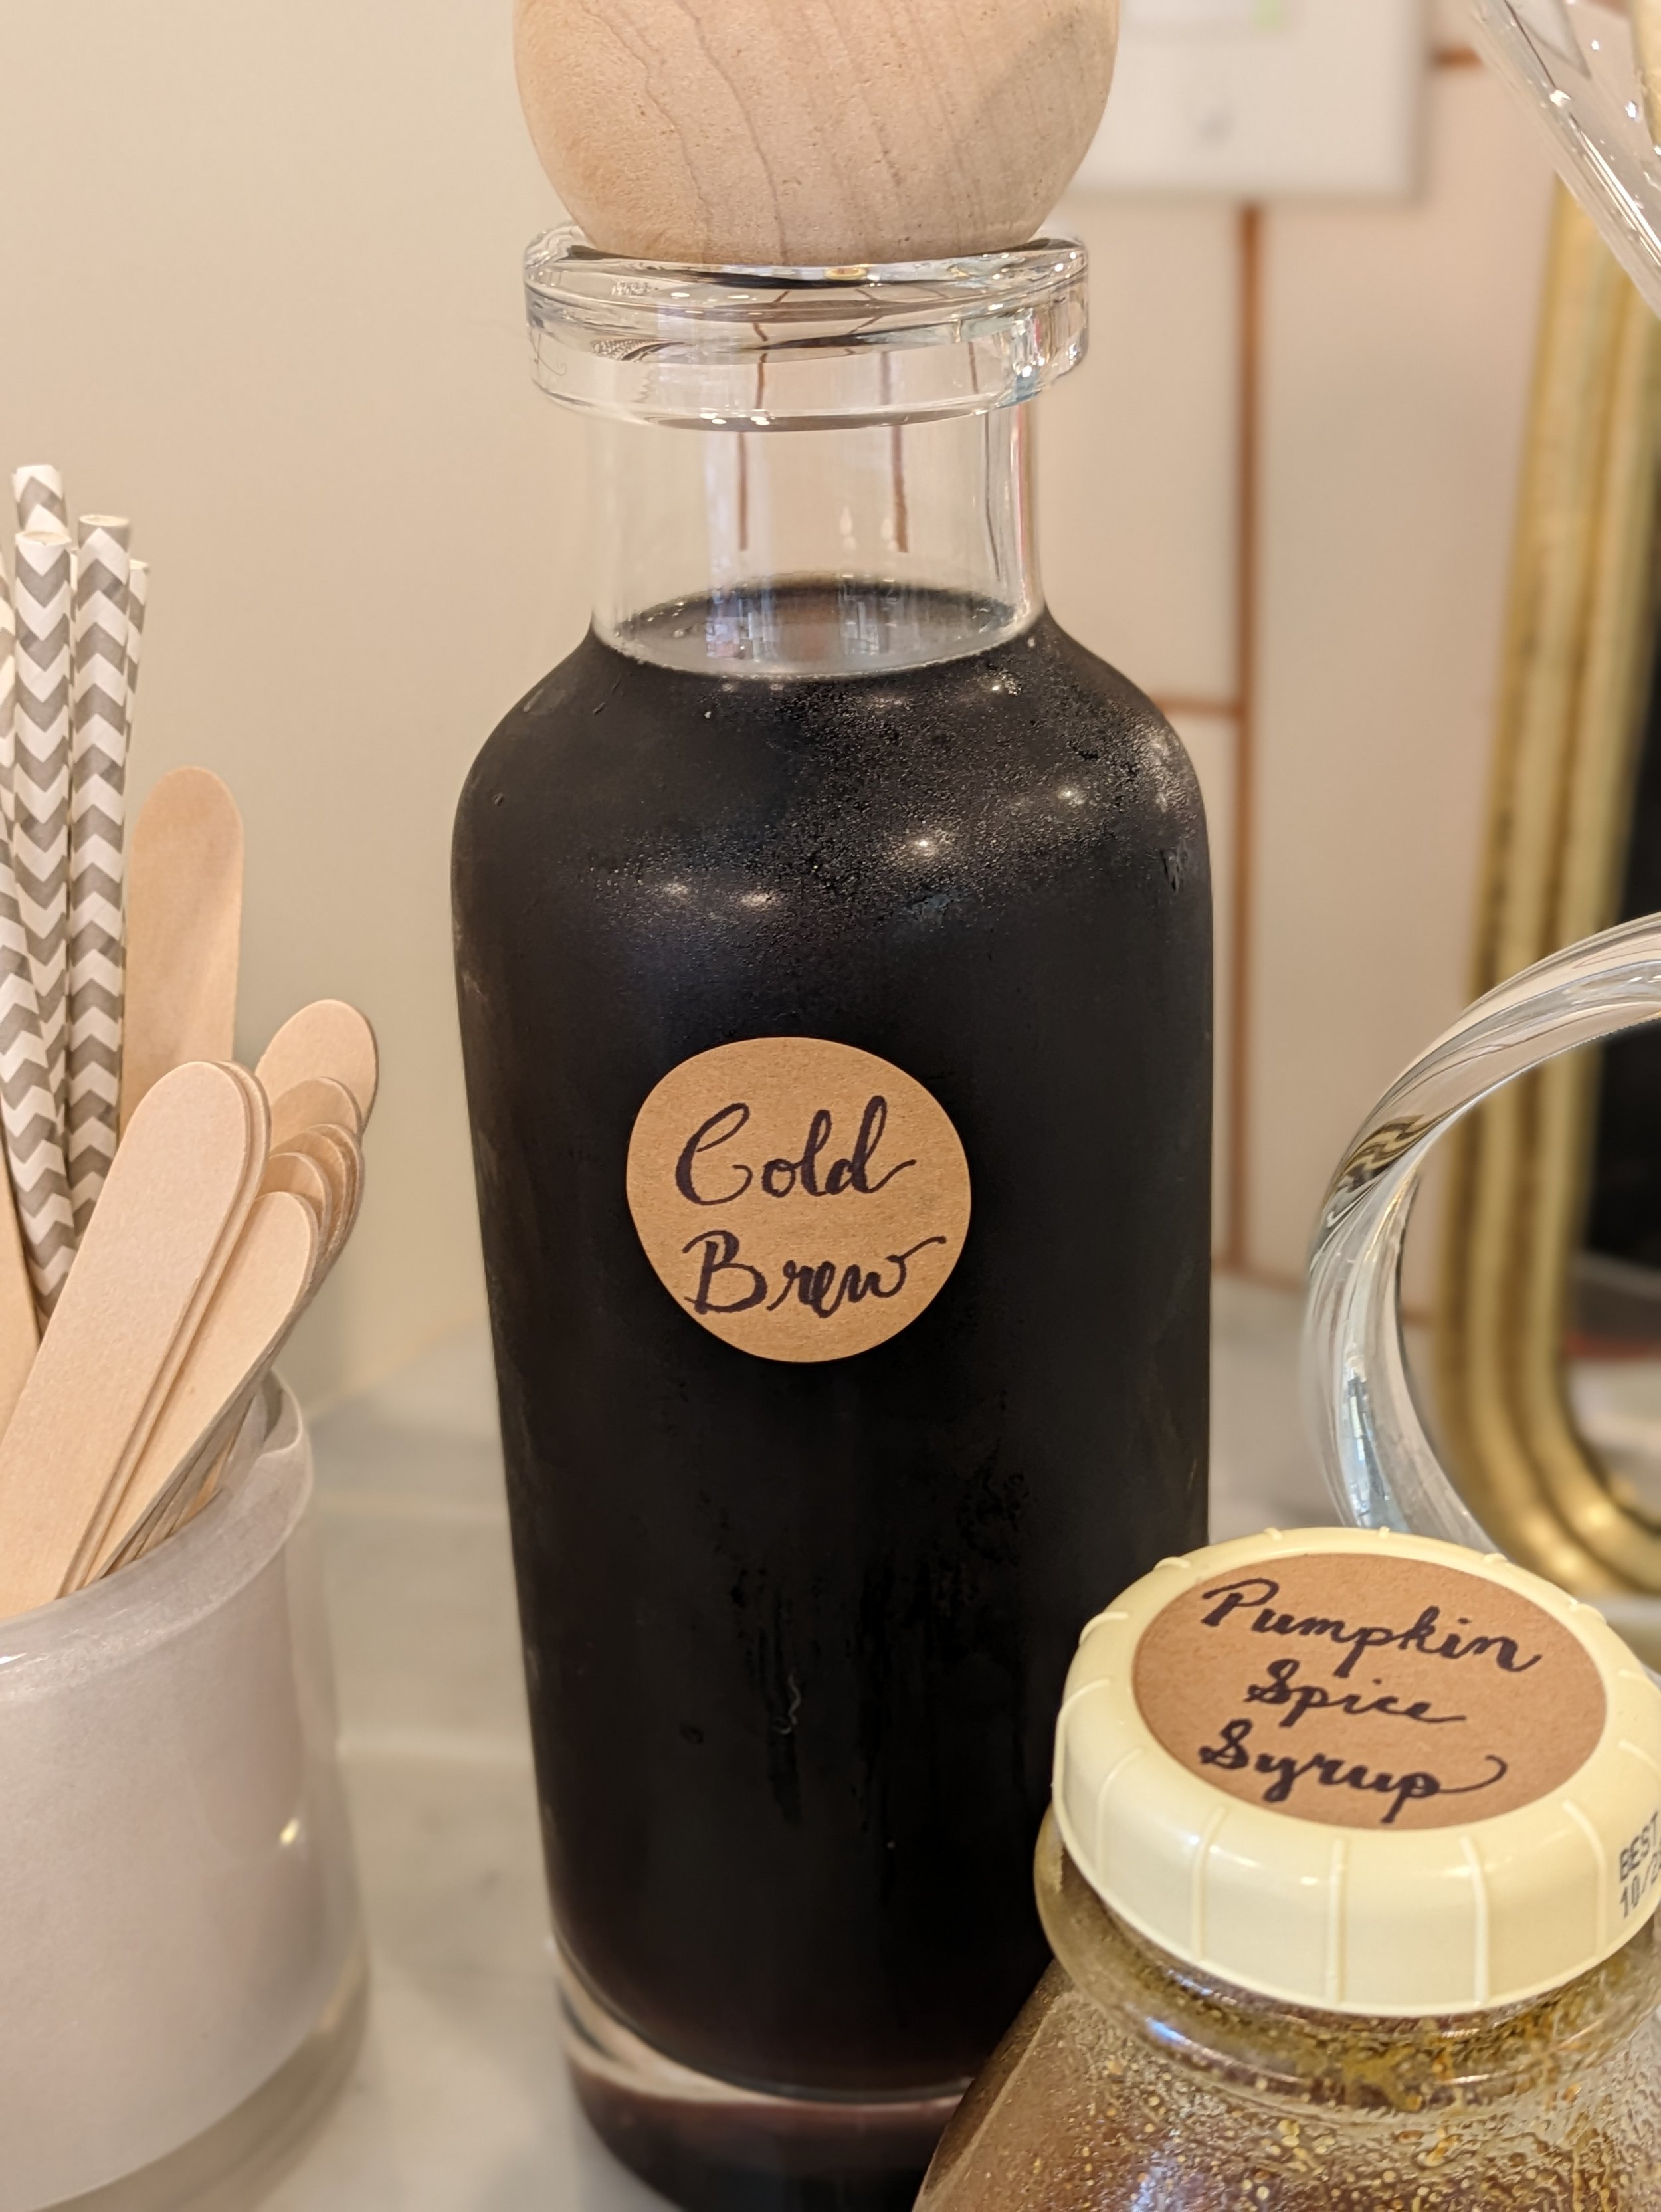


Pumpkin Spice Syrup
Ingredients: 1 cup granulated sugar, 1 cup water, 1 cinnamon stick, 6 tablespoons canned pumpkin, 1 tsp. ground ginger, 1/2 tsp. ground cloves, 1/2 tsp. ground cinnamon
Combine sugar and water in a small saucepan on medium high heat and stir constantly until sugar is dissolved. Reduce stirring frequency to occasional until mixture comes to a boil, then remove from heat. Stir in cinnamon stick, pumpkin, ginger, cloves, and cinnamon. Once combined, cool completely before removing the cinnamon stick. Pour into a mason jar and refrigerate.
Syrup will keep for 1-2 weeks. Serving size is about one tablespoon per cup of coffee. Recipe makes approximately 32 tablespoons.
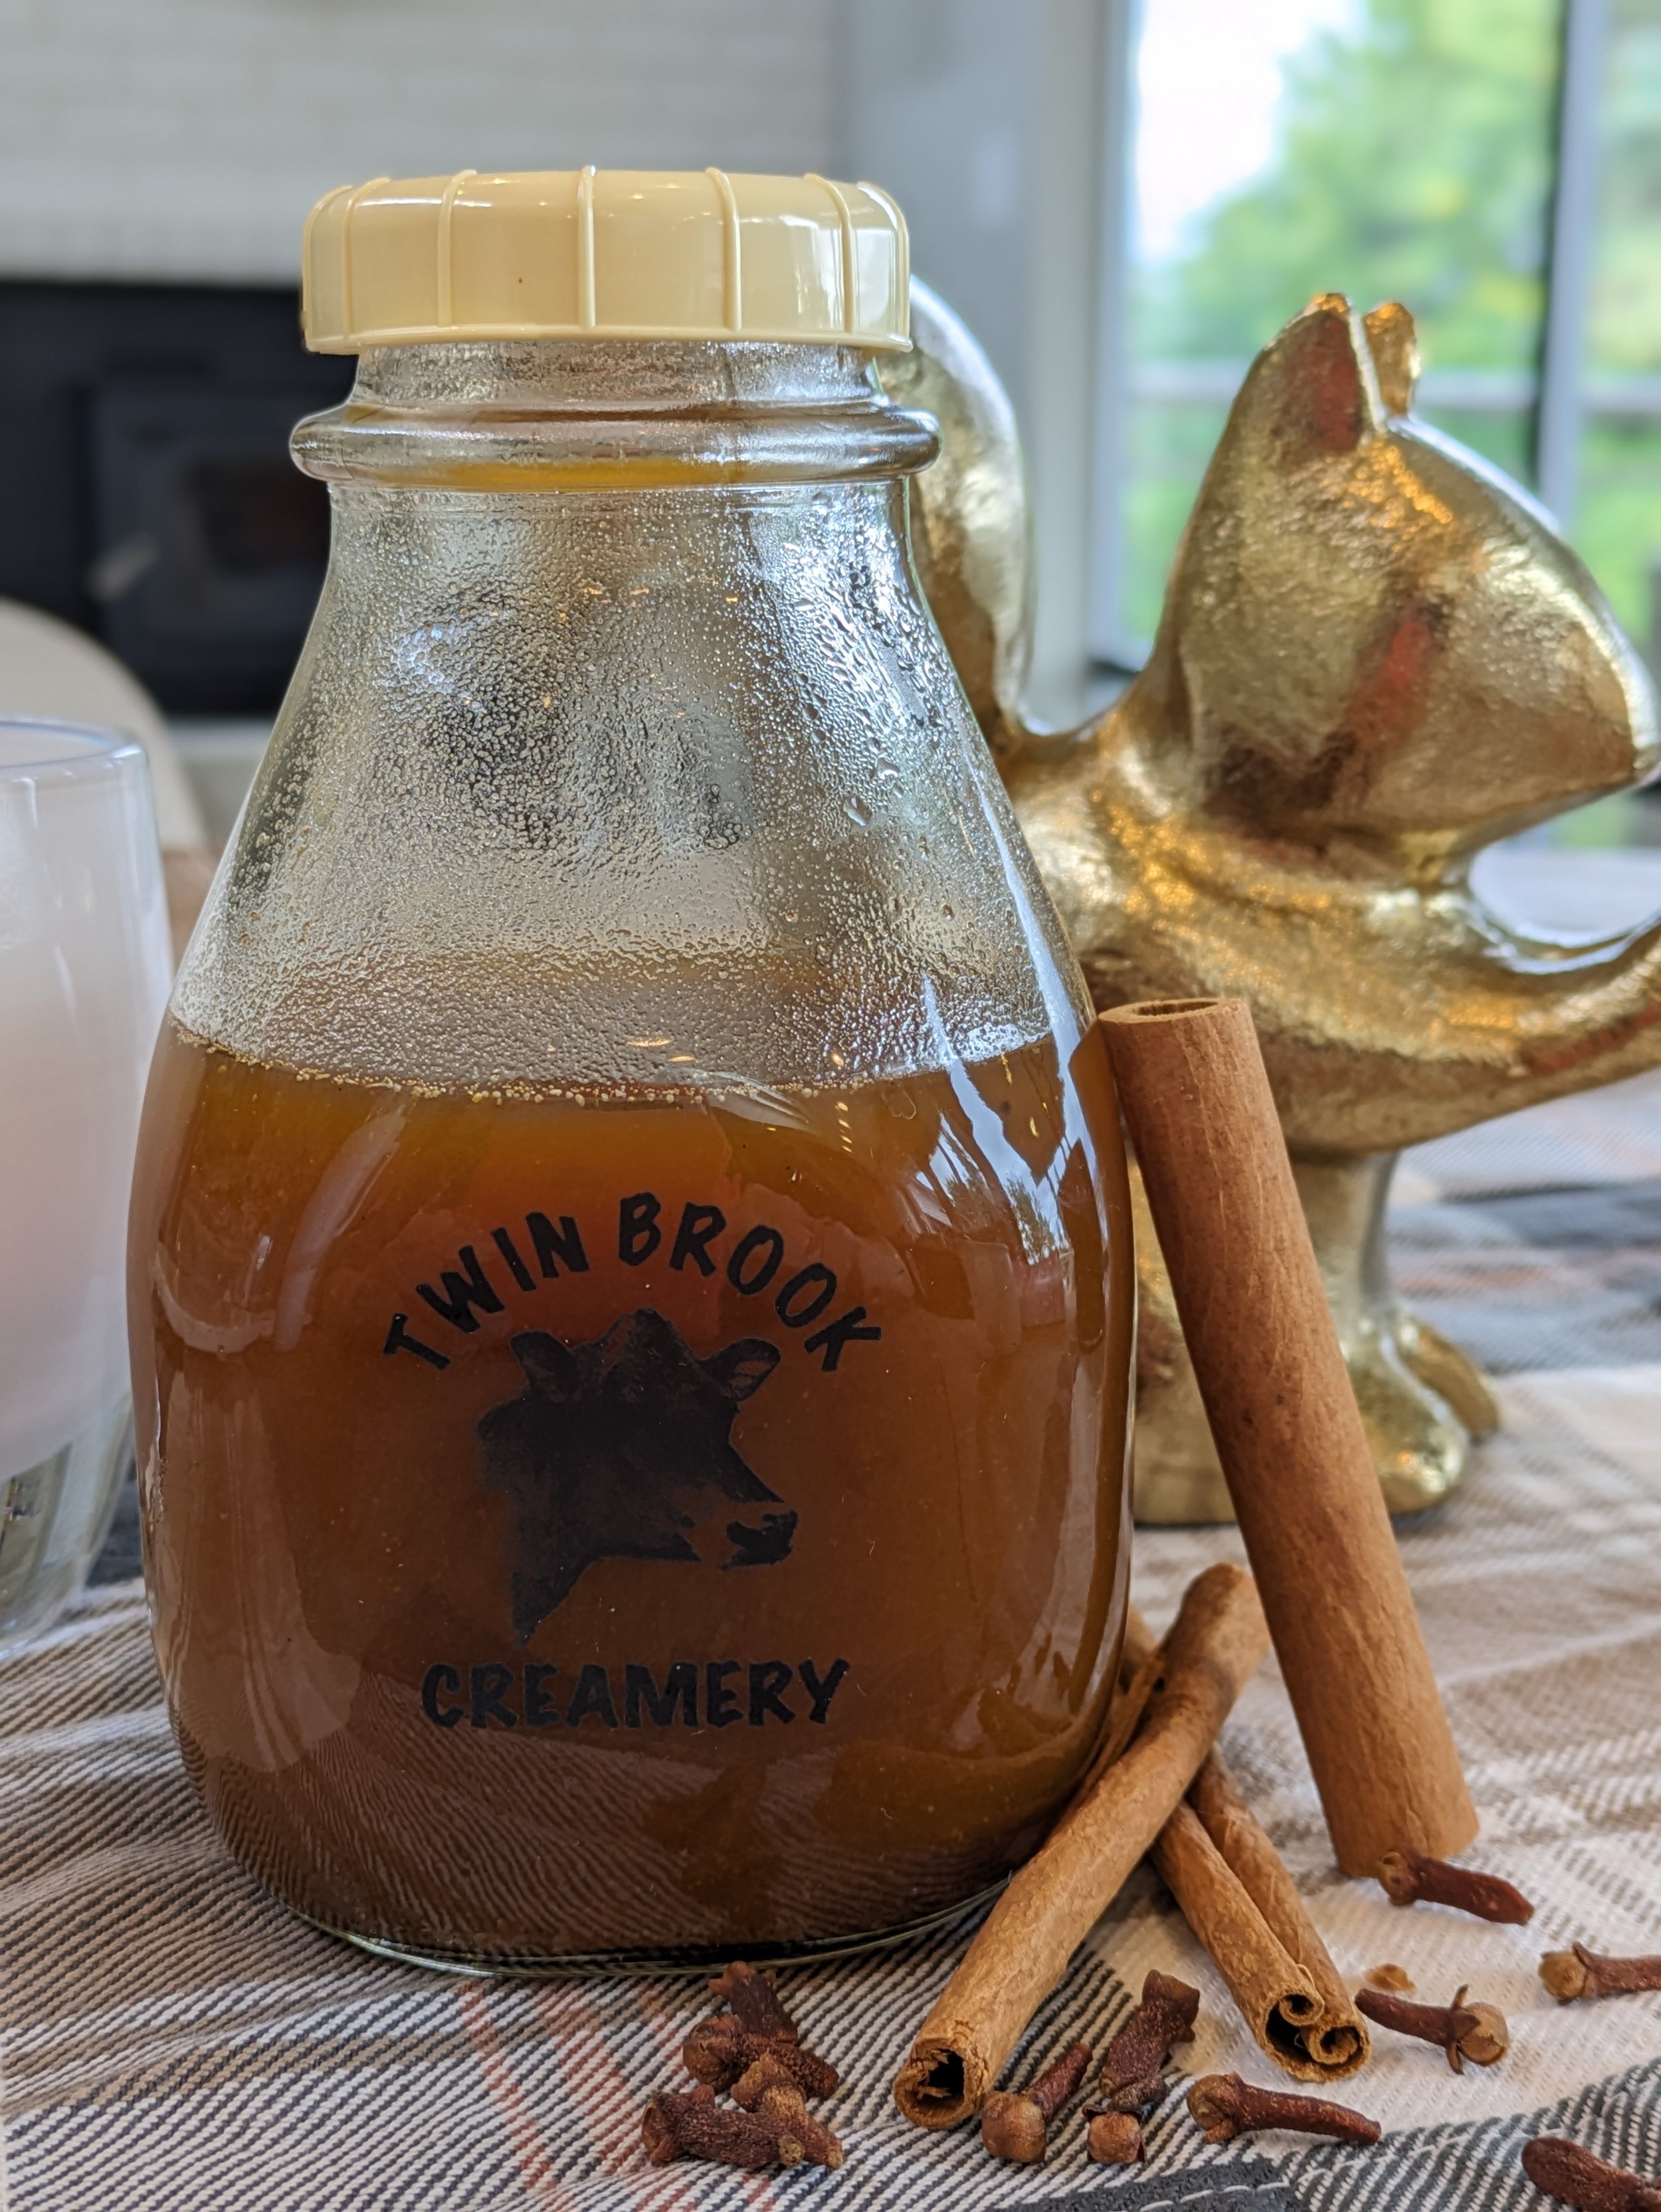
Make homemade pumpkin spice syrup for your next brunch or book club gathering and impress your guests! It only takes a few ingredients and makes for an extra special treat.
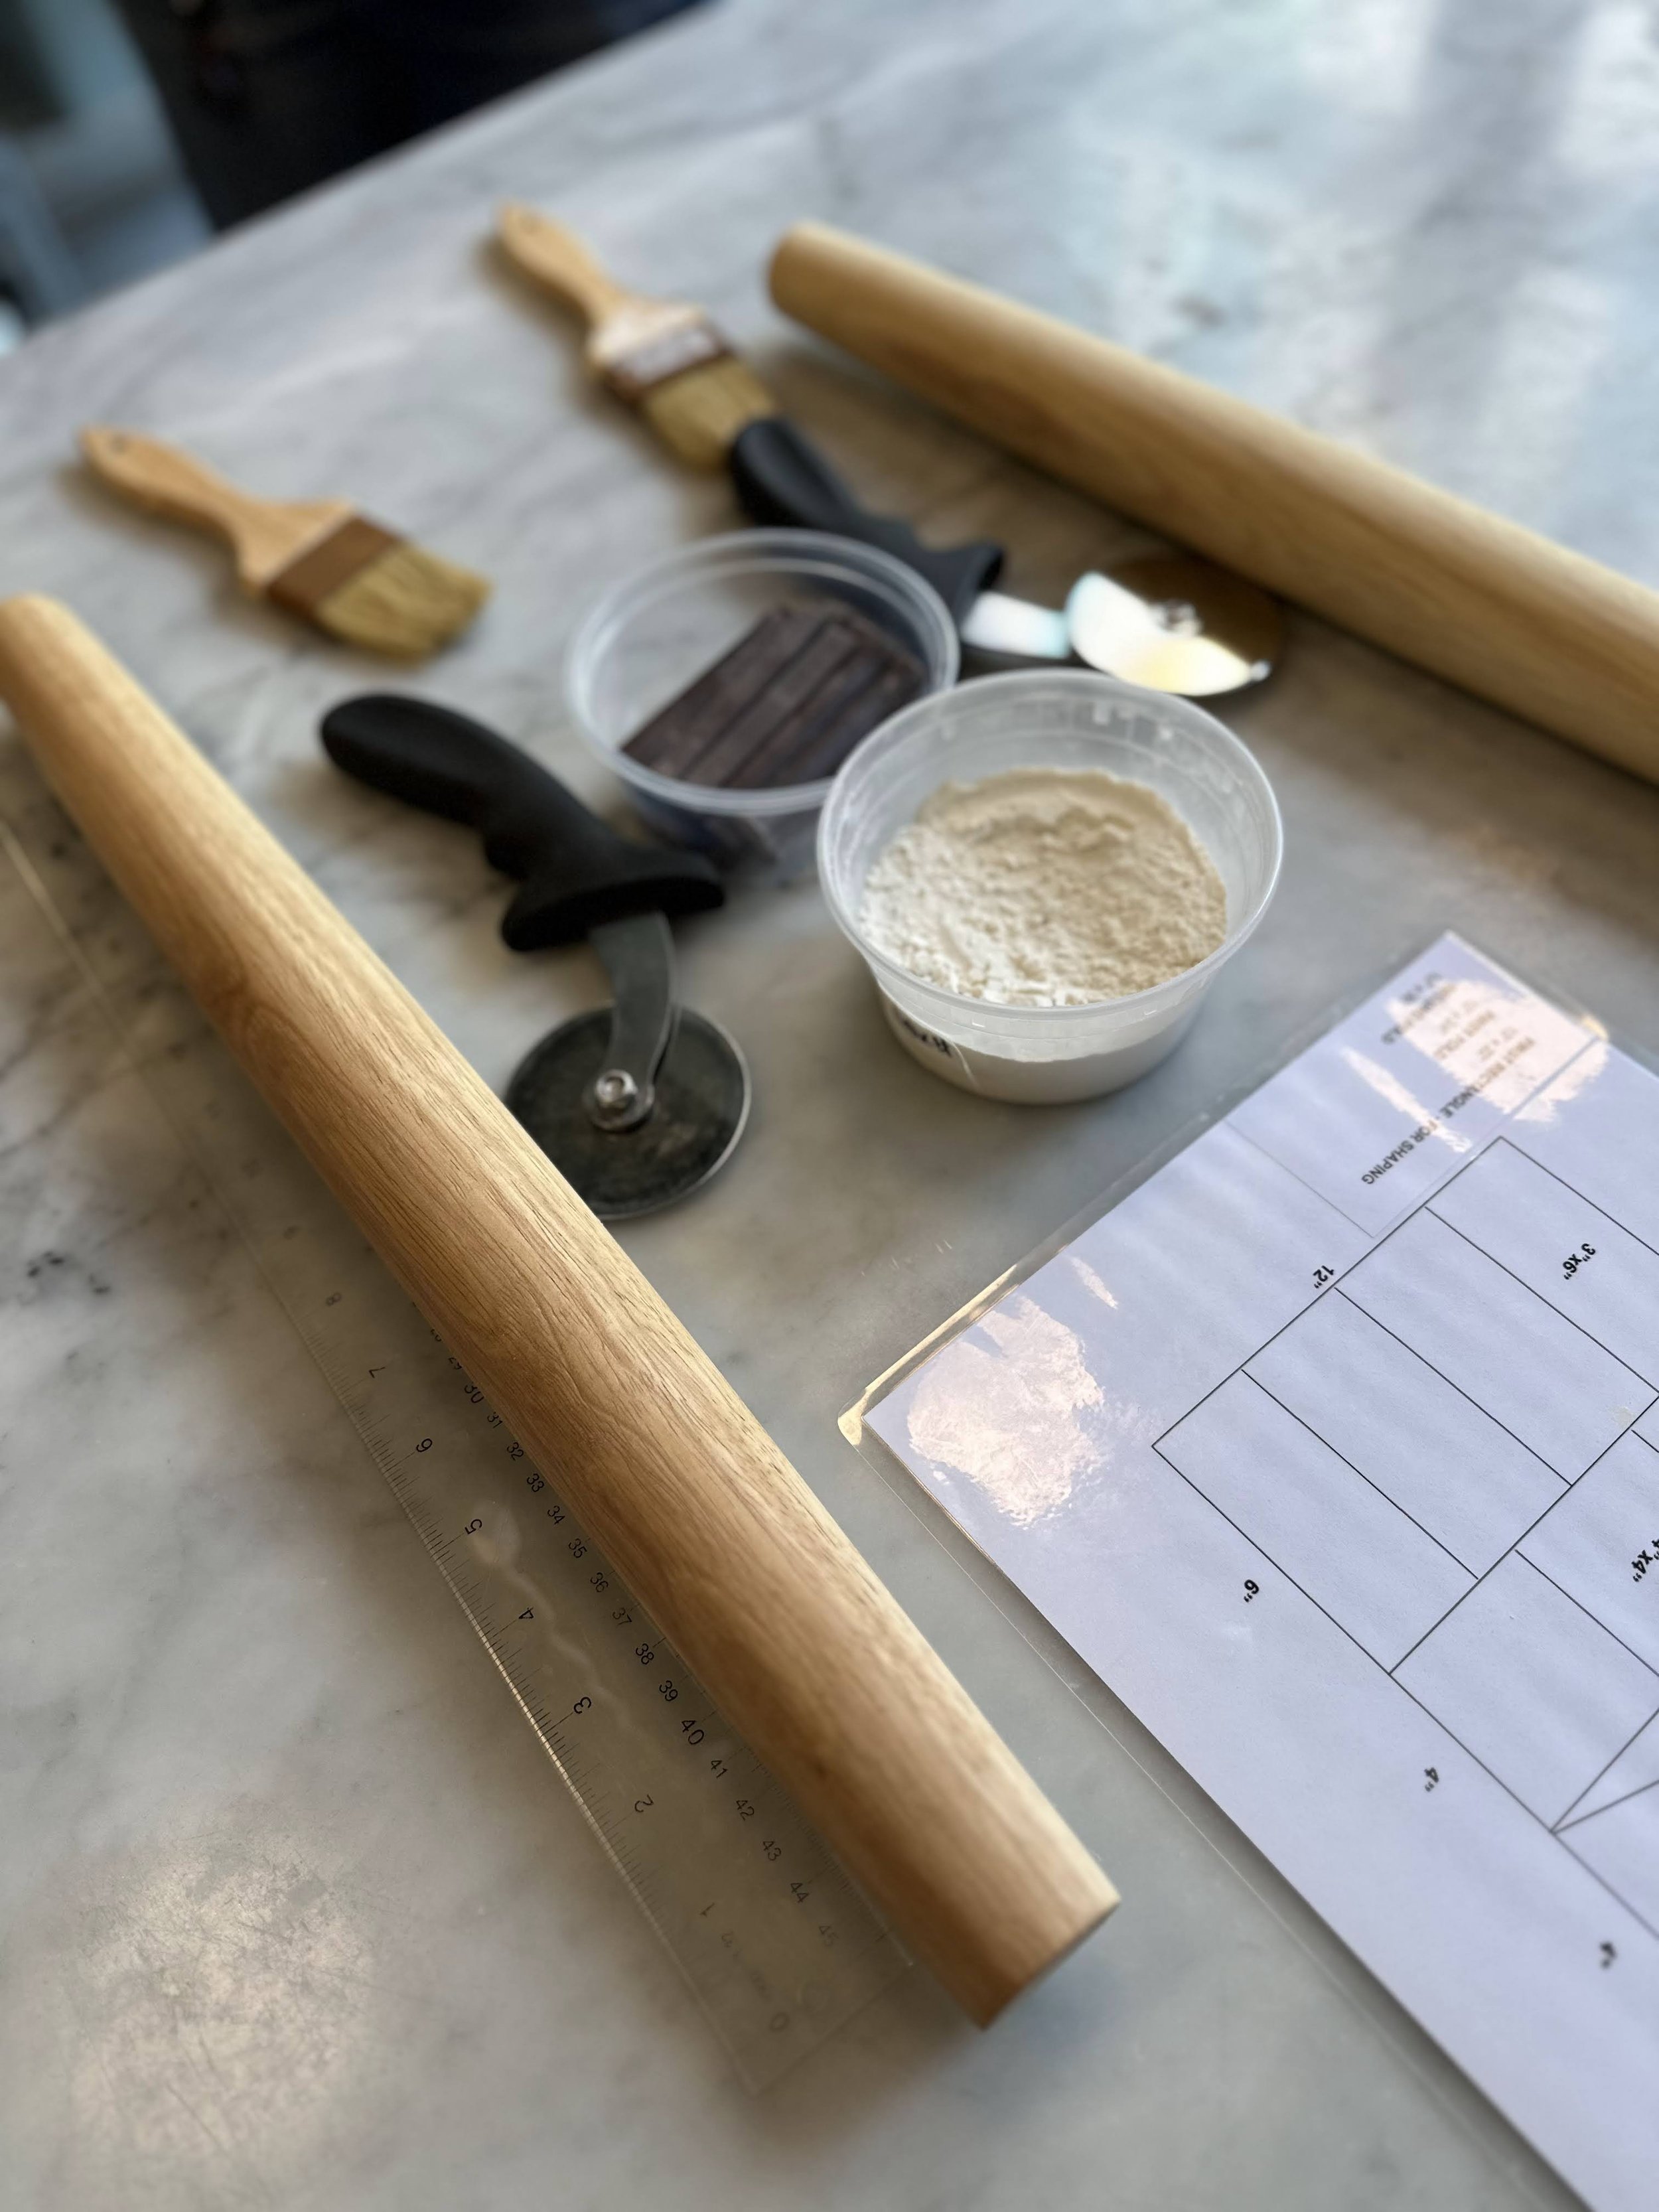
Our top picks for making pastries at home
Now that you’ve mastered the art of laminated dough in our workshop (maybe you’re ready to try it all on your own at home), these tools will help you mix, measure, cut and roll your dough like a pro. Bon appetit!

French Rolling Pin: This 18” solid wood rolling pin is heavy duty and is perfect for your next batch of croissants, cookies, pizza dough and more. Bonus it’s timeless and pretty enough to keep out on display in your kitchen. Rolling Pin
Kitchen Scale: Don’t own a kitchen scale that measures in grams? This one is cheap and reliable and will help you get your ingredients measured perfectly for your next batch of croissants. Digital Kitchen Scale

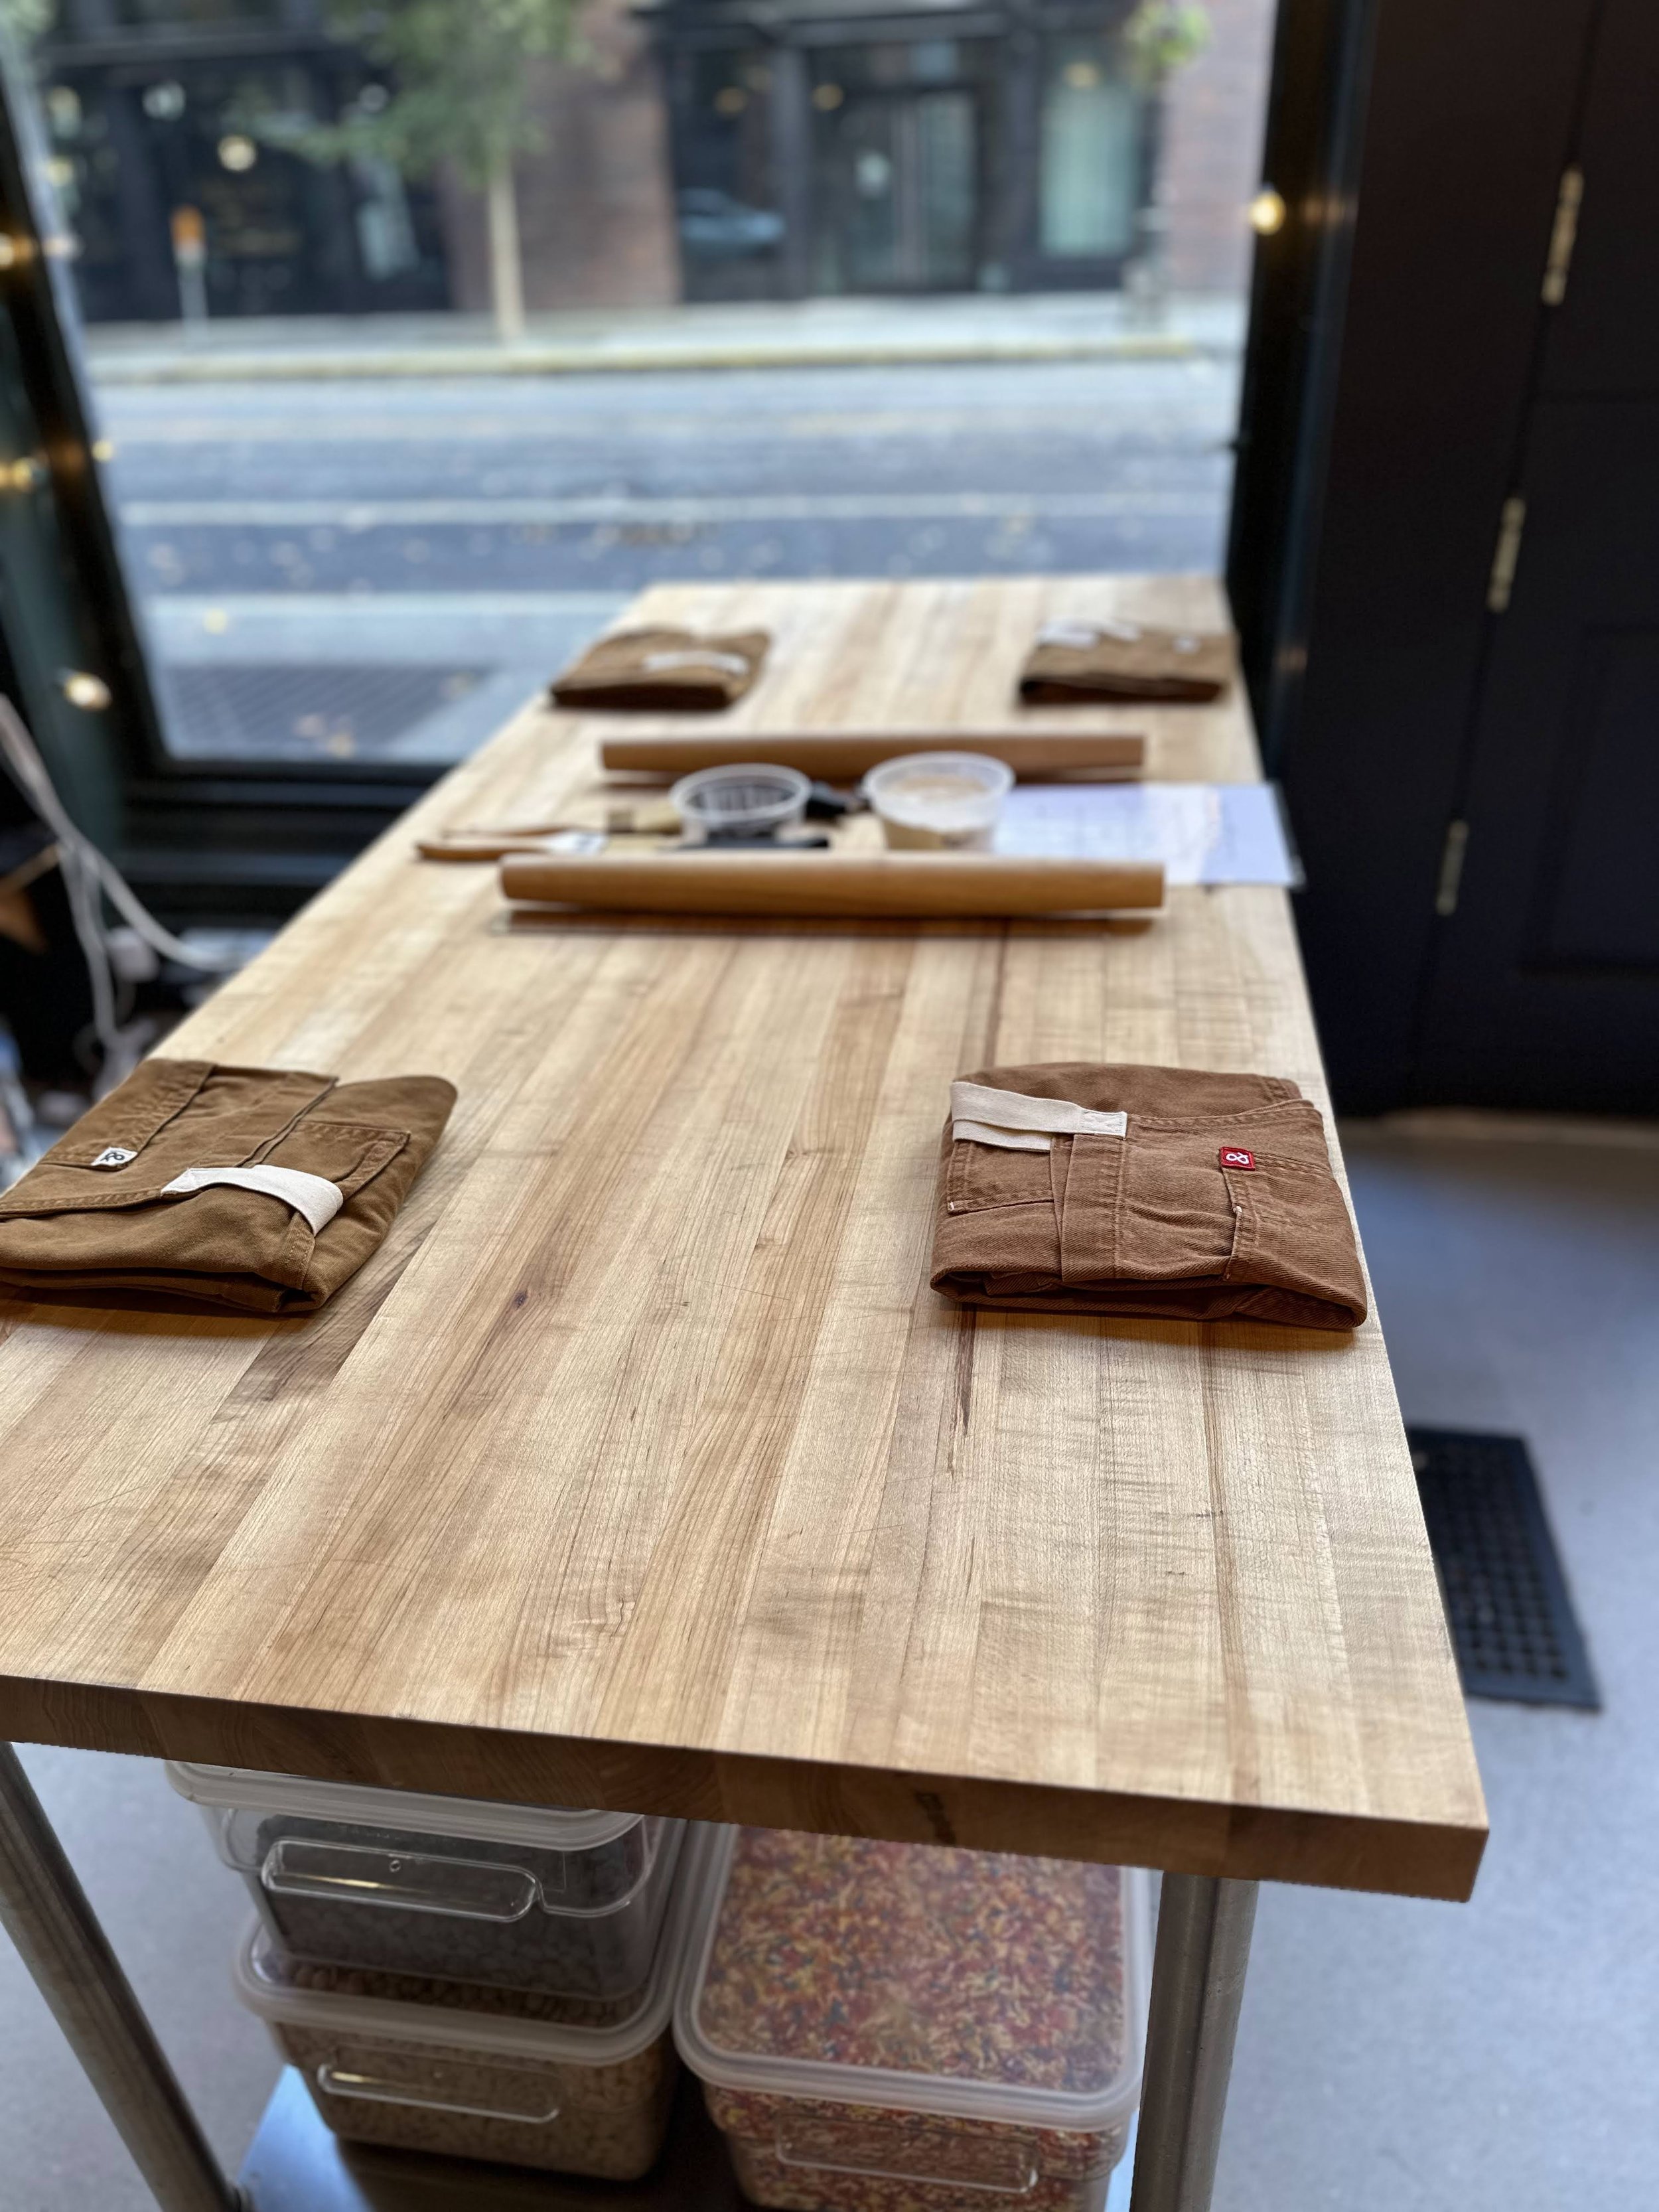
Hedley and Bennett Essential Apron: We LOVE these heavy duty and durable chef’s aprons. They’ve got convenient pockets, are adjustable for men or women and make awesome gifts (Mandy gifted her father-in-law one for Christmas last year and he raves about it). Hedley and Bennett Apron
18" Acrylic Ruler: This ruler is transparent so you can see your dough while working. Use this to get perfect measurements and folds in your laminated dough. Acrylic Ruler

Pizza Wheel and Cutter: This rolling pizza wheel makes cutting your dough a breeze. Use it for slicing pizza, brownies and more when you’re taking a break from croissants. It’s even dishwasher safe! Pizza Cutter
Flexible Dough Scraper: How have we just discovered this product? We used these for scraping out the bowls of our stand mixer and wowza did it make cleanup easy! SO much better than a standard spatula. Dough Scraper
Until we gather again!
**As Amazon Associates we earn from qualifying purchases.