Watercolor for Beginners: Fall colors in the pumpkin patch

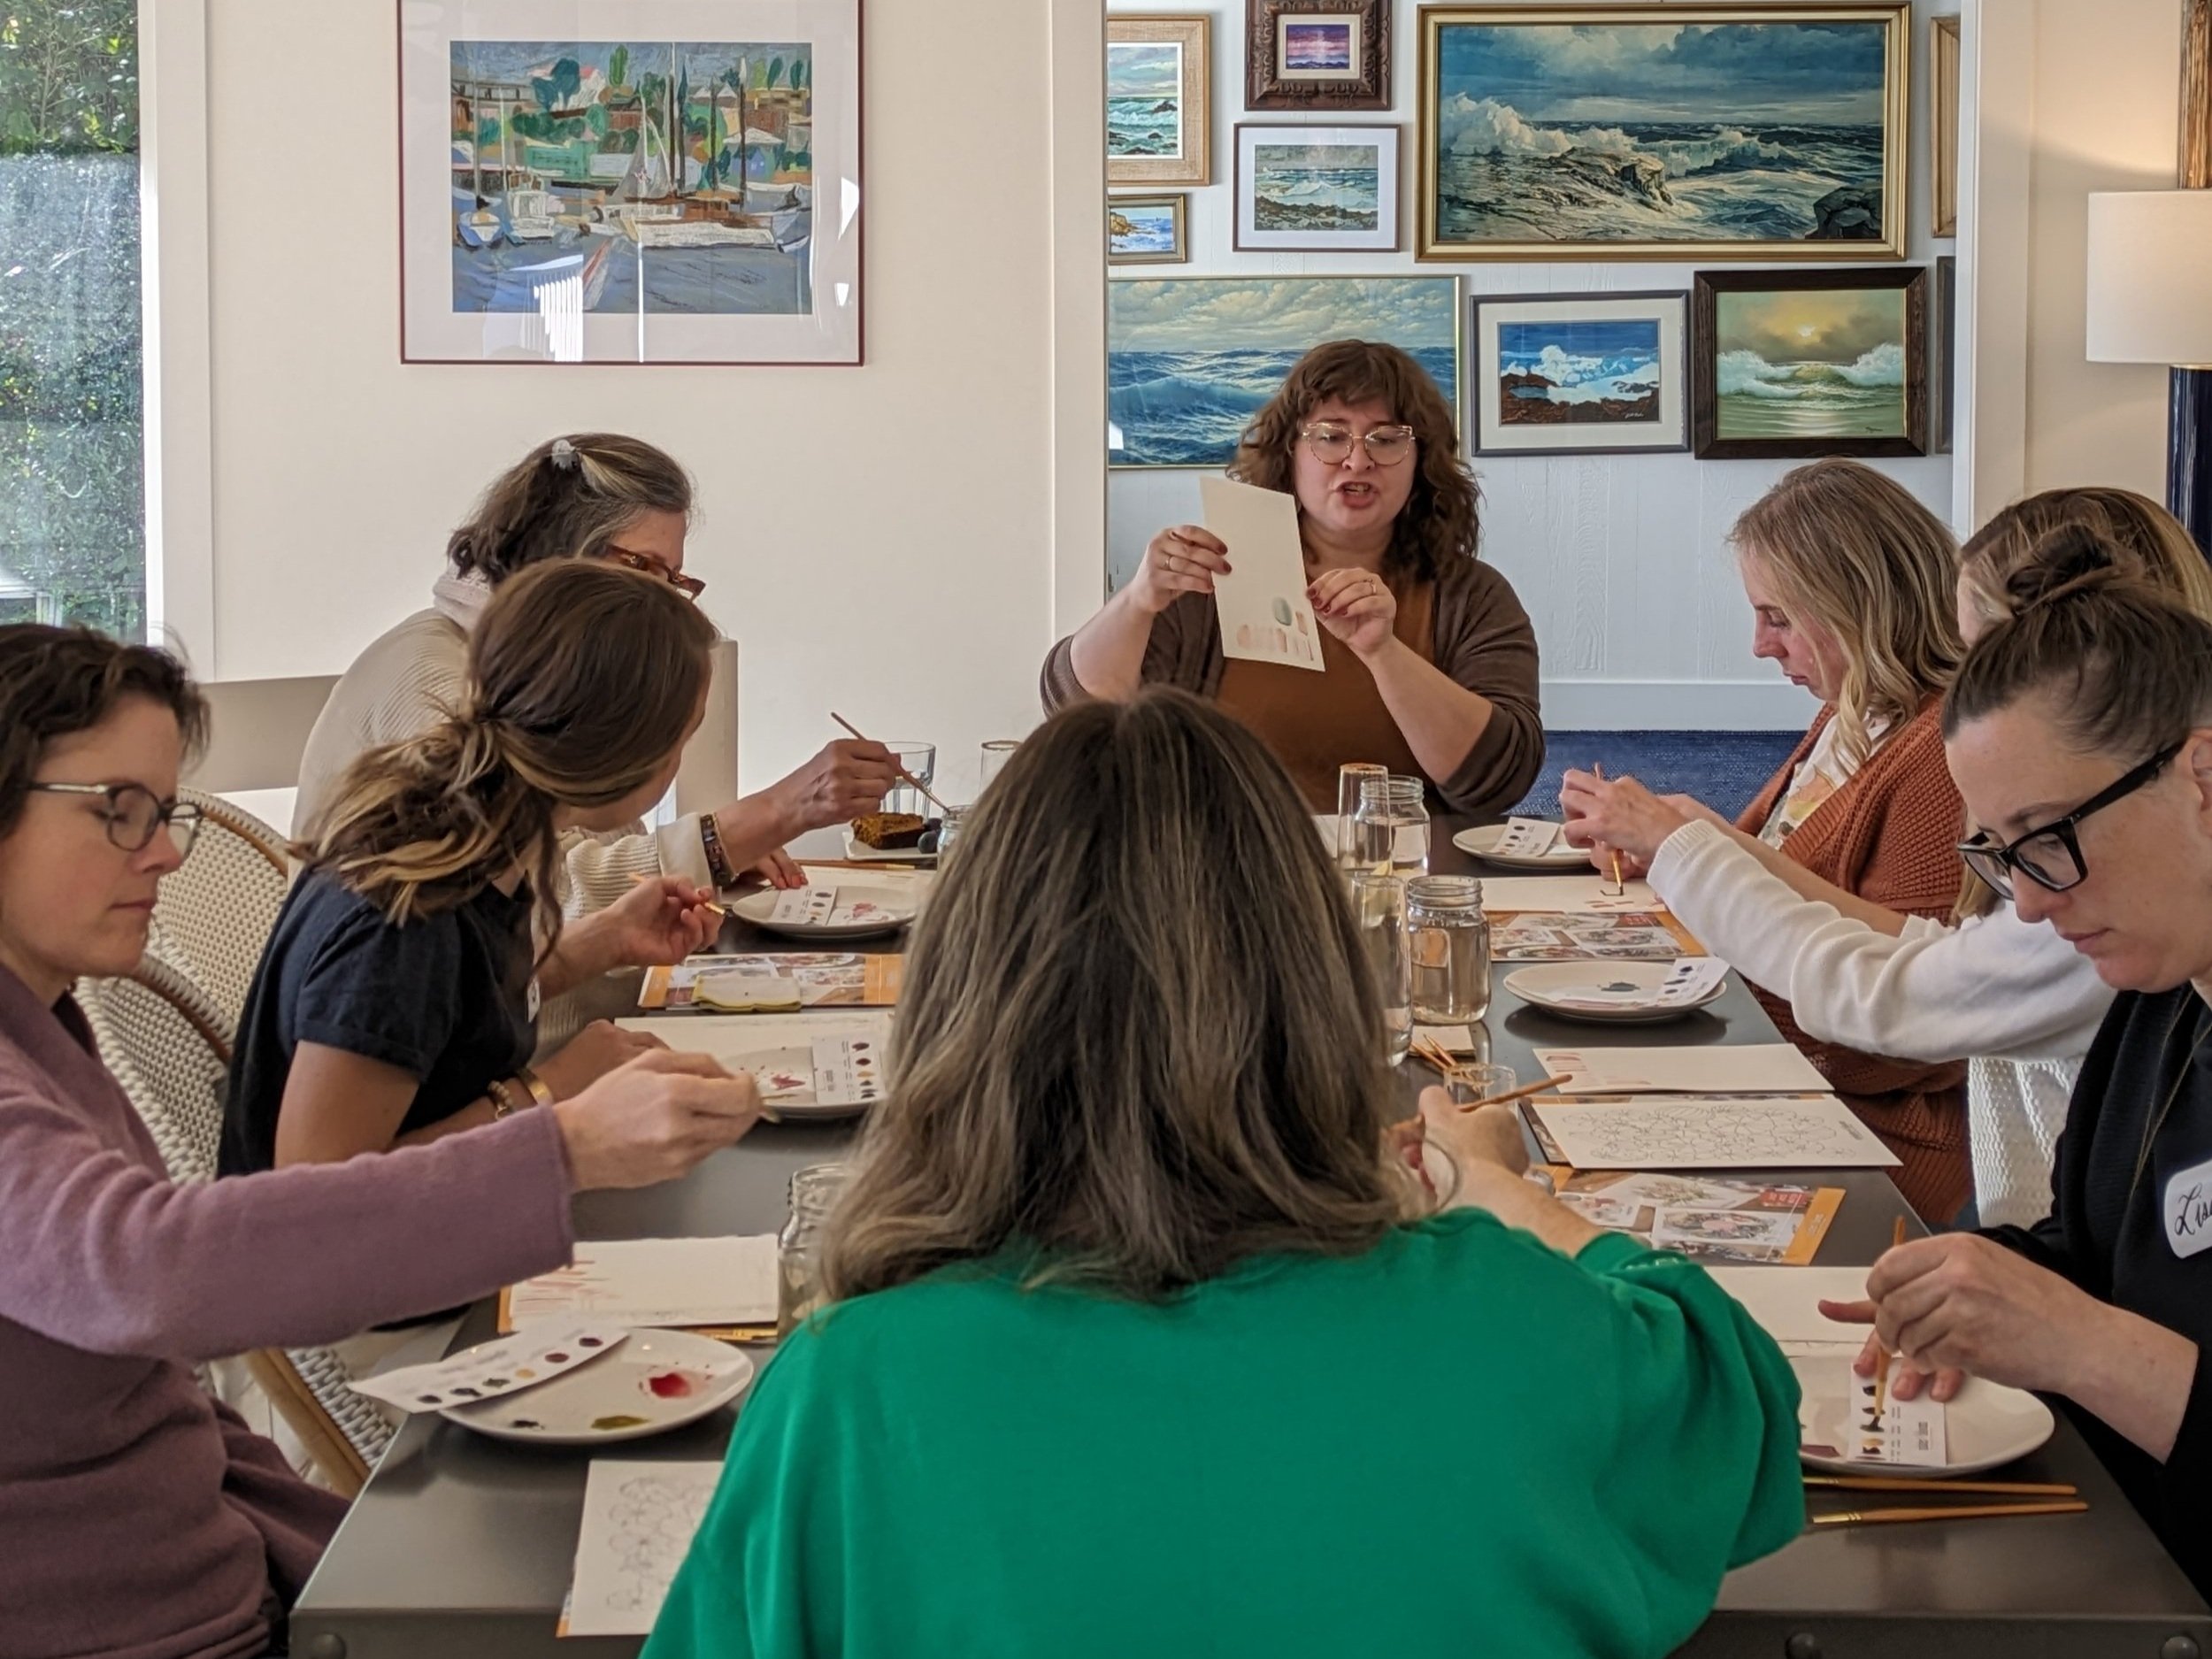
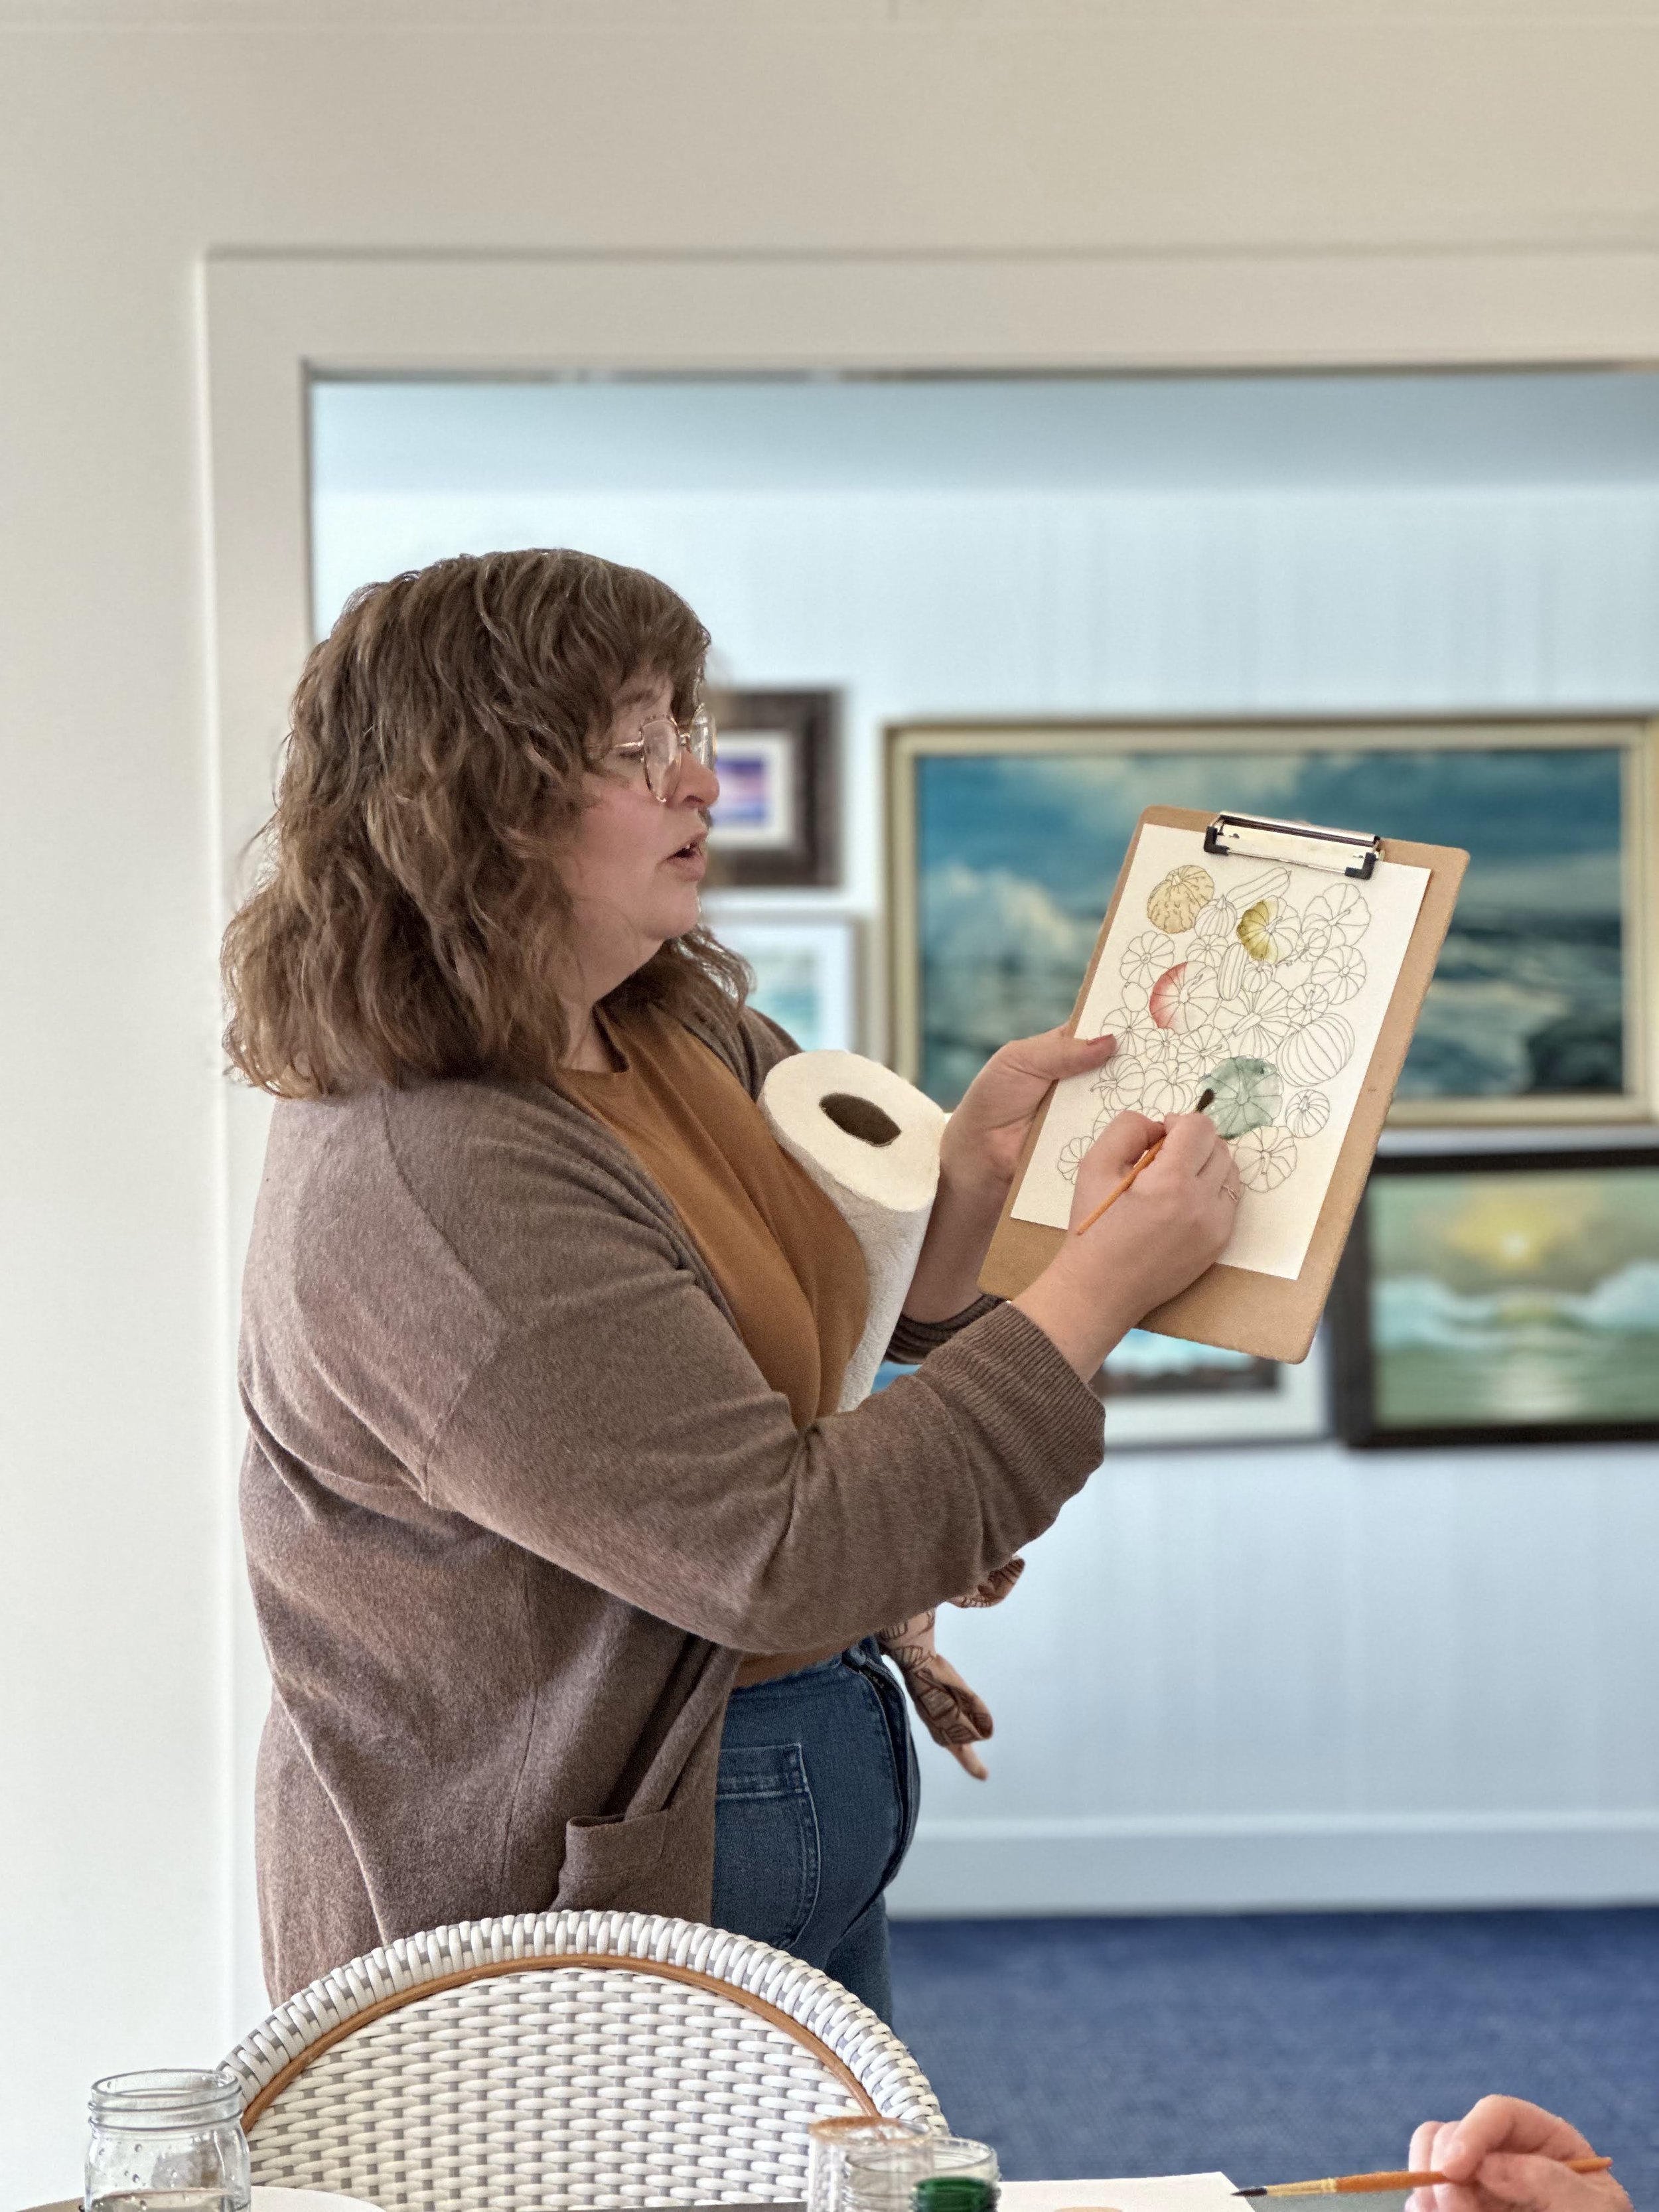
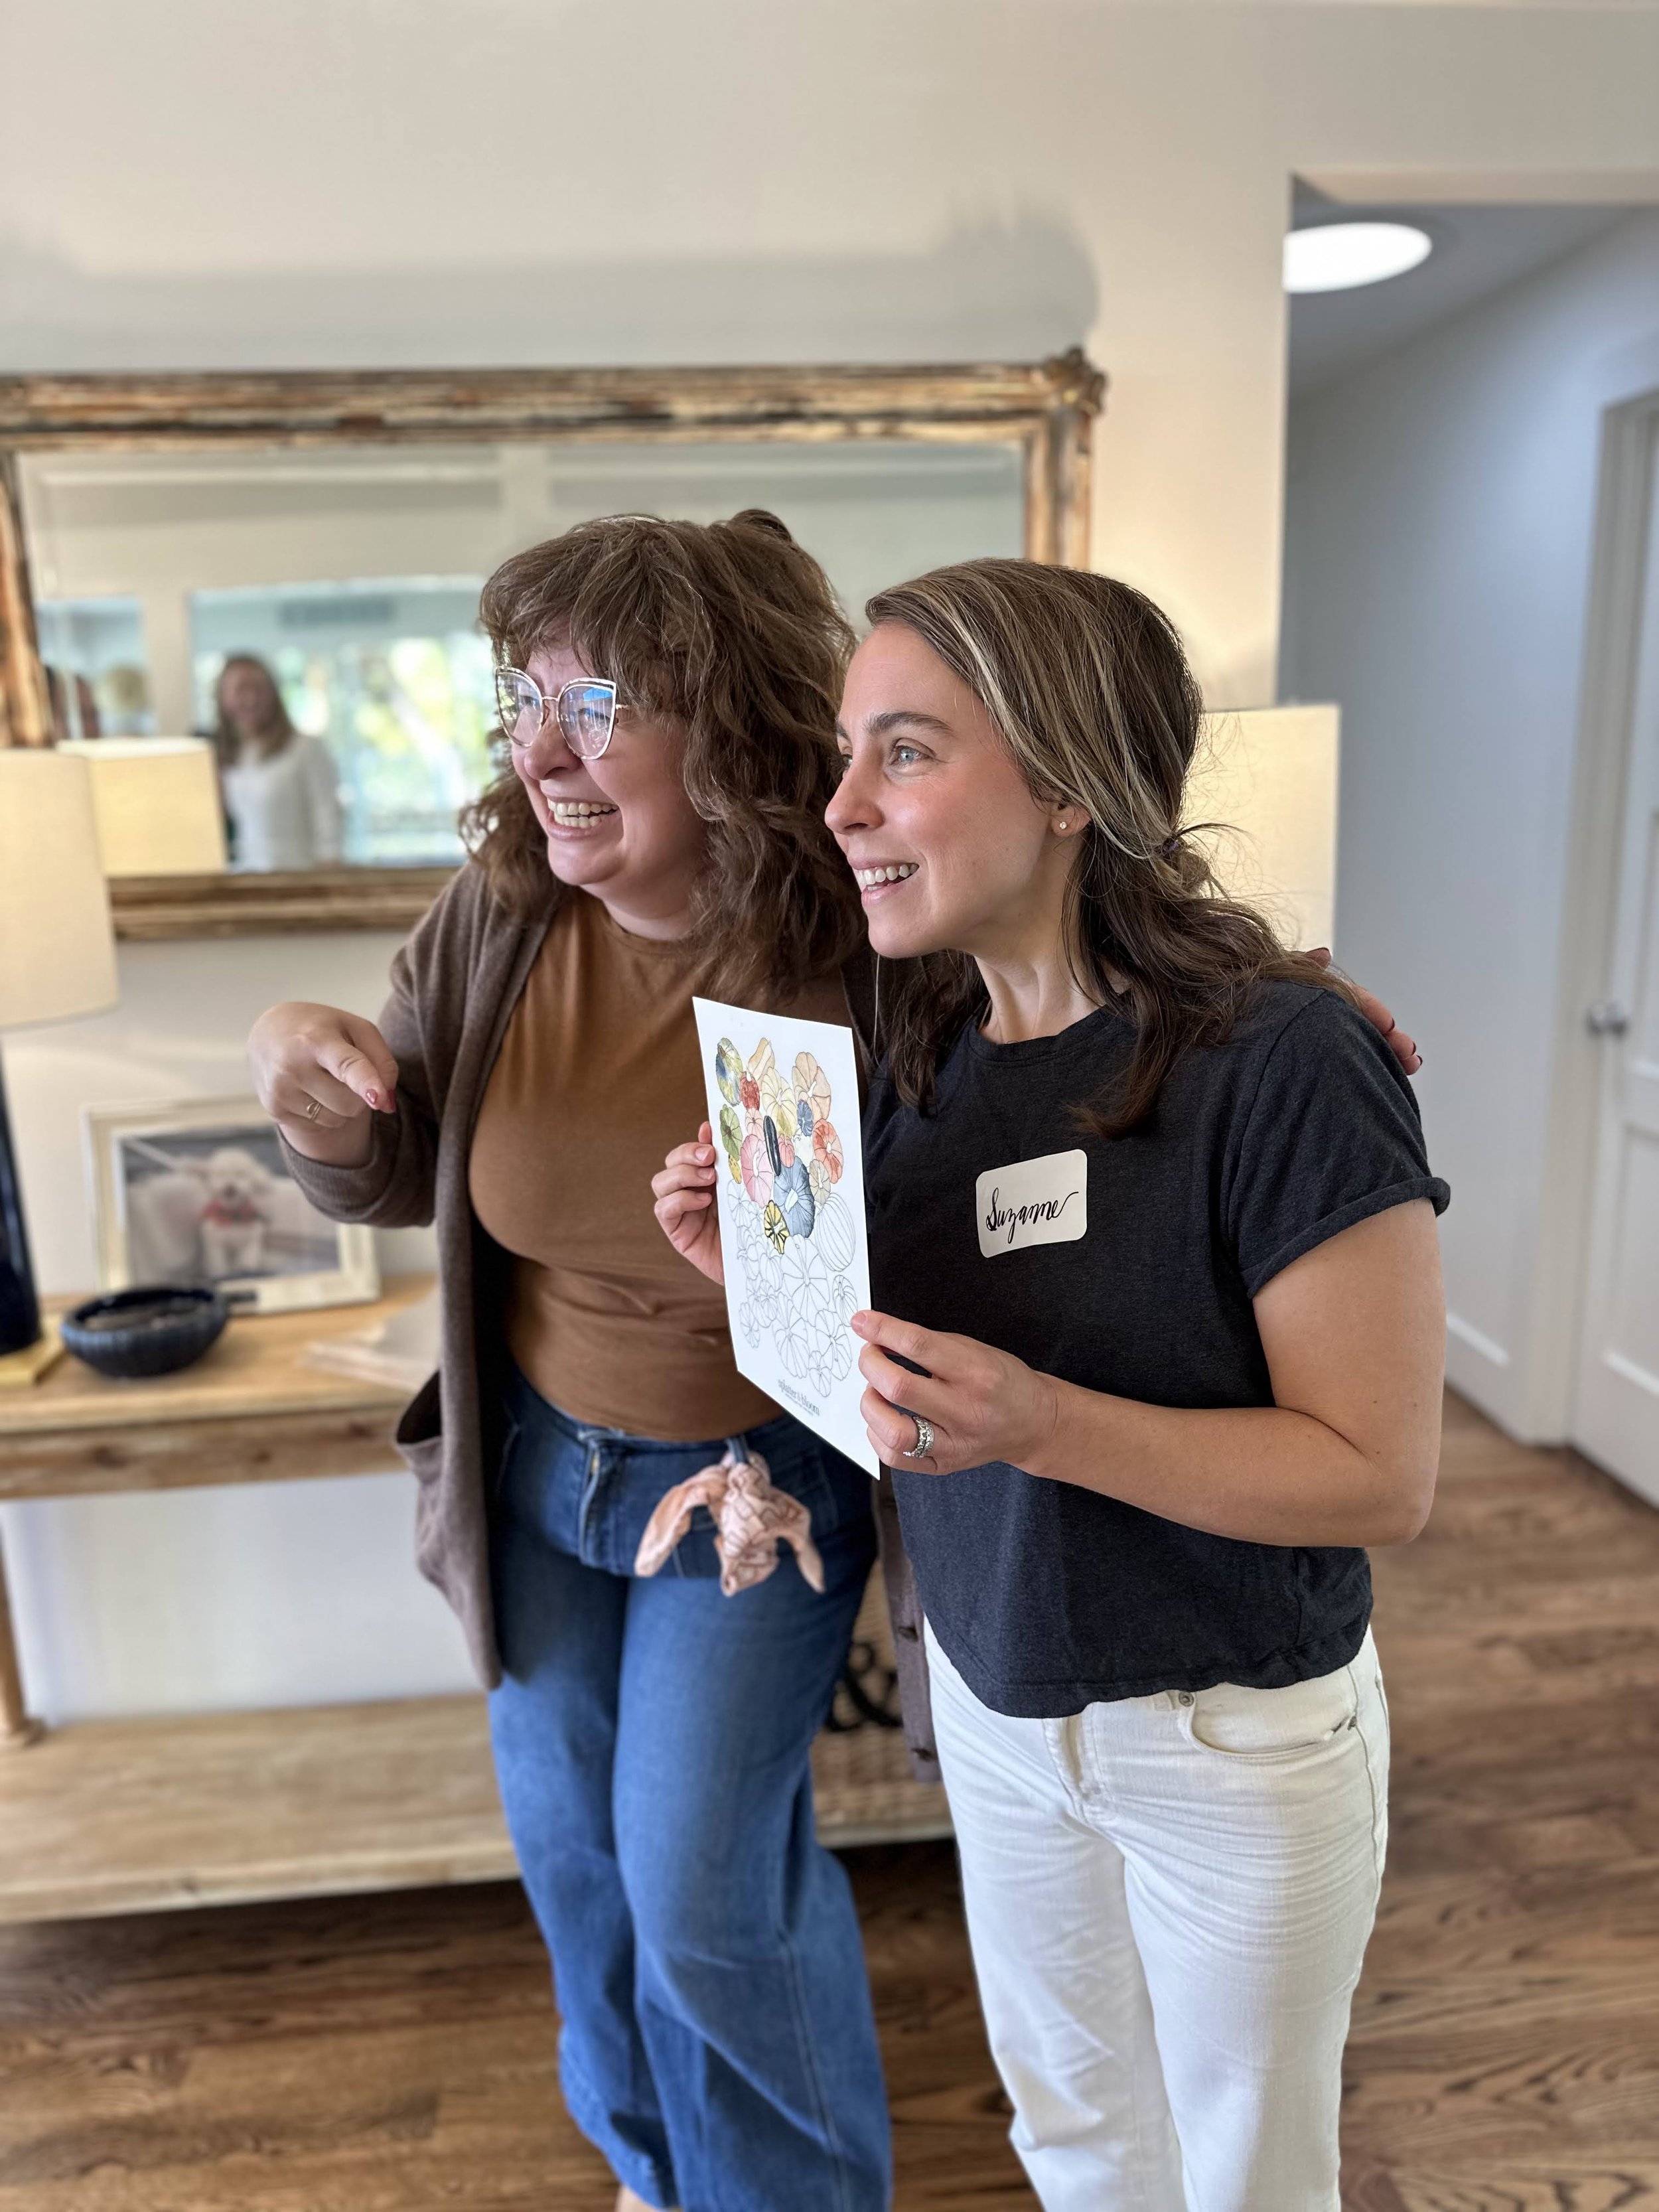
We had a blast learning beginning watercolor with Kate Talcott of Splatter and Bloom this past Thursday morning. Kate demonstrated watercolor techniques and discussed tips and tricks for creating stunning pumpkin patch paintings.

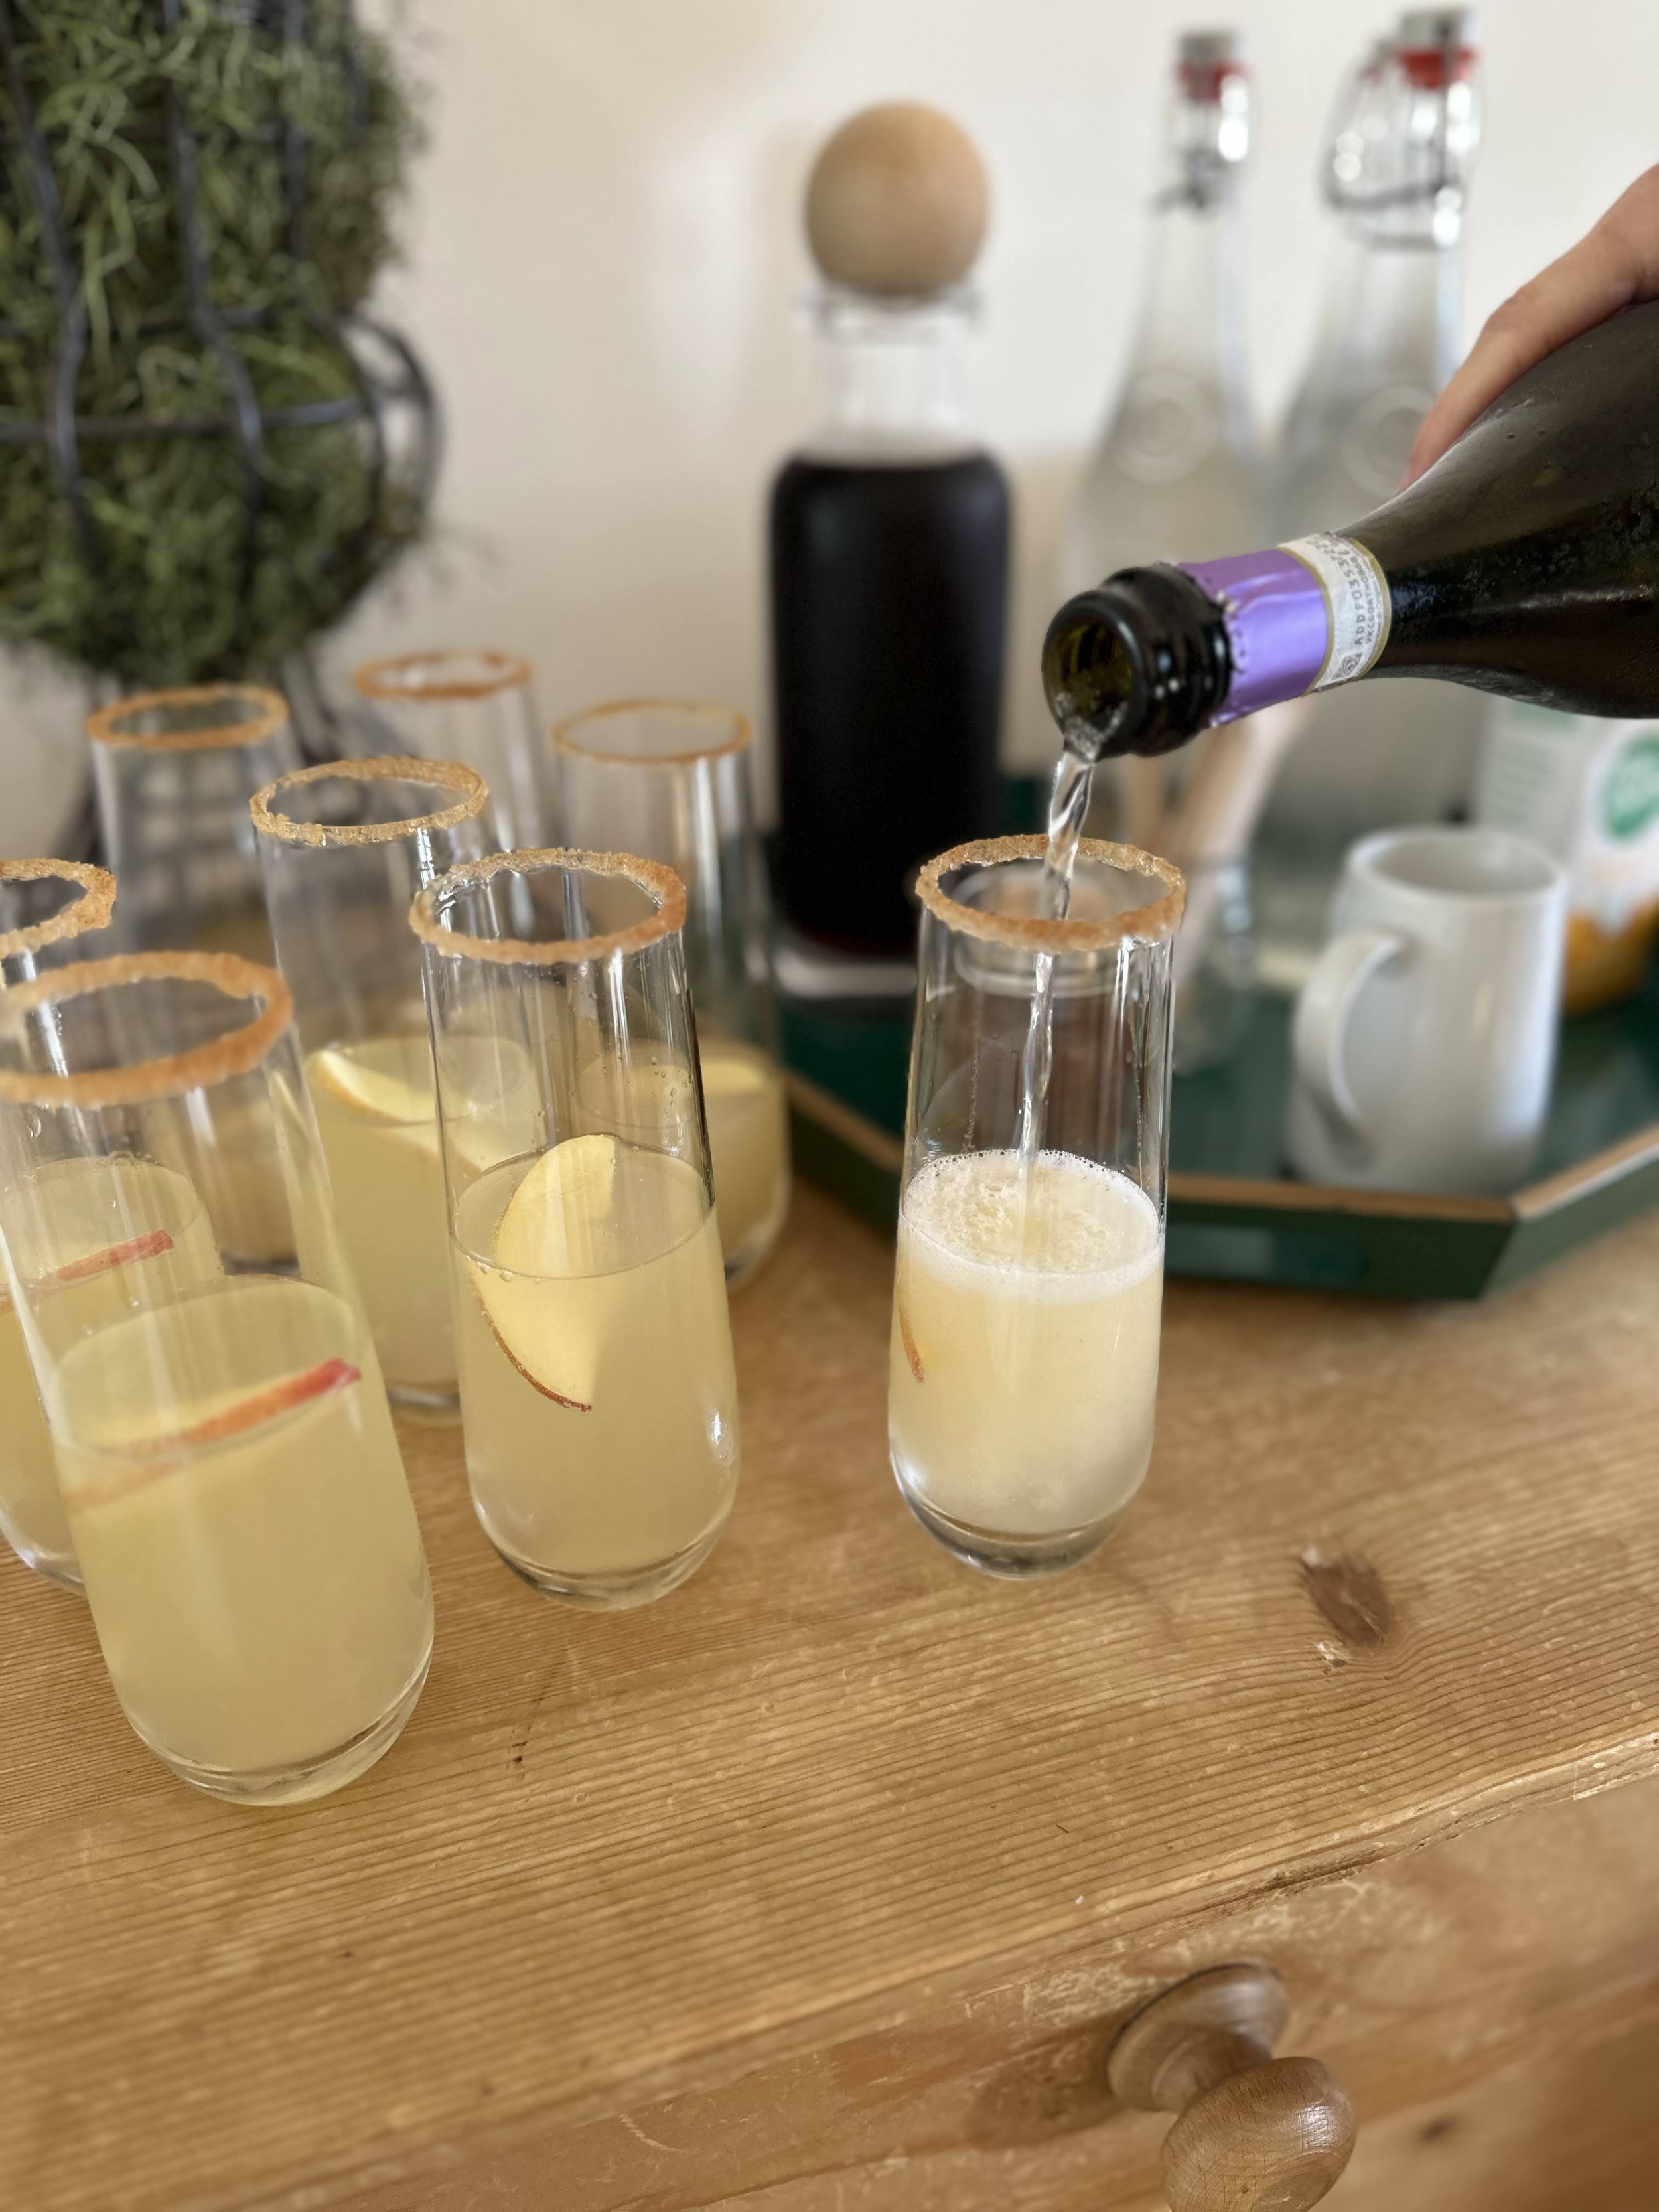
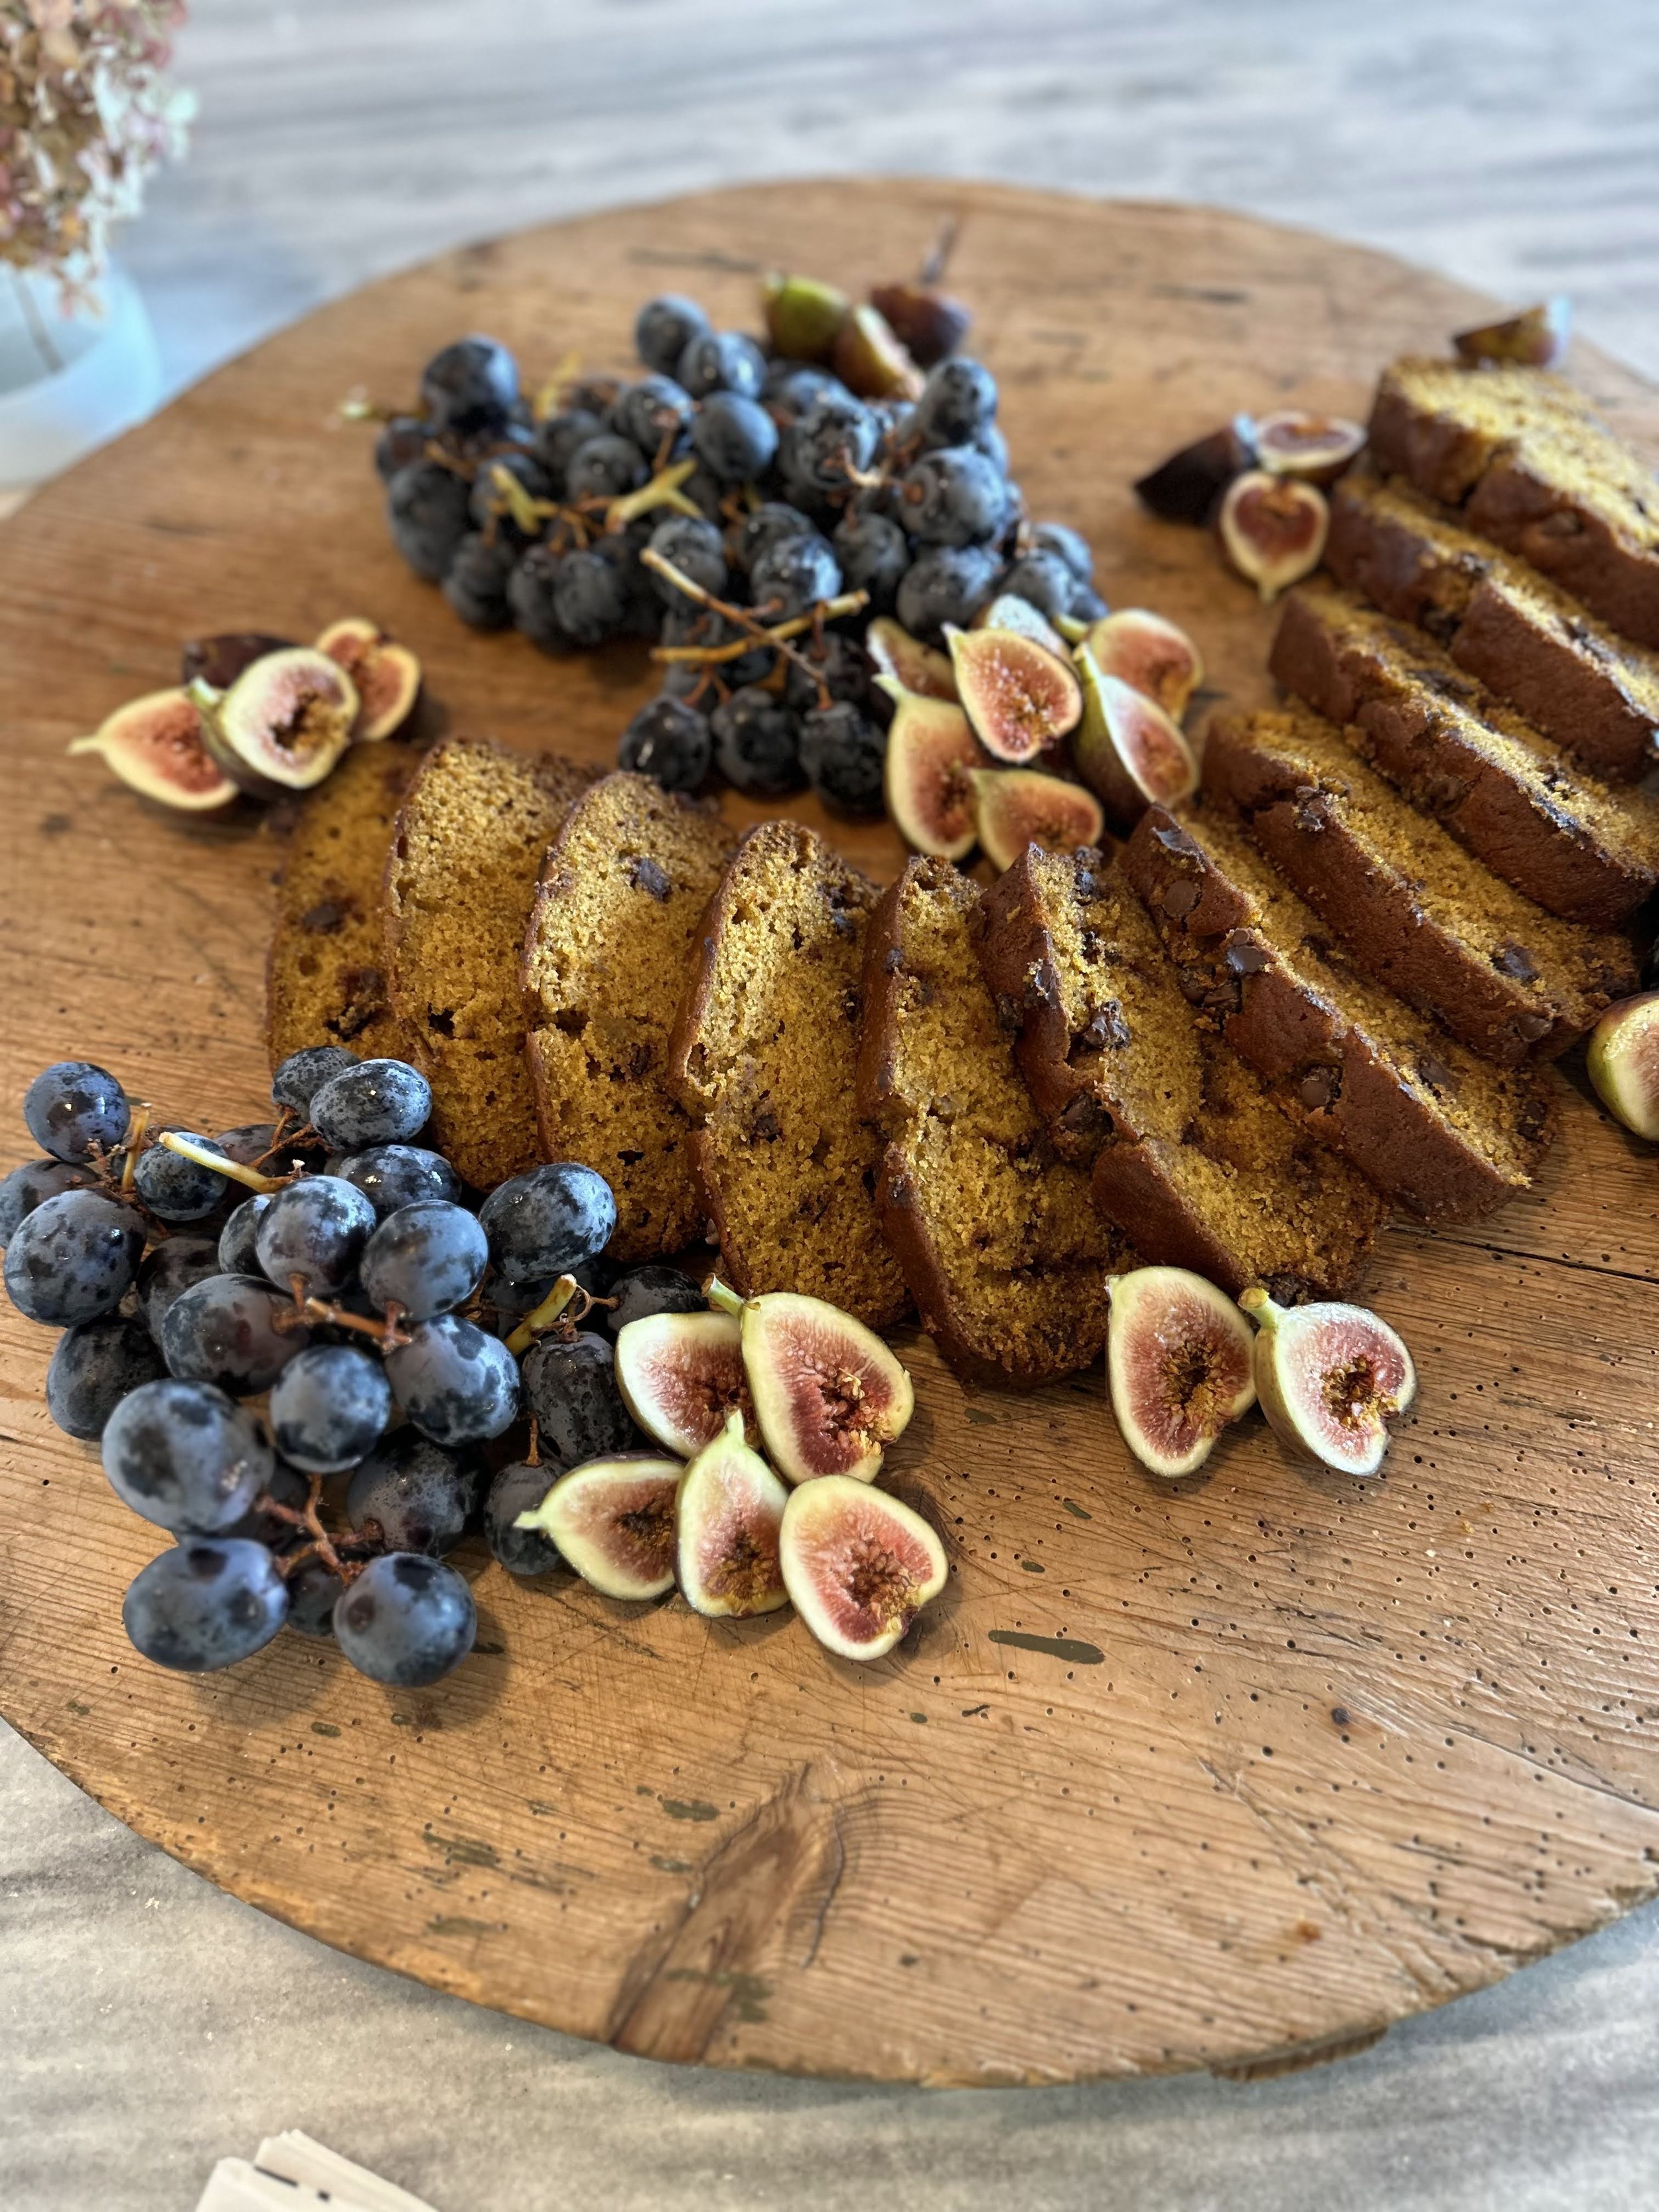
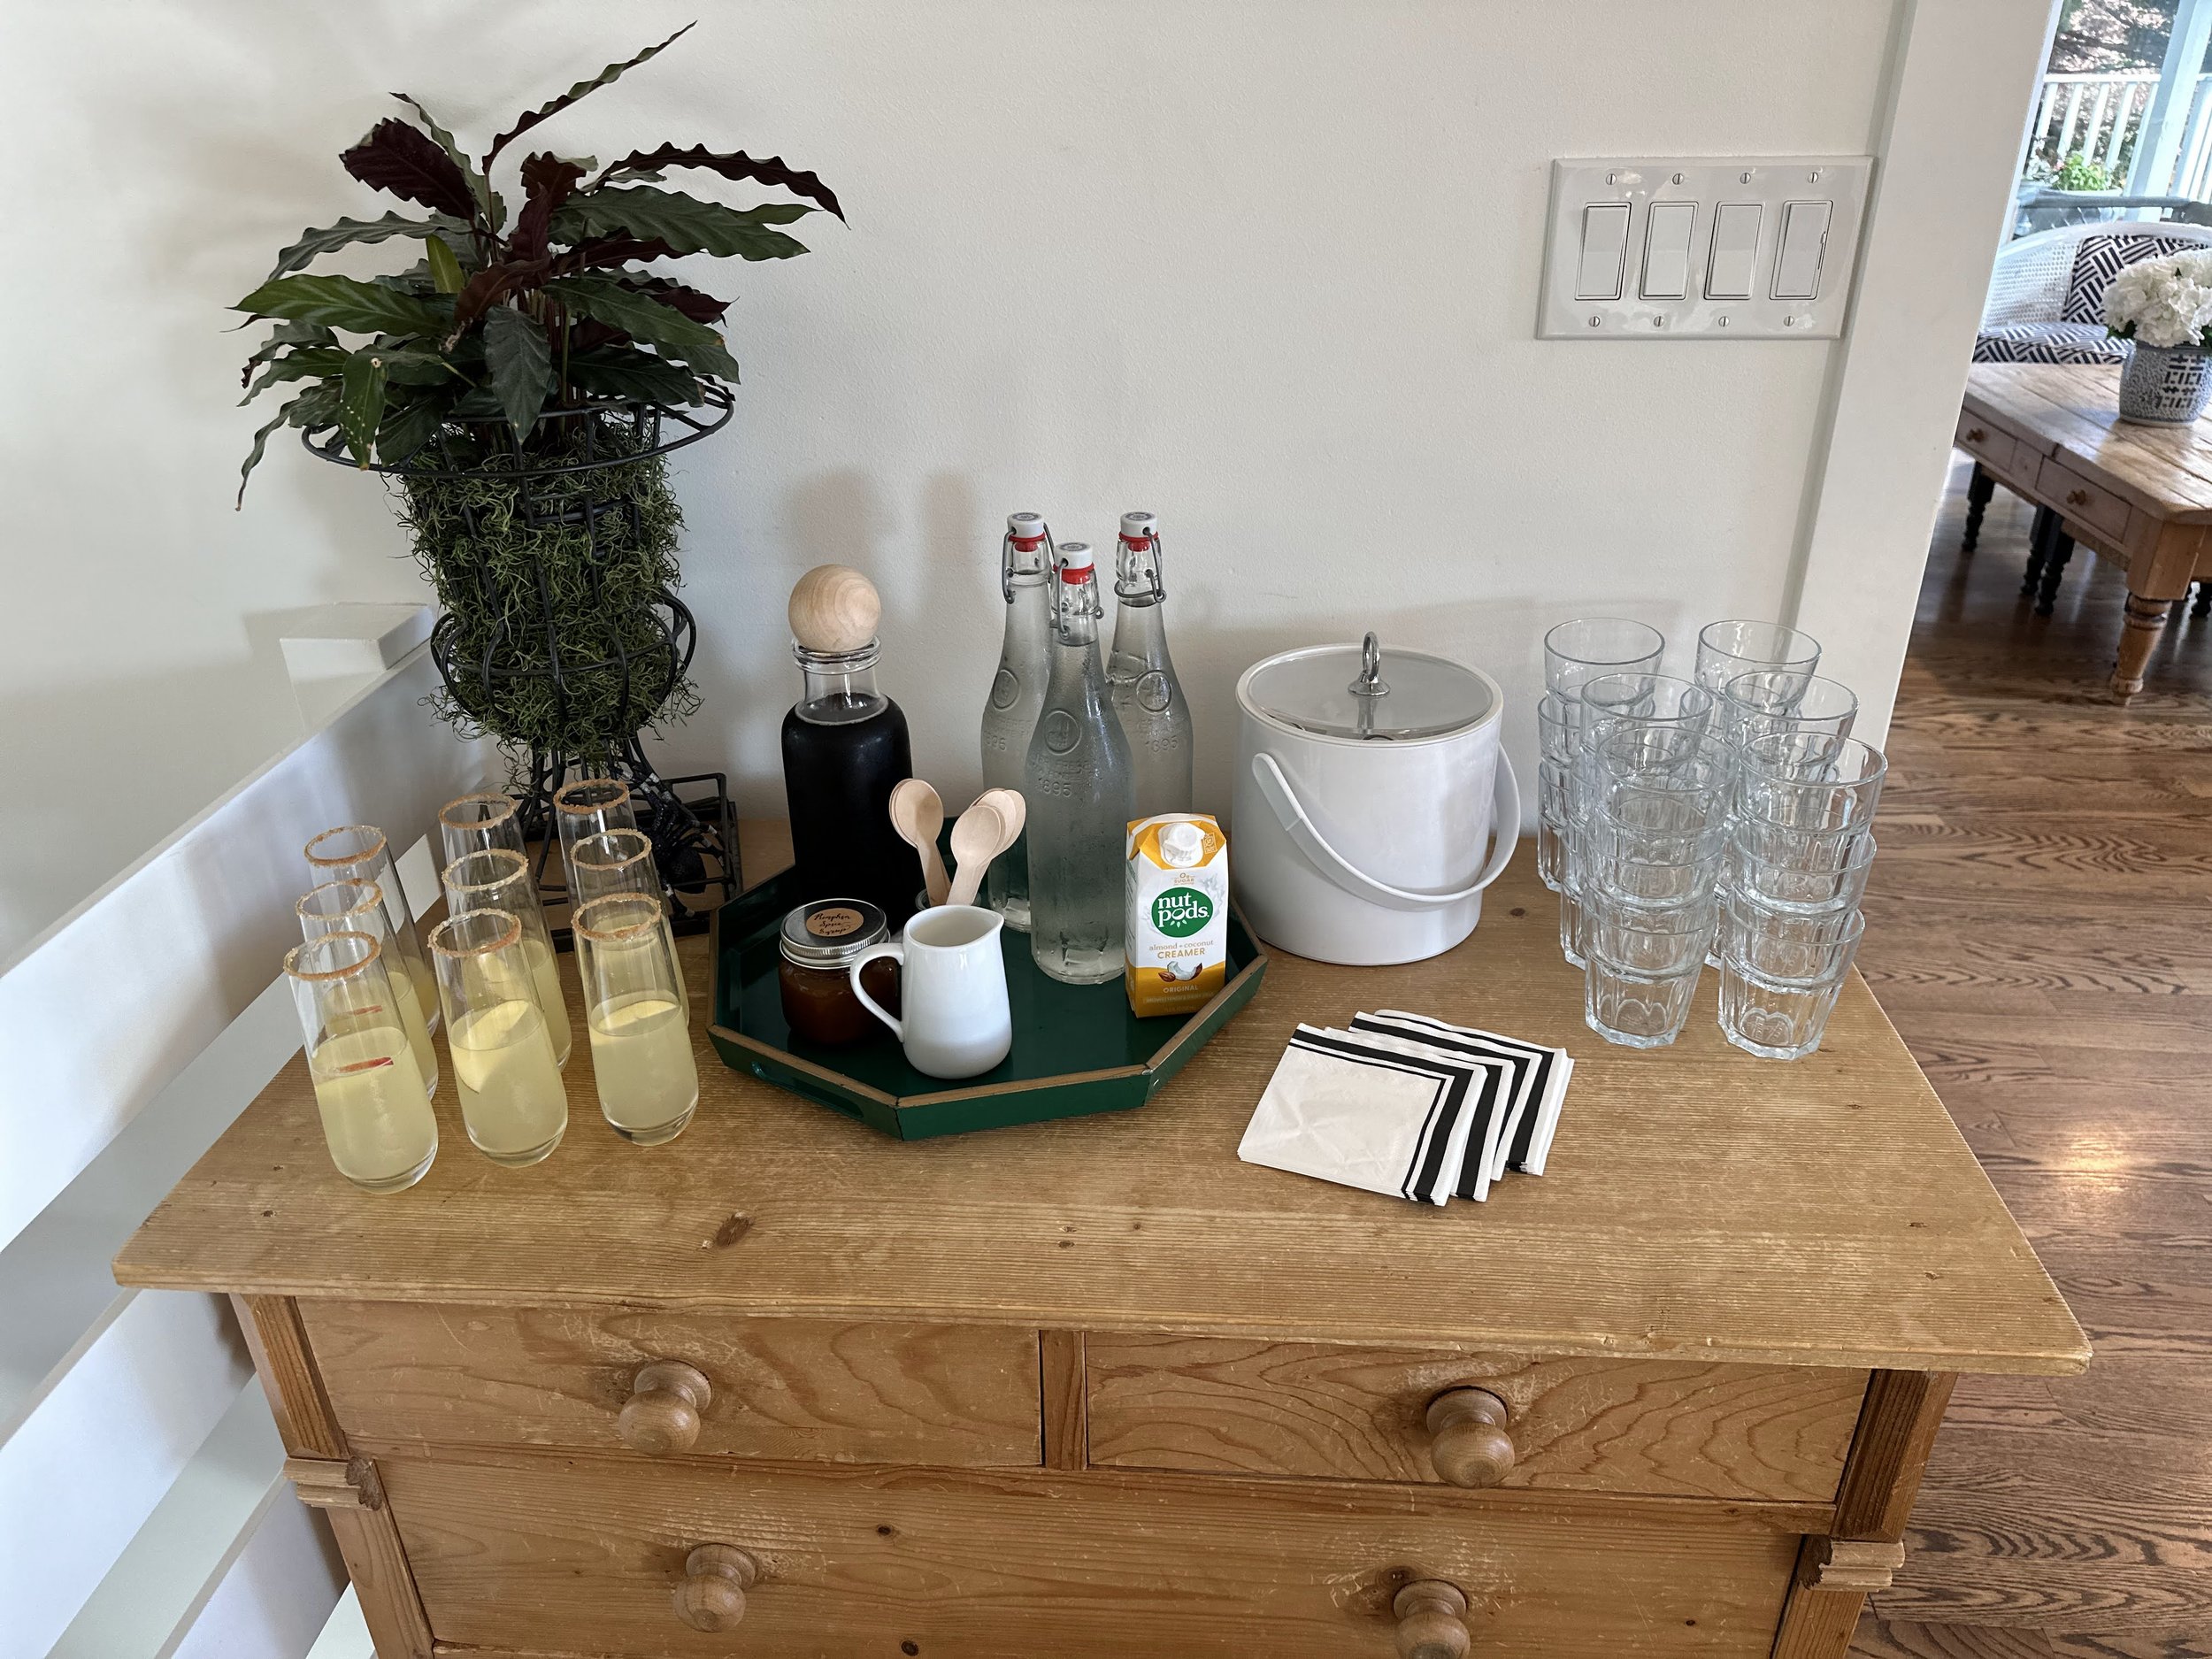
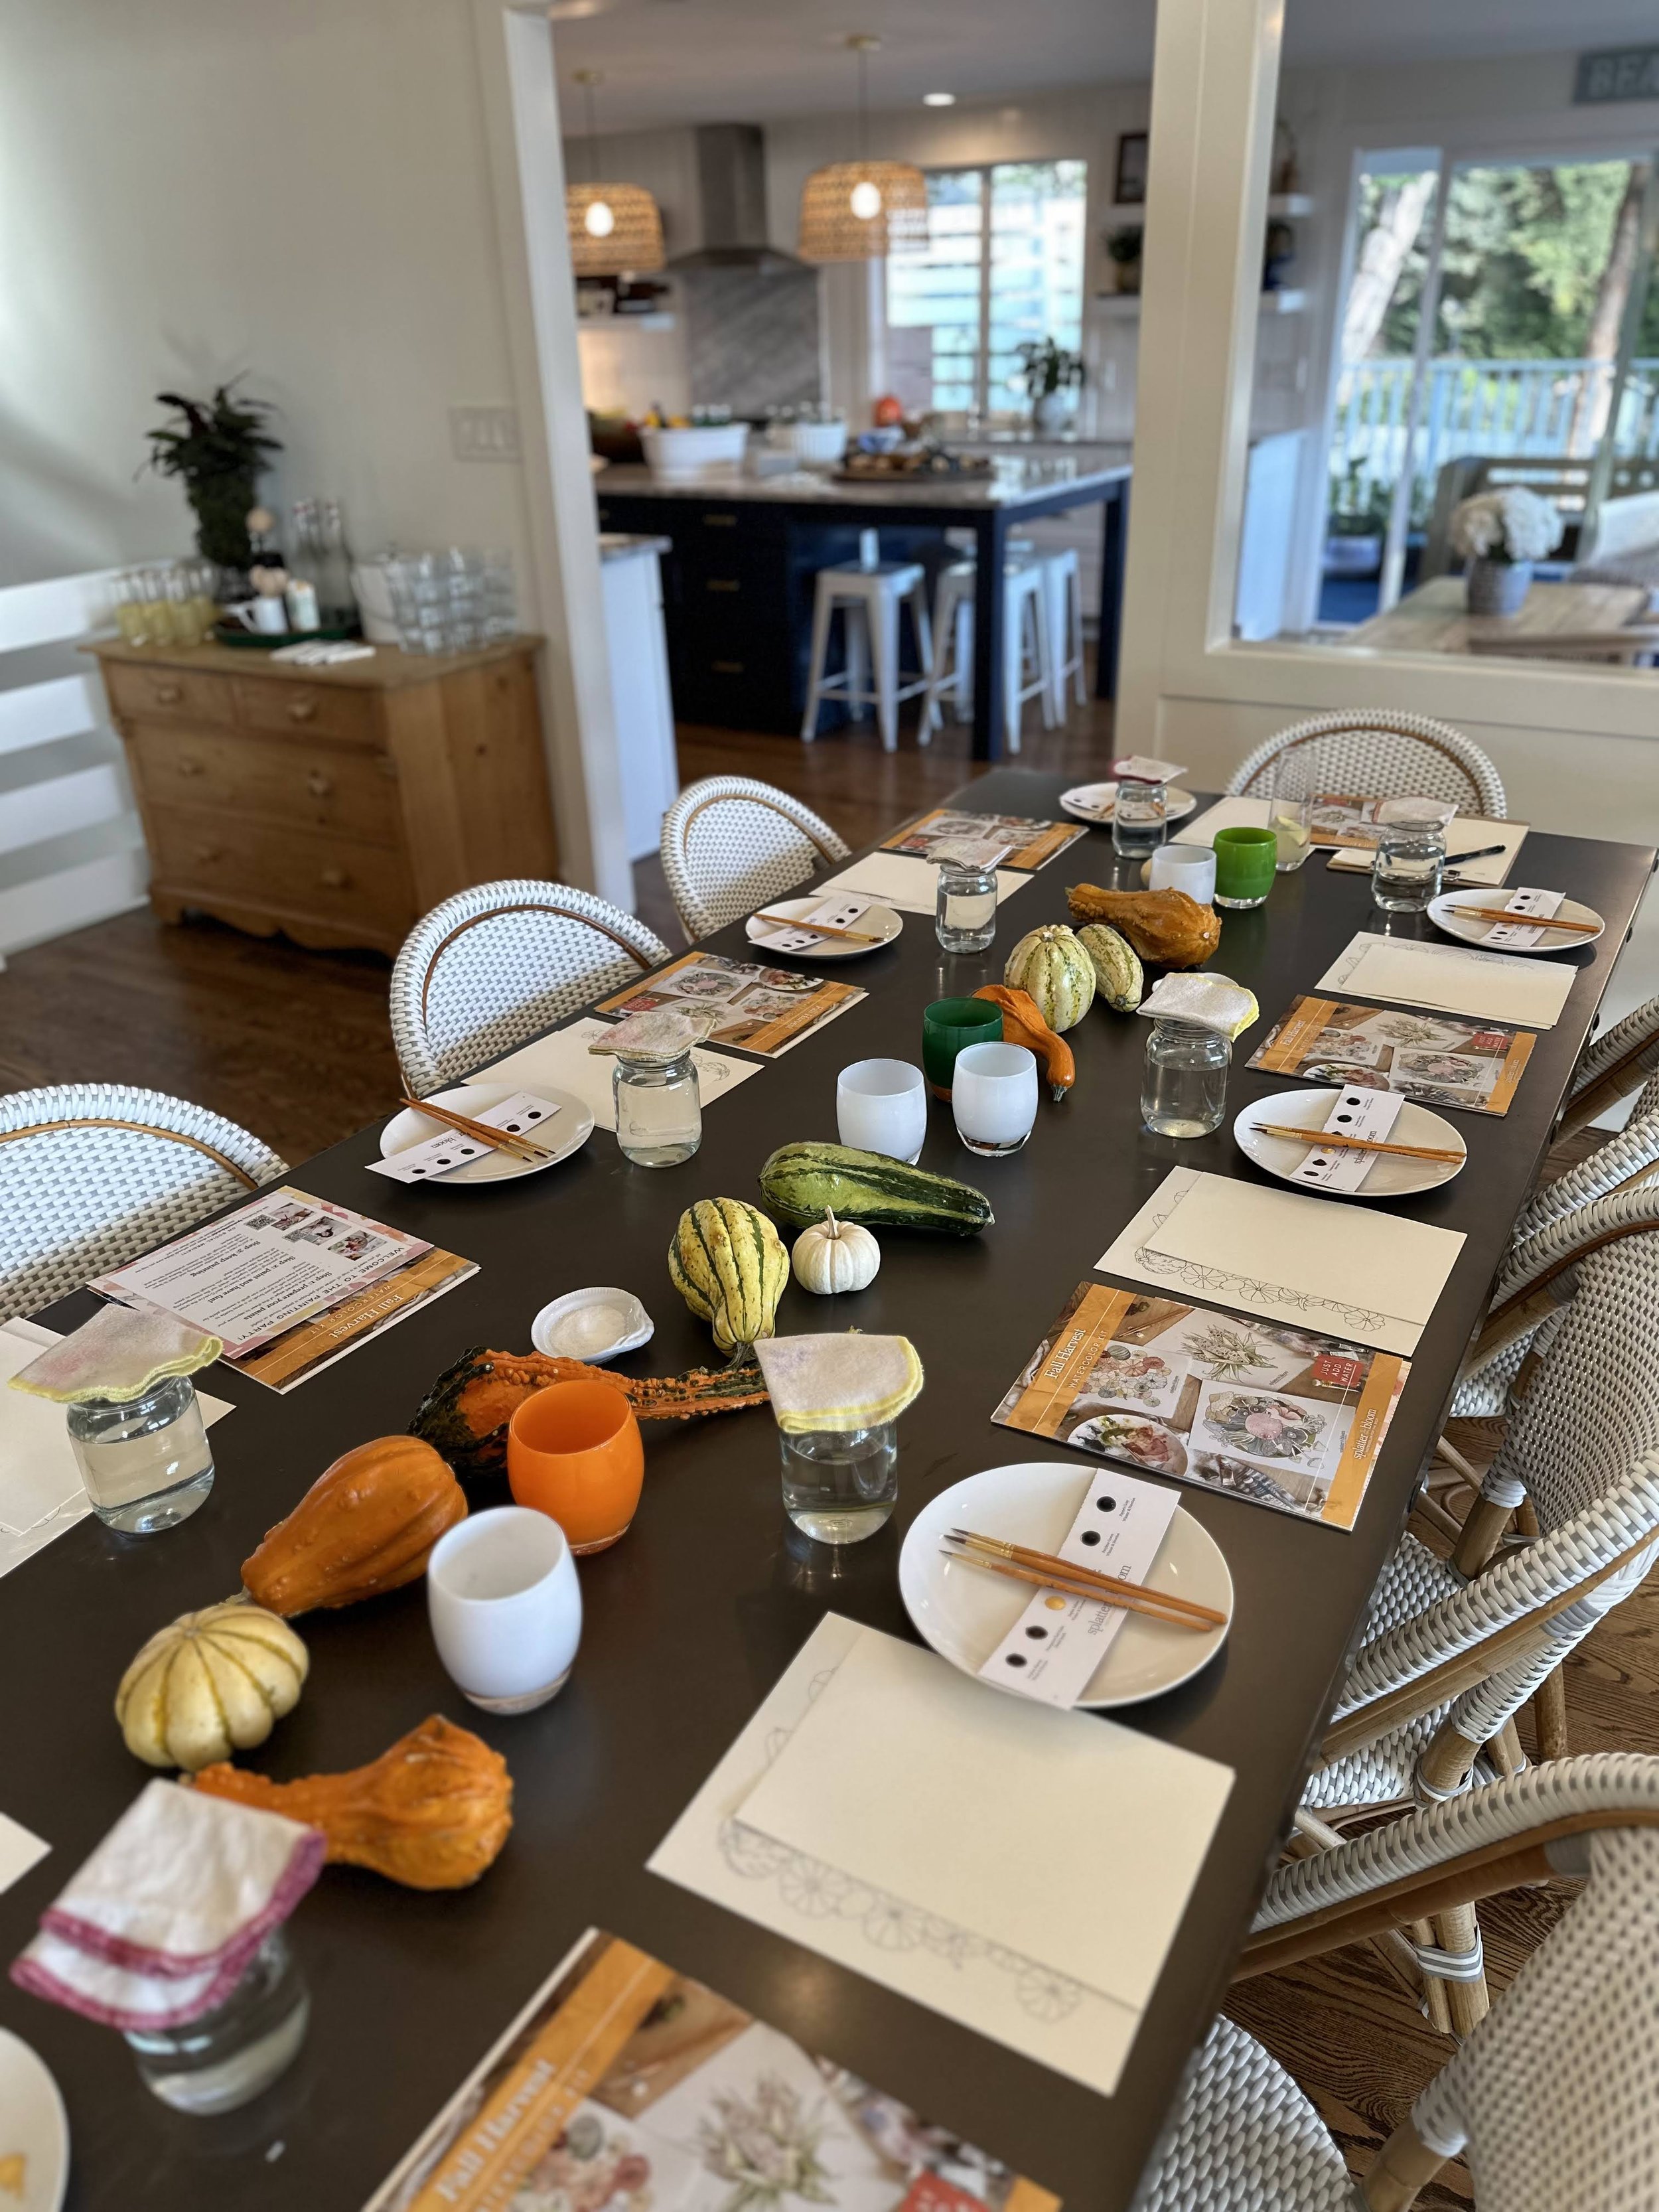
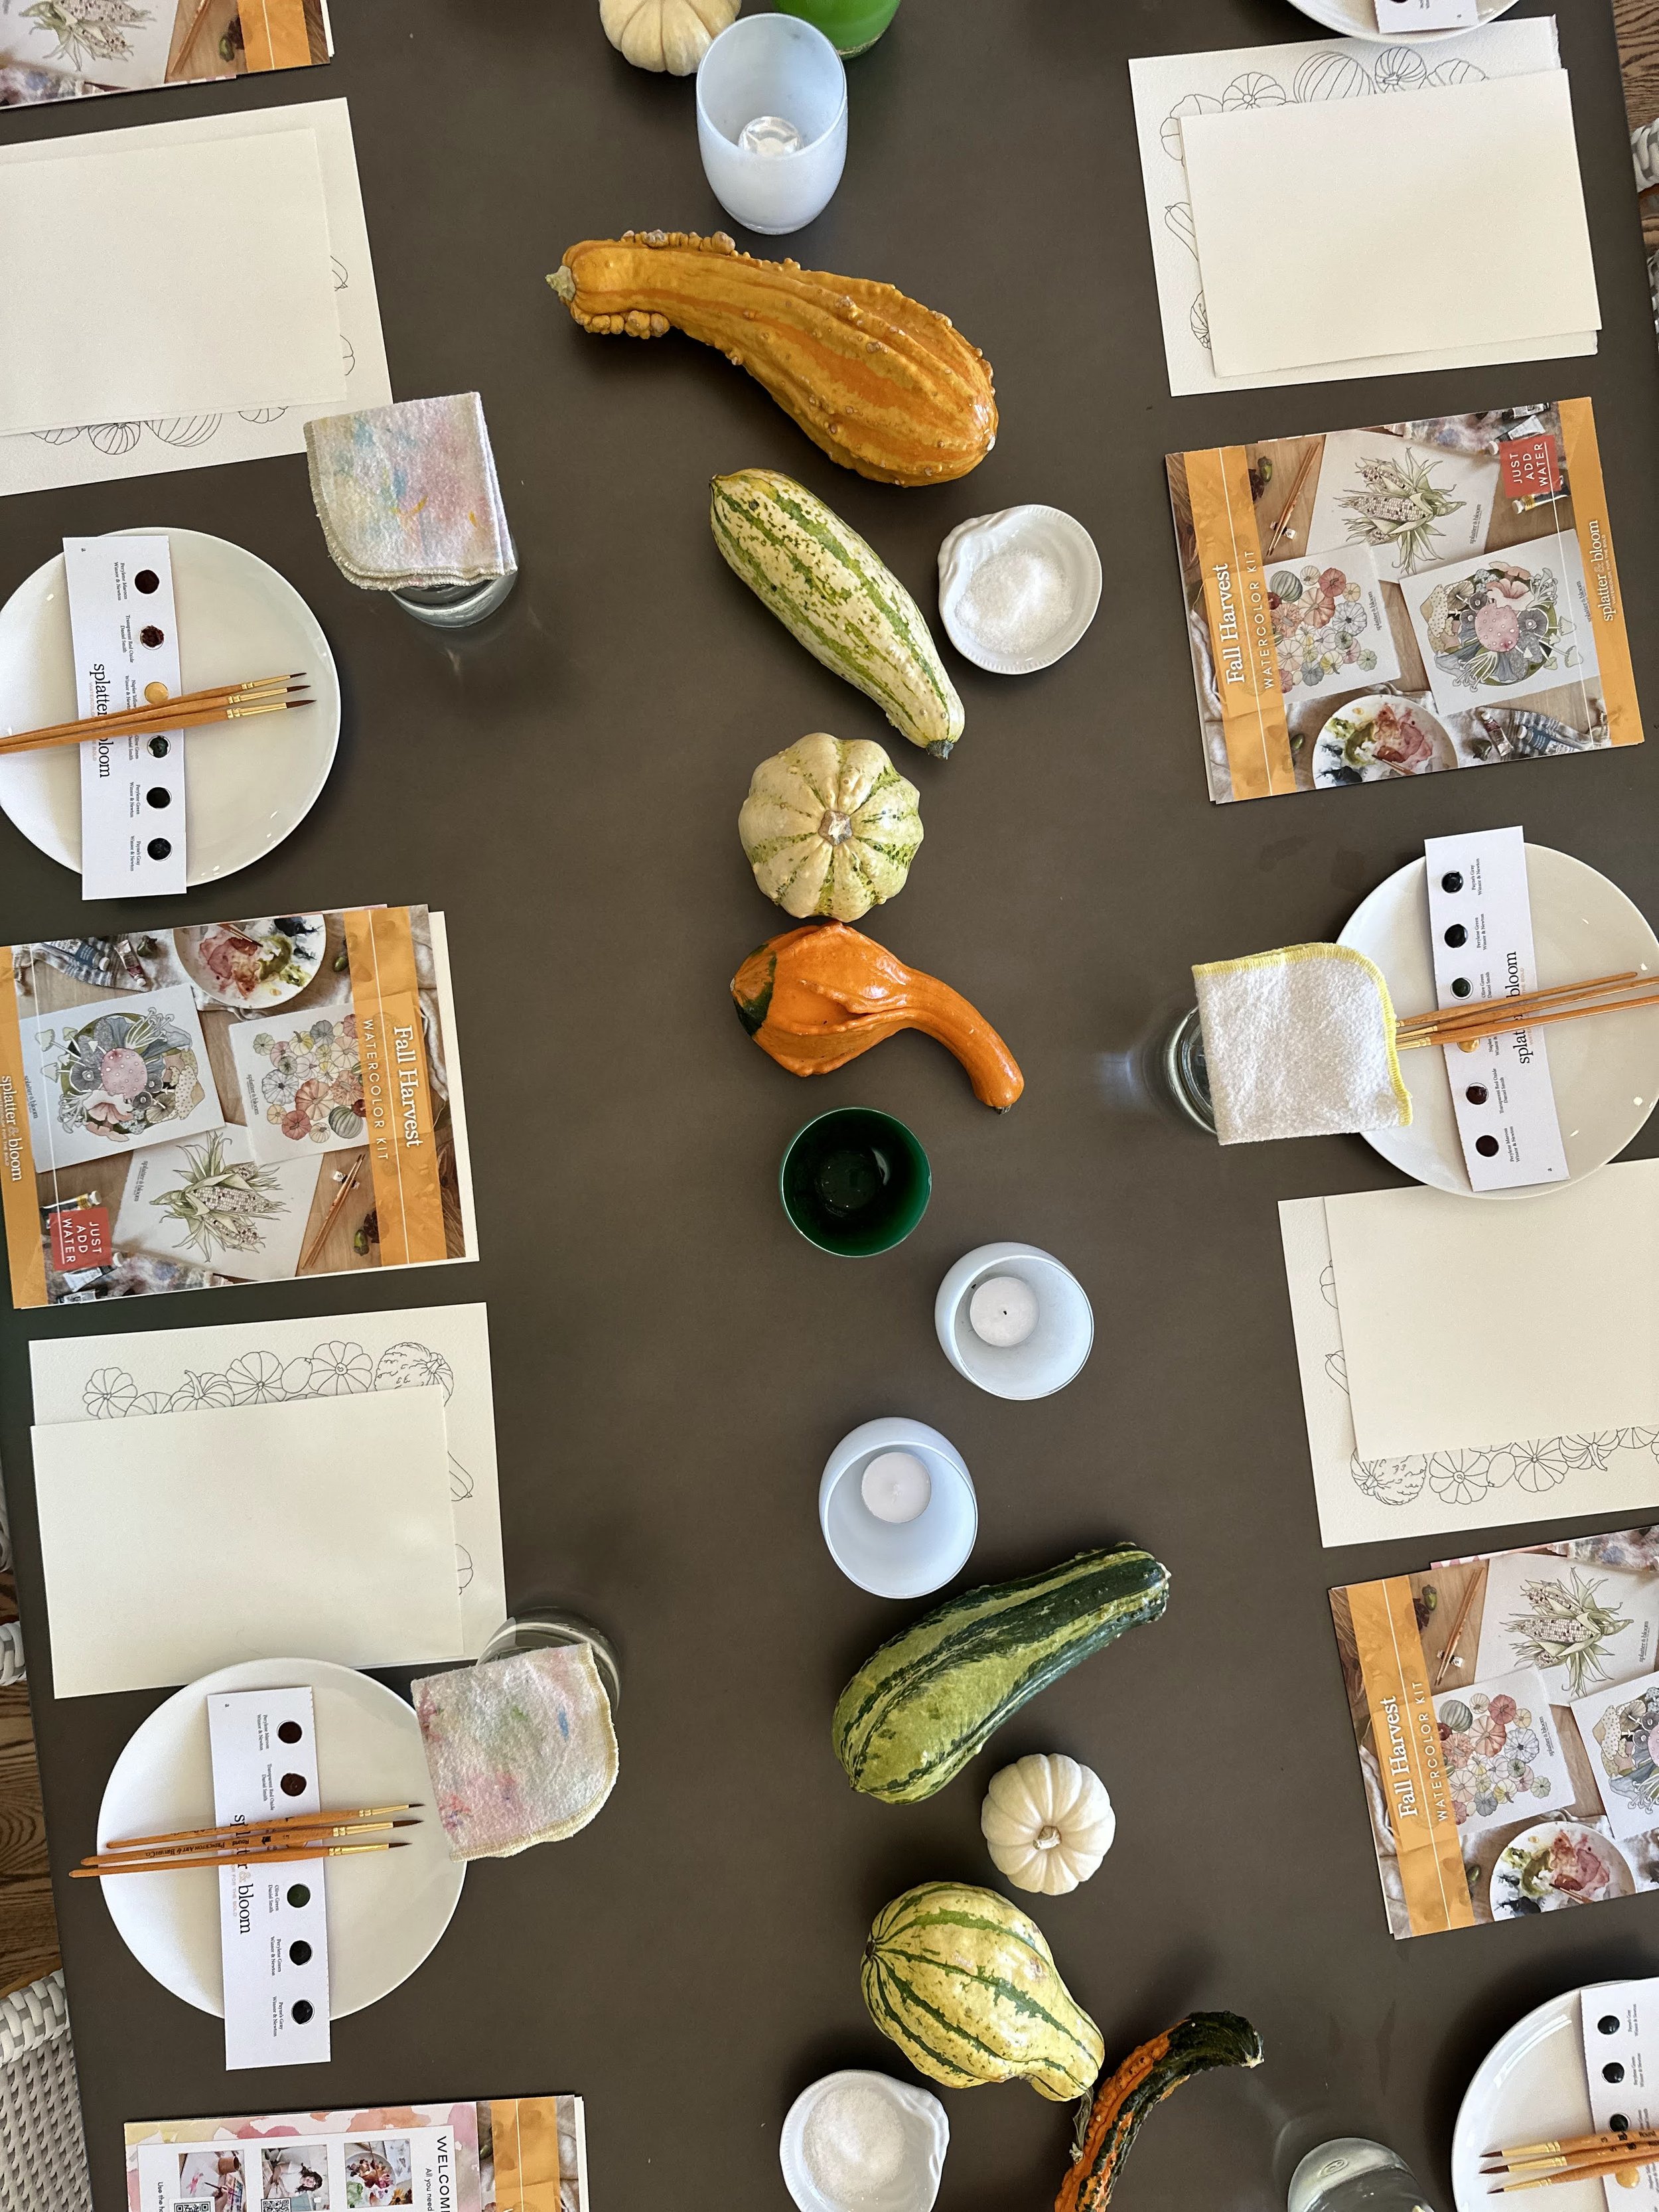
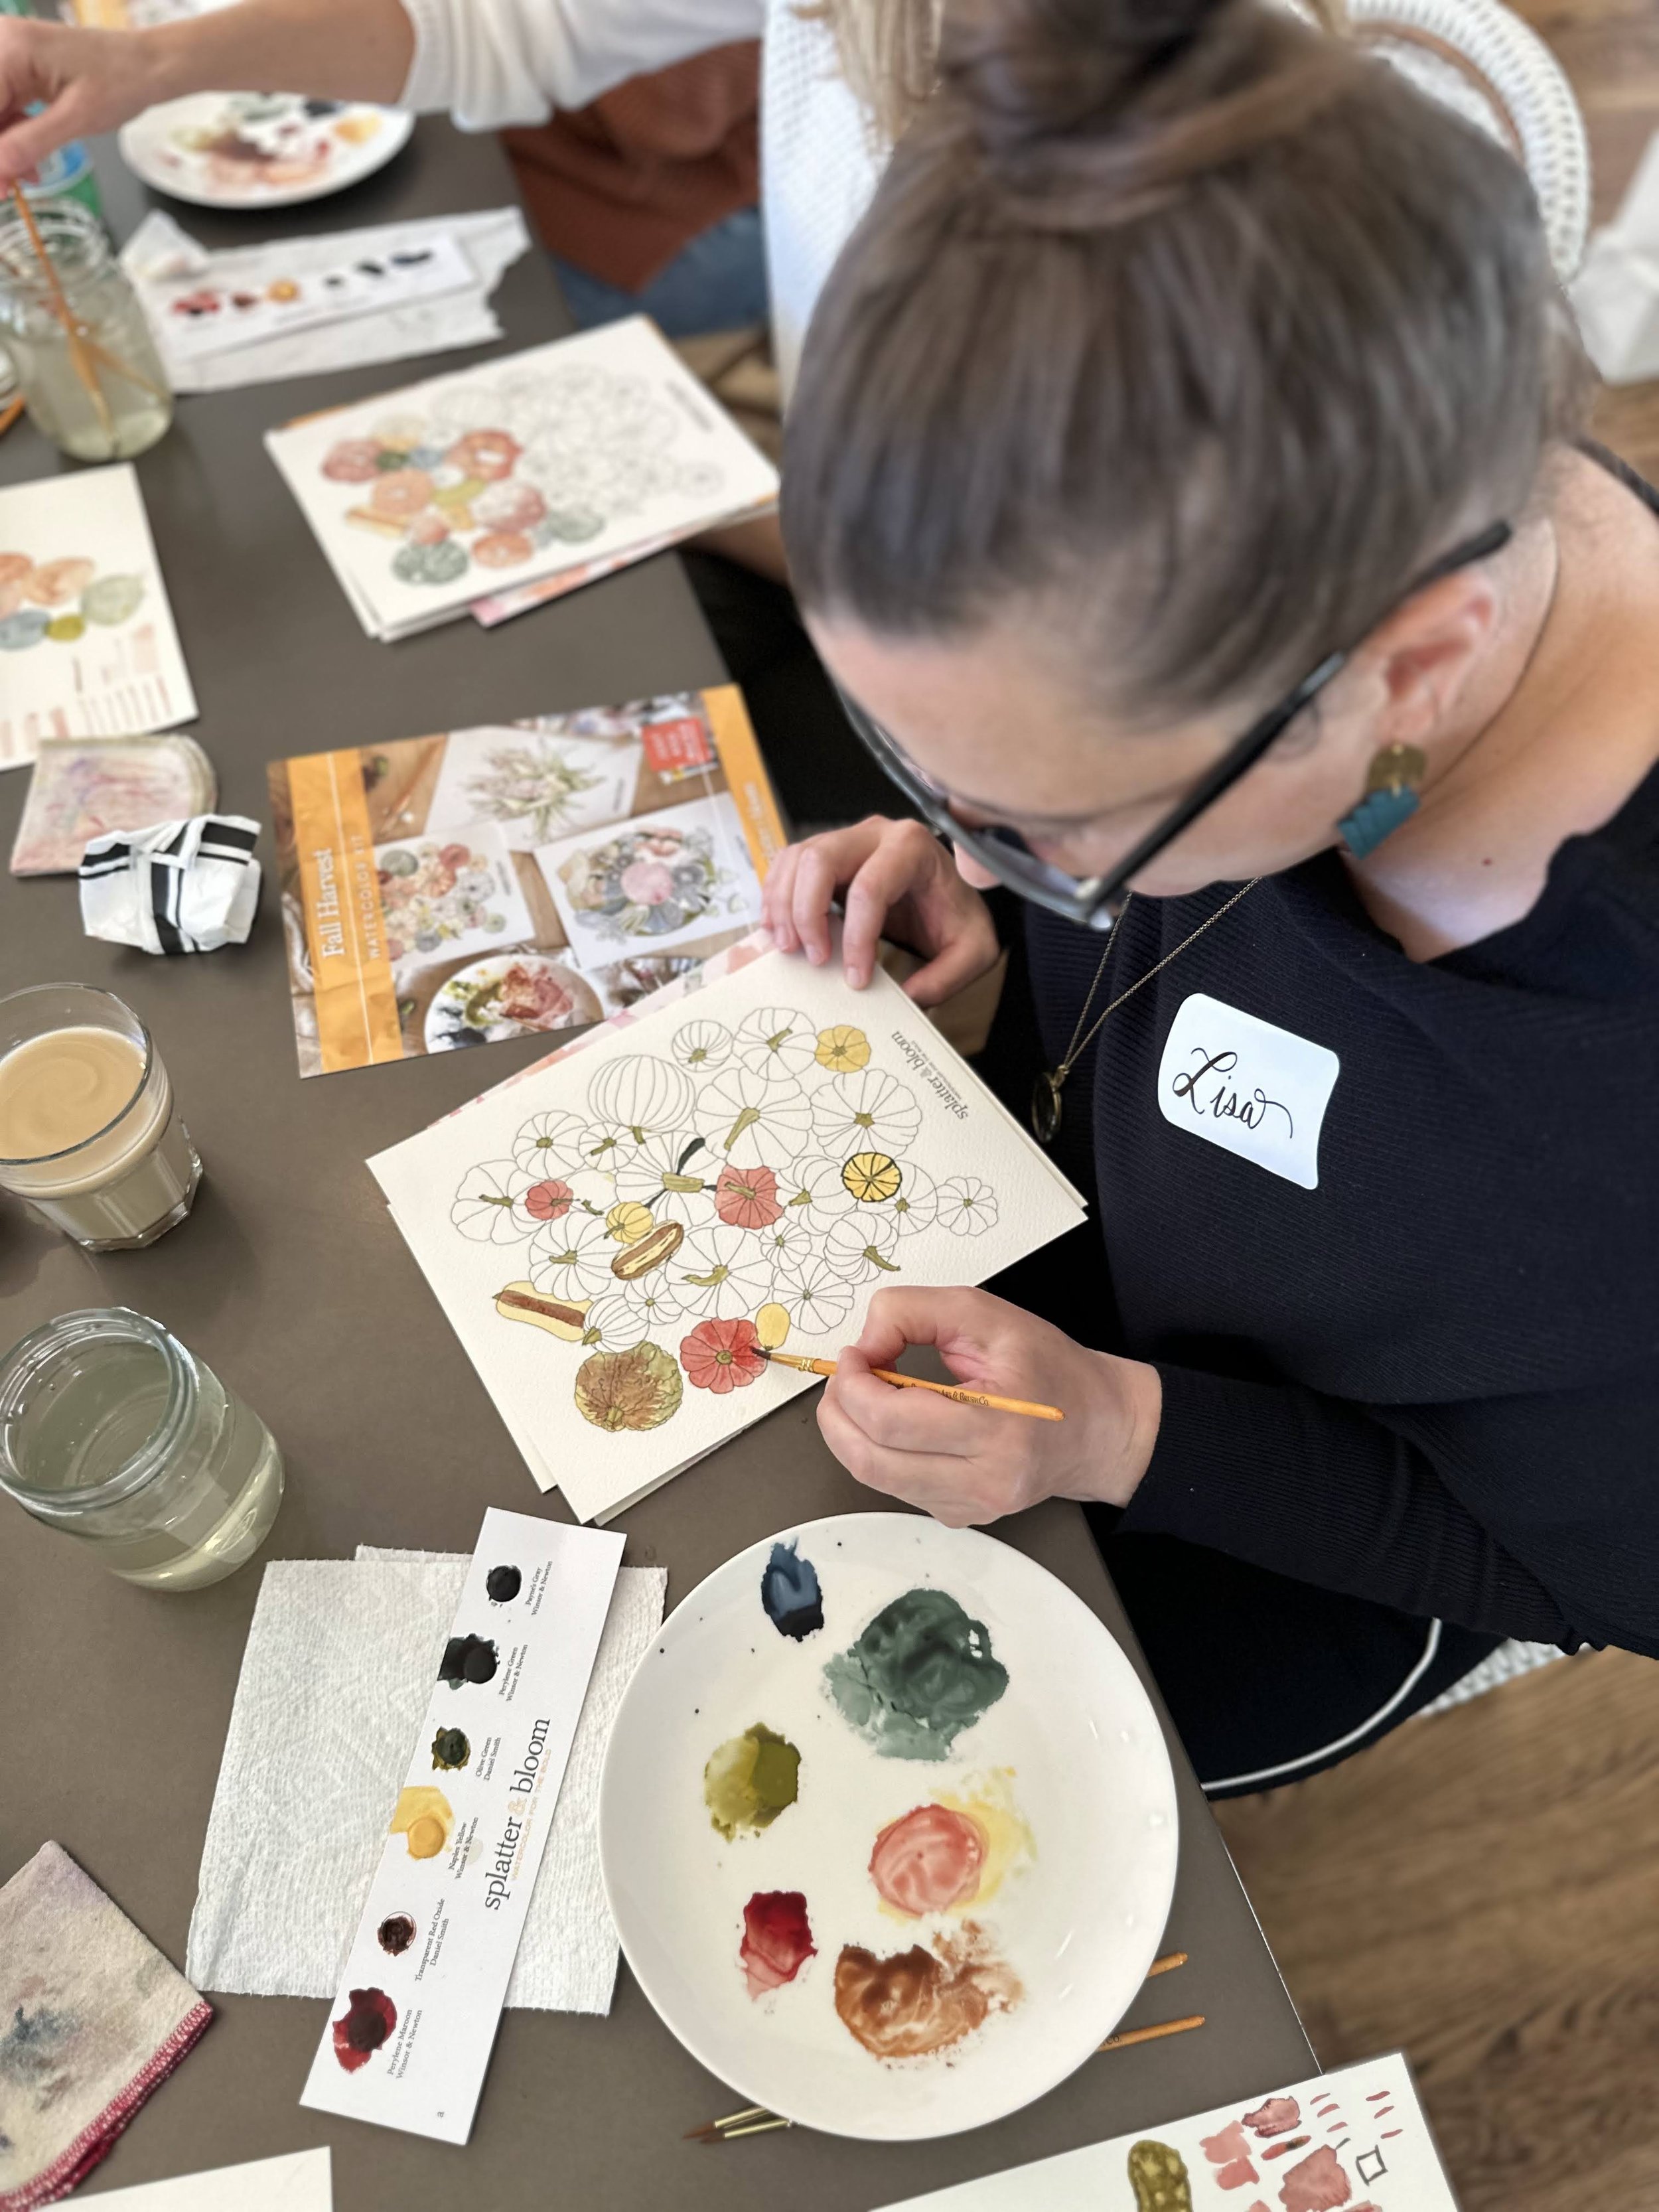
We began our morning with a cold brew coffee bar, apple cider mimosas and a spread of fruit, and freshly-baked pumpkin chocolate chip bread (recipe below). After a little time for mingling and introductions guests found their seats so Kate could walk us through the watercolor process.
First up we prepared our paintbrushes by dipping them into a jar of water and smushing the bristles lightly against the bottom of the jar. This dissolves the binding agent that keeps new brush hairs in perfect alignment.
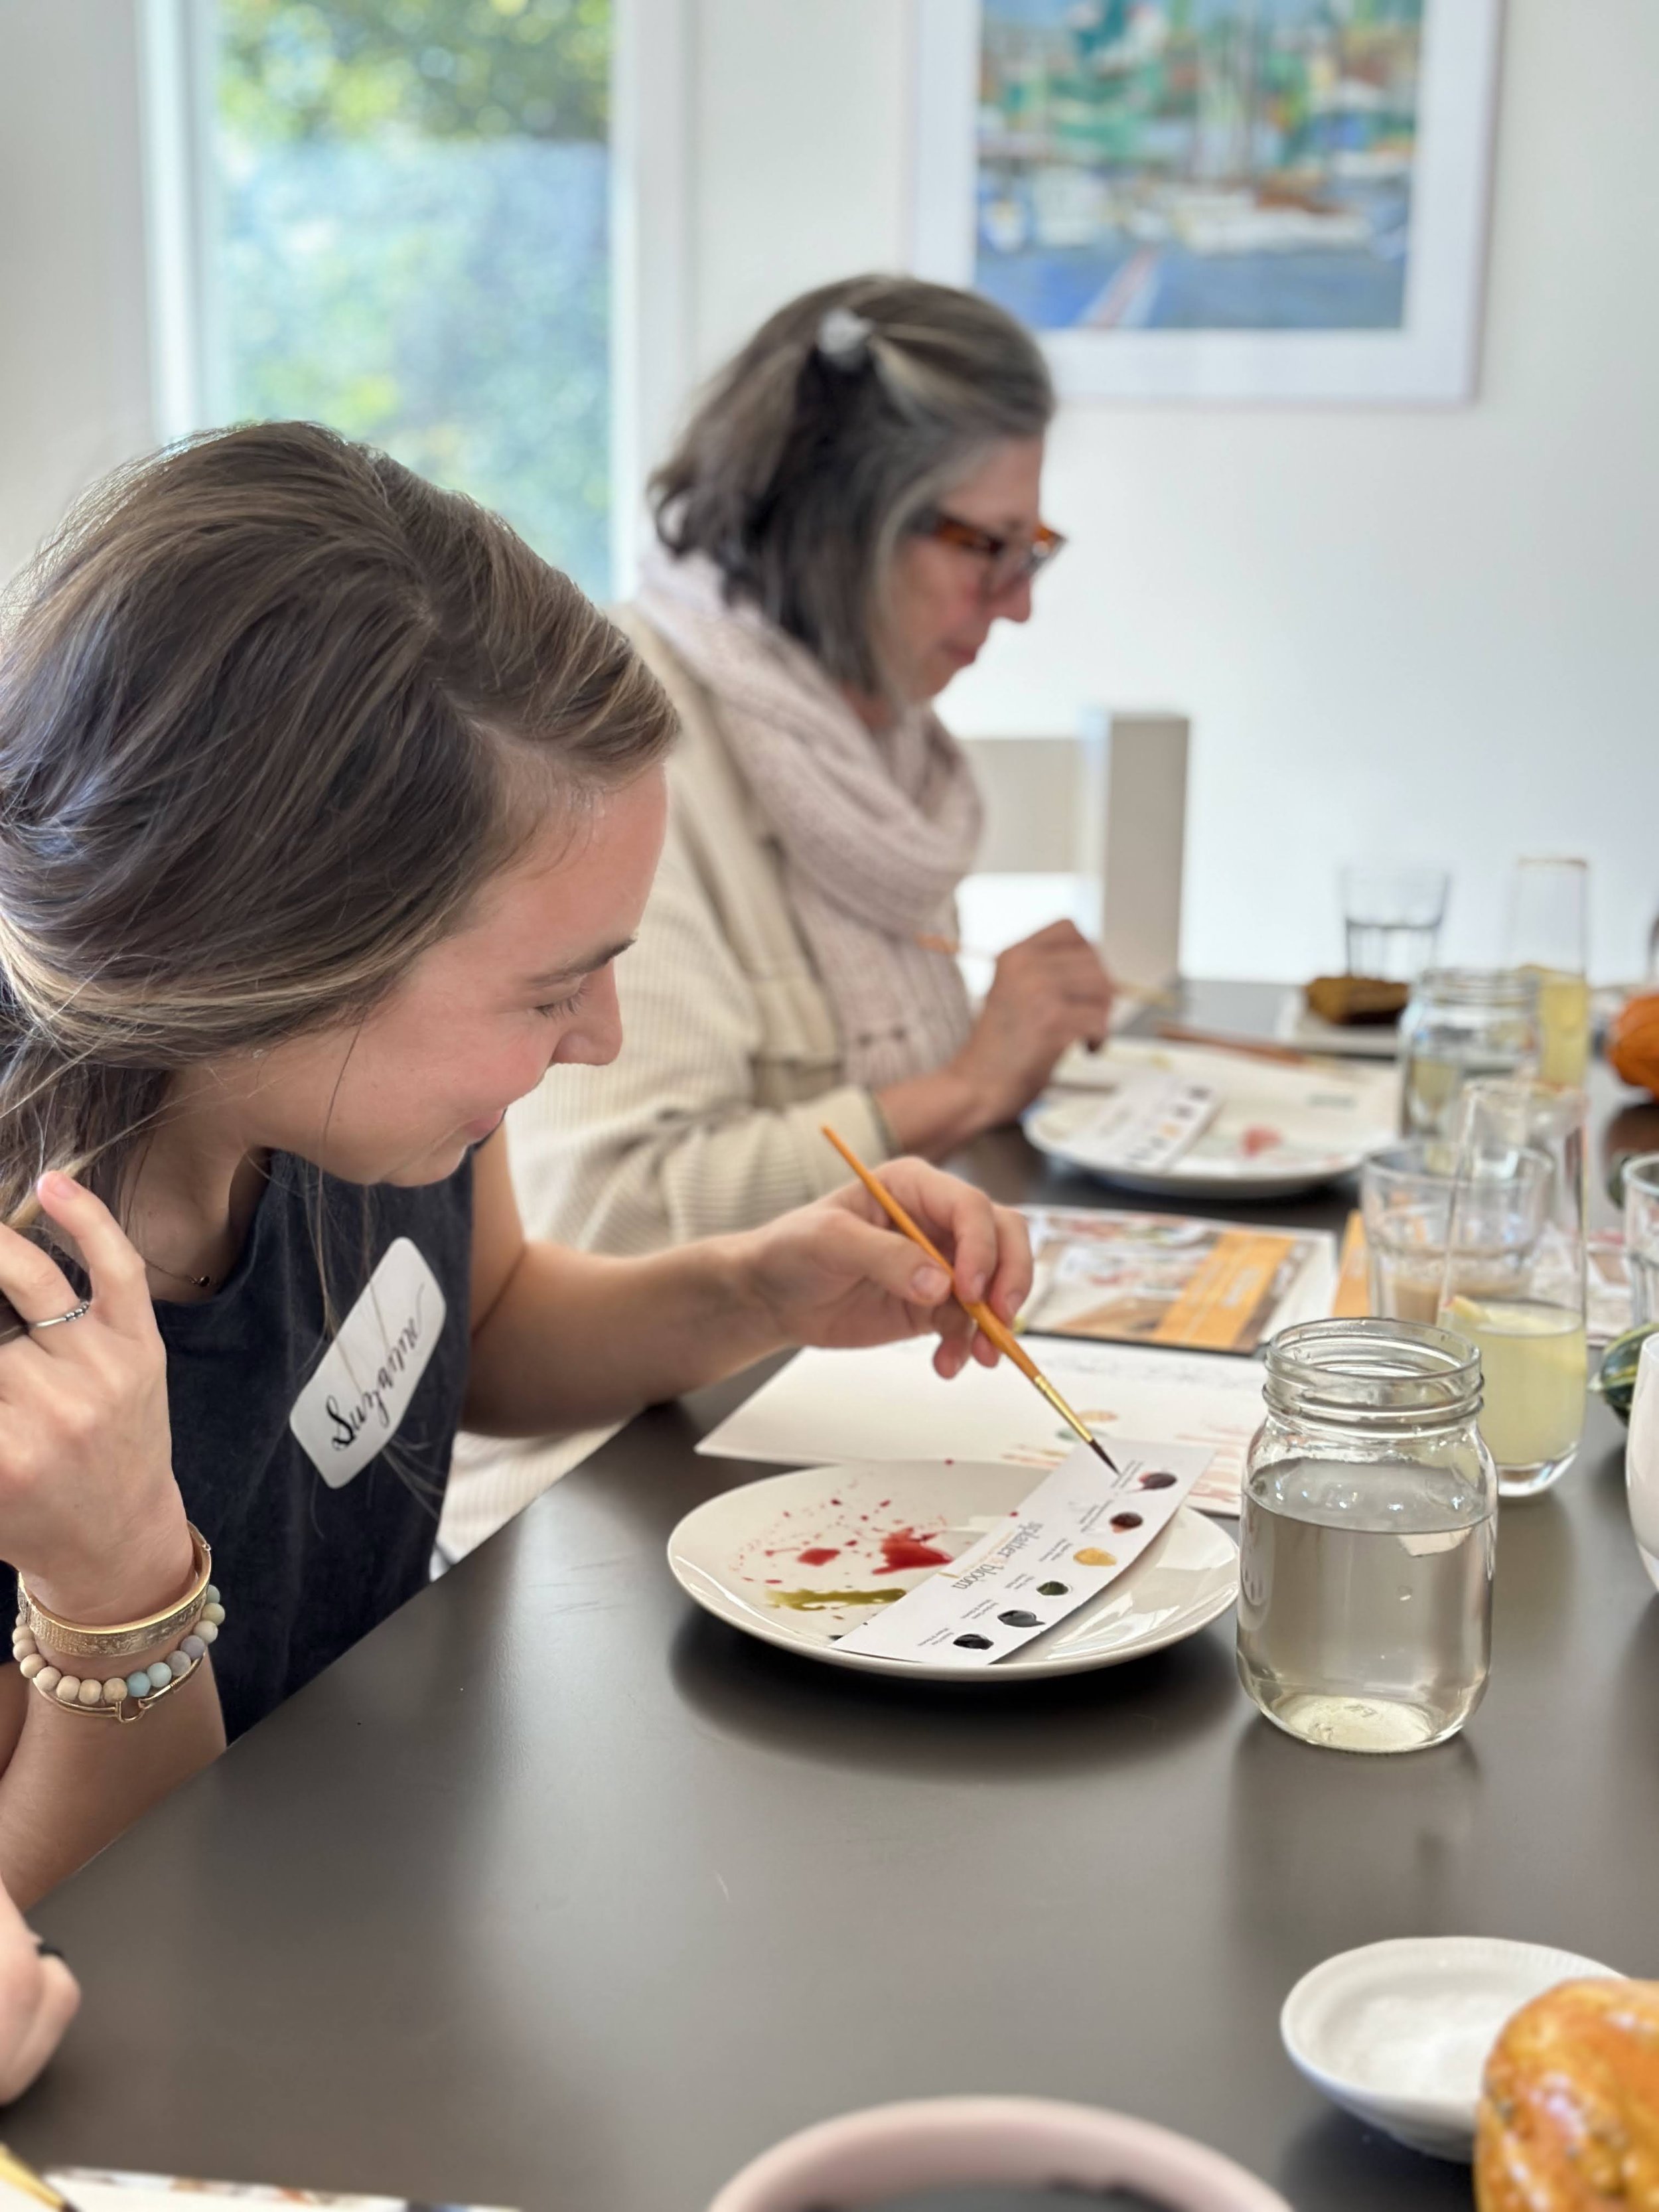
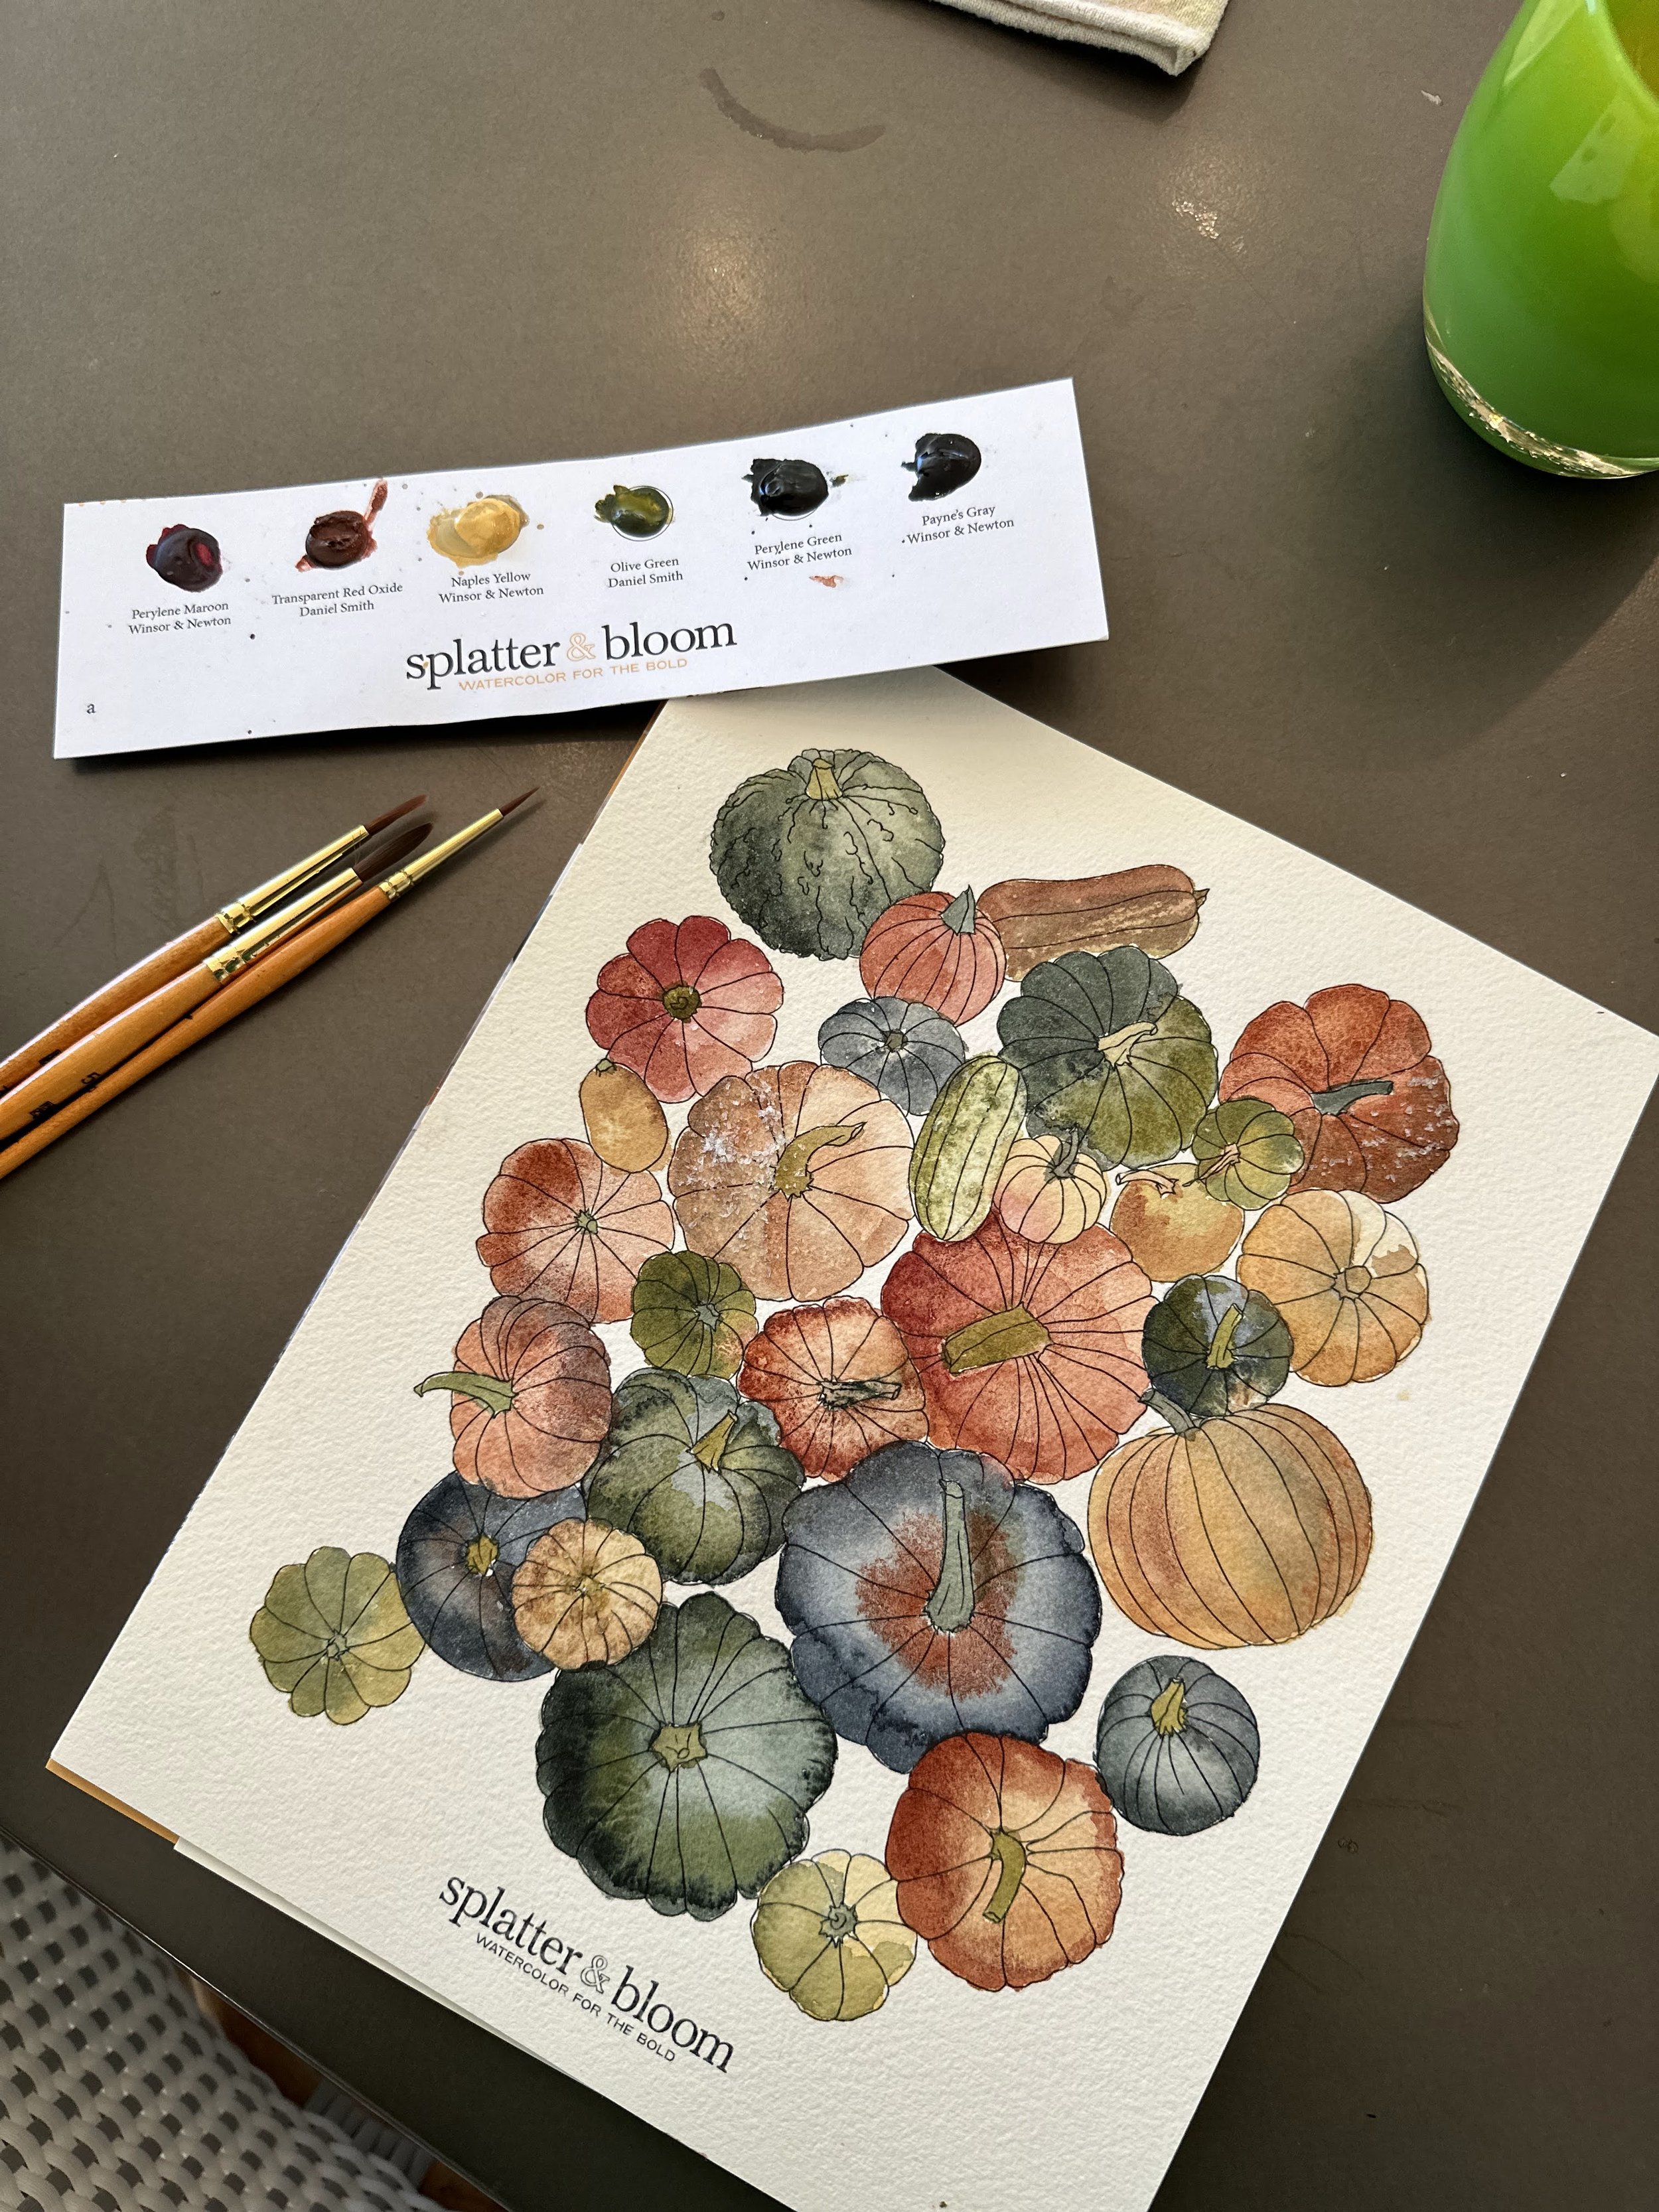
Next we activated our paints by dropping water from the brush onto each paint dot. Once our pigments were activated, we created what Kate refers to as "paint puddles." We tapped a paint dot, gave it a wiggle, dabbed into water, wiggled again, and repeated that process as needed to create the consistency of paint wash that we were looking for. Watercolors are highly pigmented and go a long way, so use sparingly!!
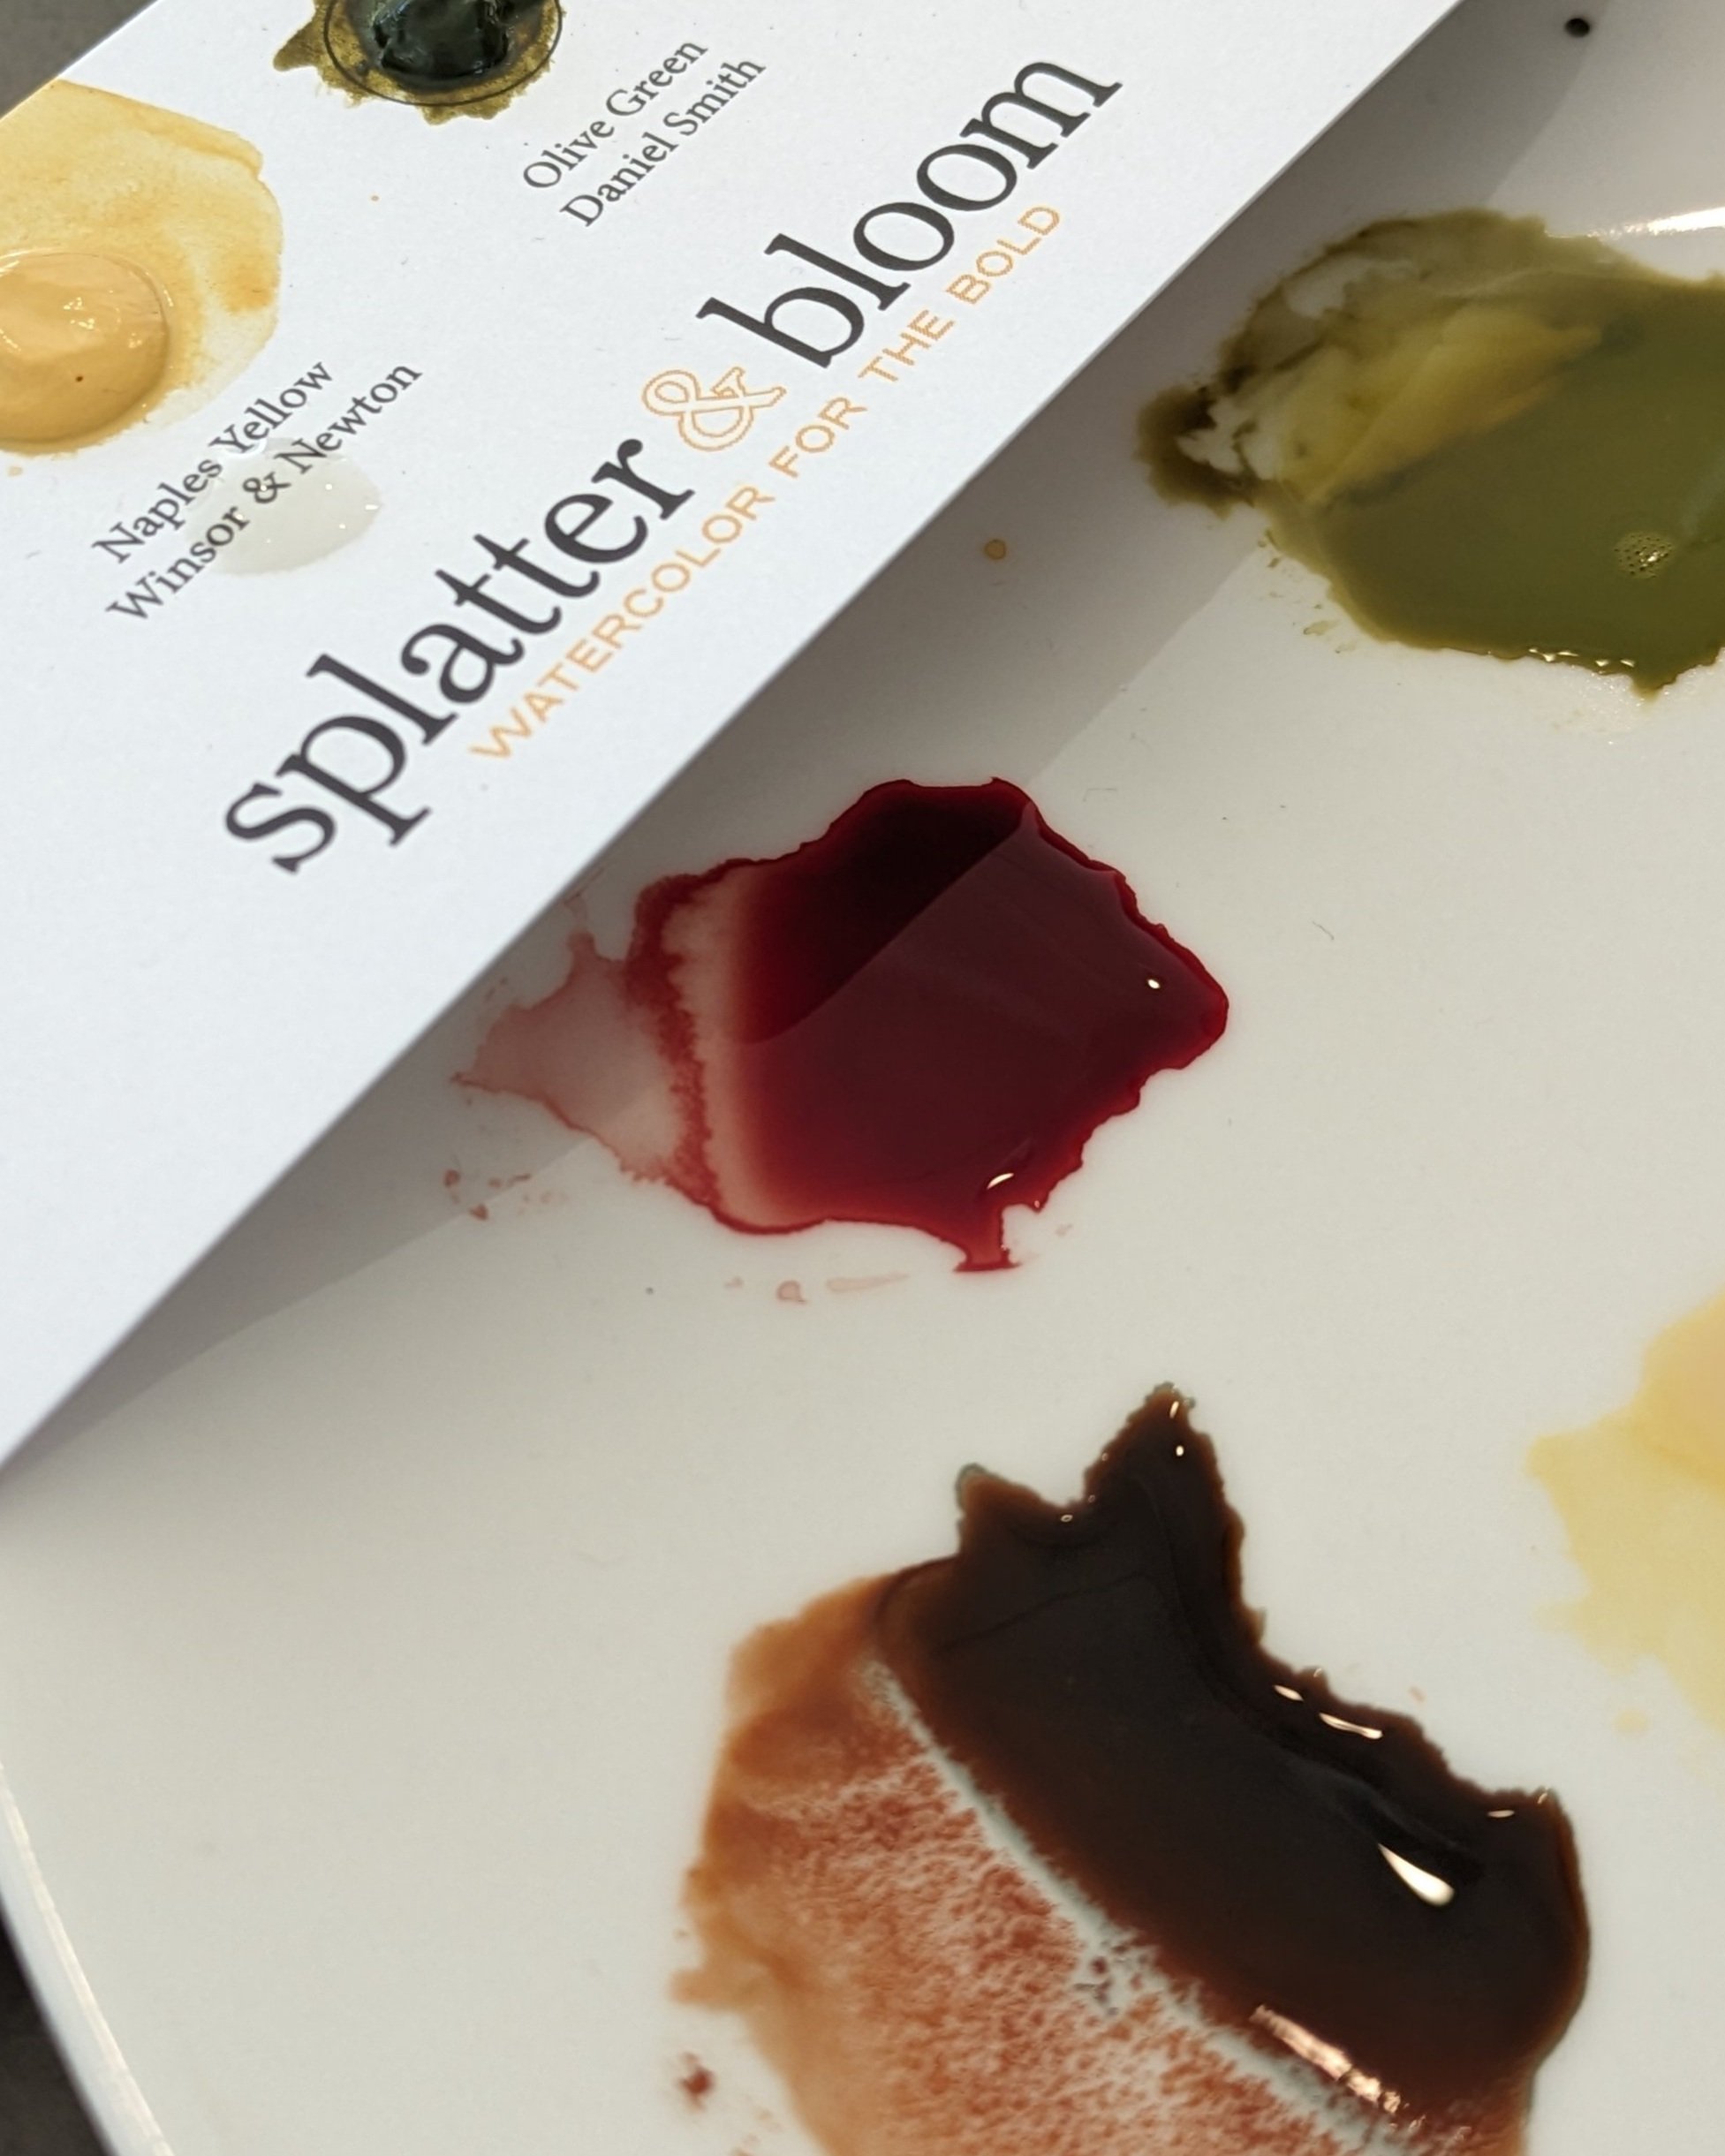
You should have your paint puddles prepared before you begin painting so that you have plenty of supply and do not need to go back to make more. If you do make more, it could affect your desired results due to some paint drying more quickly.
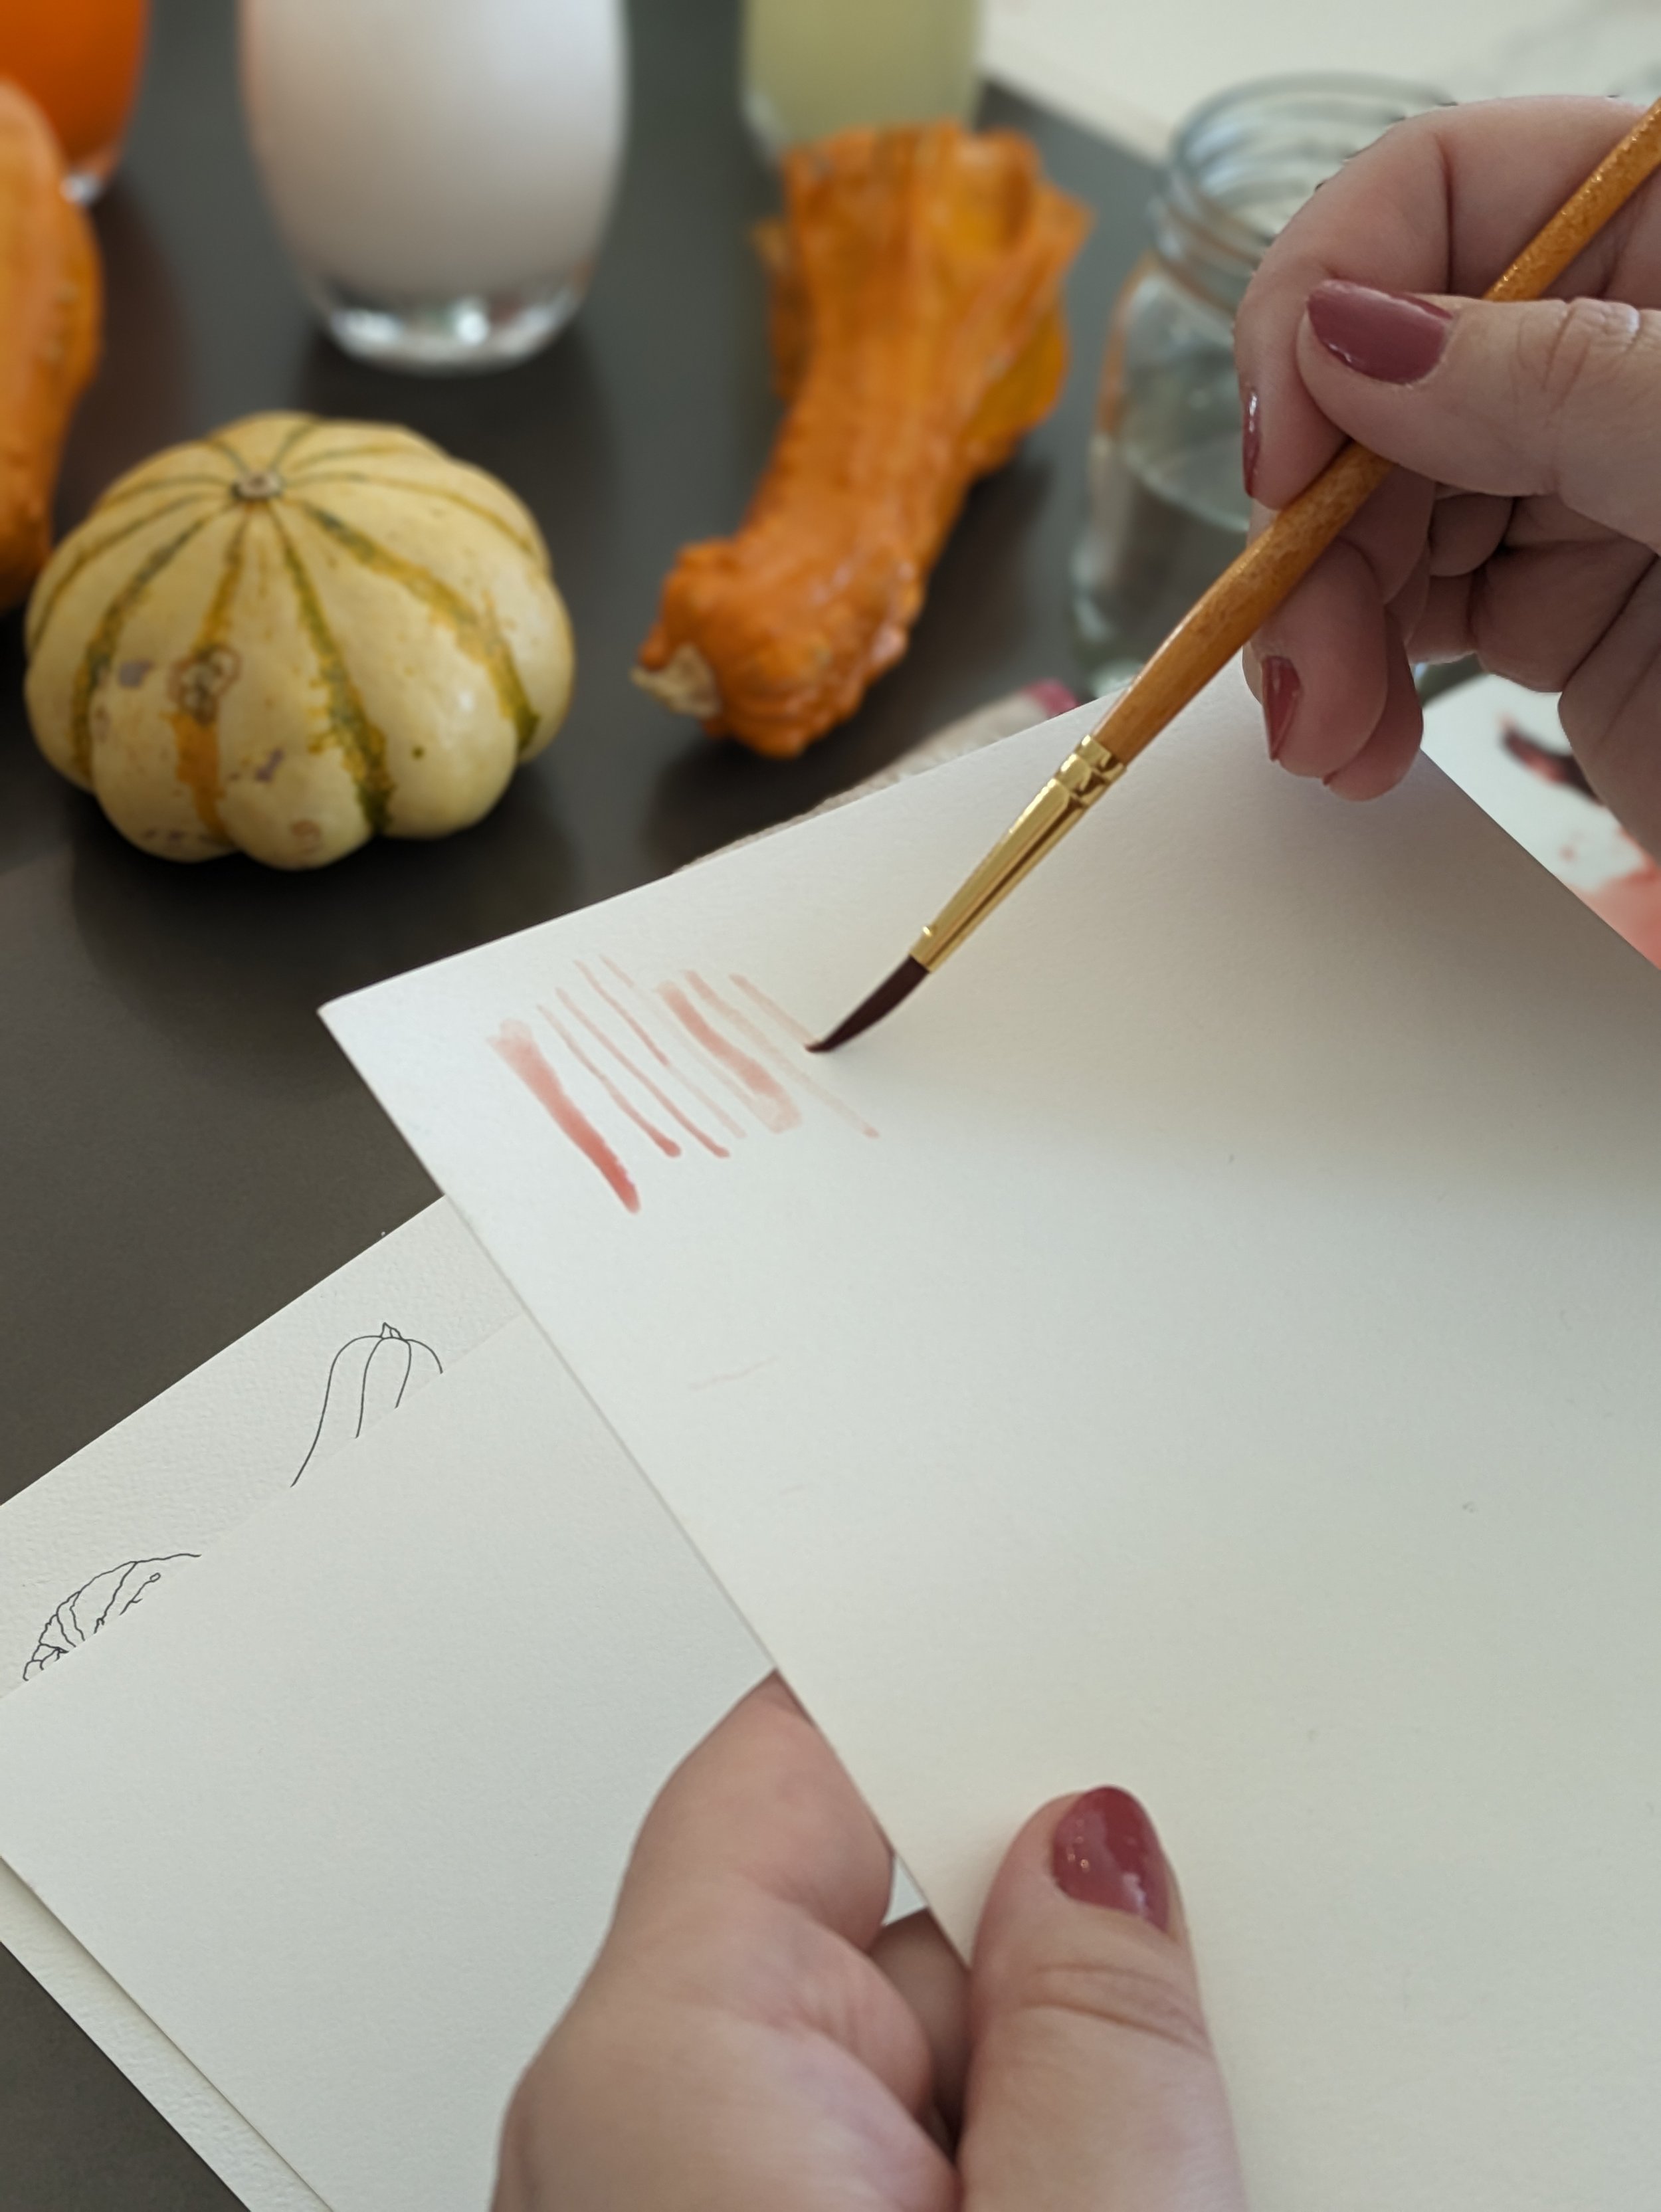
We played with various brush strokes by using just the point of our brush tip to make thin lines, and then turning the brush on its side to make wide strokes. If you're seeing bristle lines in your strokes, that means your brush needs to be reloaded with paint. We then explored how paint reacts to other paint by creating circles next to one another to see what happens when they touch. Whichever circle has more water spreads and gets pulled into the drier circle where two areas meet.
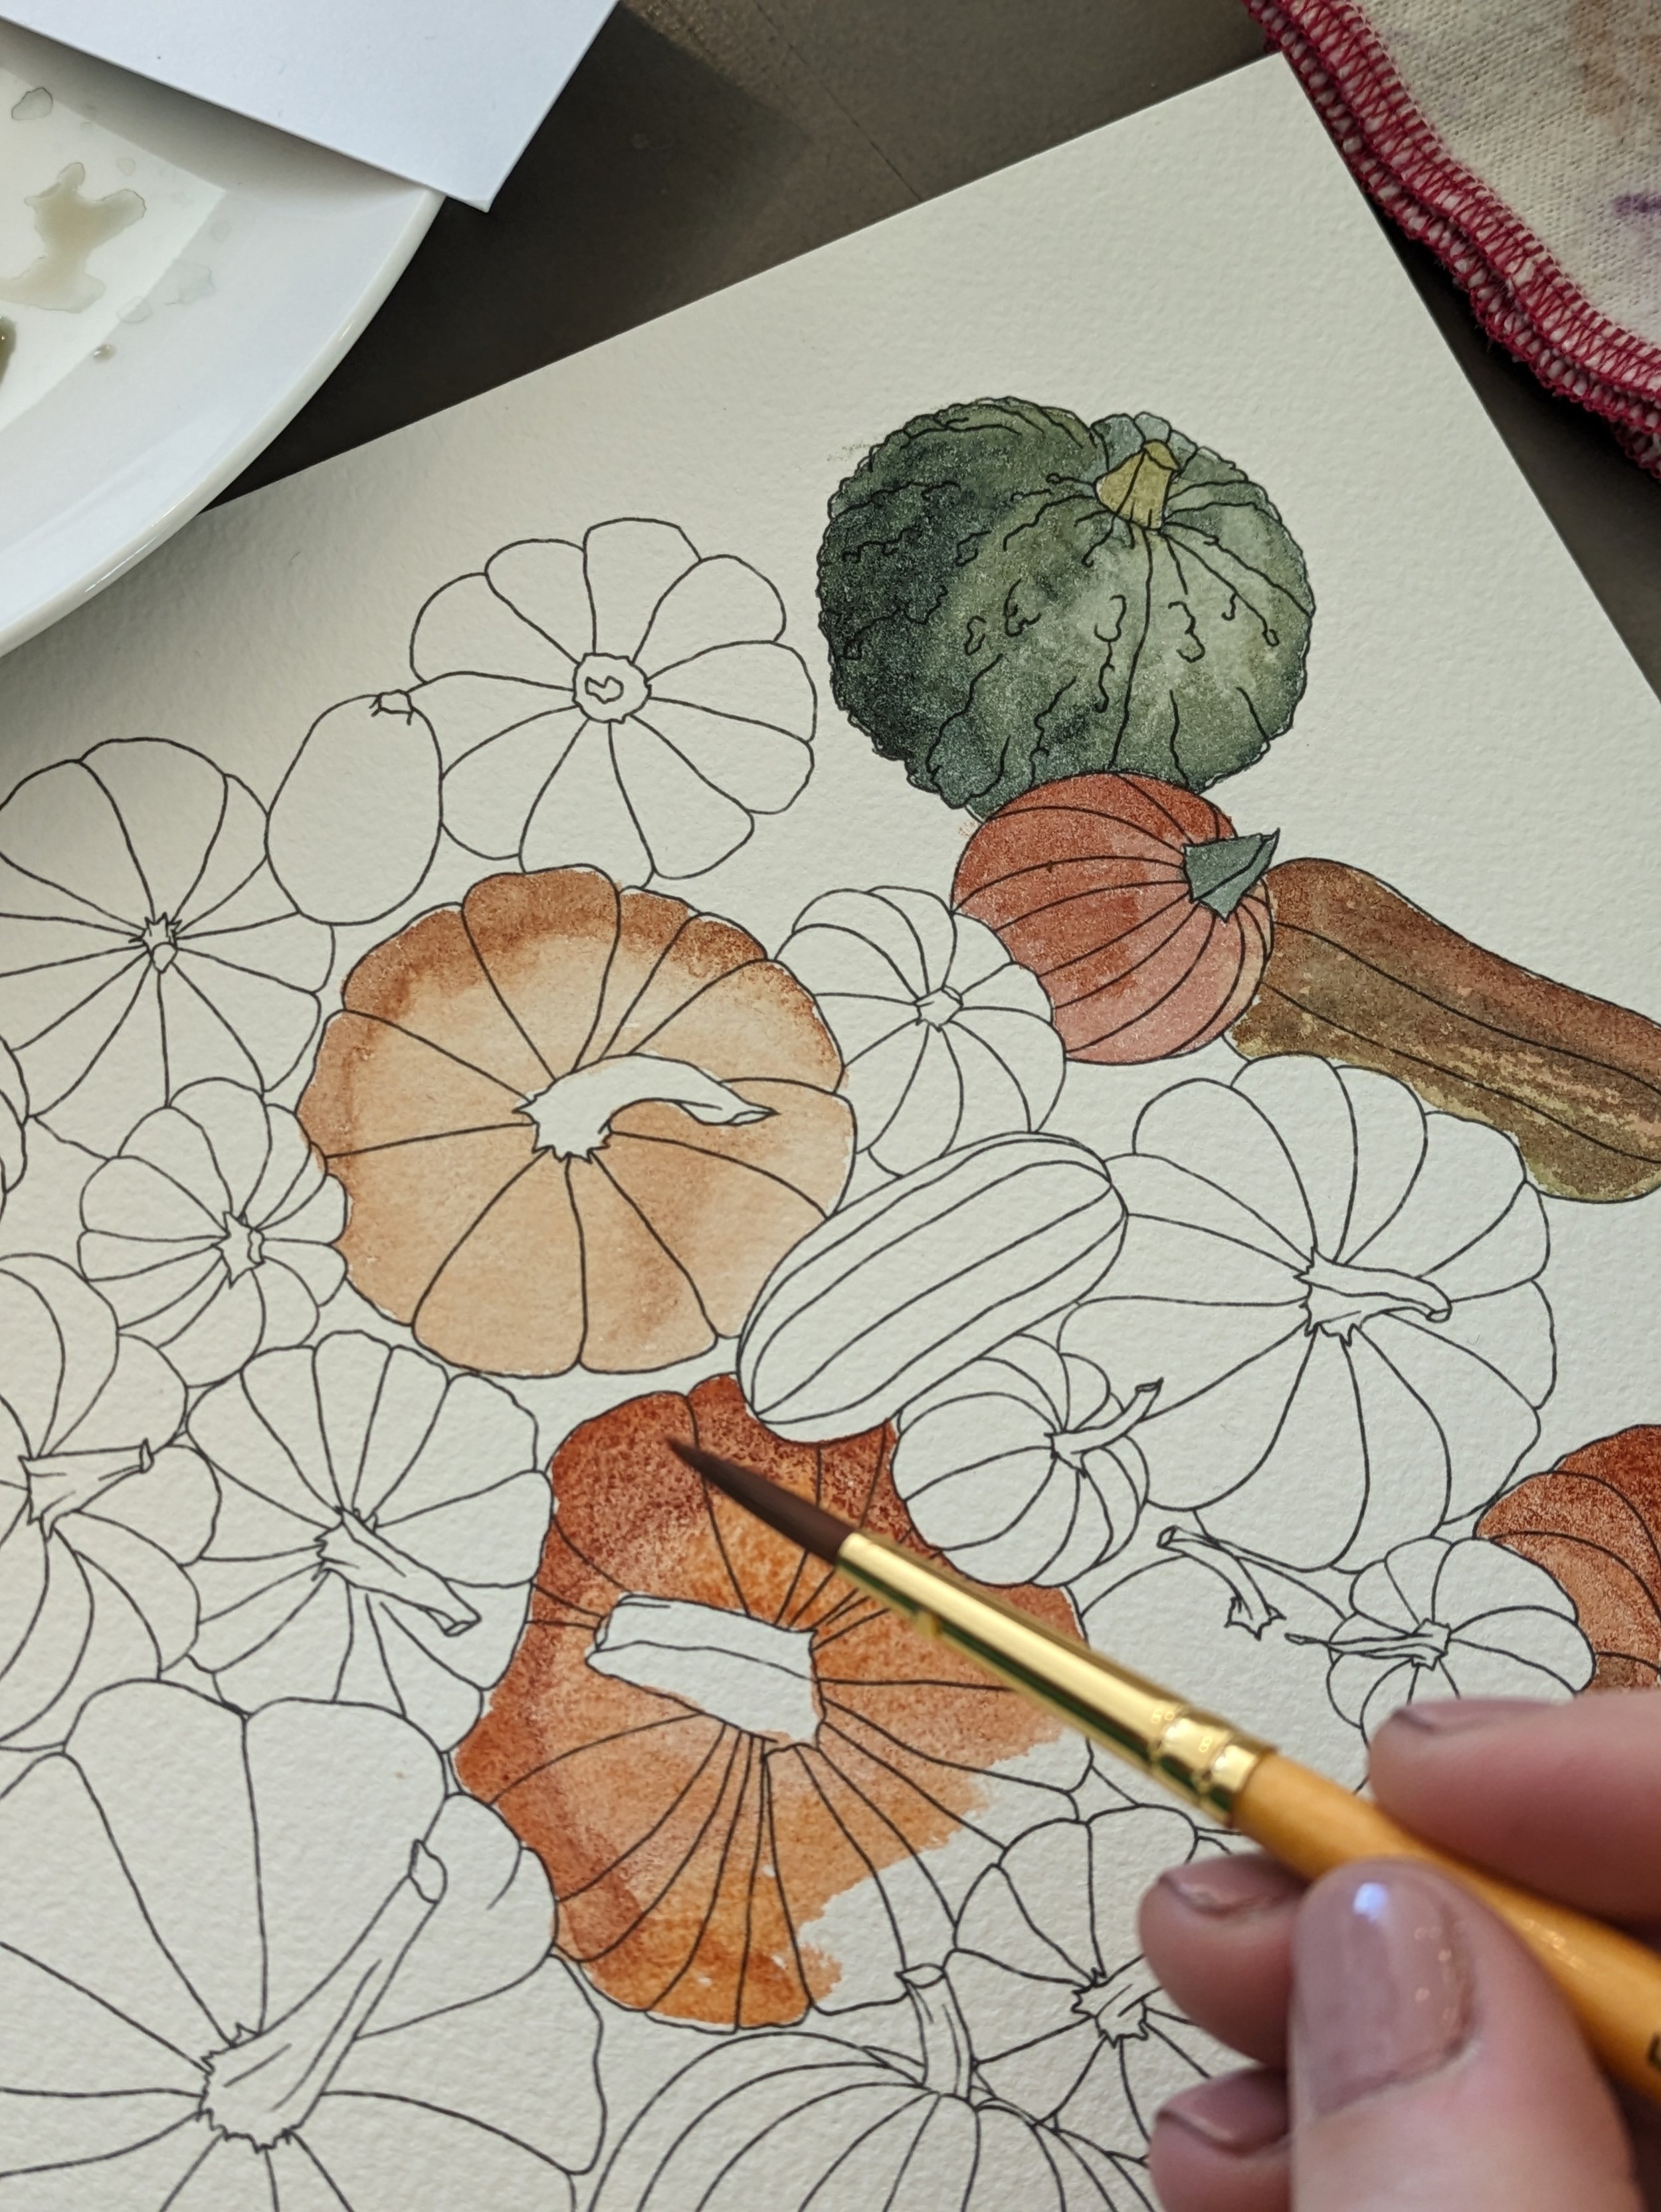
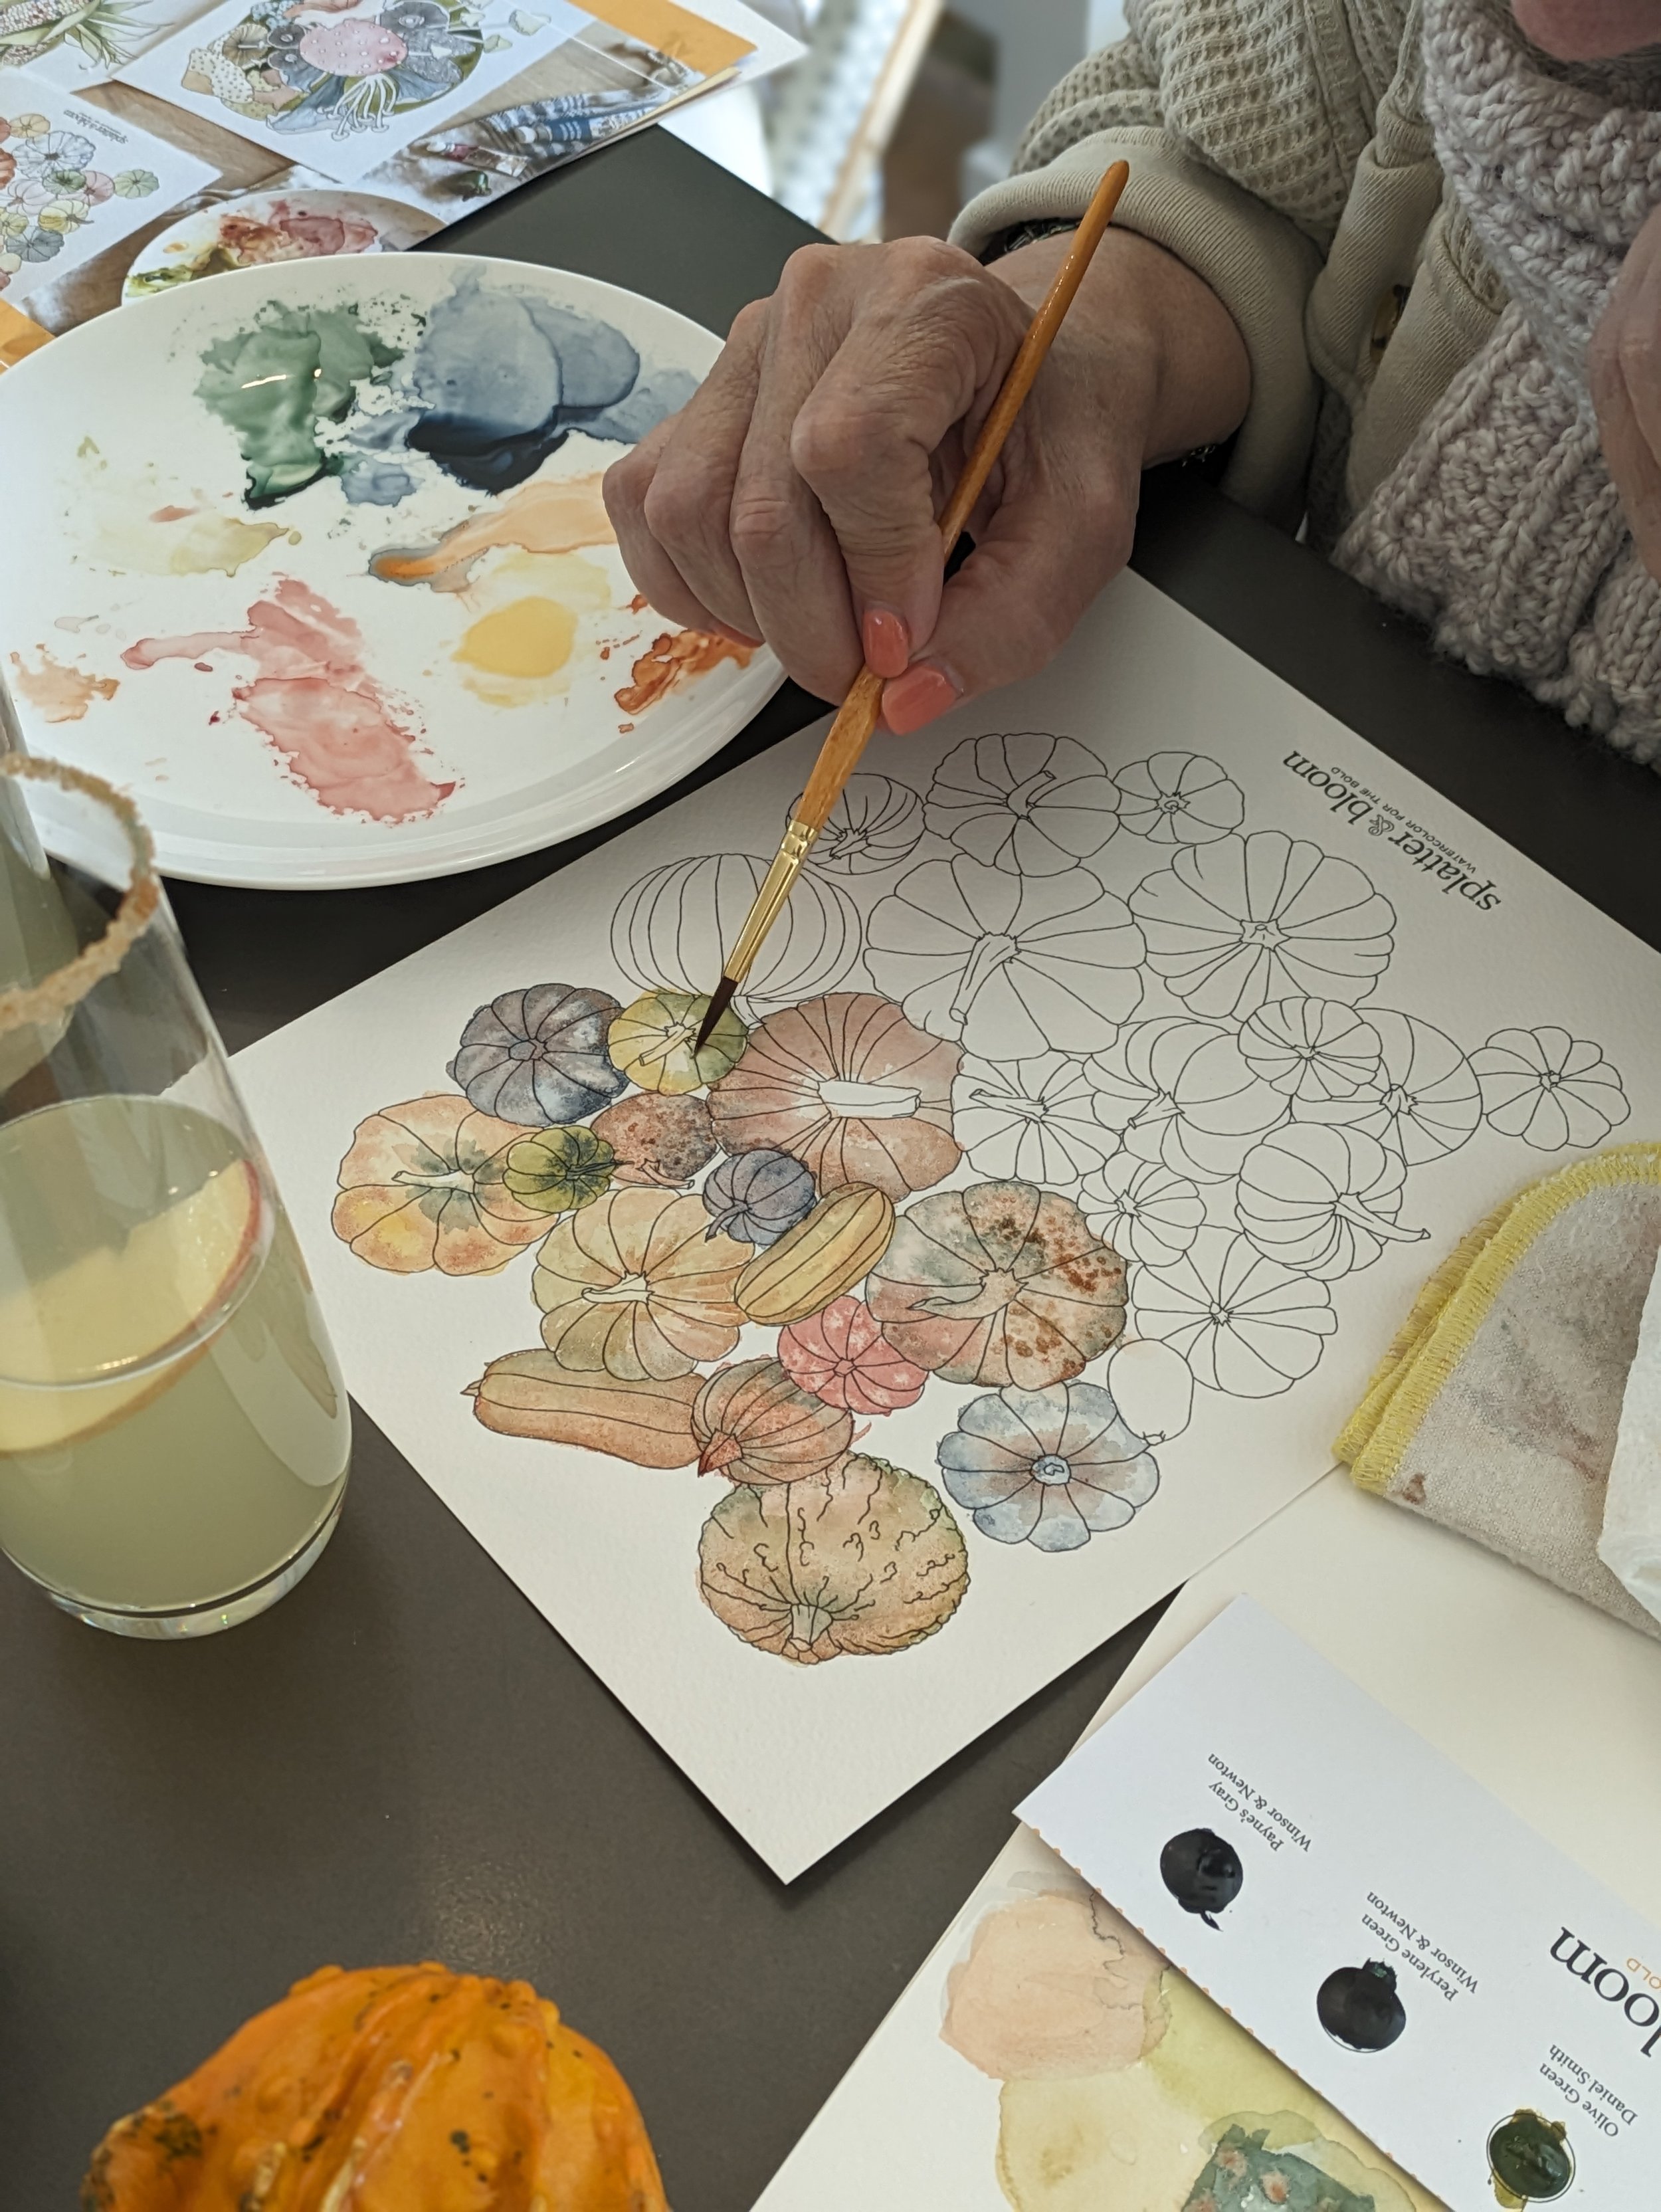
Once we started with our pumpkins, we followed Kate's advice for right-handed individuals to work from top left to bottom right. If you're using a wet-in-wet technique, paint pumpkins next to one another. If you prefer very separate and distinct colors, skip pumpkins as you go to ensure there is time for each to dry.

Kate pointed out that watercolors are a "low stakes" way of getting into art because watercolor pigments go a long way and excess paint can be reused after it dries, as opposed to oils or acrylics (which once out of the tube and dried have to be wasted, and require much more paint to cover a canvas).
Watercolor paper is thick so that it doesn't warp from the amount of water placed onto it. It’s also treated to allow paint to sit on top of the page. You can find it in two varieties, hot pressed and cold pressed. Hot pressed or "smooth" paper, has less texture and allows paint to slide over it while cold pressed has a good amount of "tooth" which holds onto pigment and offers more control. Whichever your preference, remember that good quality paper gives you more thinking time as it will not dry as quickly.
Once you're ready to get started, try laying down an initial base wash, then while your paint and paper are still wet, you can practice your wet-in-wet technique by dropping more paint within that wash. Alternatively, you can allow your base of paint to dry entirely before adding details over the top. Letting that first wash dry lets the pigment on top disperse less and creates interesting lines. If you make a mistake, paper towels are great while paint is still wet since they're so absorbent. Remember, even something you may consider a mistake is really an opportunity to learn how water will behave!
Other ways to add interest are by coming in over your base wash with an entirely different color to emphasize your pumpkin ridges or other details, or believe it or not, by adding salt! Salt draws out moisture and will react with your paints in beautiful ways. Play with table salt versus kosher or even sea salt to see how the size of the granules creates varied results.
Ultimately, Kate likes to get a layer down, then add a second and even third layer to obtain desired shading and some detail, and then she goes back in one last time for final details (adding warts to pumpkins, stem detailing, etc.).

Elevate your next coffee bar with homemade syrup for your cold brew or hot coffee. Our current fav is pumpkin spice syrup. Check out our Blog from our recent workshop with The Pastry Project for this delicious recipe.

Watercolor Supplies:
water cup
brushes (we used a student-grade set of Princeton round brushes to take advantage of both the point and belly of the brush)
watercolor paper (Arches brand is best)
Splatter and Bloom kit (contained outlines for pumpkins, corn, and mushrooms as well as video tutorials)
professional grade paints
Kate’s tips and tricks:
Kate says to think of your first layer as "freshly zambonied ice" or a wet, thin and even consistency to get a nice bleed of color. You can drop in paint of another color to see an intense paint spread and supplement with drops of water as needed to force its spread even more.
Work from lightest to darkest colors to prevent bleeding. This is counter-intuitive to painting with oils or acrylics where you start with dark and come in over the top with light highlights. Typically in watercolors, white or very light areas are created using the paper itself rather than paint.
Try shading with more pigment after the first layer has dried. You can layer only to specific areas which is called "glazing."
The juicier or wetter the color, the more time you have to manipulate it.
Experiment with only water on paper, then drop paint into it and you'll see it has unpredictable behavior and provides a more wild look. You can also try adding paint to one side and then use water to draw pigment to the other side.
To tone down bright colors, throw in others (for example, if you only have a very vibrant red but want to make it muted, add in a bit of green).
To know when paint is truly dry, make sure it's not shiny or reflecting off the page. You can also hover a finger just above your paint and if the air feels cool, there is still water evaporating.
If you need to blend a hard edge, dry your brush, then feather it out.
Cotman or other student-grade watercolors that are found in an art supply store are a good representation of true pigment colors that you will later find in higher end supplies as you continue your creative journey. The names of colors will remain the same, as opposed to working with very low end craft supplies that will not have typical color names.
In case inspiration strikes at a coffee shop, local park, or away on vacation, you can purchase great small sets of travel supplies (think tiny palettes, foldable brushes, etc.). Remember that alternatively, anything can be used as a supply in a pinch - even a yogurt container lid can act as a mixing palette!

Chocolate Chip Pumpkin Bread
Ingredients: 3 cups all purpose flour, 3 cups white sugar, 2 teaspoon baking soda, ½ teaspoon baking powder, 1 teaspoon kosher salt, 2 cups canned pumpkin, 1 cup vegetable oil, 4 eggs, ⅔ cup water, 1 teaspoon ground cloves, 1 teaspoon allspice, ½ teaspoon pumpkin pie spice, ½ bag semi-sweet chocolate chips
Instructions: Preheat oven to 350 degrees and spray 2 loaf pans with non-stick baking spray.
In a large bowl combine the flour, sugar, baking soda, baking powder and salt. Set aside.
In a mixer combine the pumpkin, oil, eggs, water and spices on medium speed. Slowly add the dry ingredients and mix on low until everything is just combined. Lastly, add the chocolate chips and fold in with a spatula.
Transfer batter to 2 sprayed loaf pans. Top with extra chocolate chips if desired and bake for about 55-60 minutes, until a knife is inserted in the middle and comes out clean. Remove the loaf pans from the oven and let the Chocolate Chip Pumpkin Bread cool for at least 30 minutes before removing and slicing. Tip: You can get 12 slices out of each loaf. Eat one loaf now and freeze one loaf for later. Keeping it whole will keep it fresher in the freezer.
Thank you #whatsgabycooking for this delicious recipe!
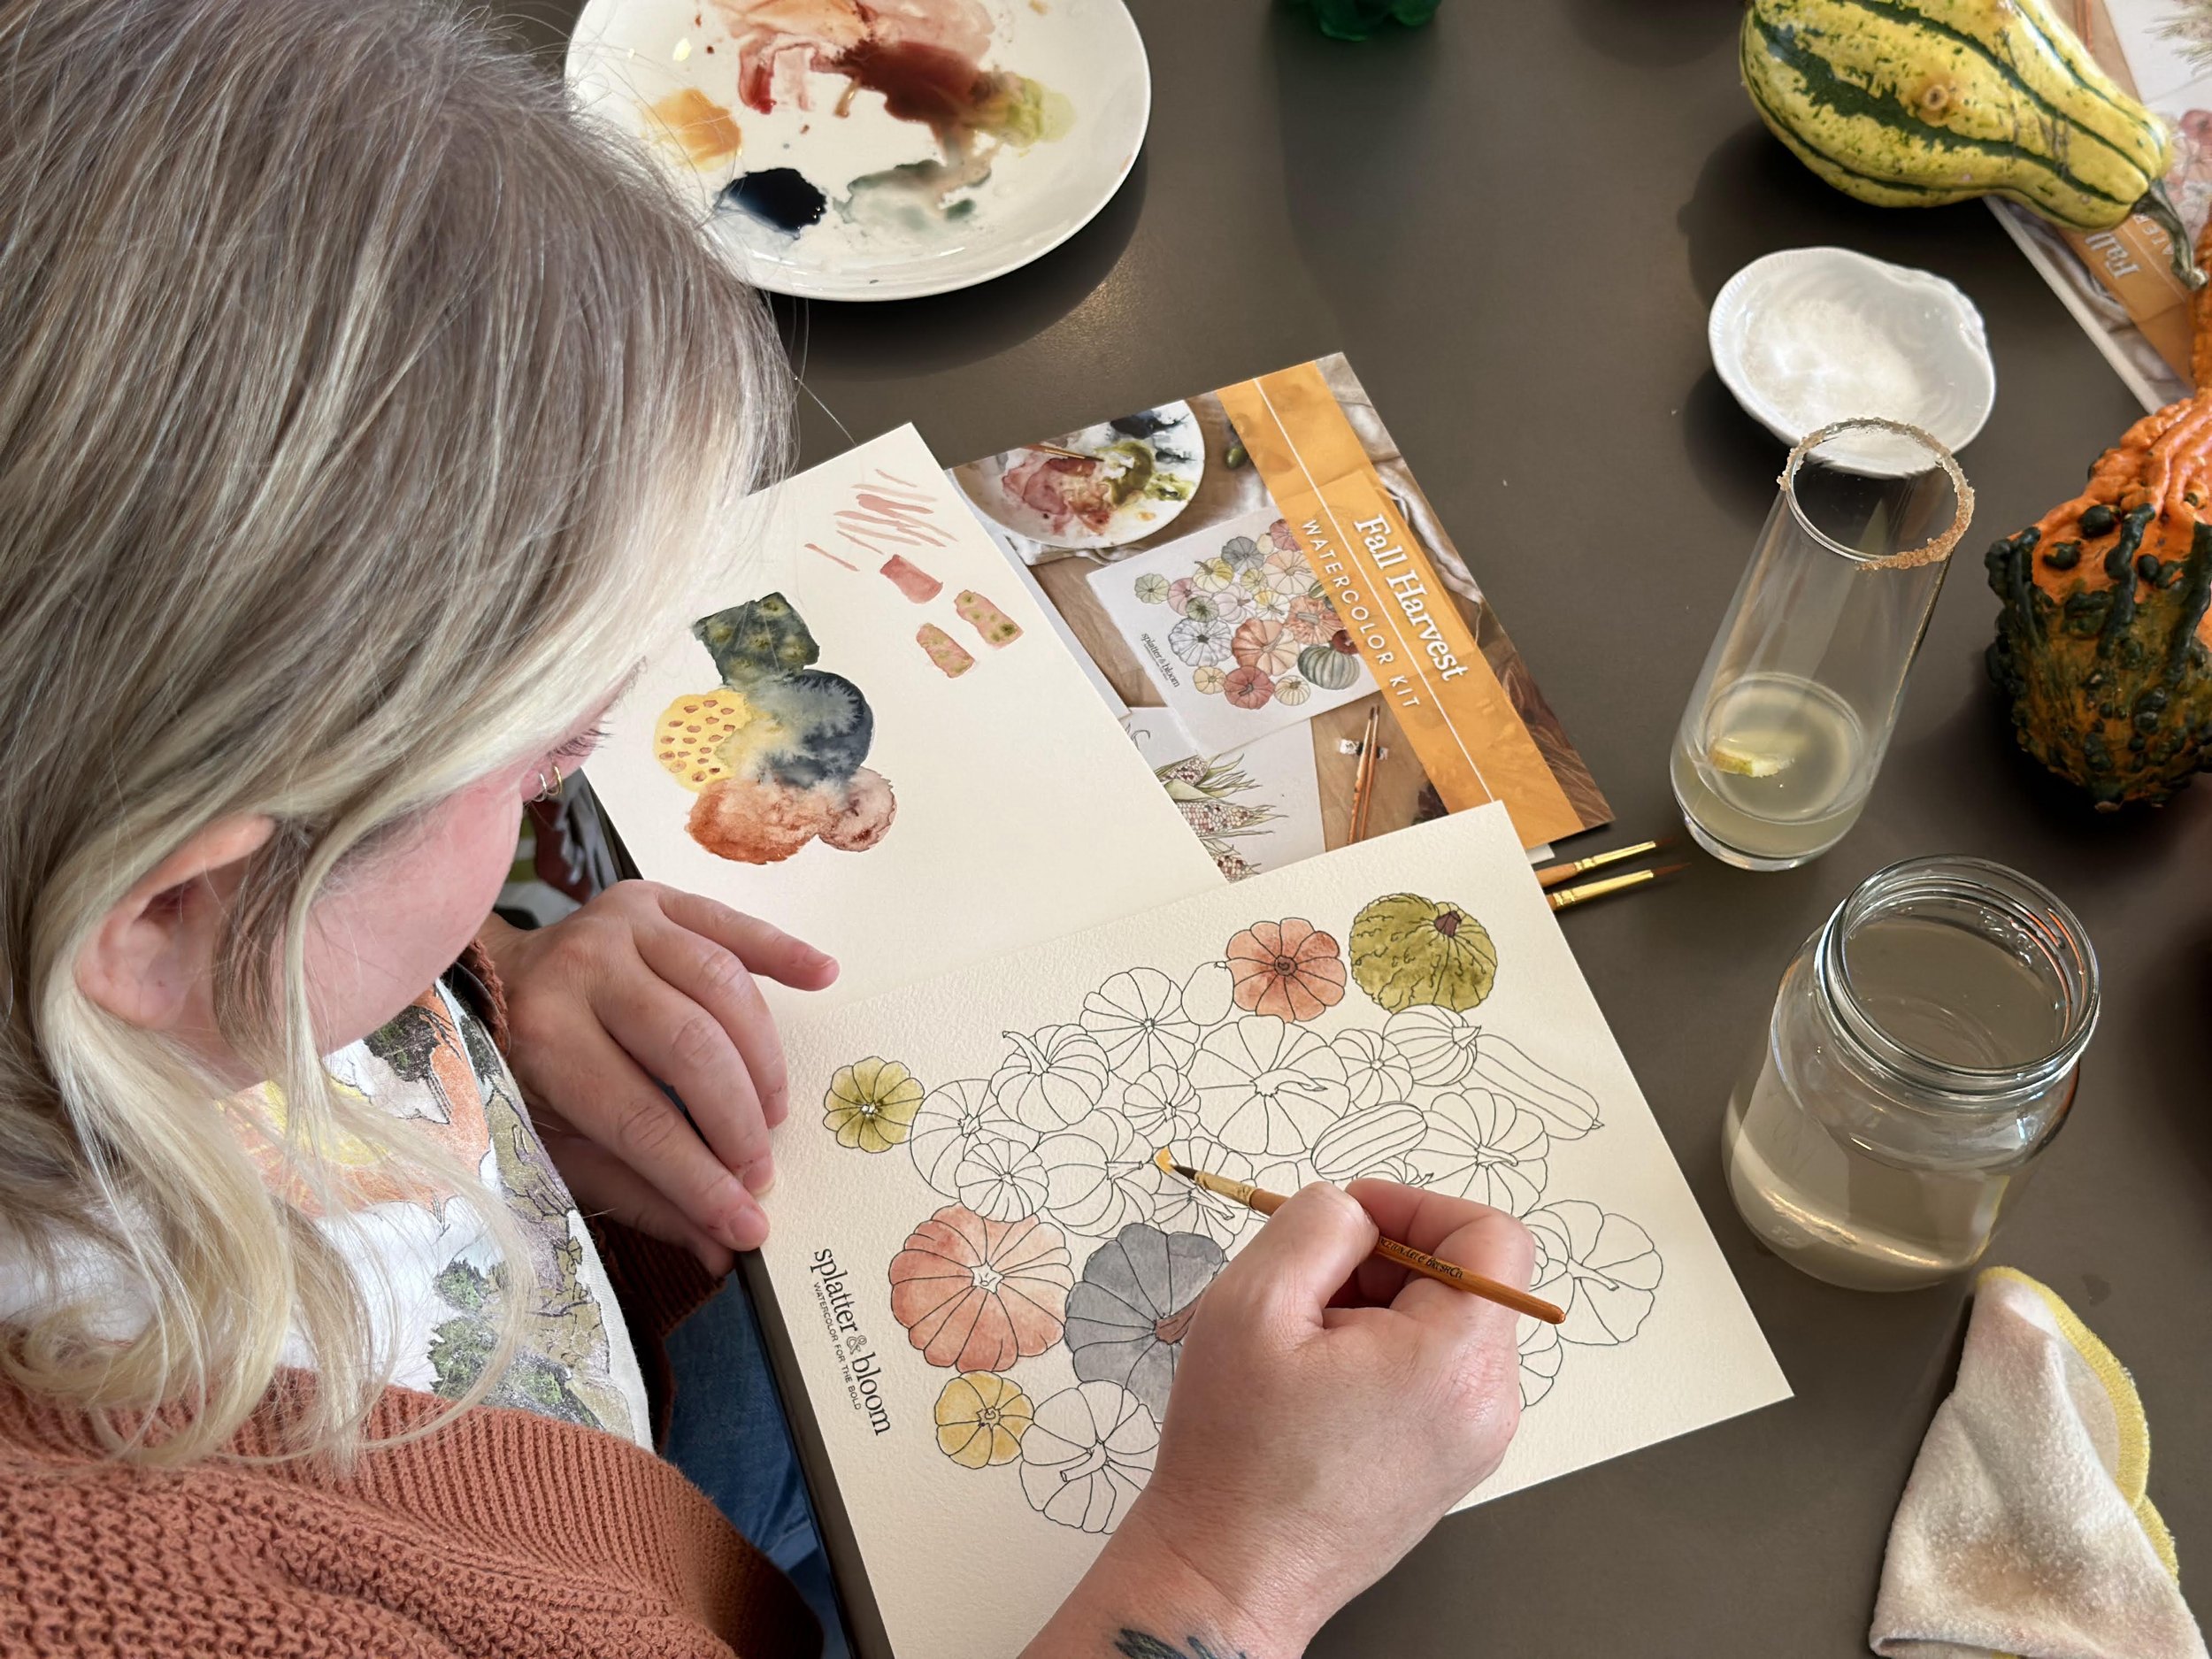
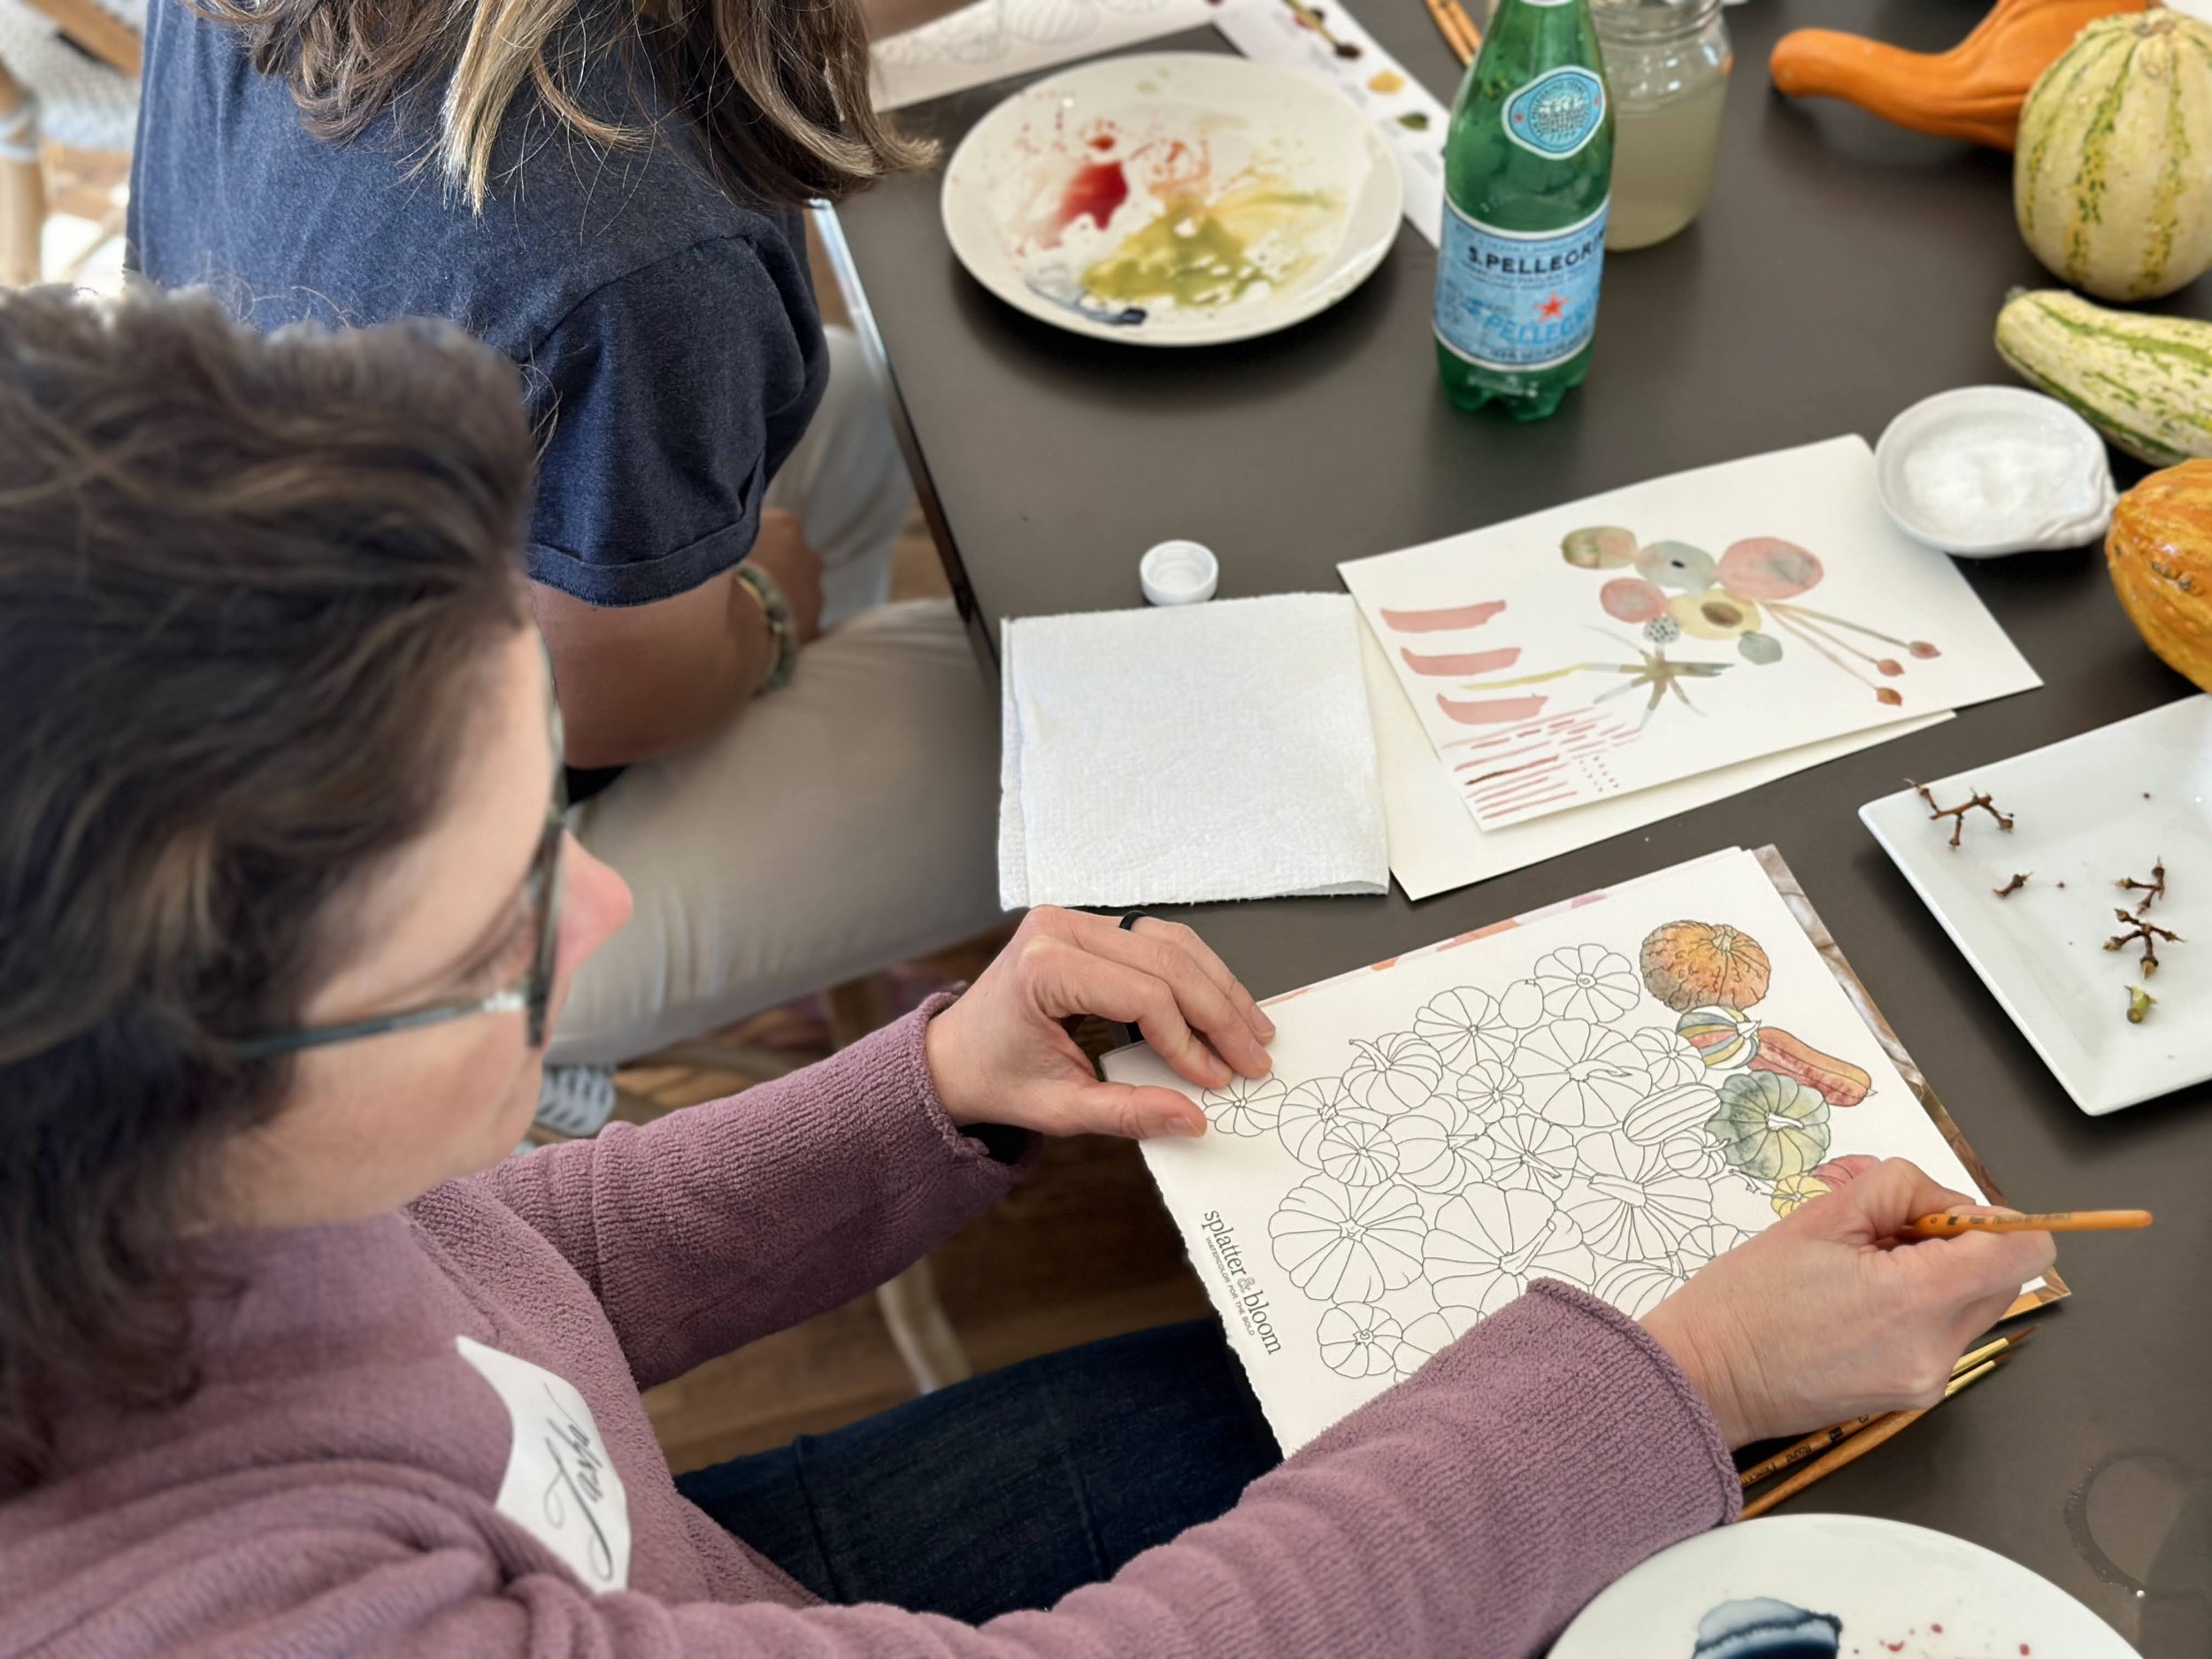
Each of our guests received three 8x10” Fall harvest themed design outlines (pumpkins, mushrooms and corn), printed on Arches 140 LB cold press watercolor paper. They also went home with three Princeton (R) Real Value round brushes, six curated professional grade watercolor dots and instructional video links.

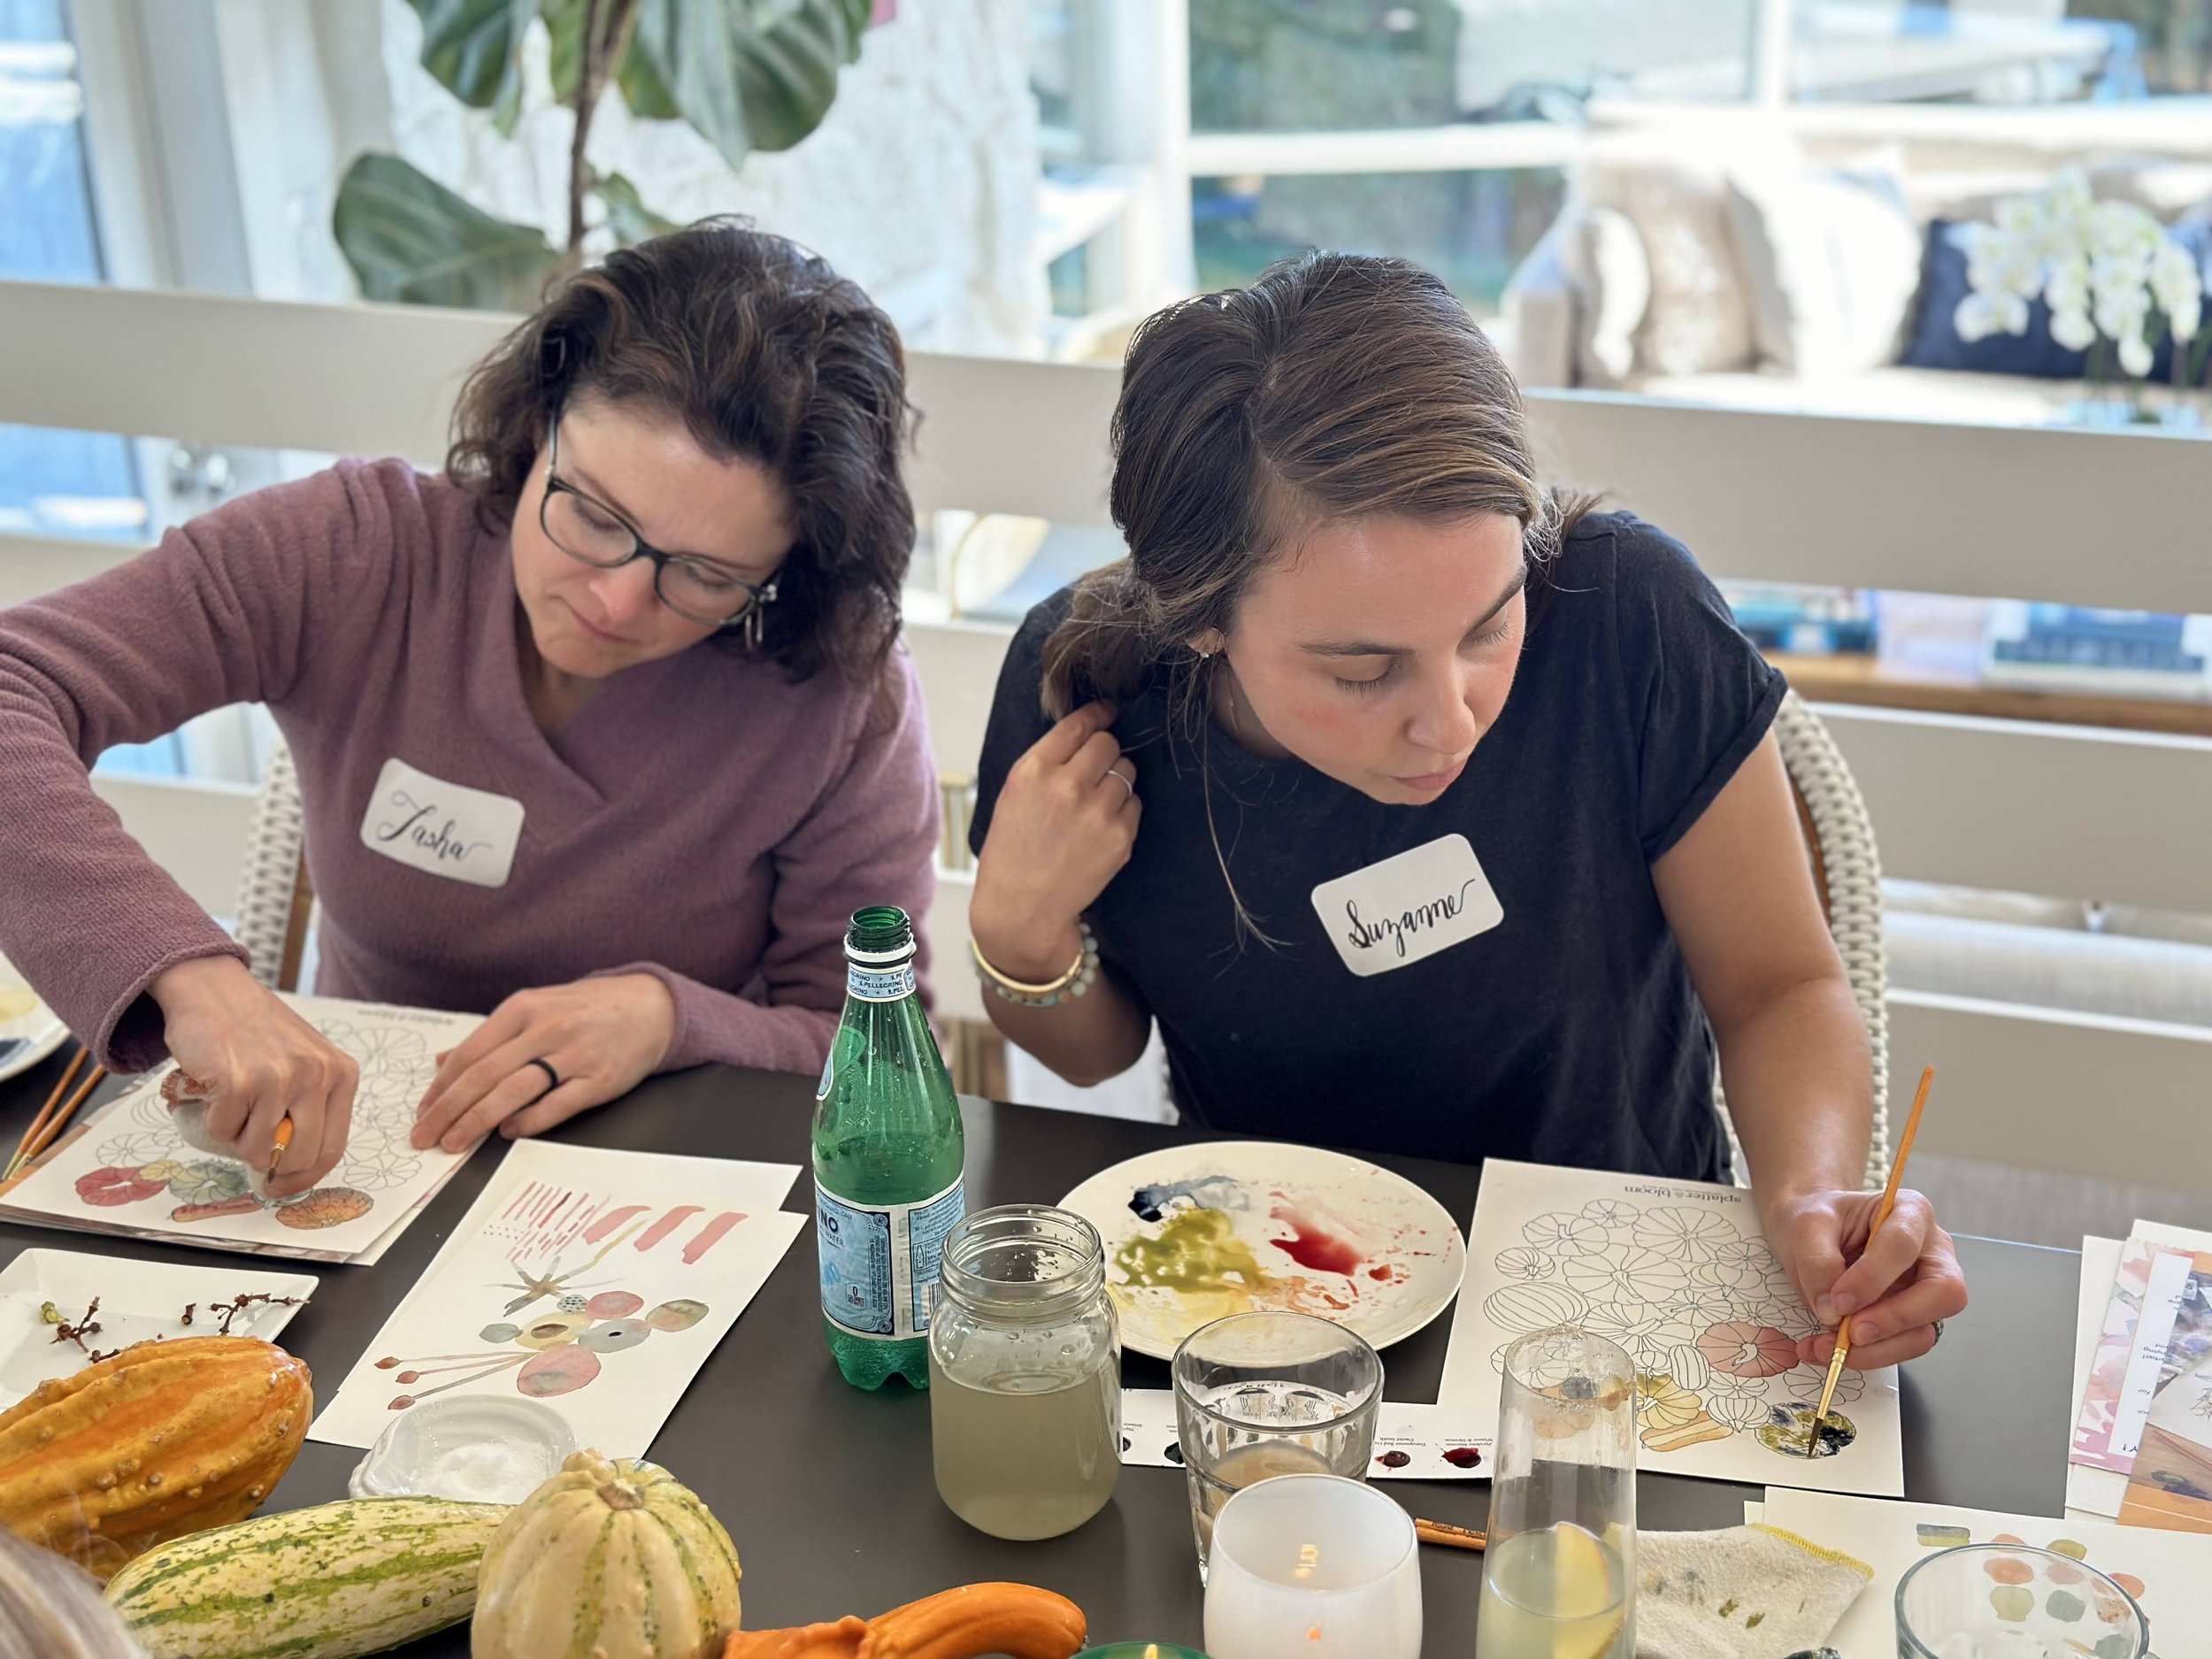
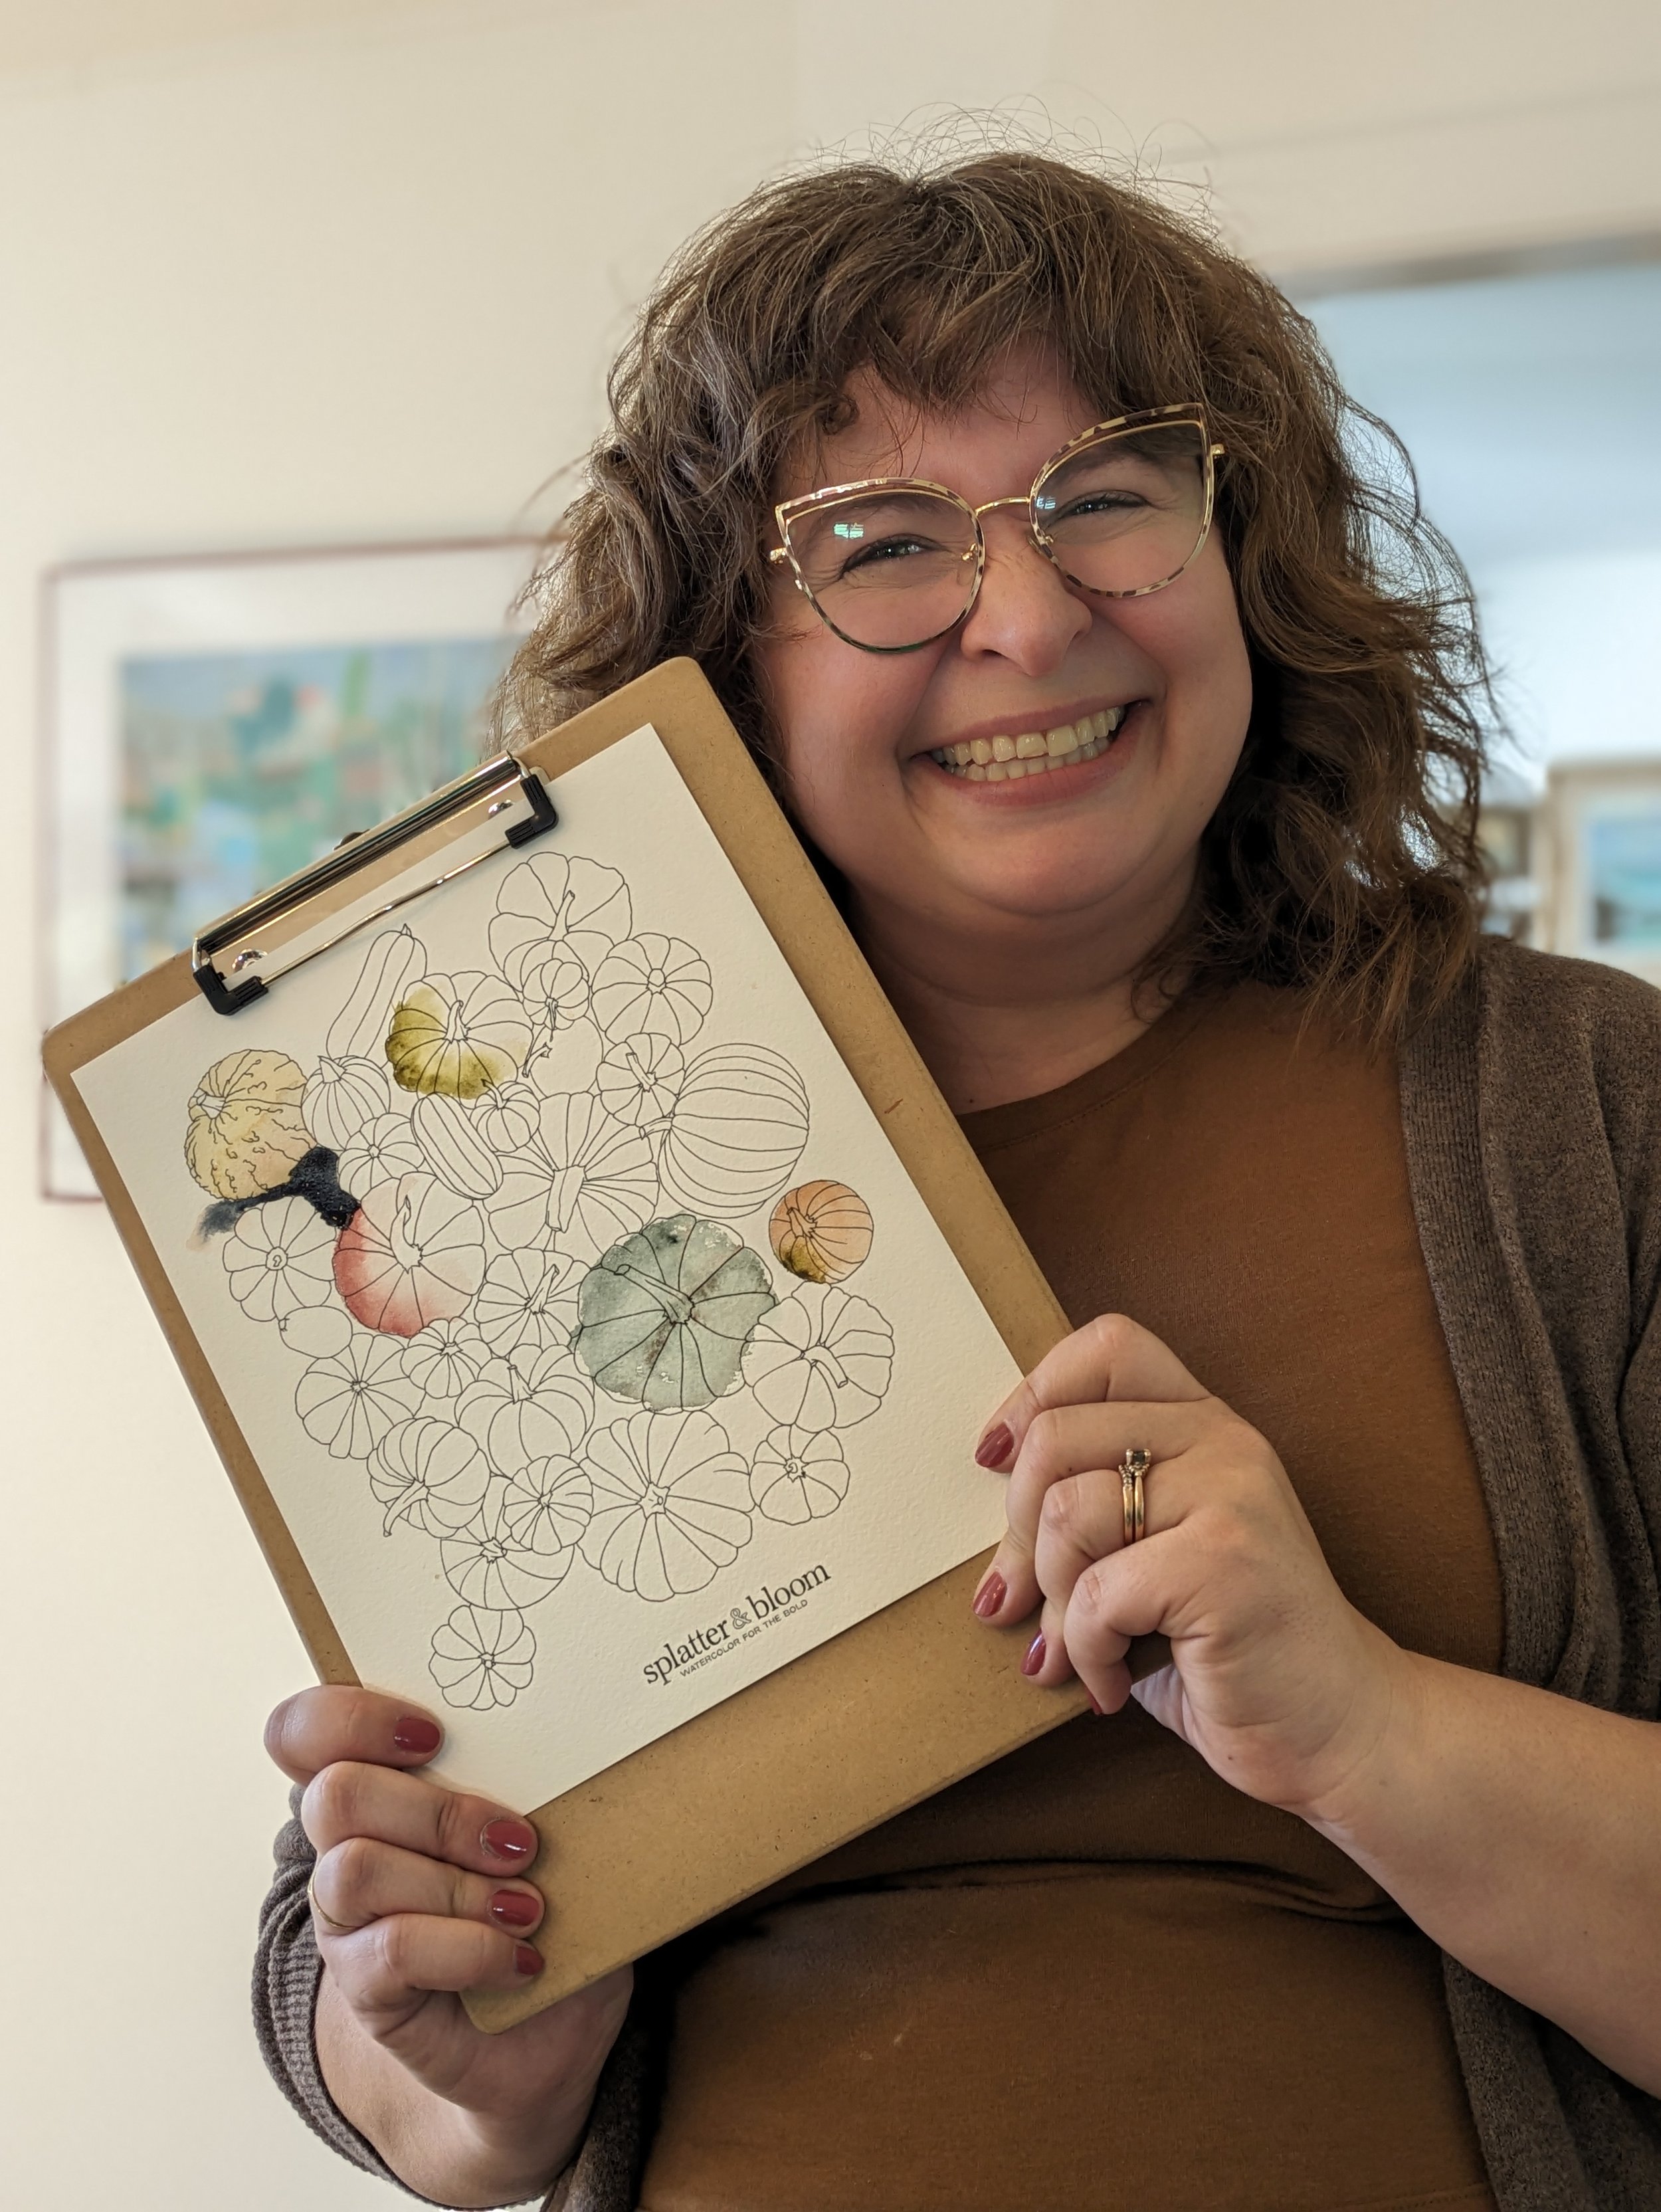
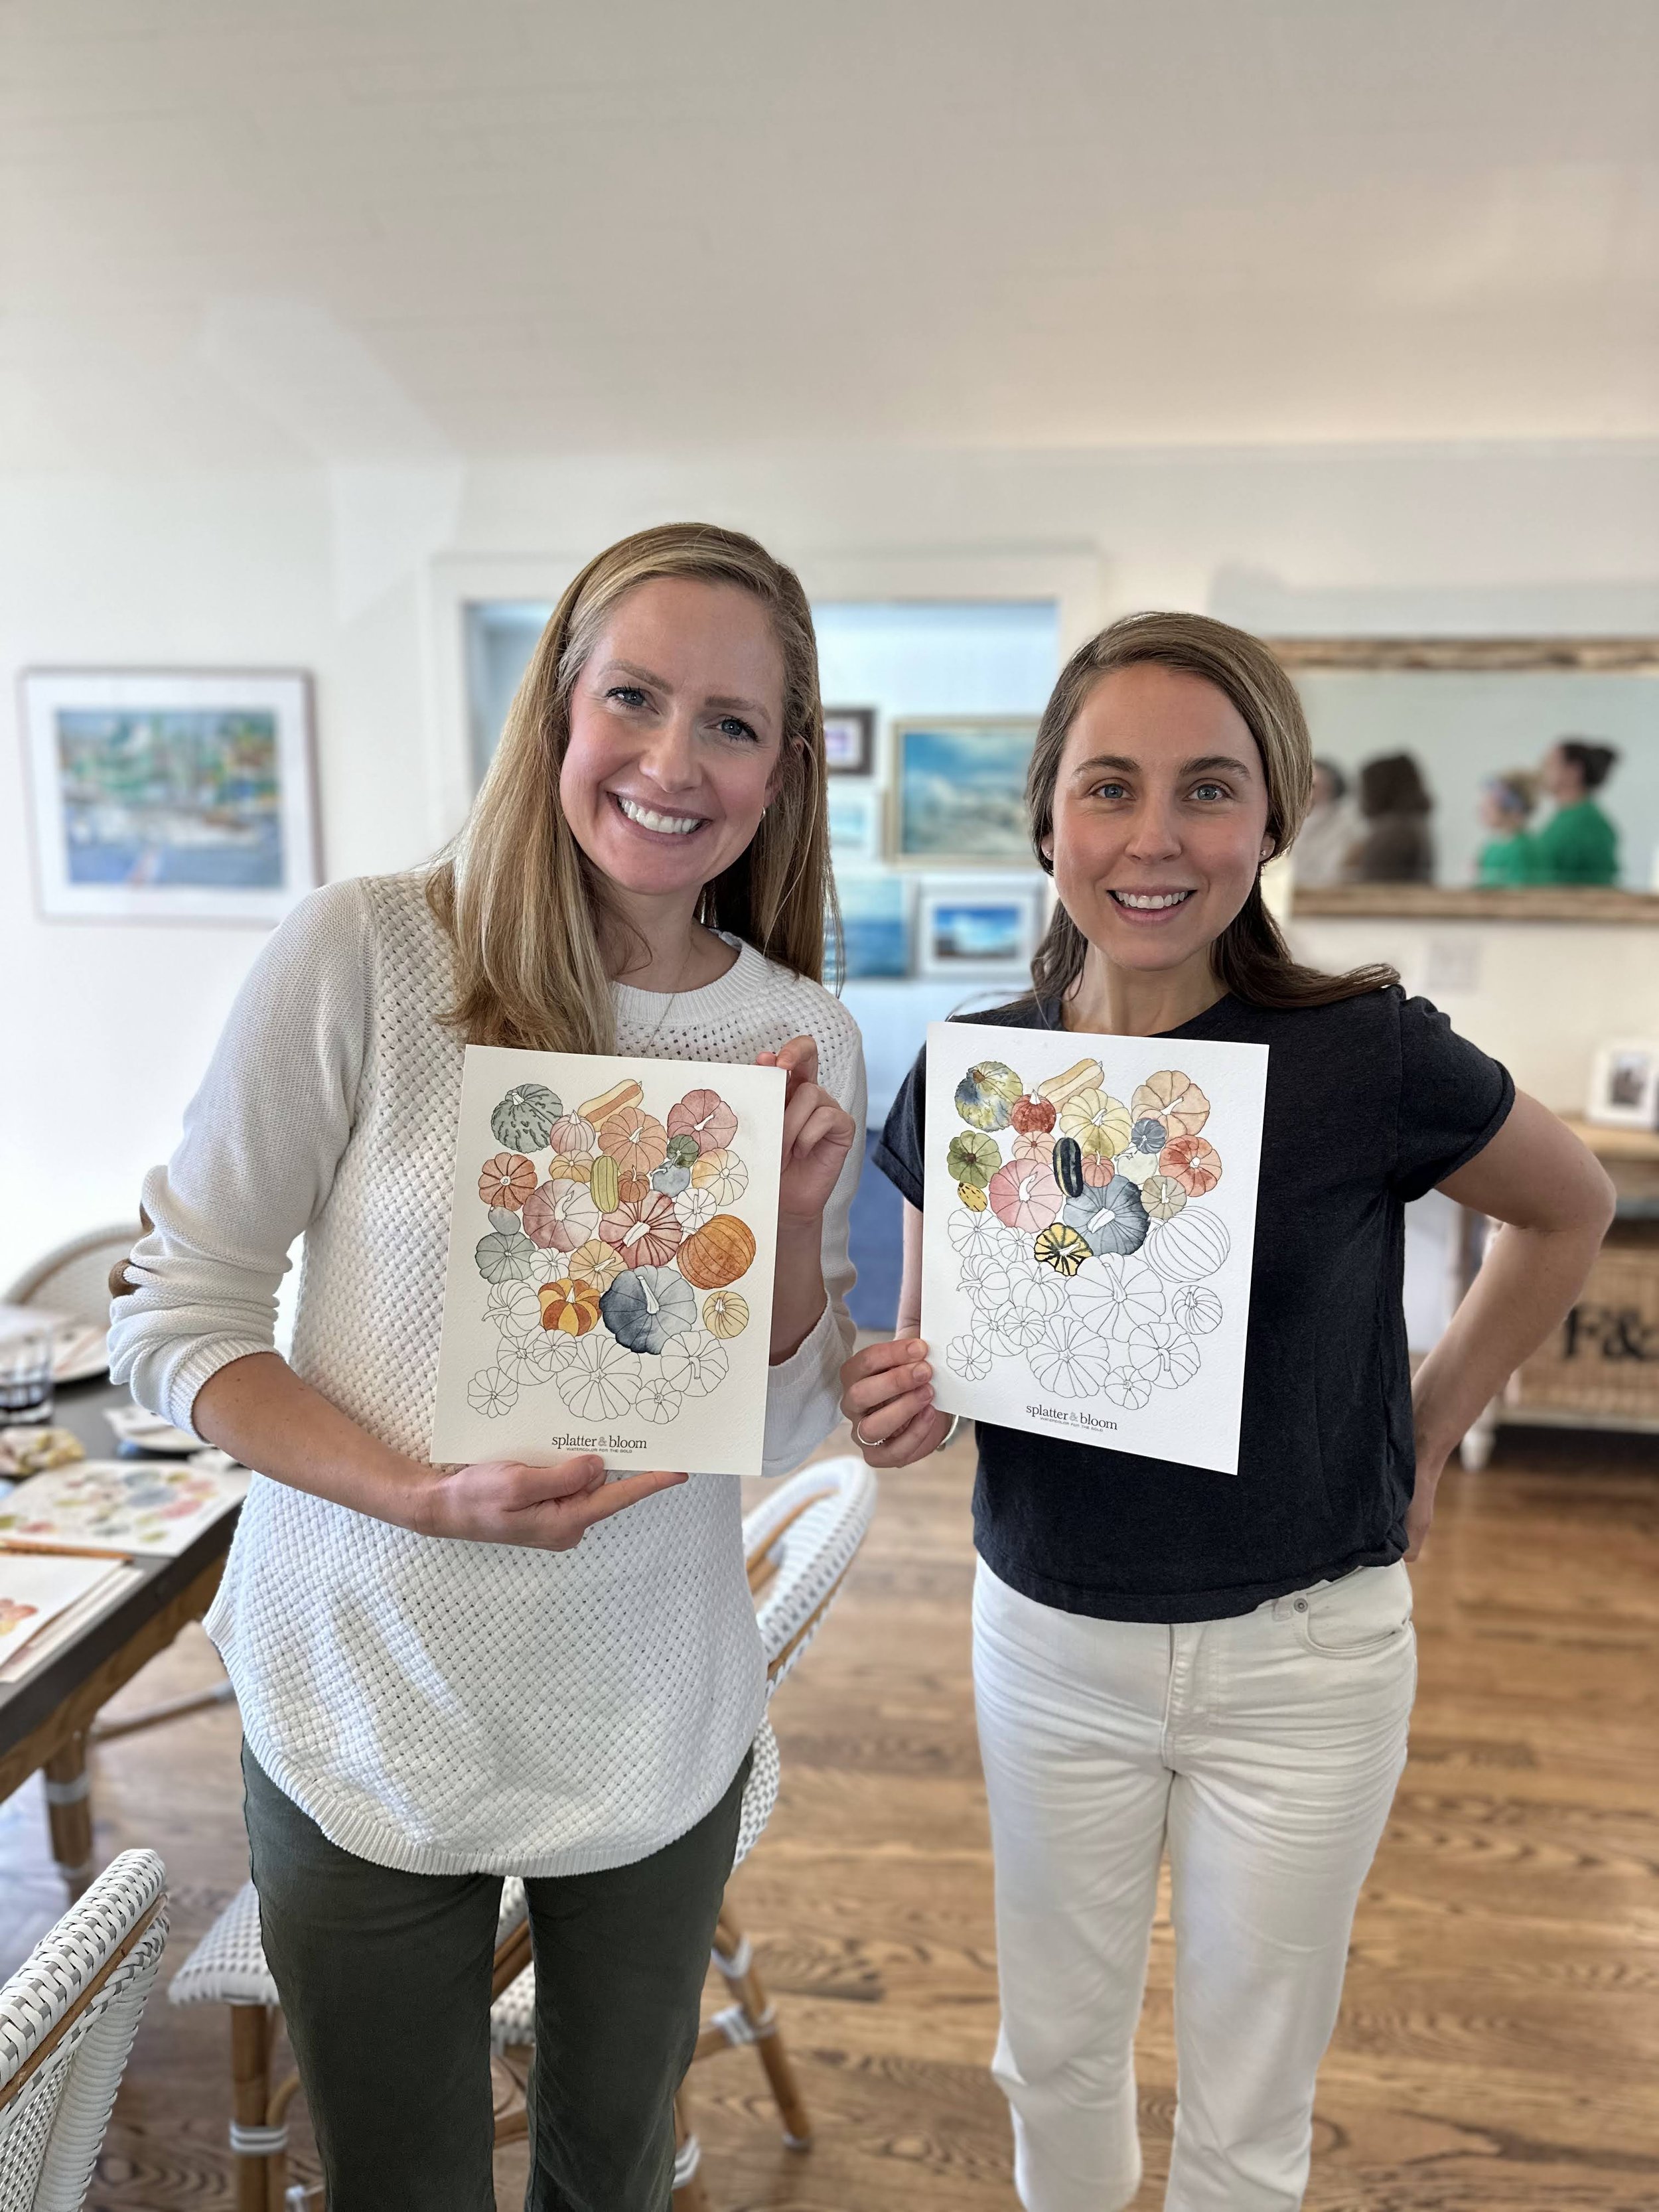
Each guest's watercolor page was a unique reflection of their creativity, even though everyone started with the same pumpkin outlines.
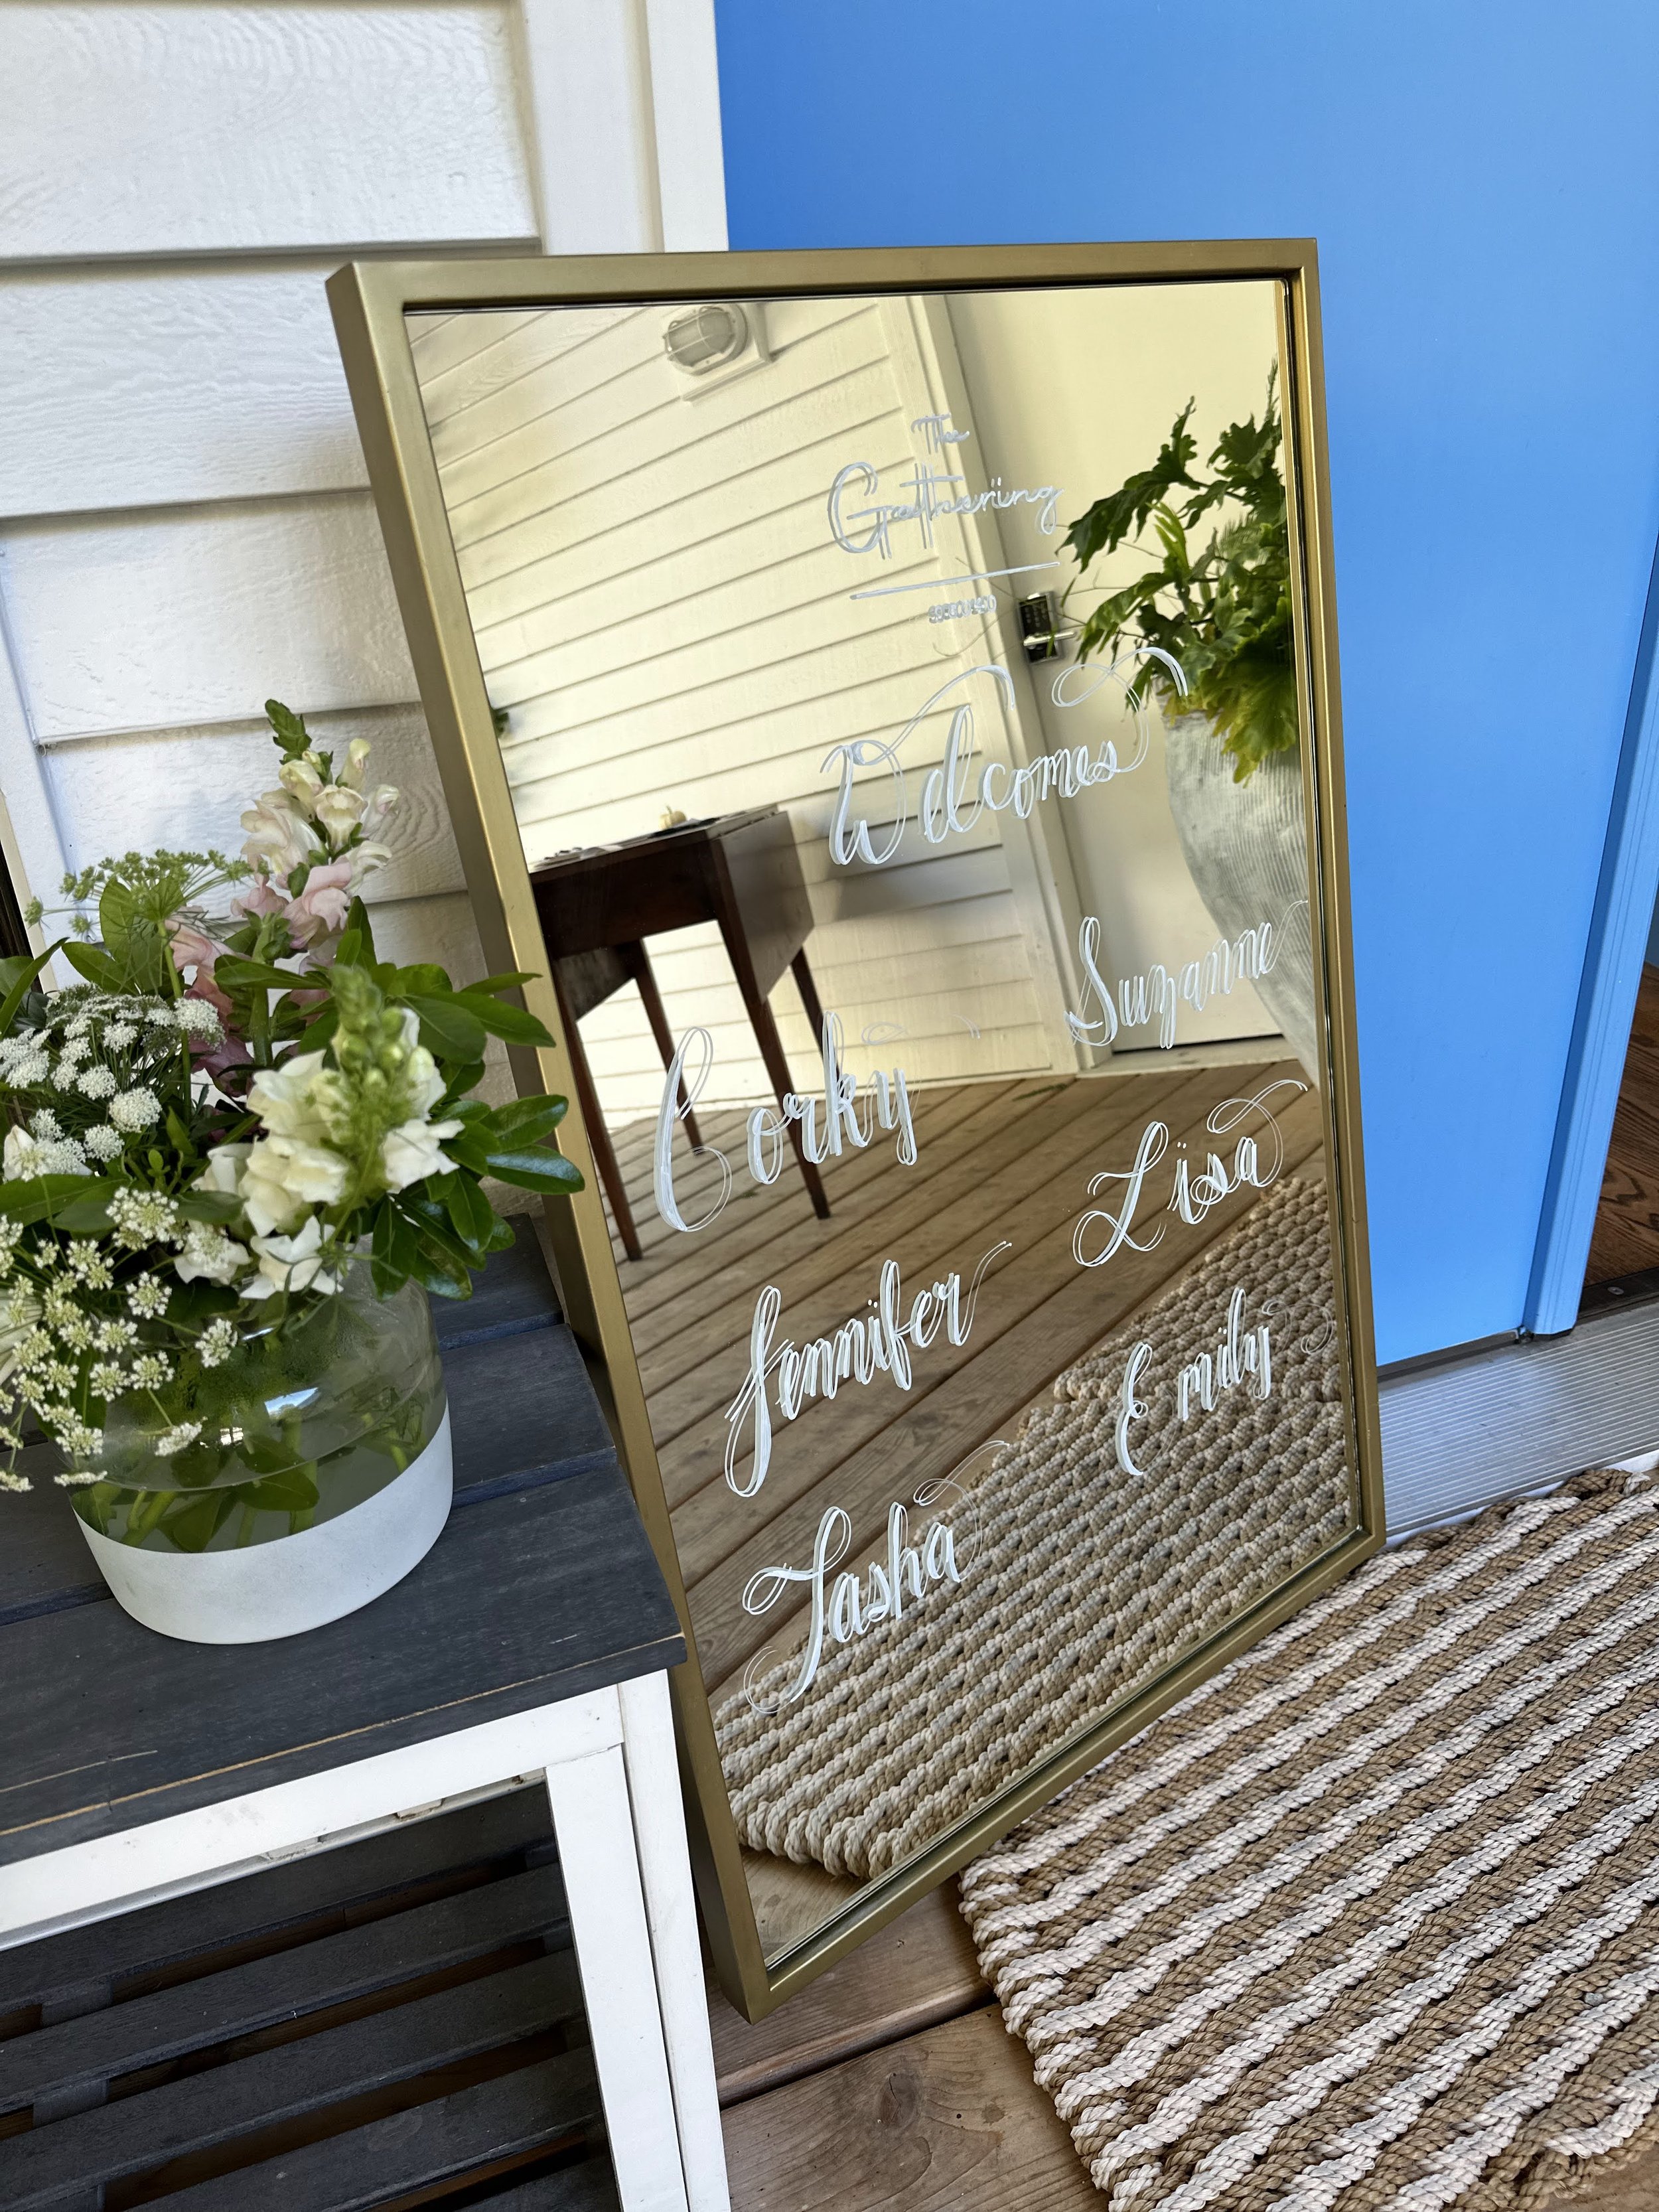
“Welcome to the wild and wonderful world of watercolor!”
Our top picks for watercolor
Now that you’re ready to let your creativity flow it’s time to get the right tools to perfect those brush strokes. We’ve rounded up some of our recommended watercolor products. We hope you love them!

Round Brushes: These Princeton Real Value Round Brushes are great beginner level brushes that will give you clean straight lines, or large full swoops as needed. Princeton Brush Set
Cotman Watercolor Paints: This is a great introductory set of 12 watercolor paints. Watercolor Paints

Watercolor Paper: This Arches 9x12 watercolor paper is Kate’s favorite pick! It’s thick enough to hold up to layering, and full of lovely texture to help grip your pigments for more control over your painting. Arches Watercolor Paper
Watercolor Field Paint Set: Take this mini-watercolor set with you to the park, your local coffee shop, or on your next flight! It’s light weight and contains everything you need for taking your new skill on the go! Pocket Paint Set

Winter Woods Painting Kit: Get a head start on the holiday season with this winter woods painting kit by our instructor Kate Talcott. The kit come with everything you need to create three beautiful winter scenes. Splatter and Bloom Painting Kit

Porcelain Painter’s Palette: Level up your artistic side with this stunning, locally handmade painter's palette. The Tierney Rae Painter's Palette is available flat or with 6 organically shaped paint wells. The glazed porcelain makes for easy cleanup and zero staining regardless of your medium! Painter’s Palette
Until we gather again!
**As Amazon Associates we earn from qualifying purchases.