Modern Calligraphy: Learn to letter with flair

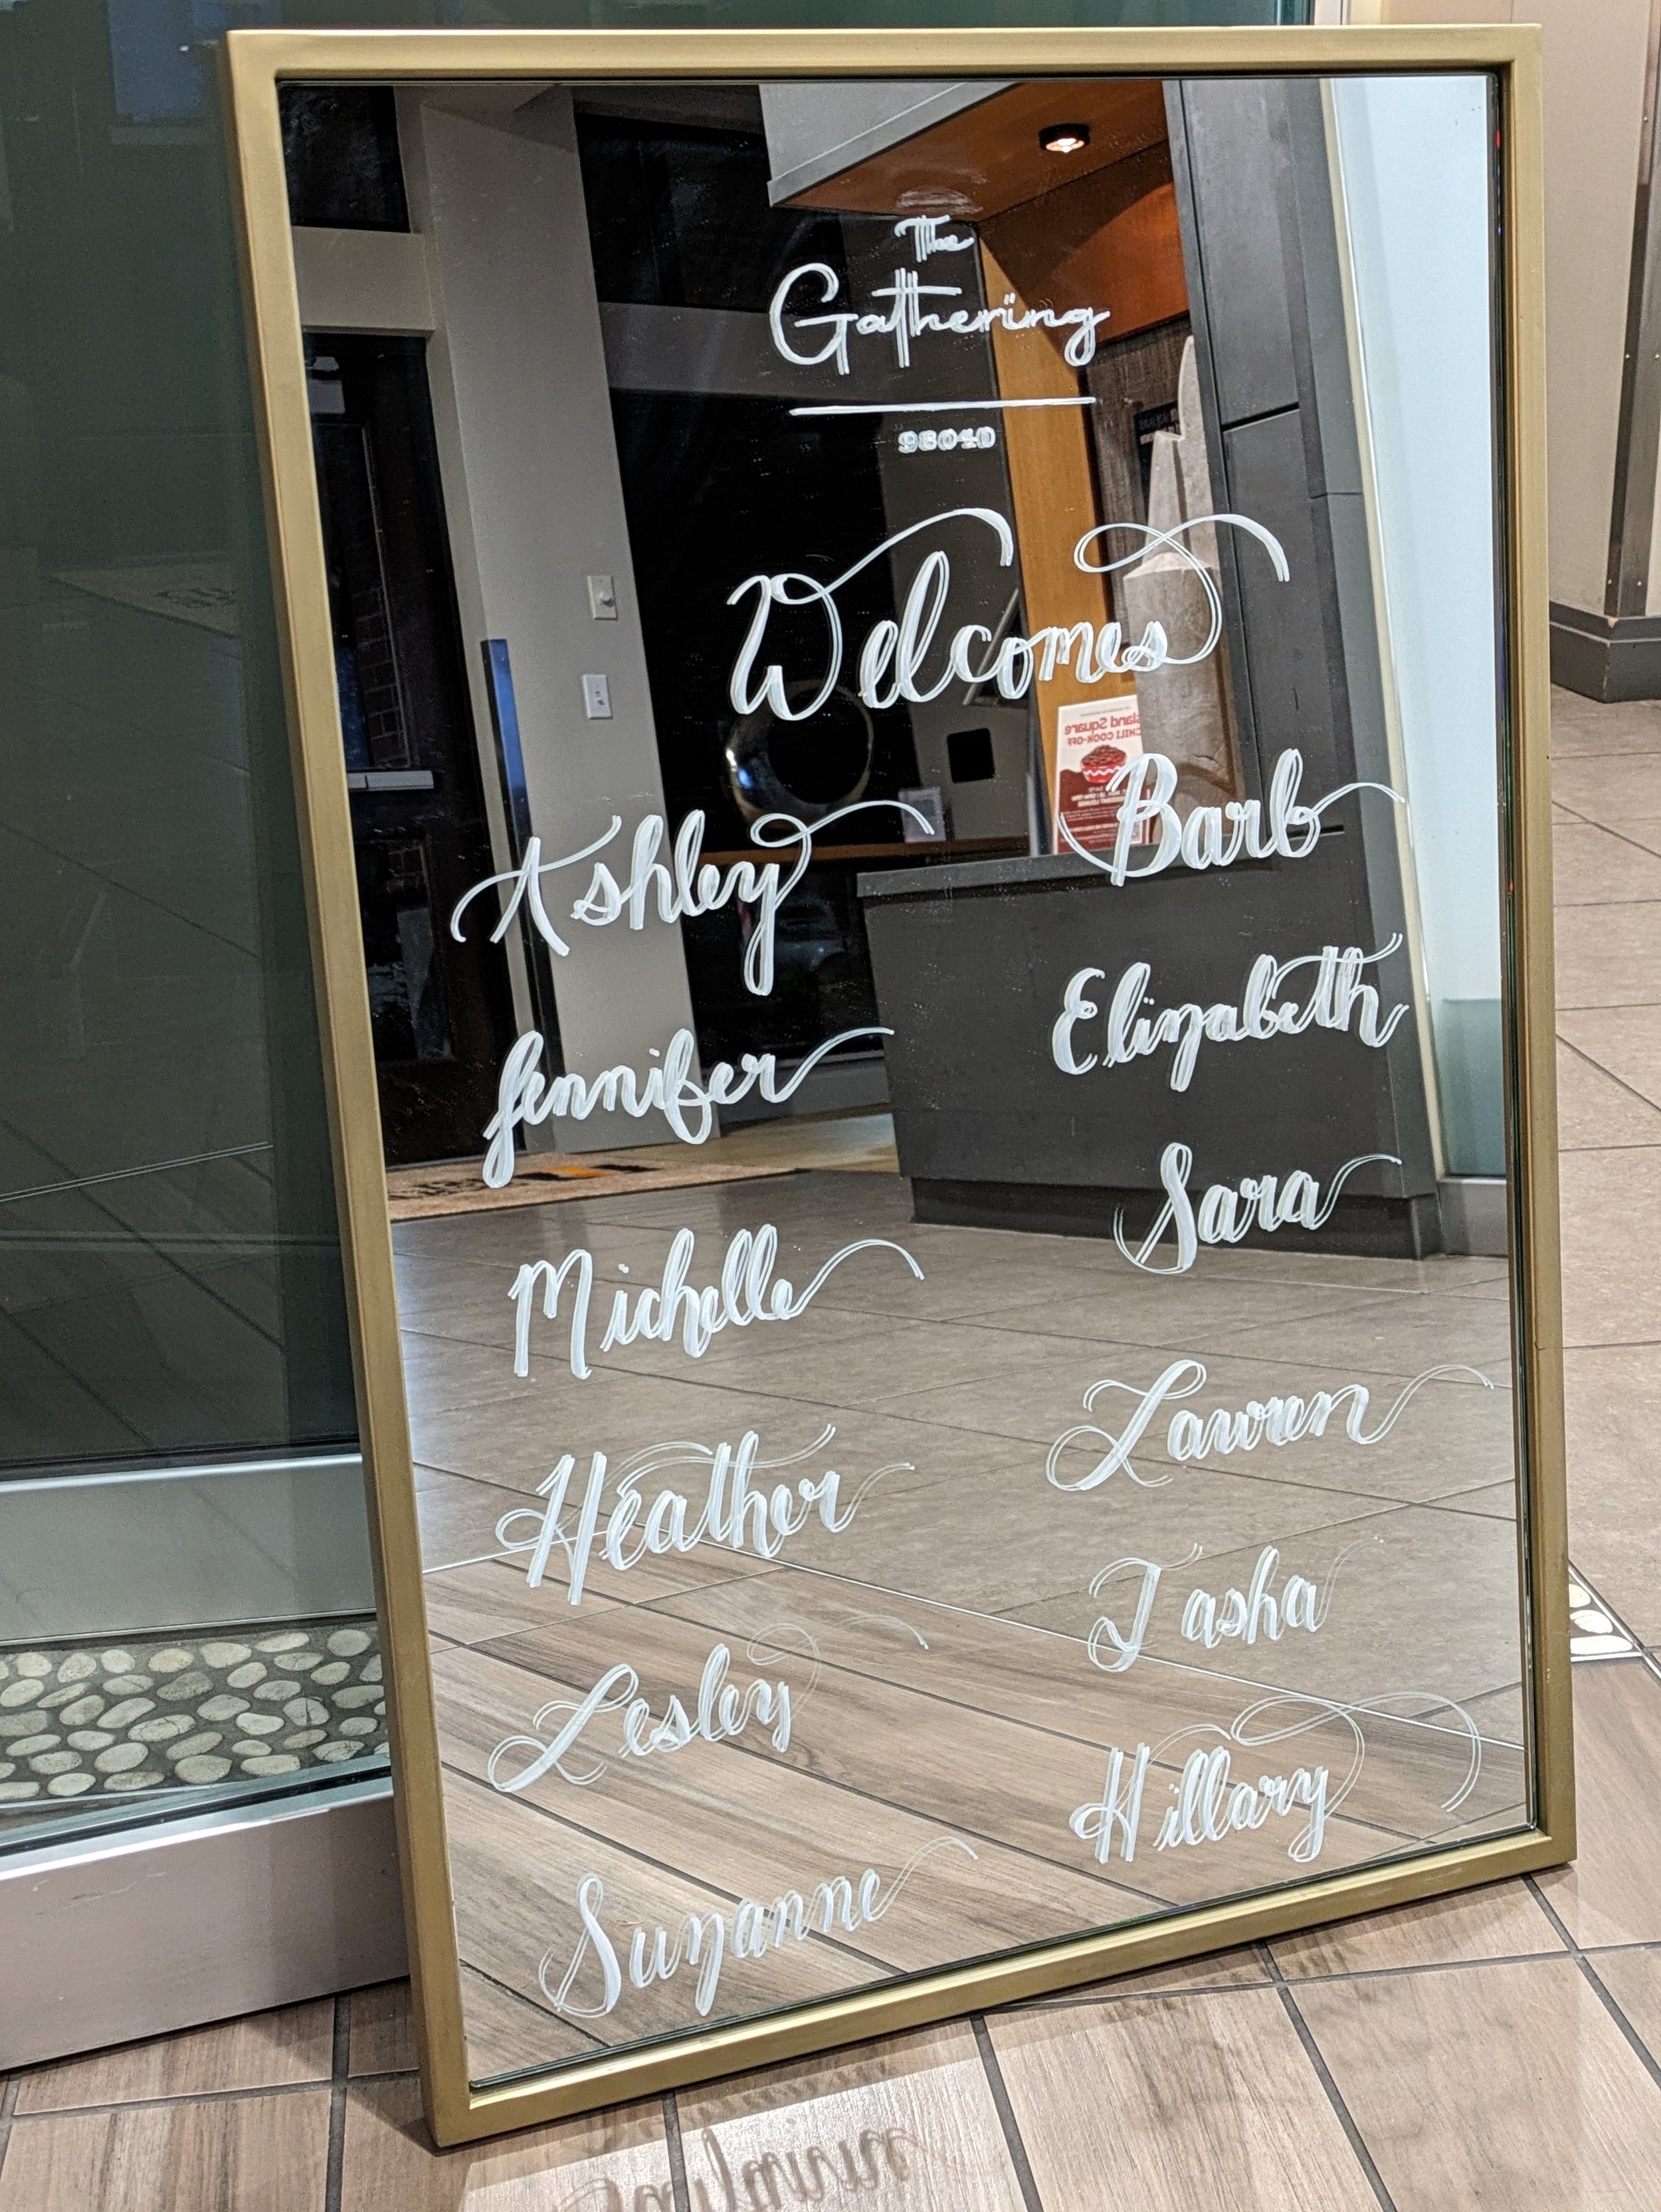
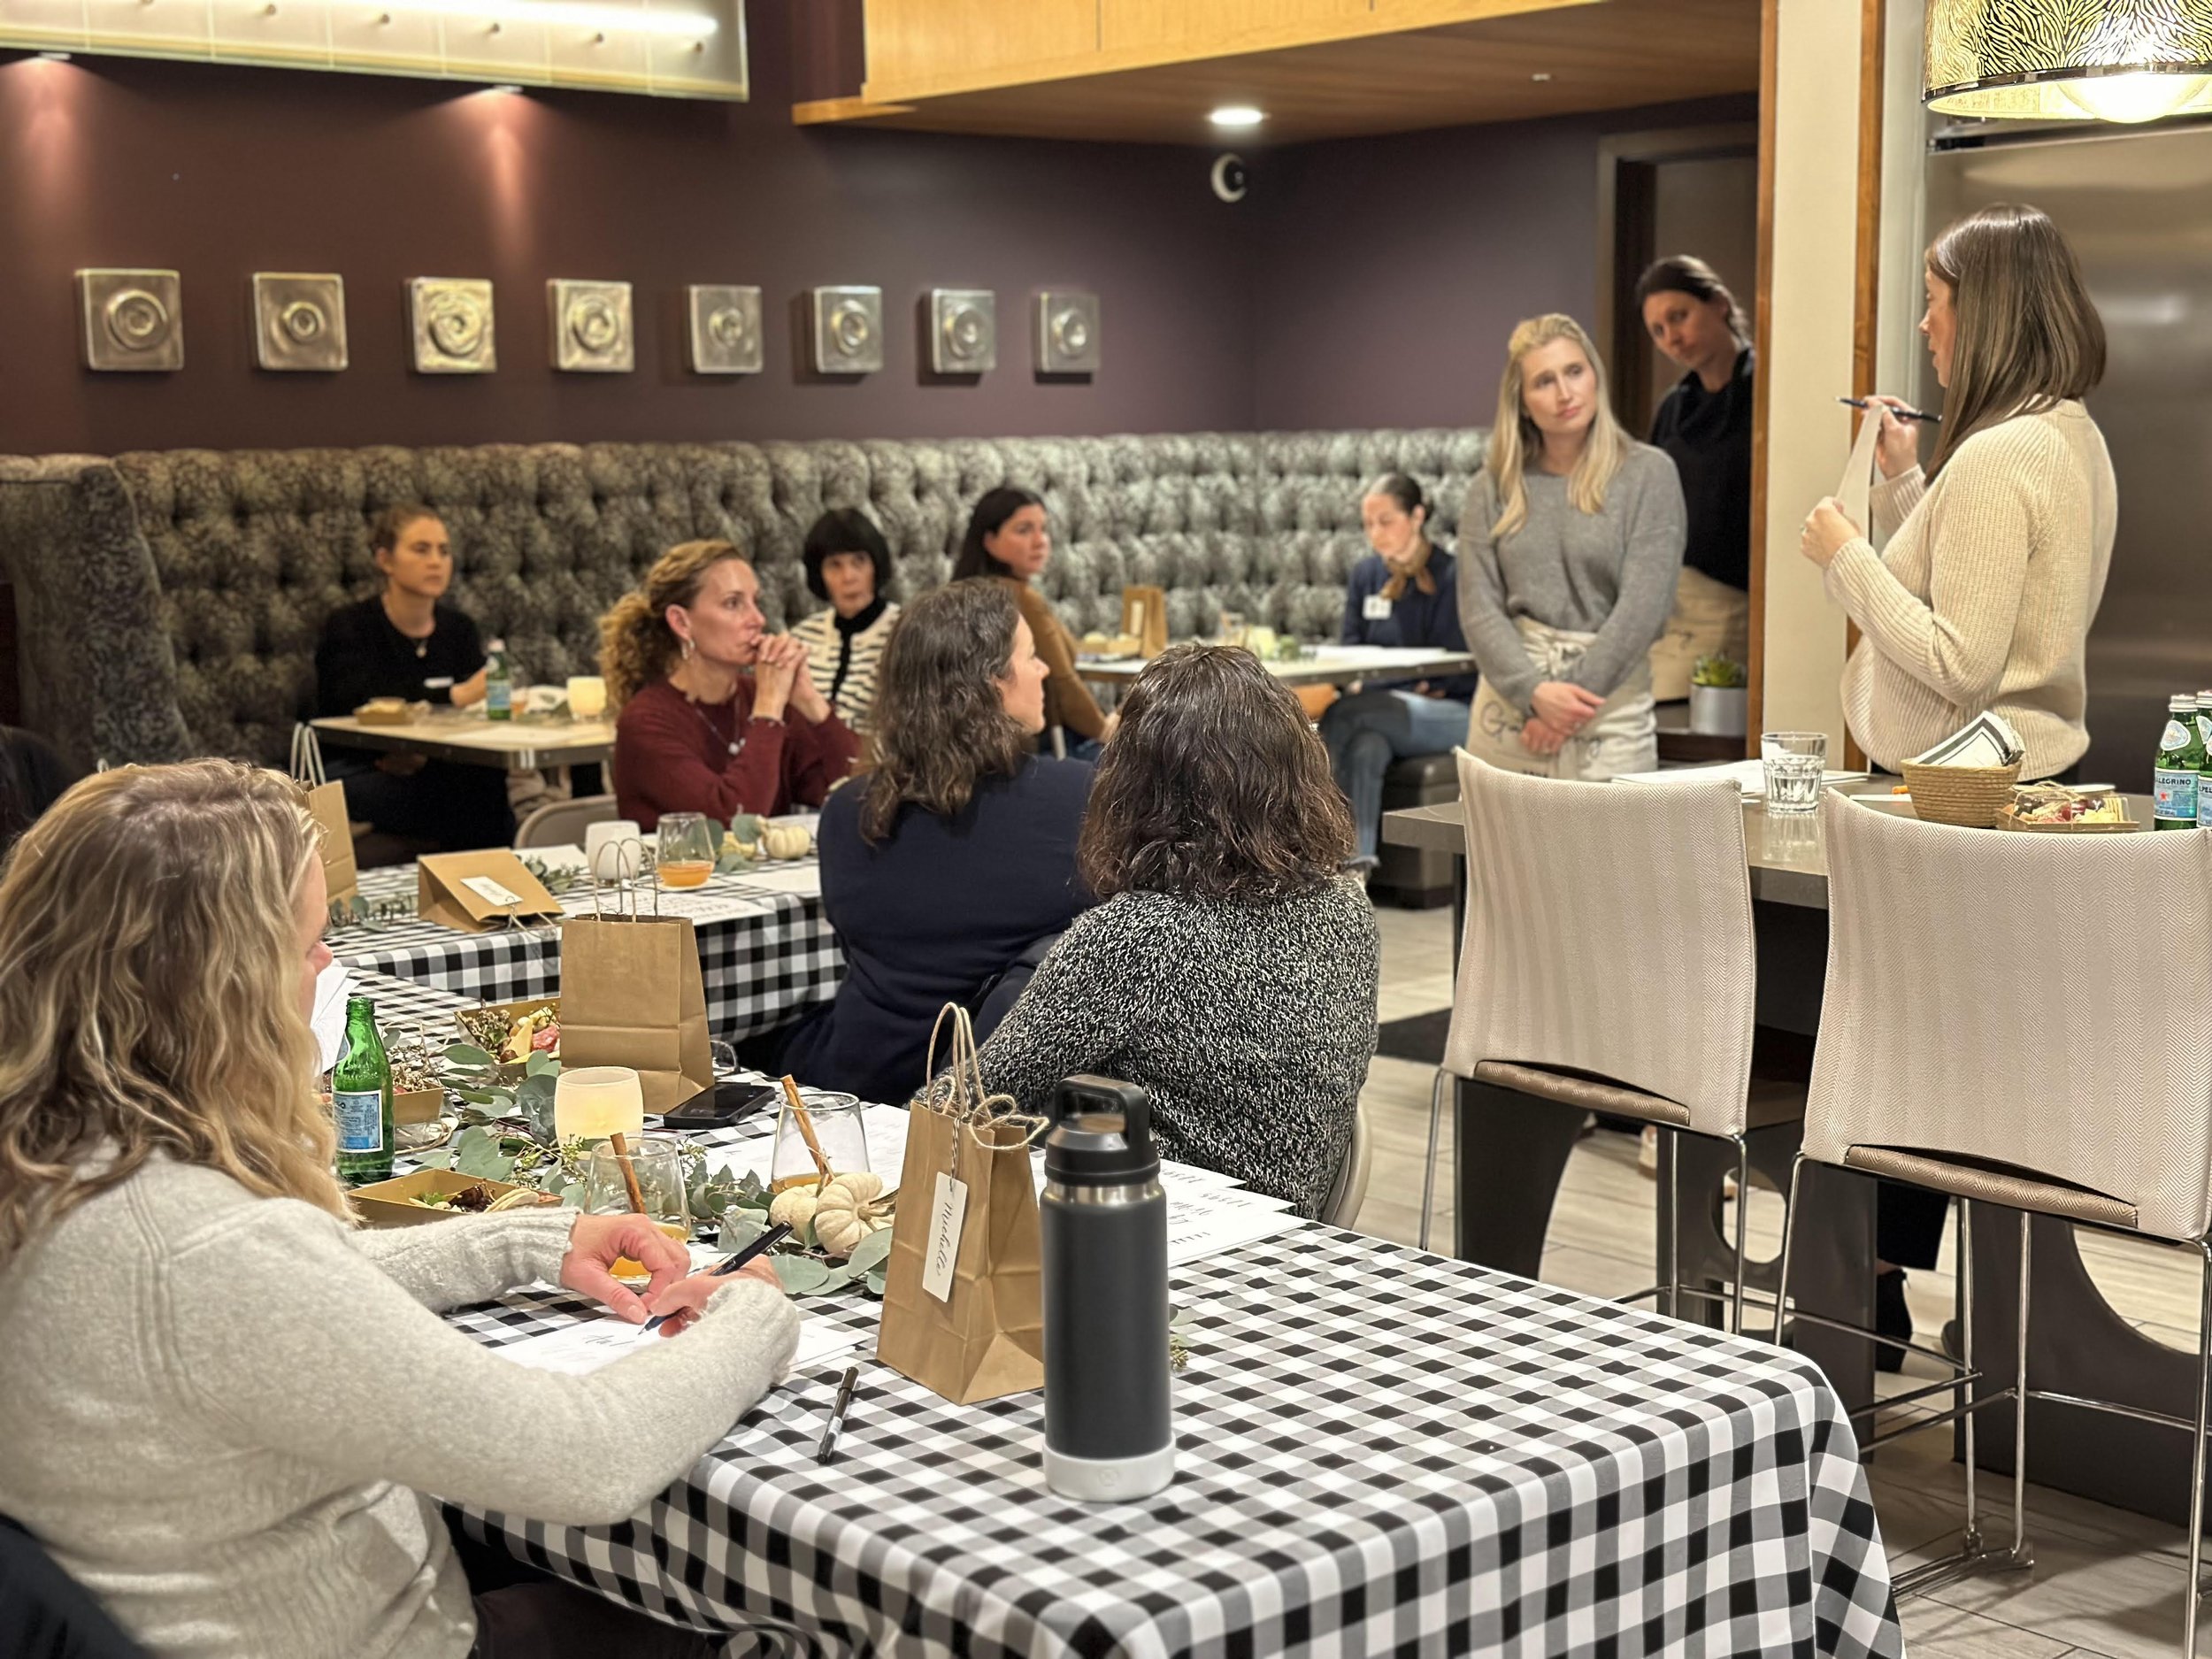
We had a lovely evening learning the art of calligraphy with Ellen Sontra earlier this November. Attendees learned the nuts and bolts of calligraphy which included; mastering the proper pen hold, practicing strokes, working on the alphabet, and they picked up lots of tips and tricks along the way.

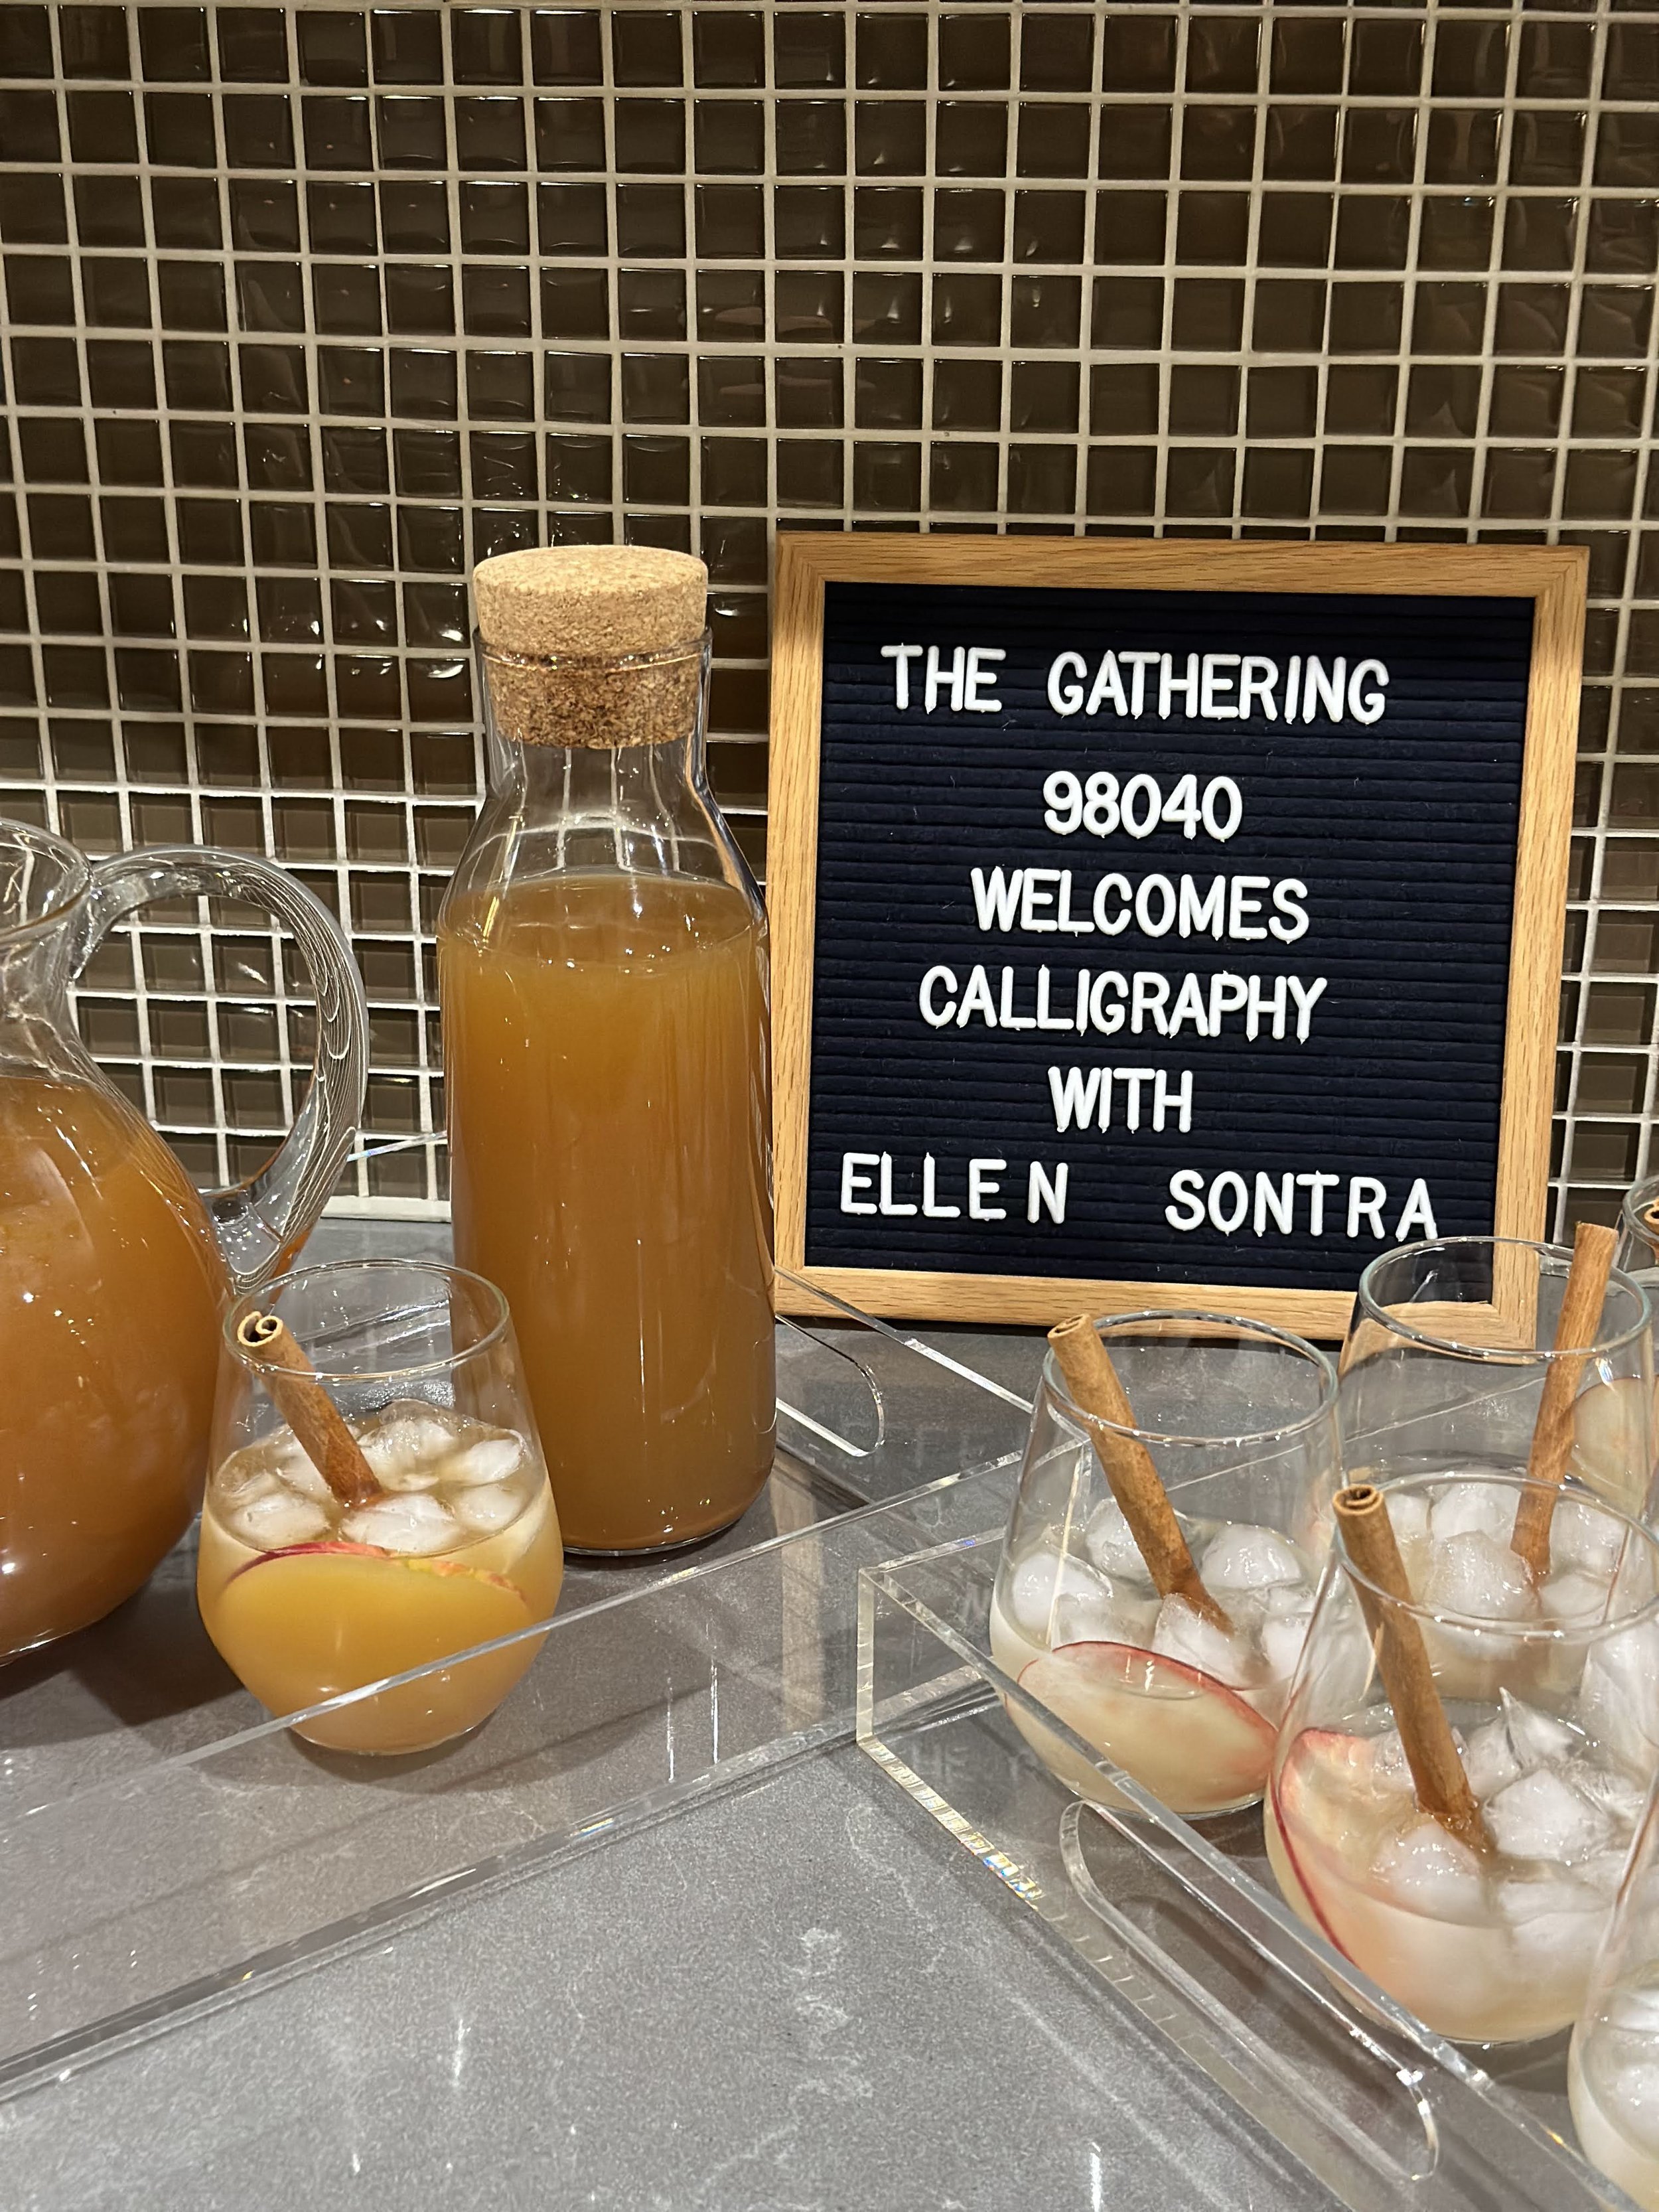
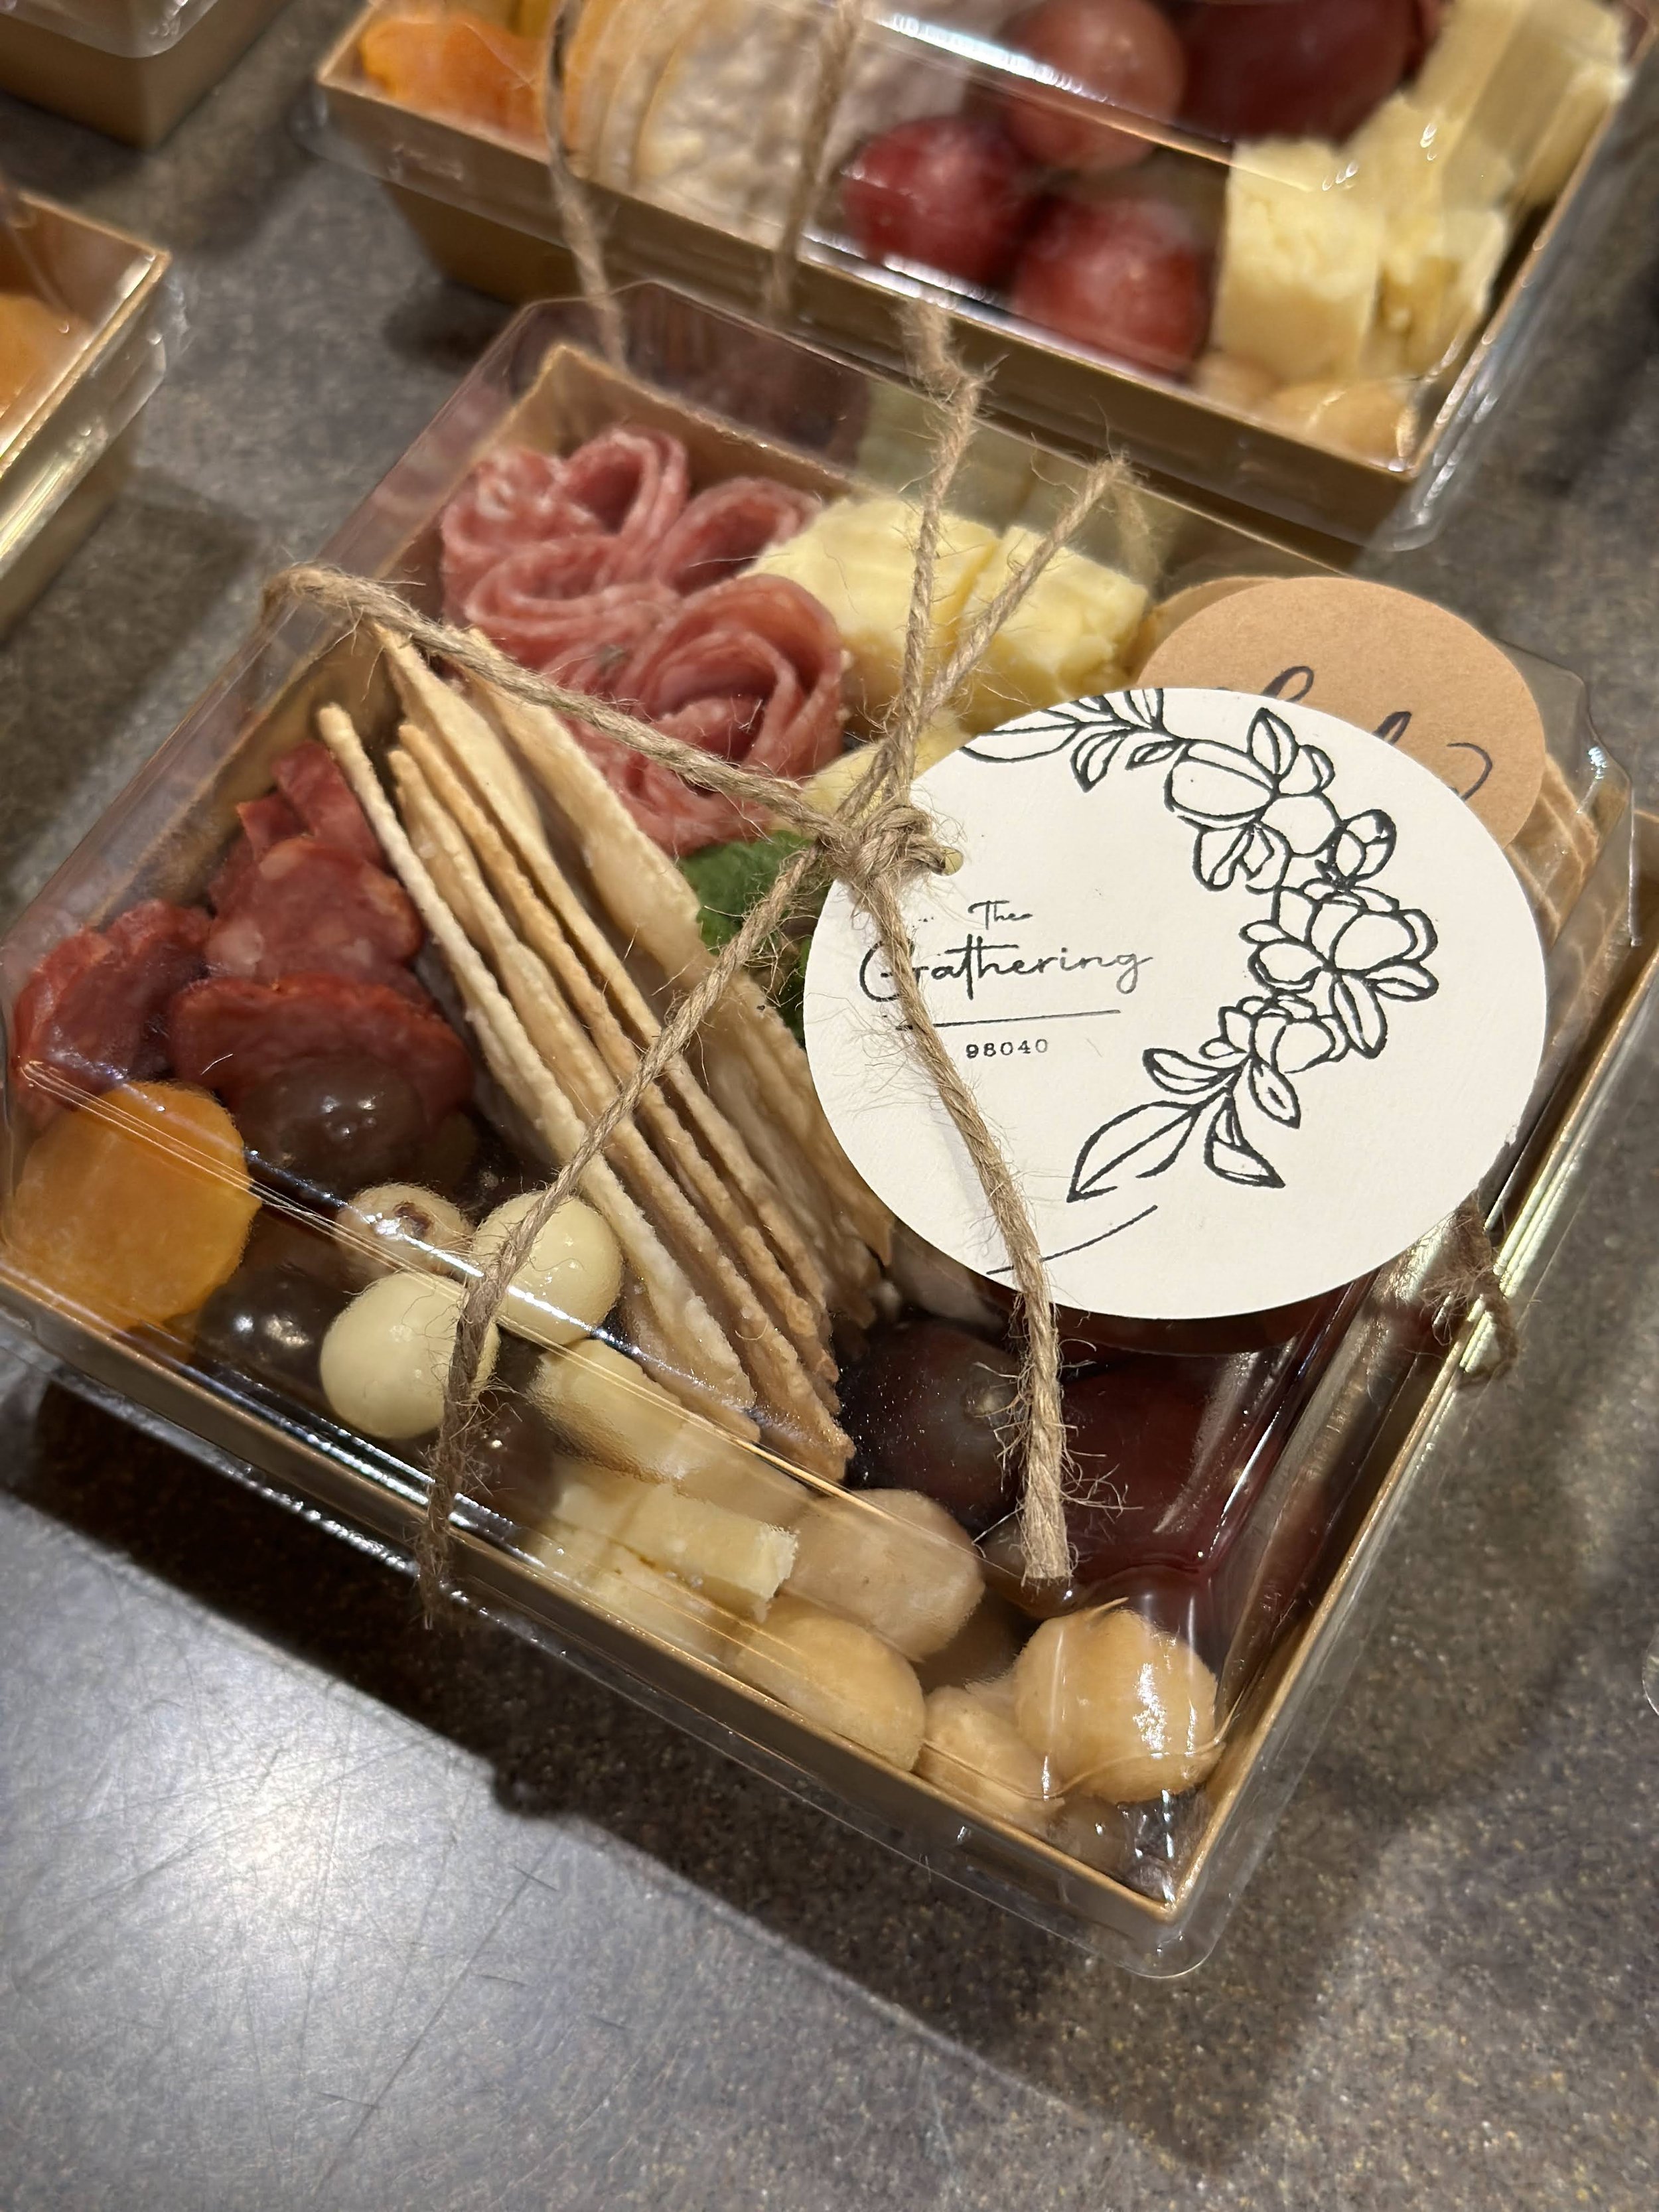
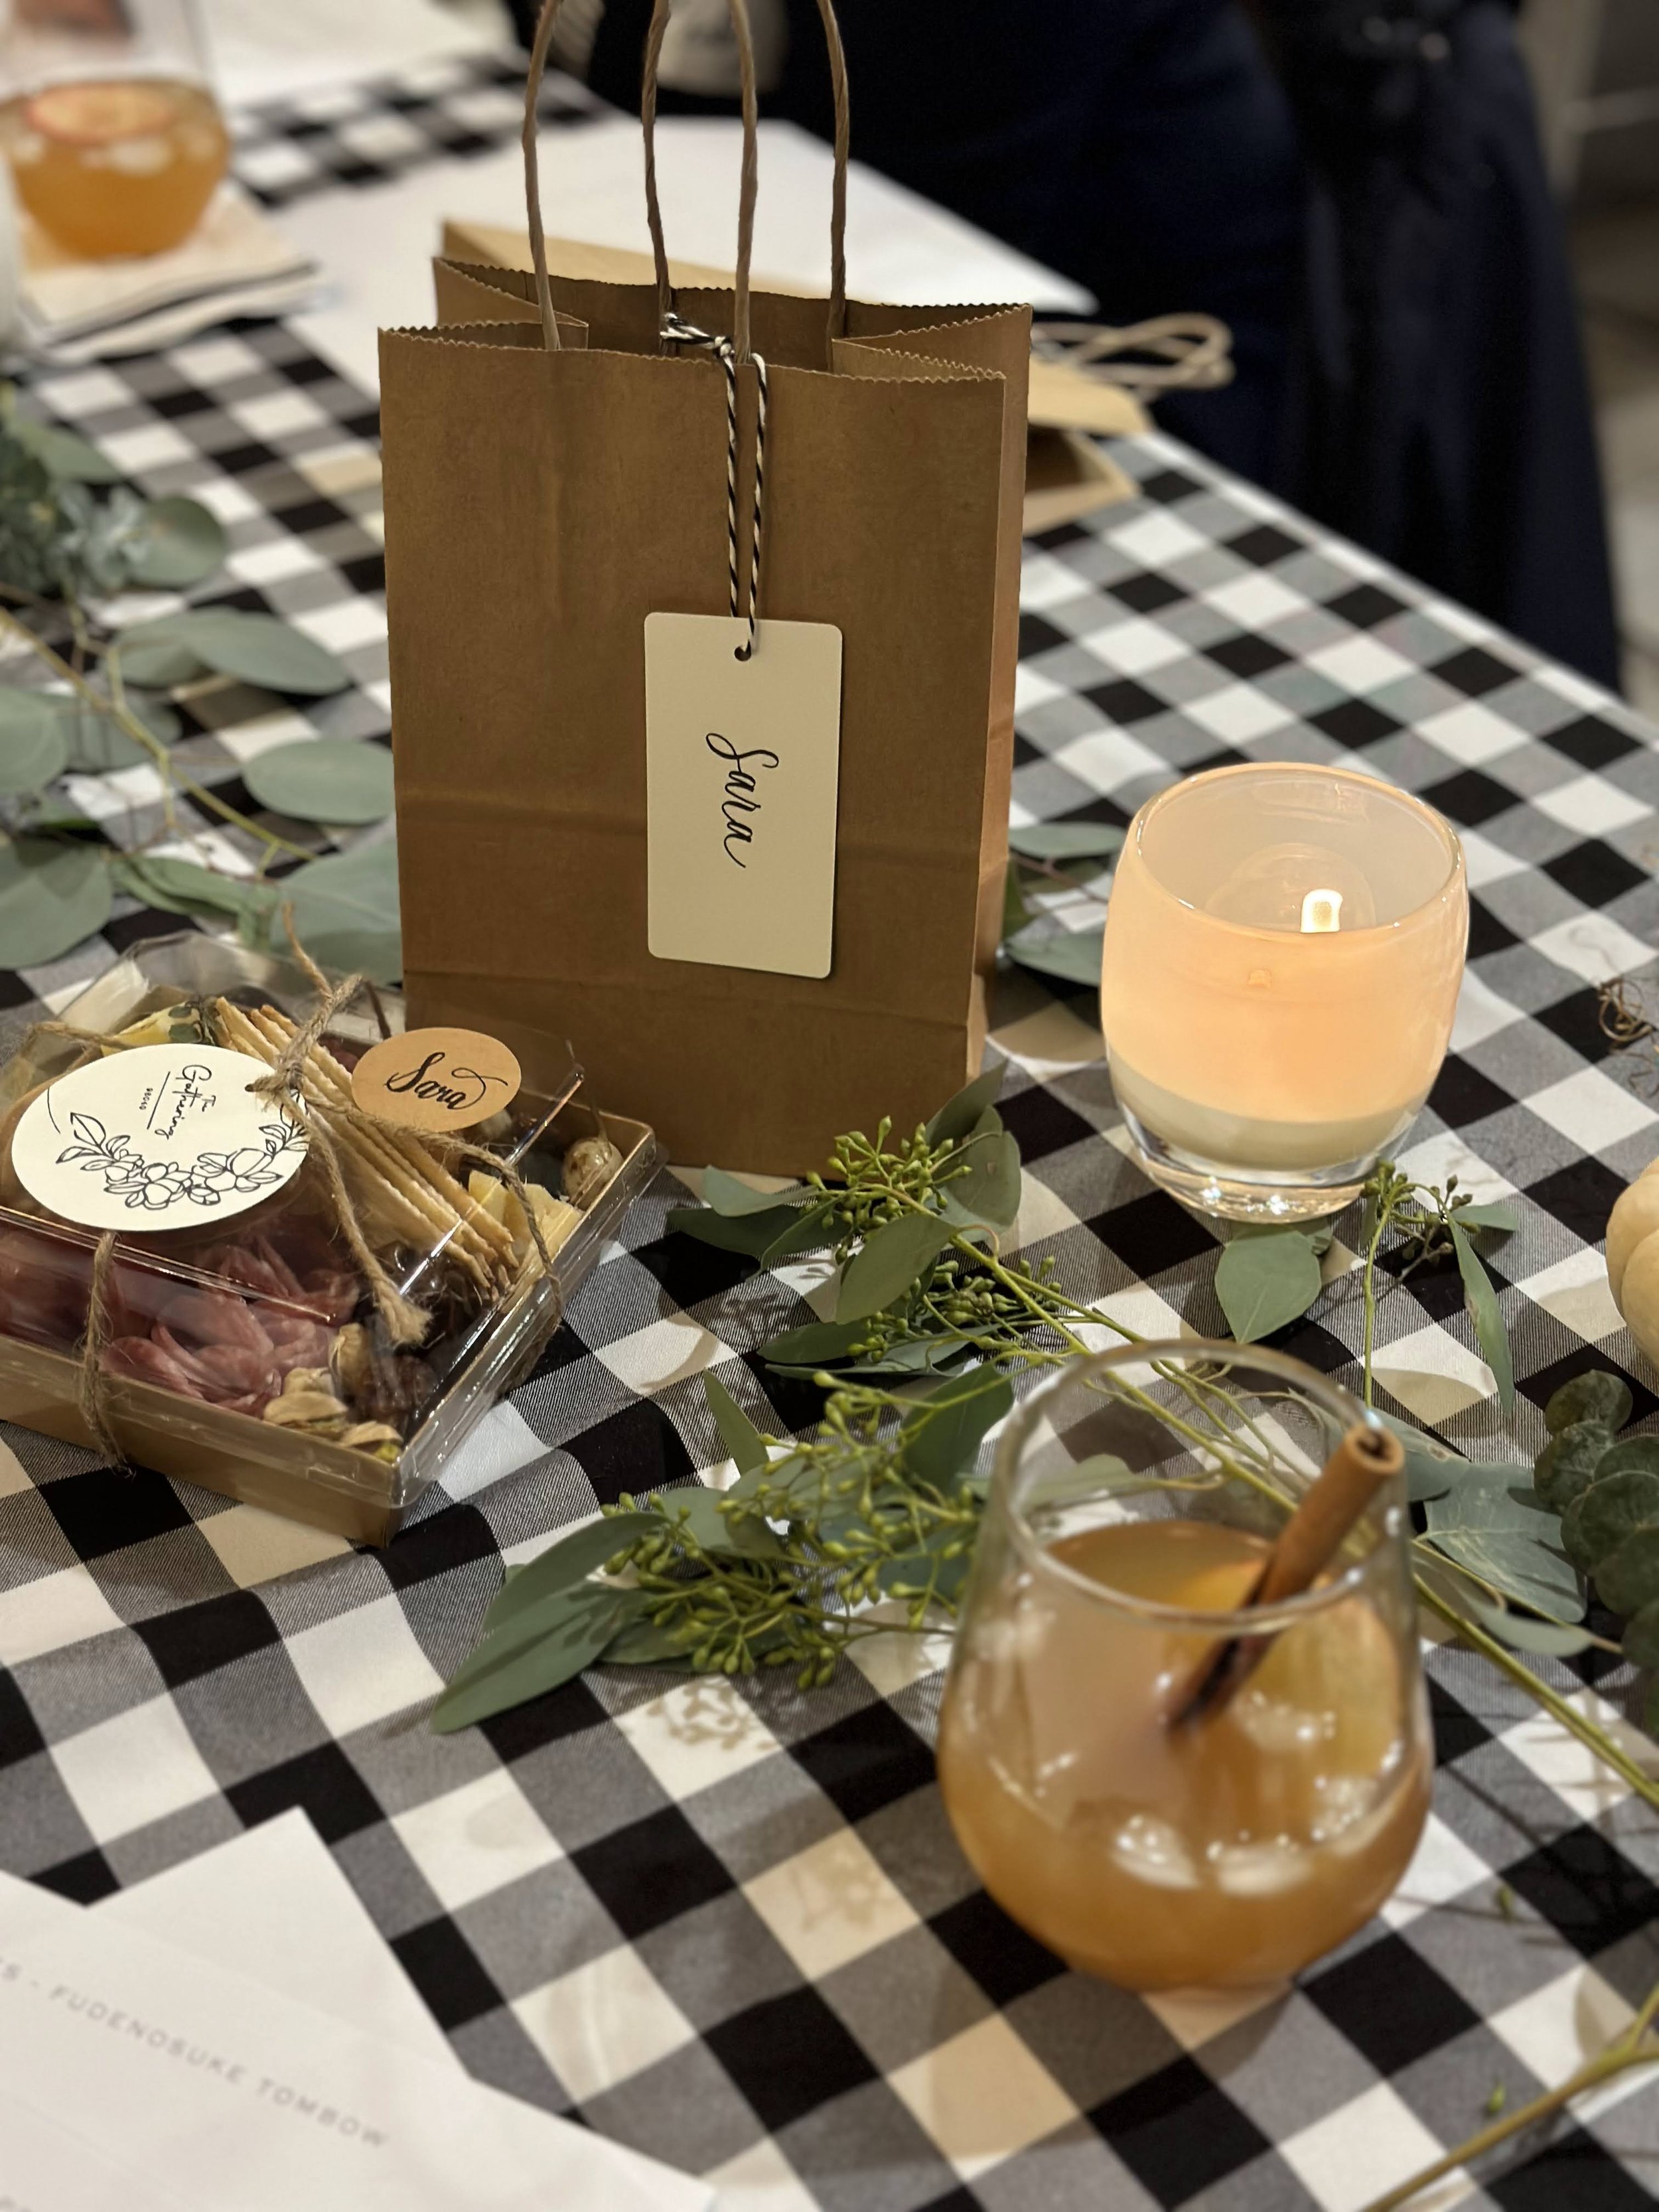
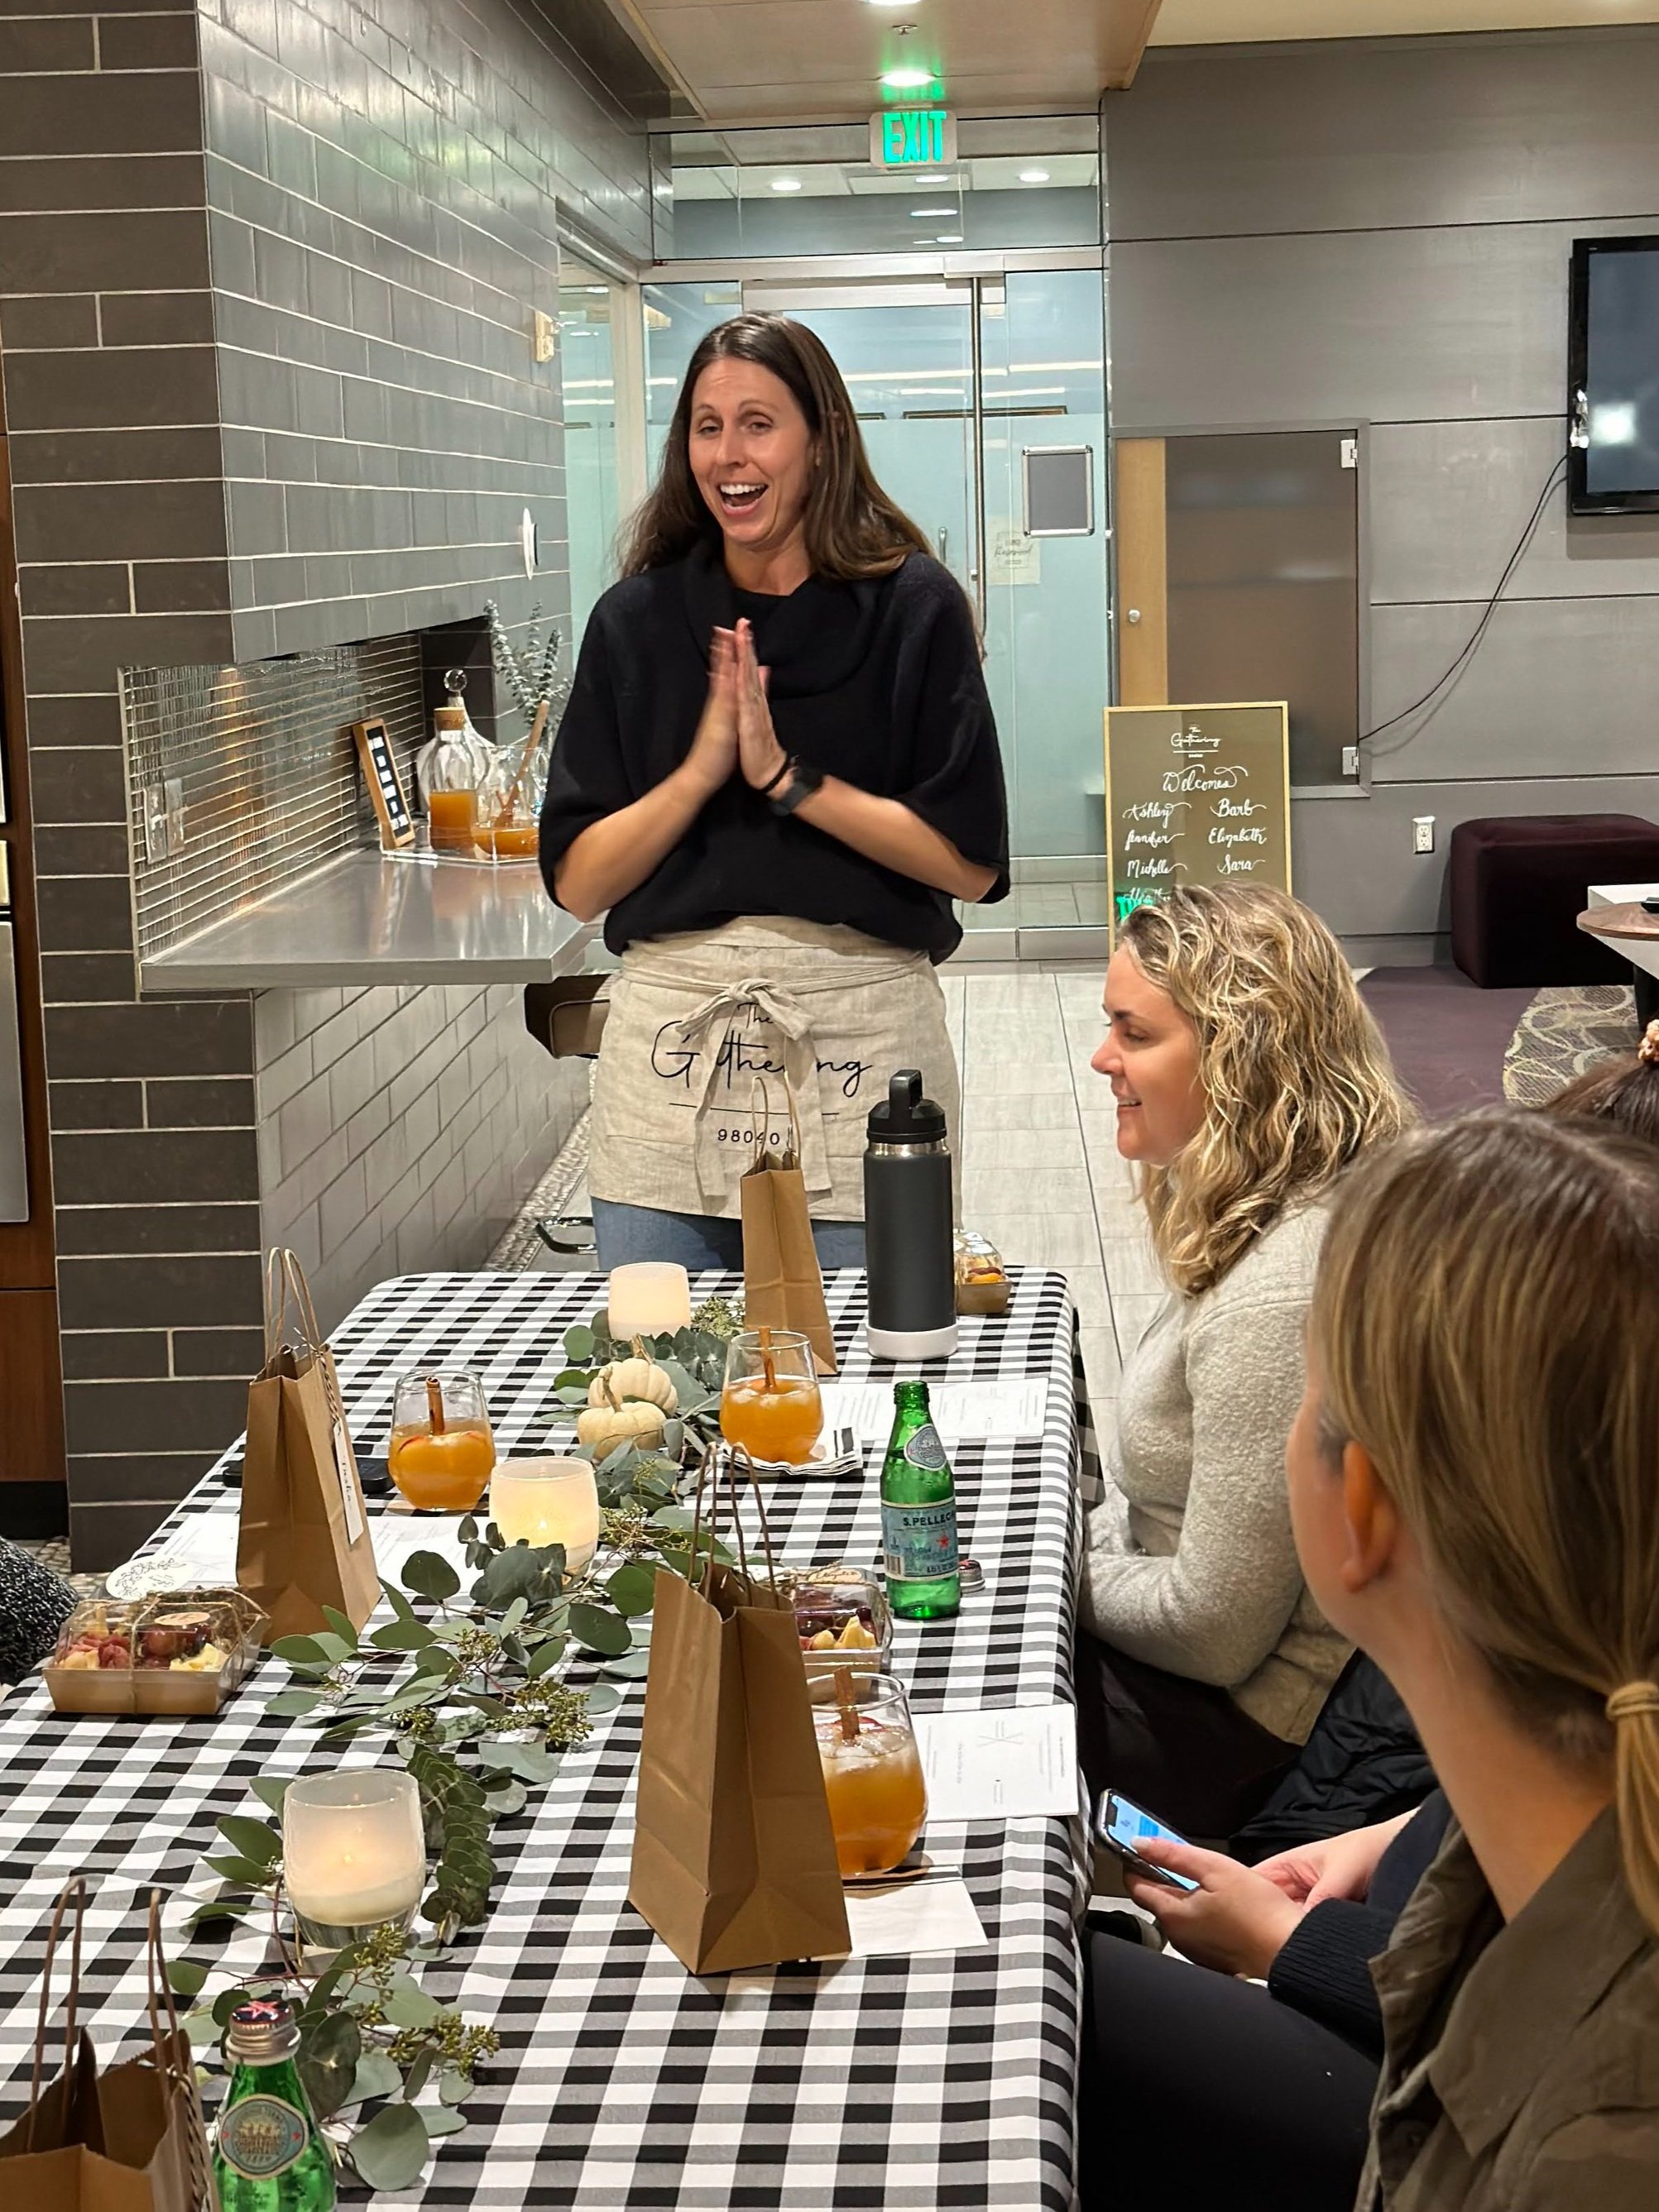
We began our evening with Apple Cider Bourbon cocktails and Ginger Beer Cider Mocktails. Guests had a little time to mingle and introduce themselves before grabbing their personal charcuterie boxes and taking their seats to begin the workshop.
Have you ever thought about how deeply personal handwriting can be? Think about finding a hand addressed envelope in the mail. You most likely know who sent the letter before even opening it. Pretty awesome, huh!?
Ellen started out the workshop by discussing her love of calligraphy, a passion she discovered over twenty years ago as a child. She wanted to set clear expectations for each of our guests during our time together. It was her hope that each attendee would enjoy themselves and have fun while learning the nuts and bolts of calligraphy. All good things in life take practice, calligraphy being one of them!
We learned that one of the biggest differences between calligraphy and cursive is speed. Cursive is fast writing with connected letters, while calligraphy is very slow and requires patience. Calligraphy also relies on contrast to make it beautiful. You put thick and thin lines side by side to make it beautiful. When doing calligraphy you lift your pen from the page between each letter, unlike cursive.

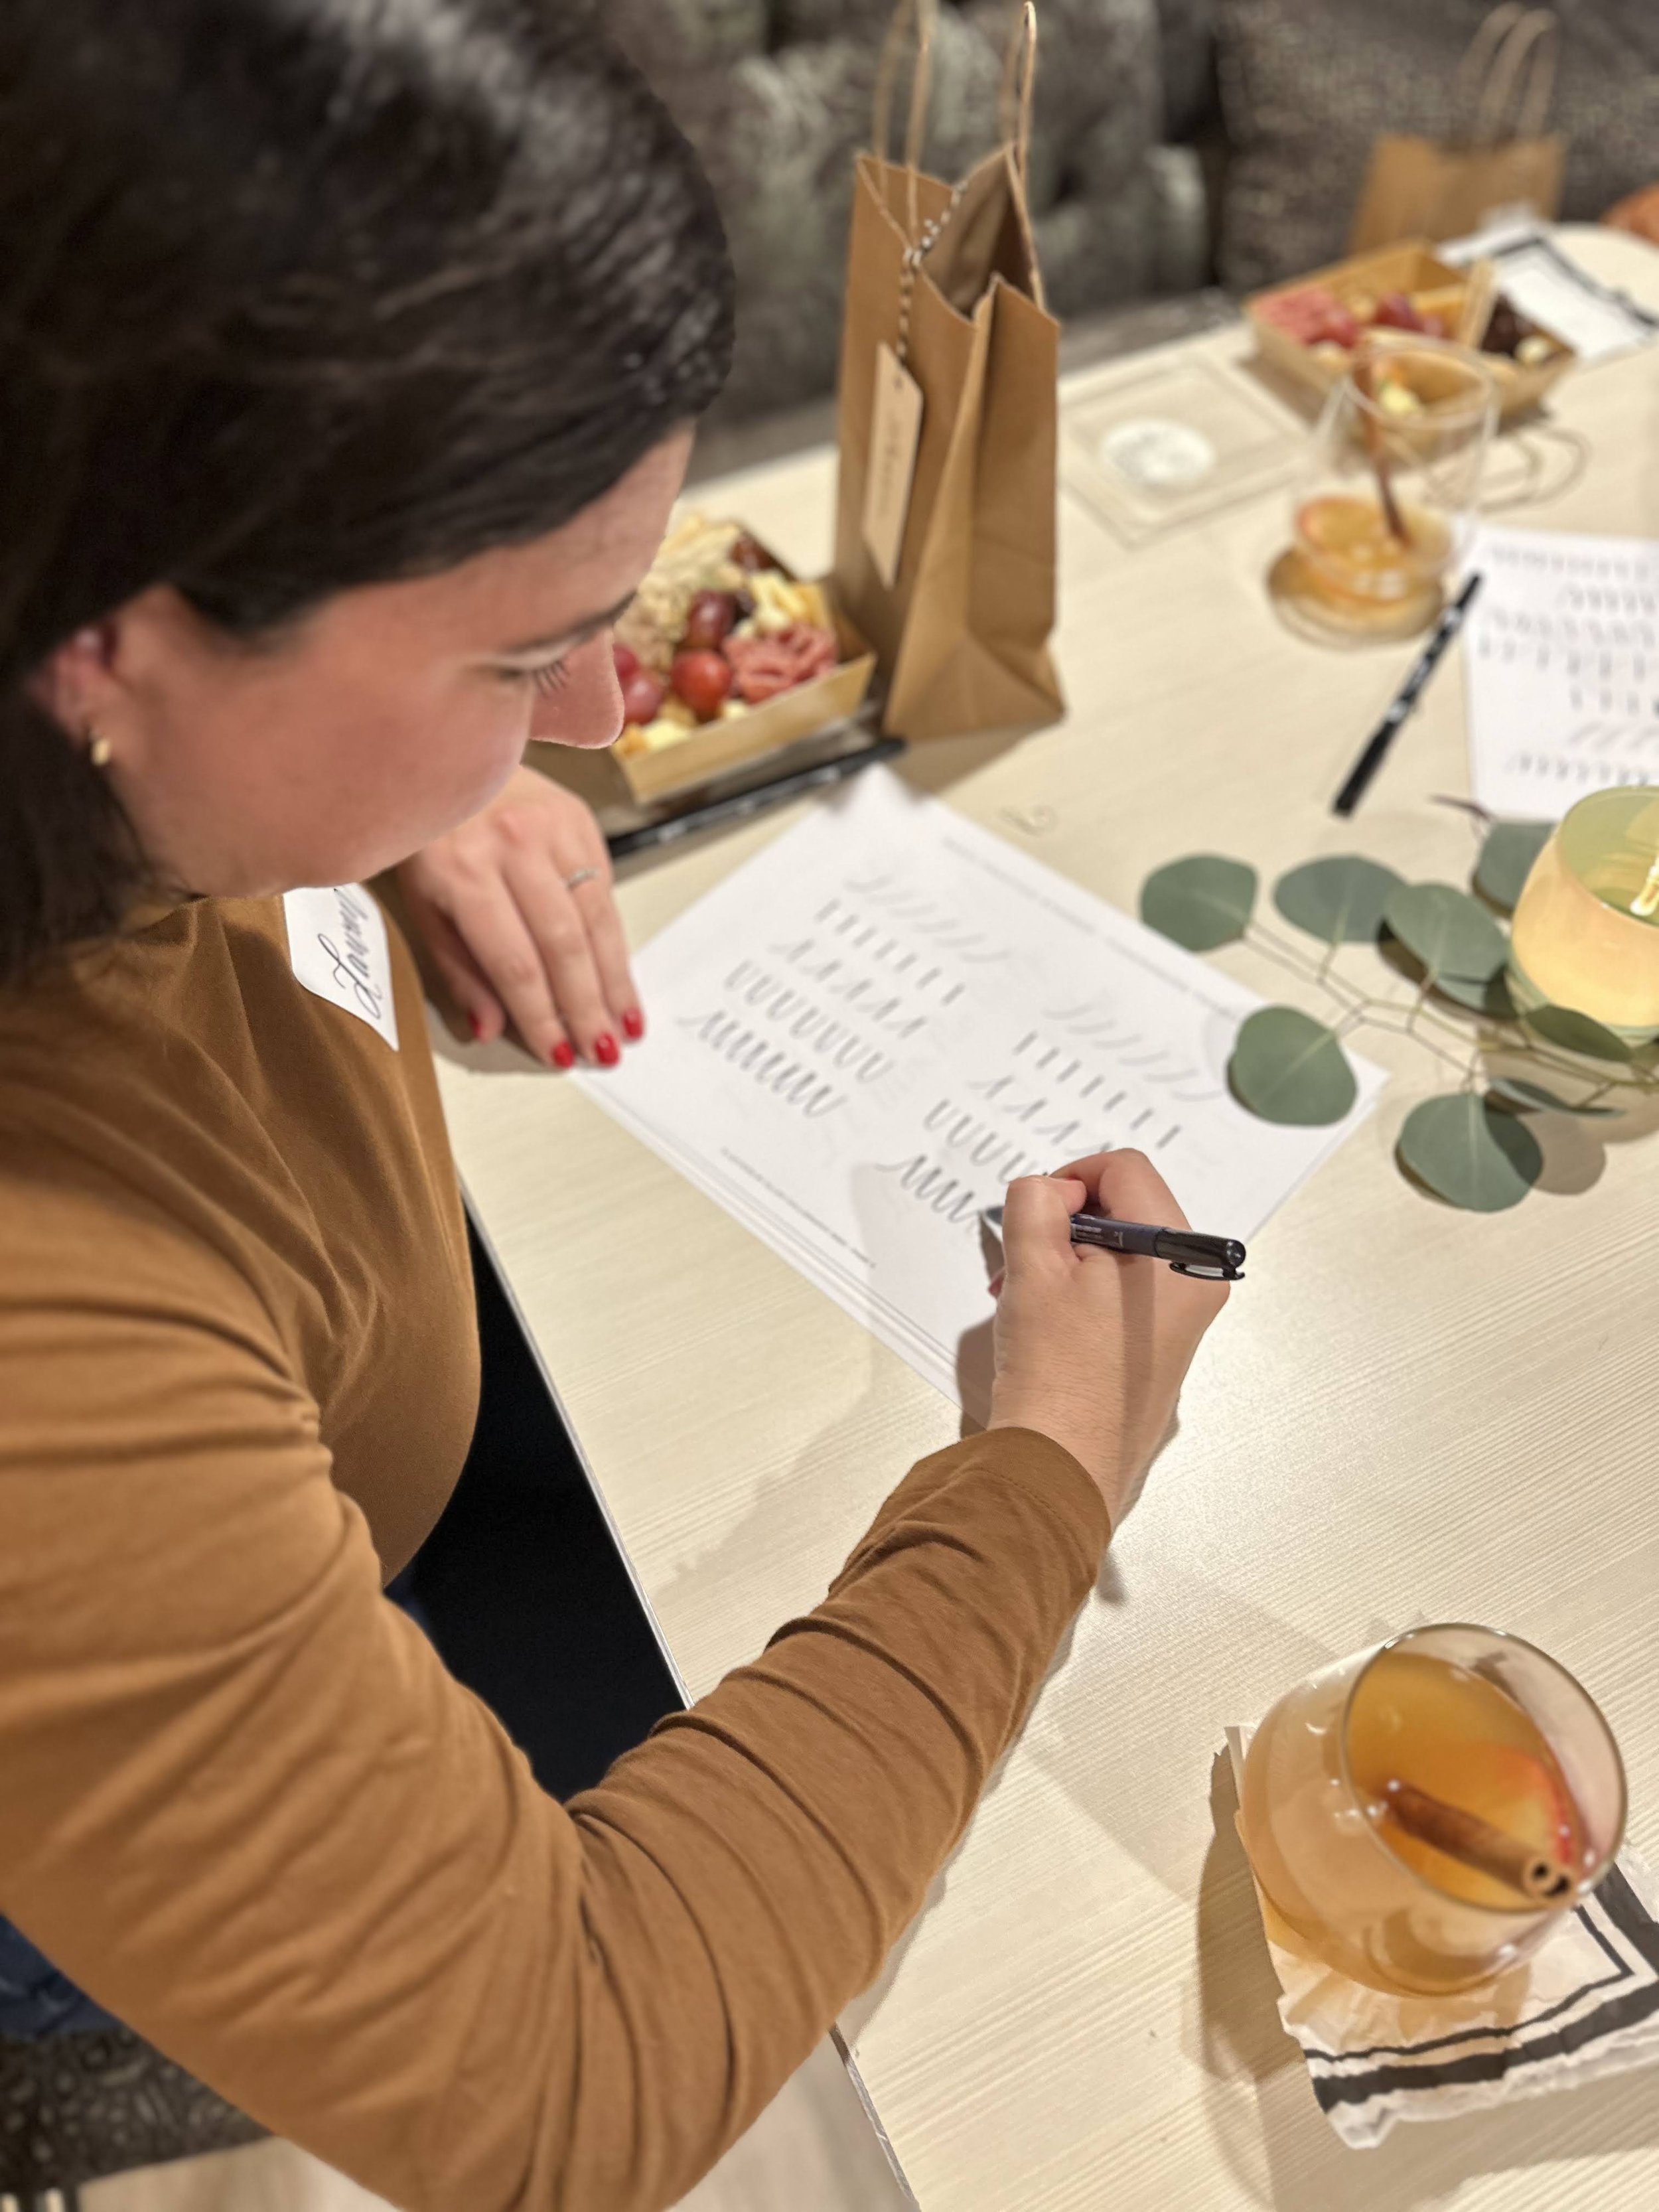
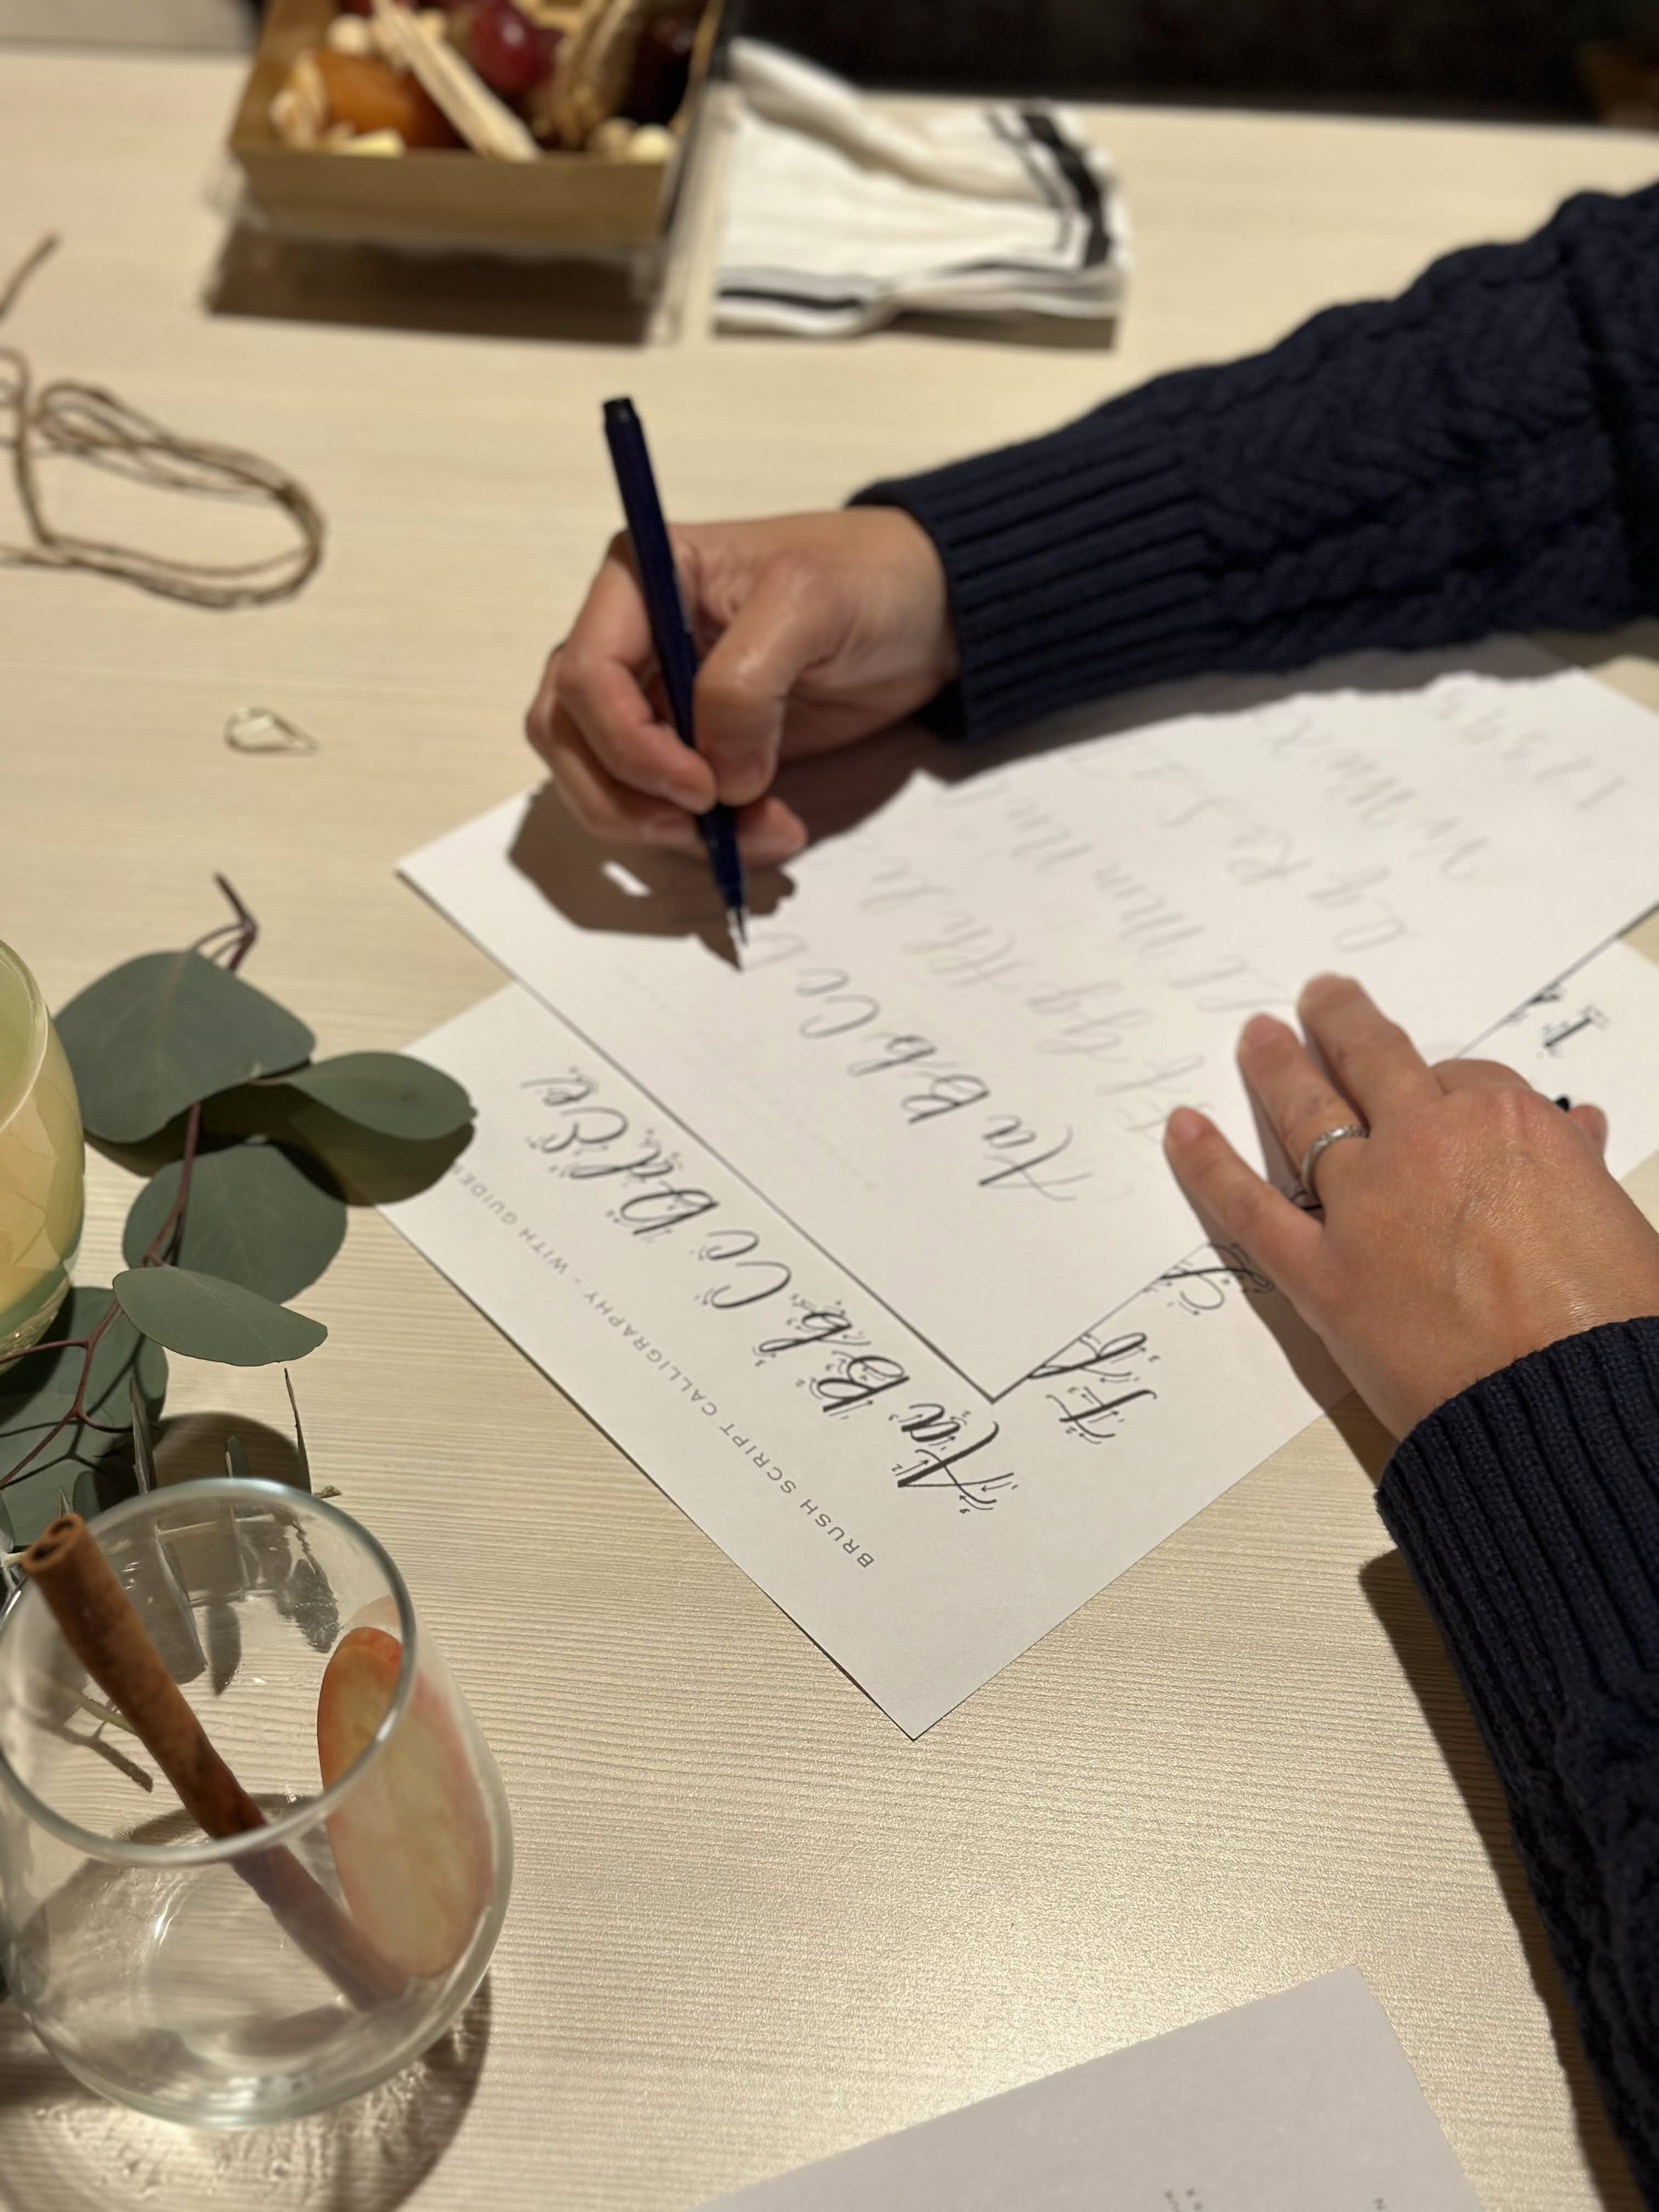
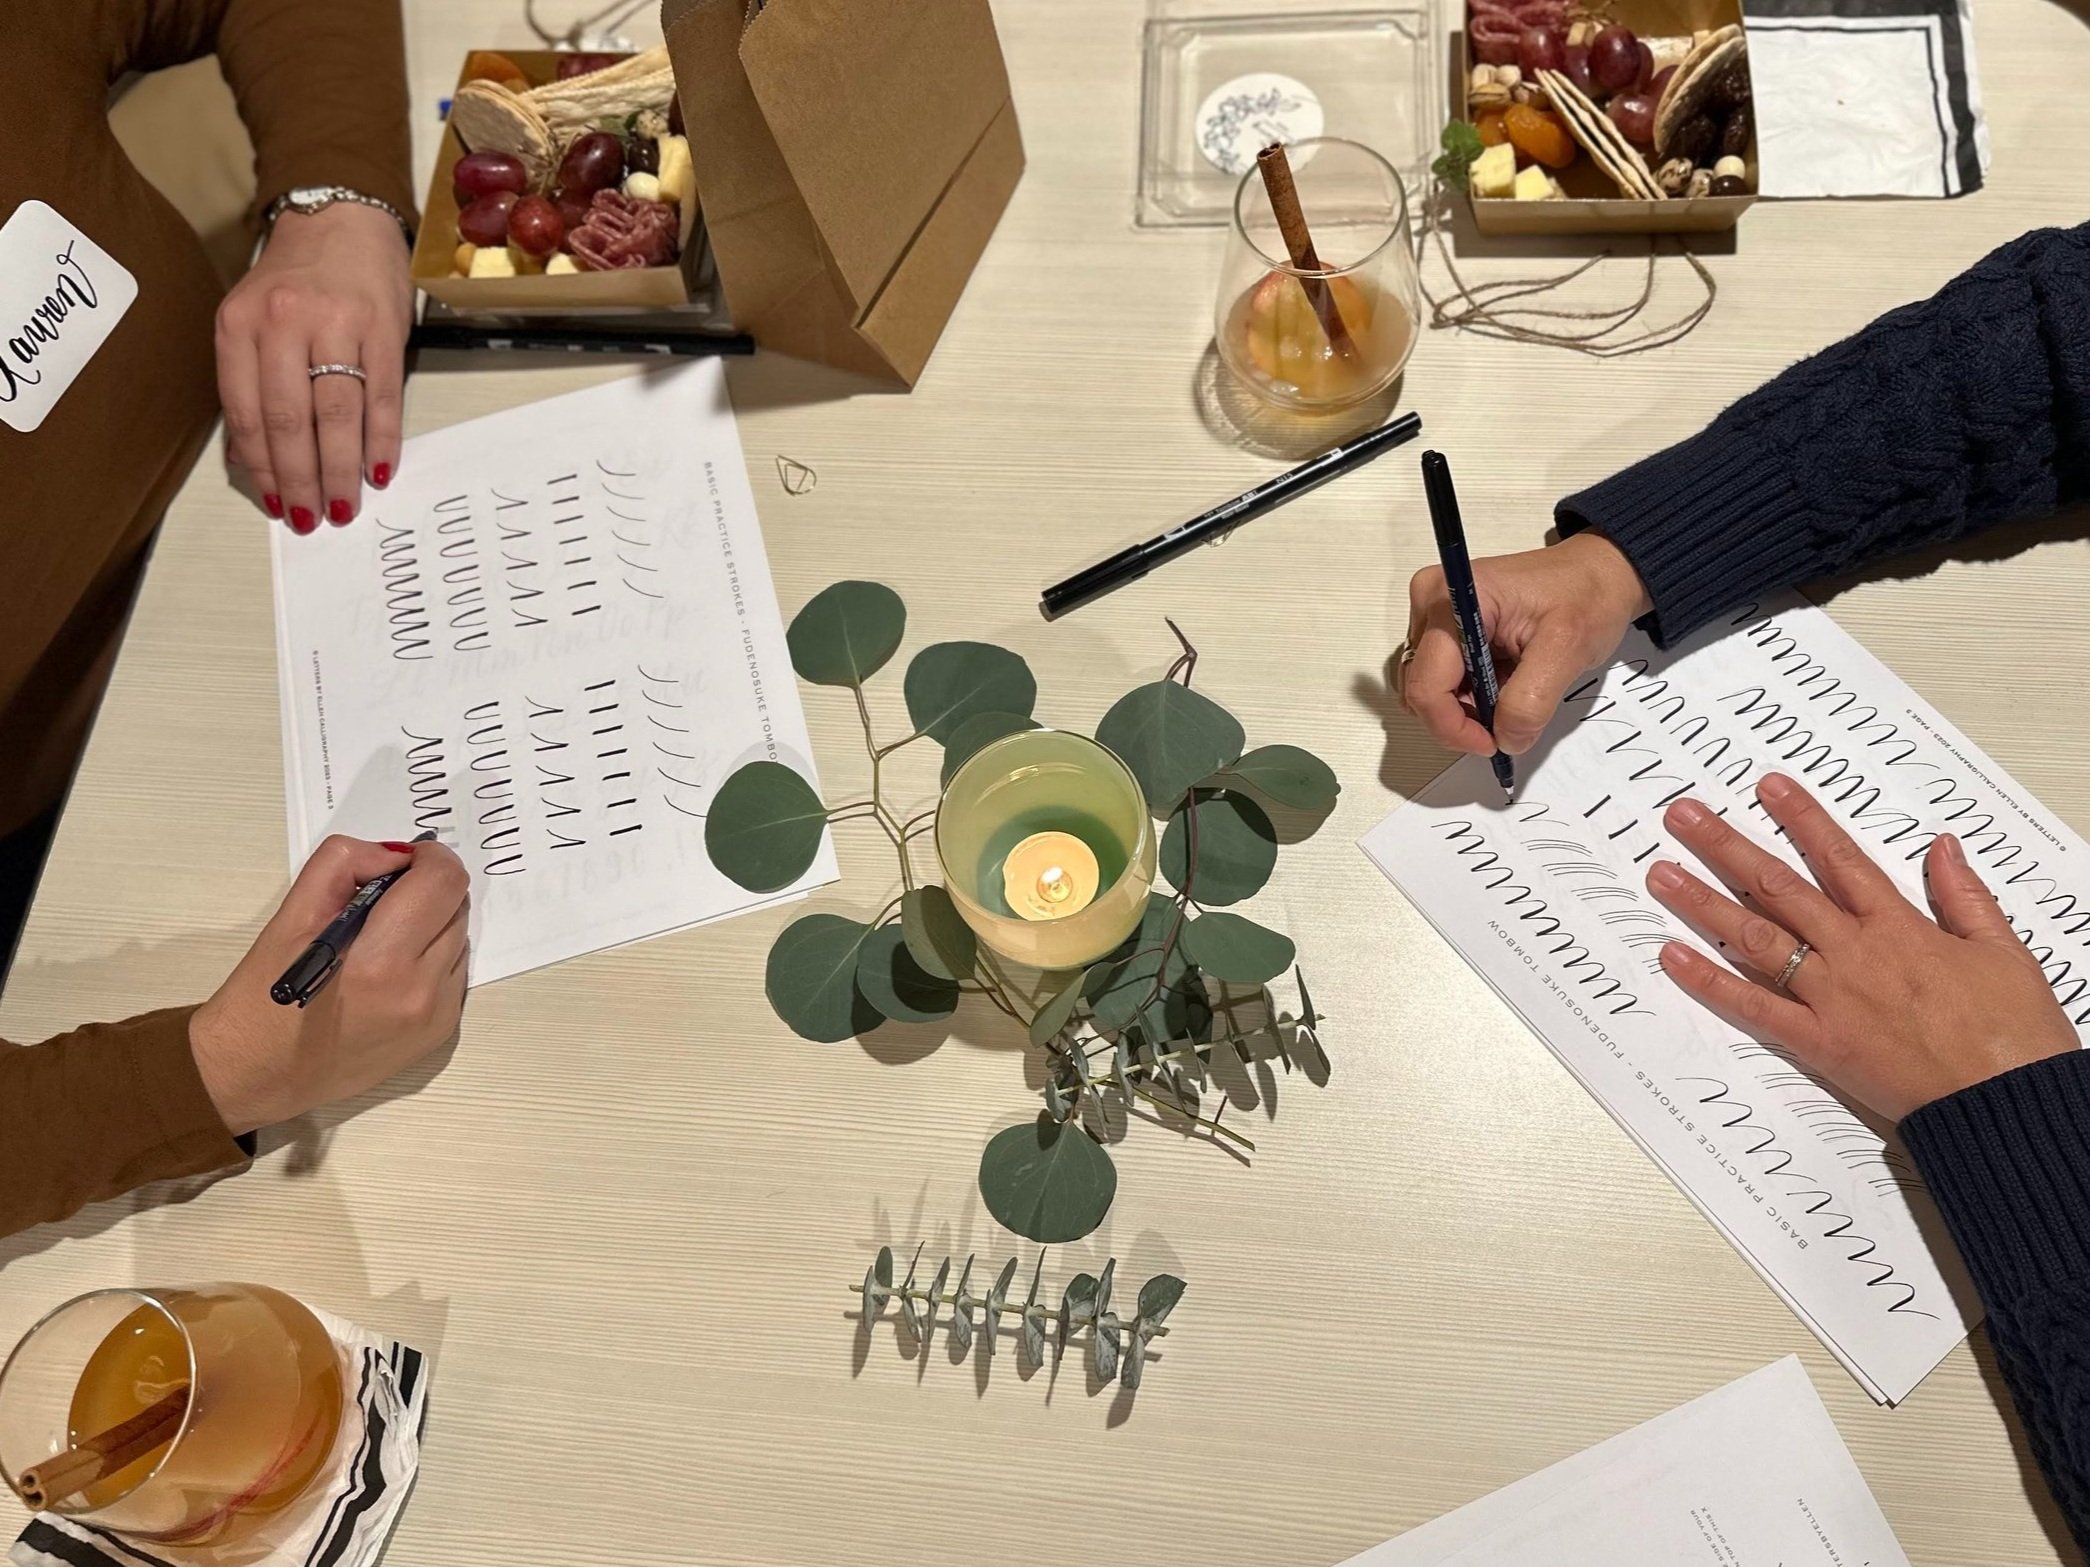
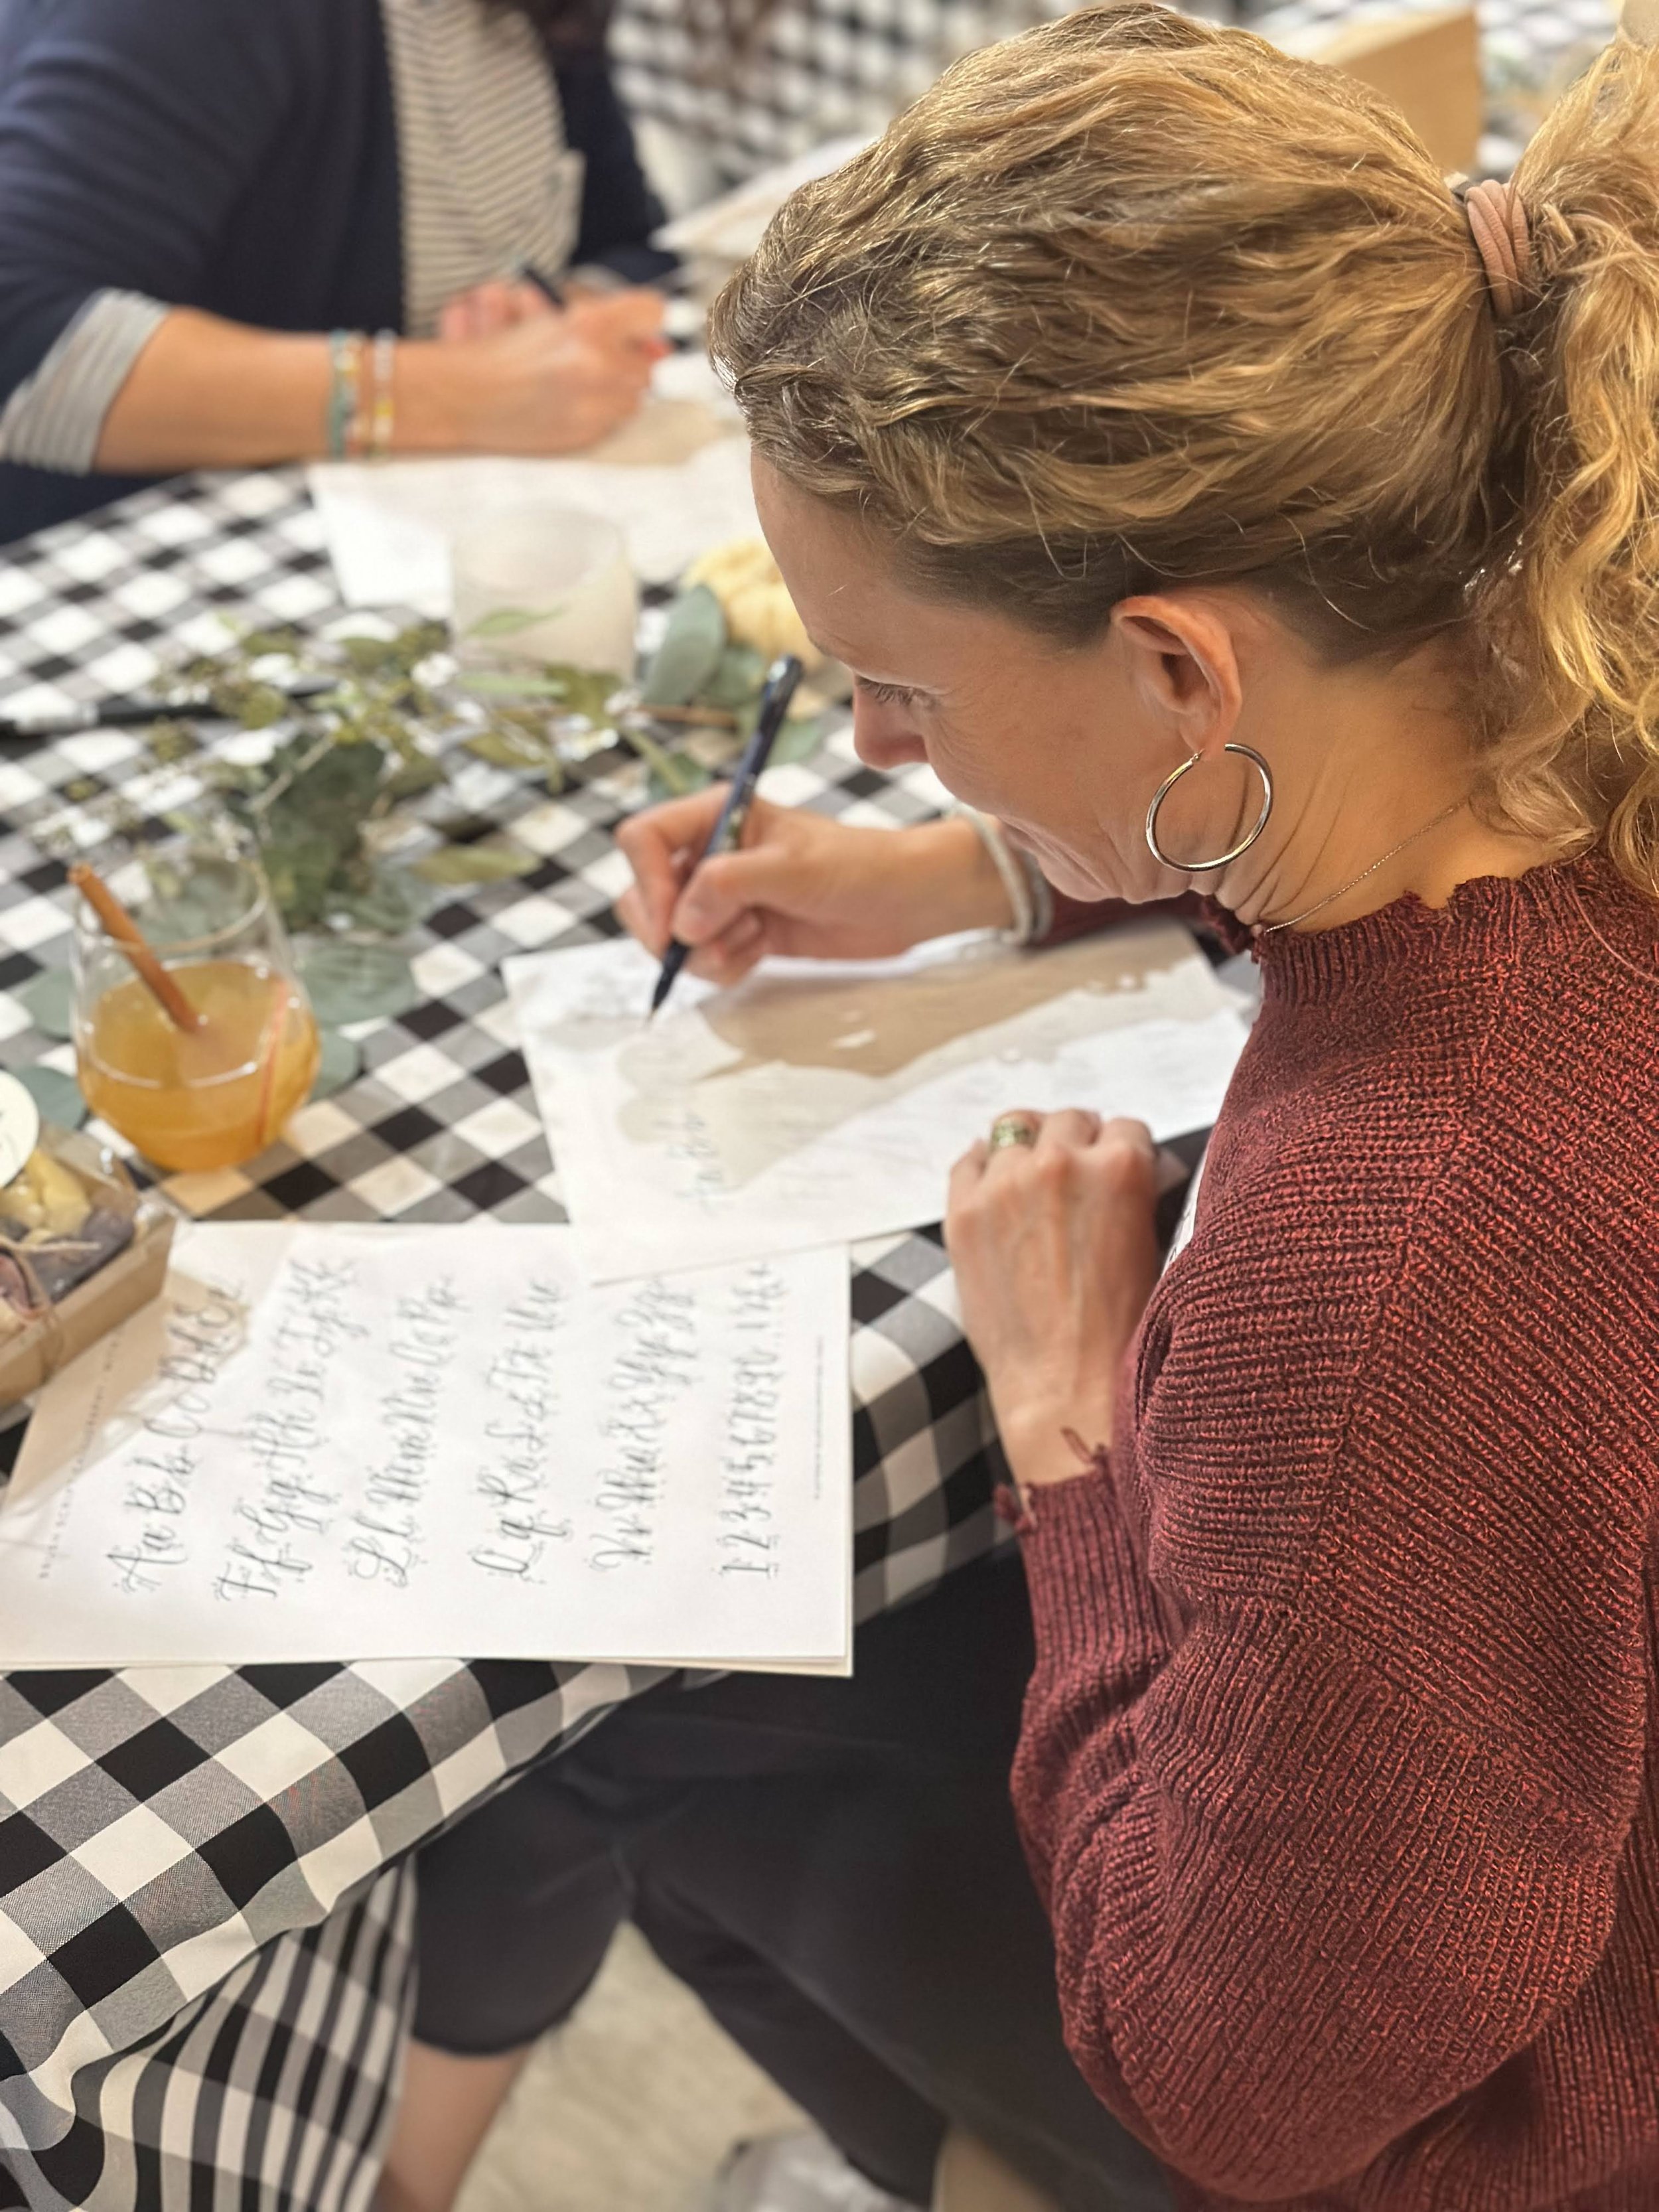
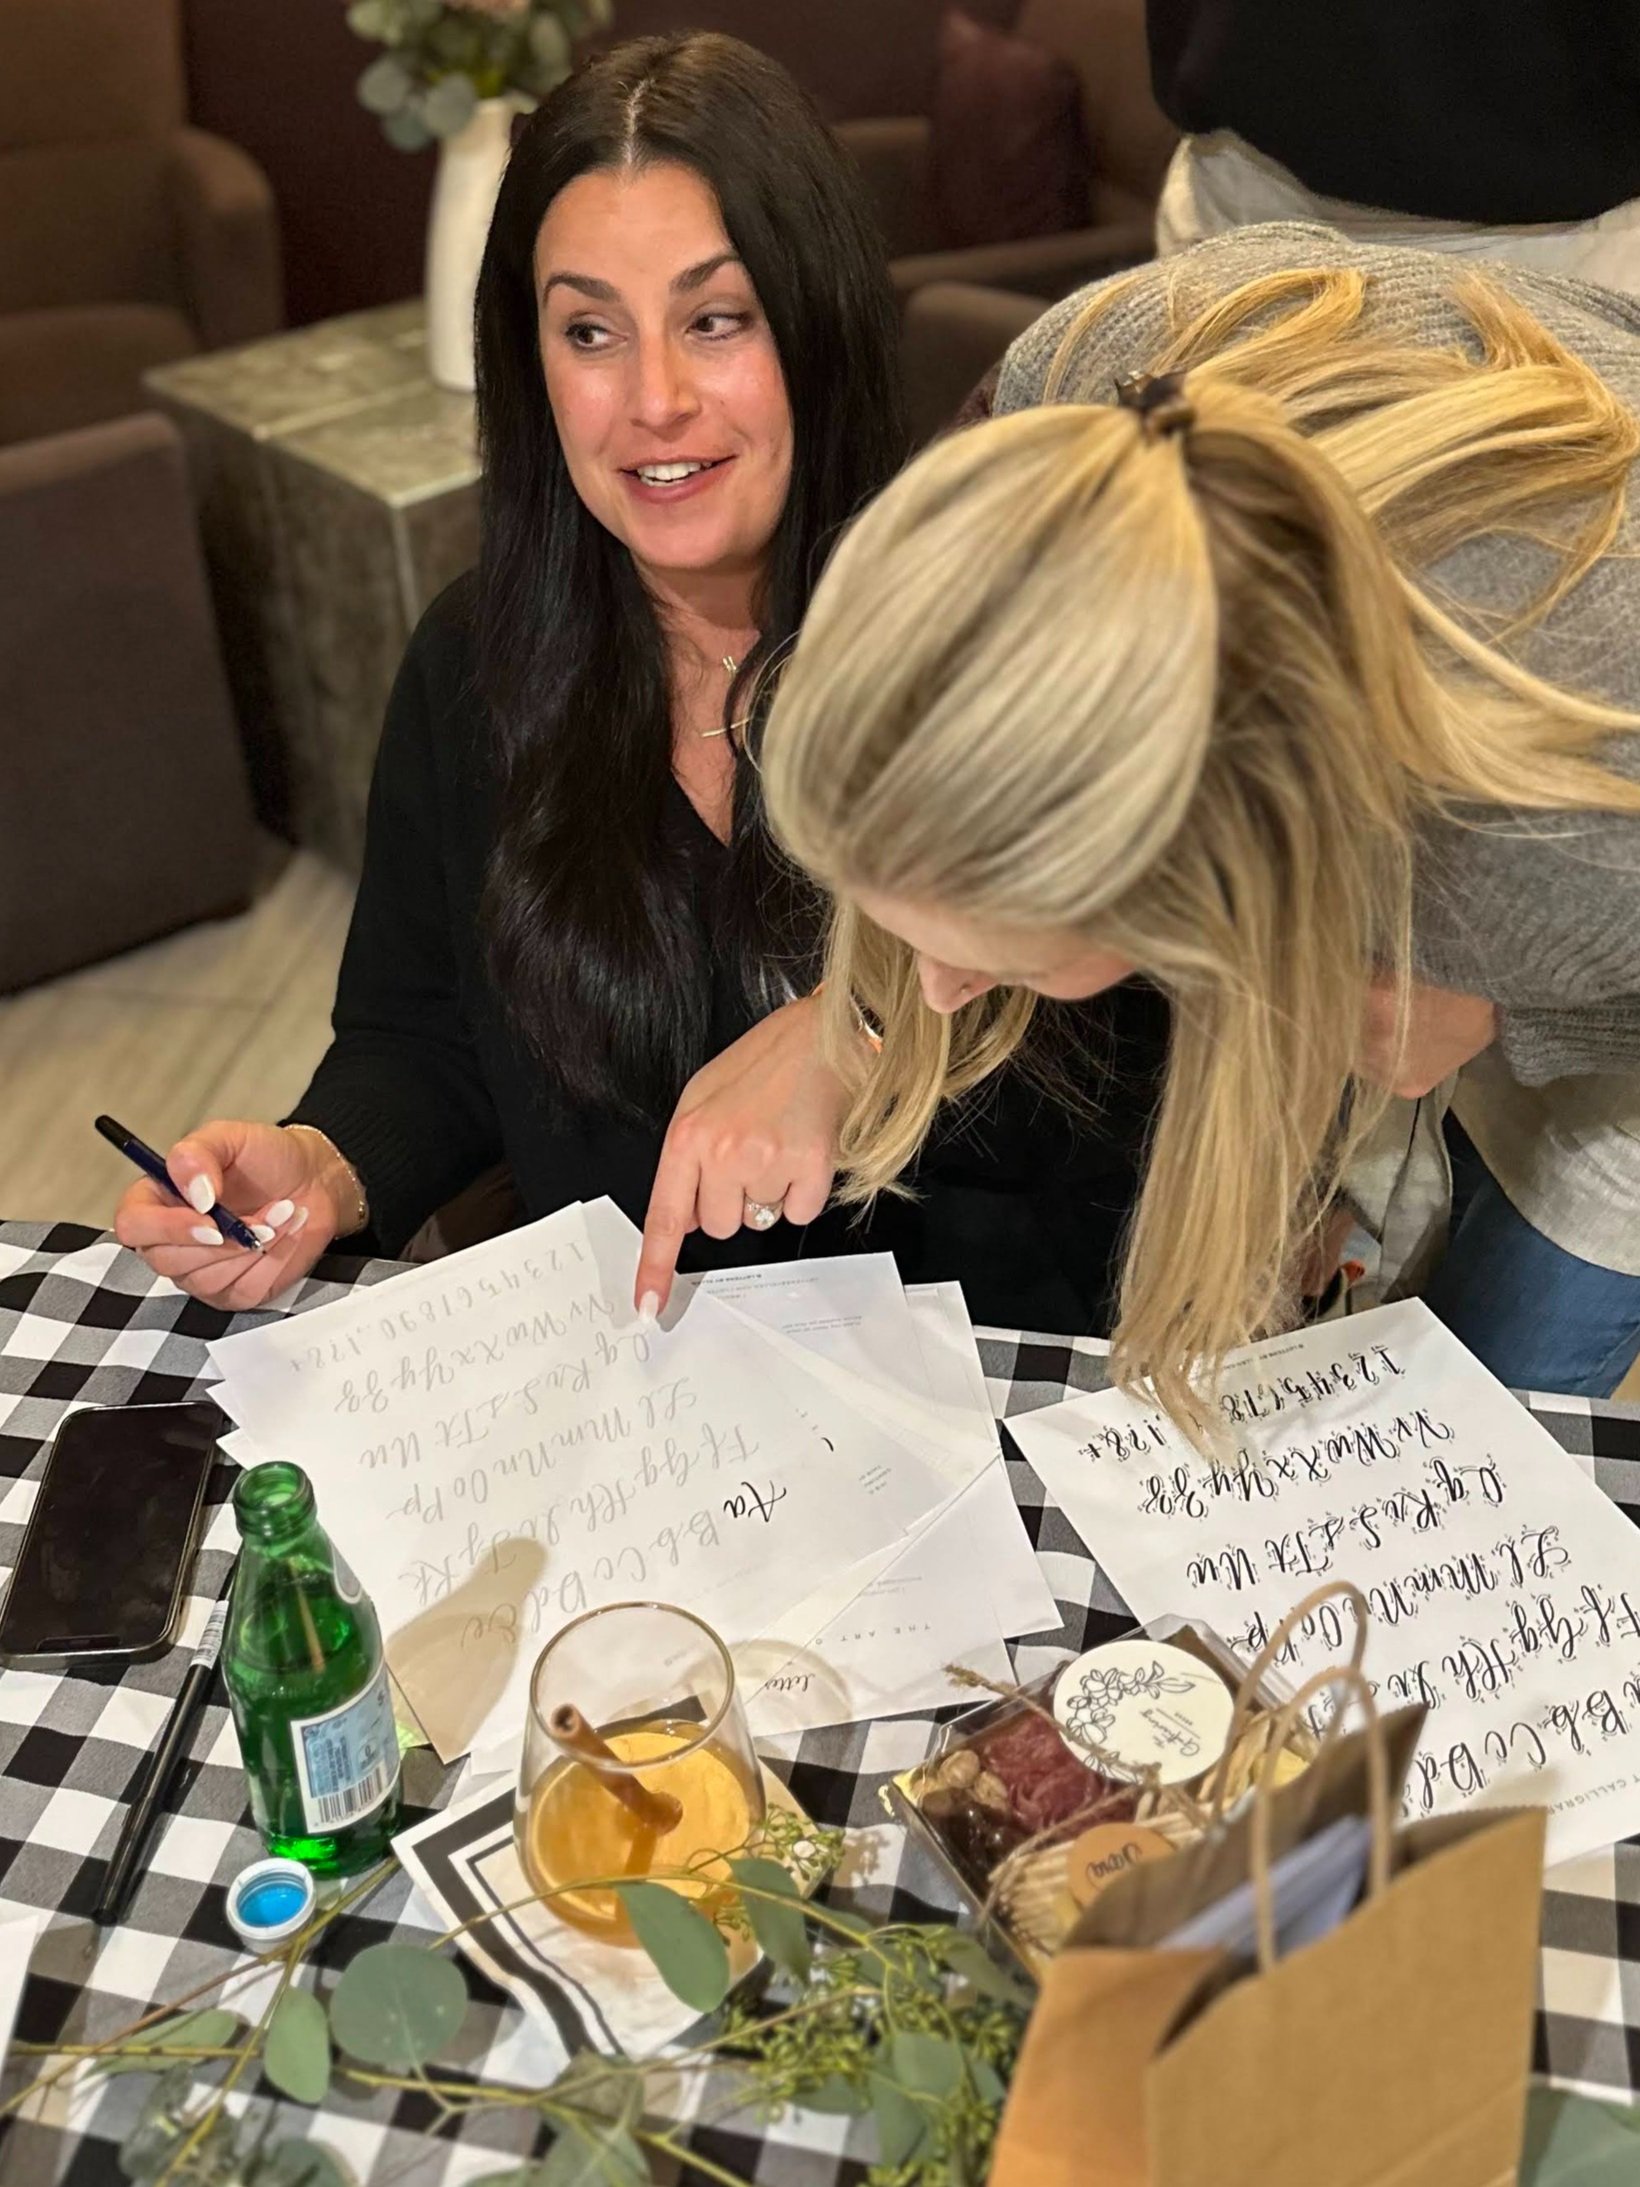
Ellen began the hands-on portion of the evening by teaching guests the proper way to hold the calligraphy pen. You always hold your pen at a 45’ angle. One way to ensure a proper hold is to cradle the pen in the valley between your pointer finger and thumb. We used Tombow Fudenosuke Pens for the workshop and they have a handy line on the pen where your fingers should go. Ellen recommends a three finger hold where your pinky finger is always touching the paper.
If you are right handed your hand position would point to the 9 or 10 on the face of a clock (if it were facing you on the paper), while lefties would be pointing to the 2 or 3. Always remember to hold the pen the same way. This will give you tons of consistency. Remember you never want to lift or change the position of your pen for dotting “i’s” or crossing “t’s.”
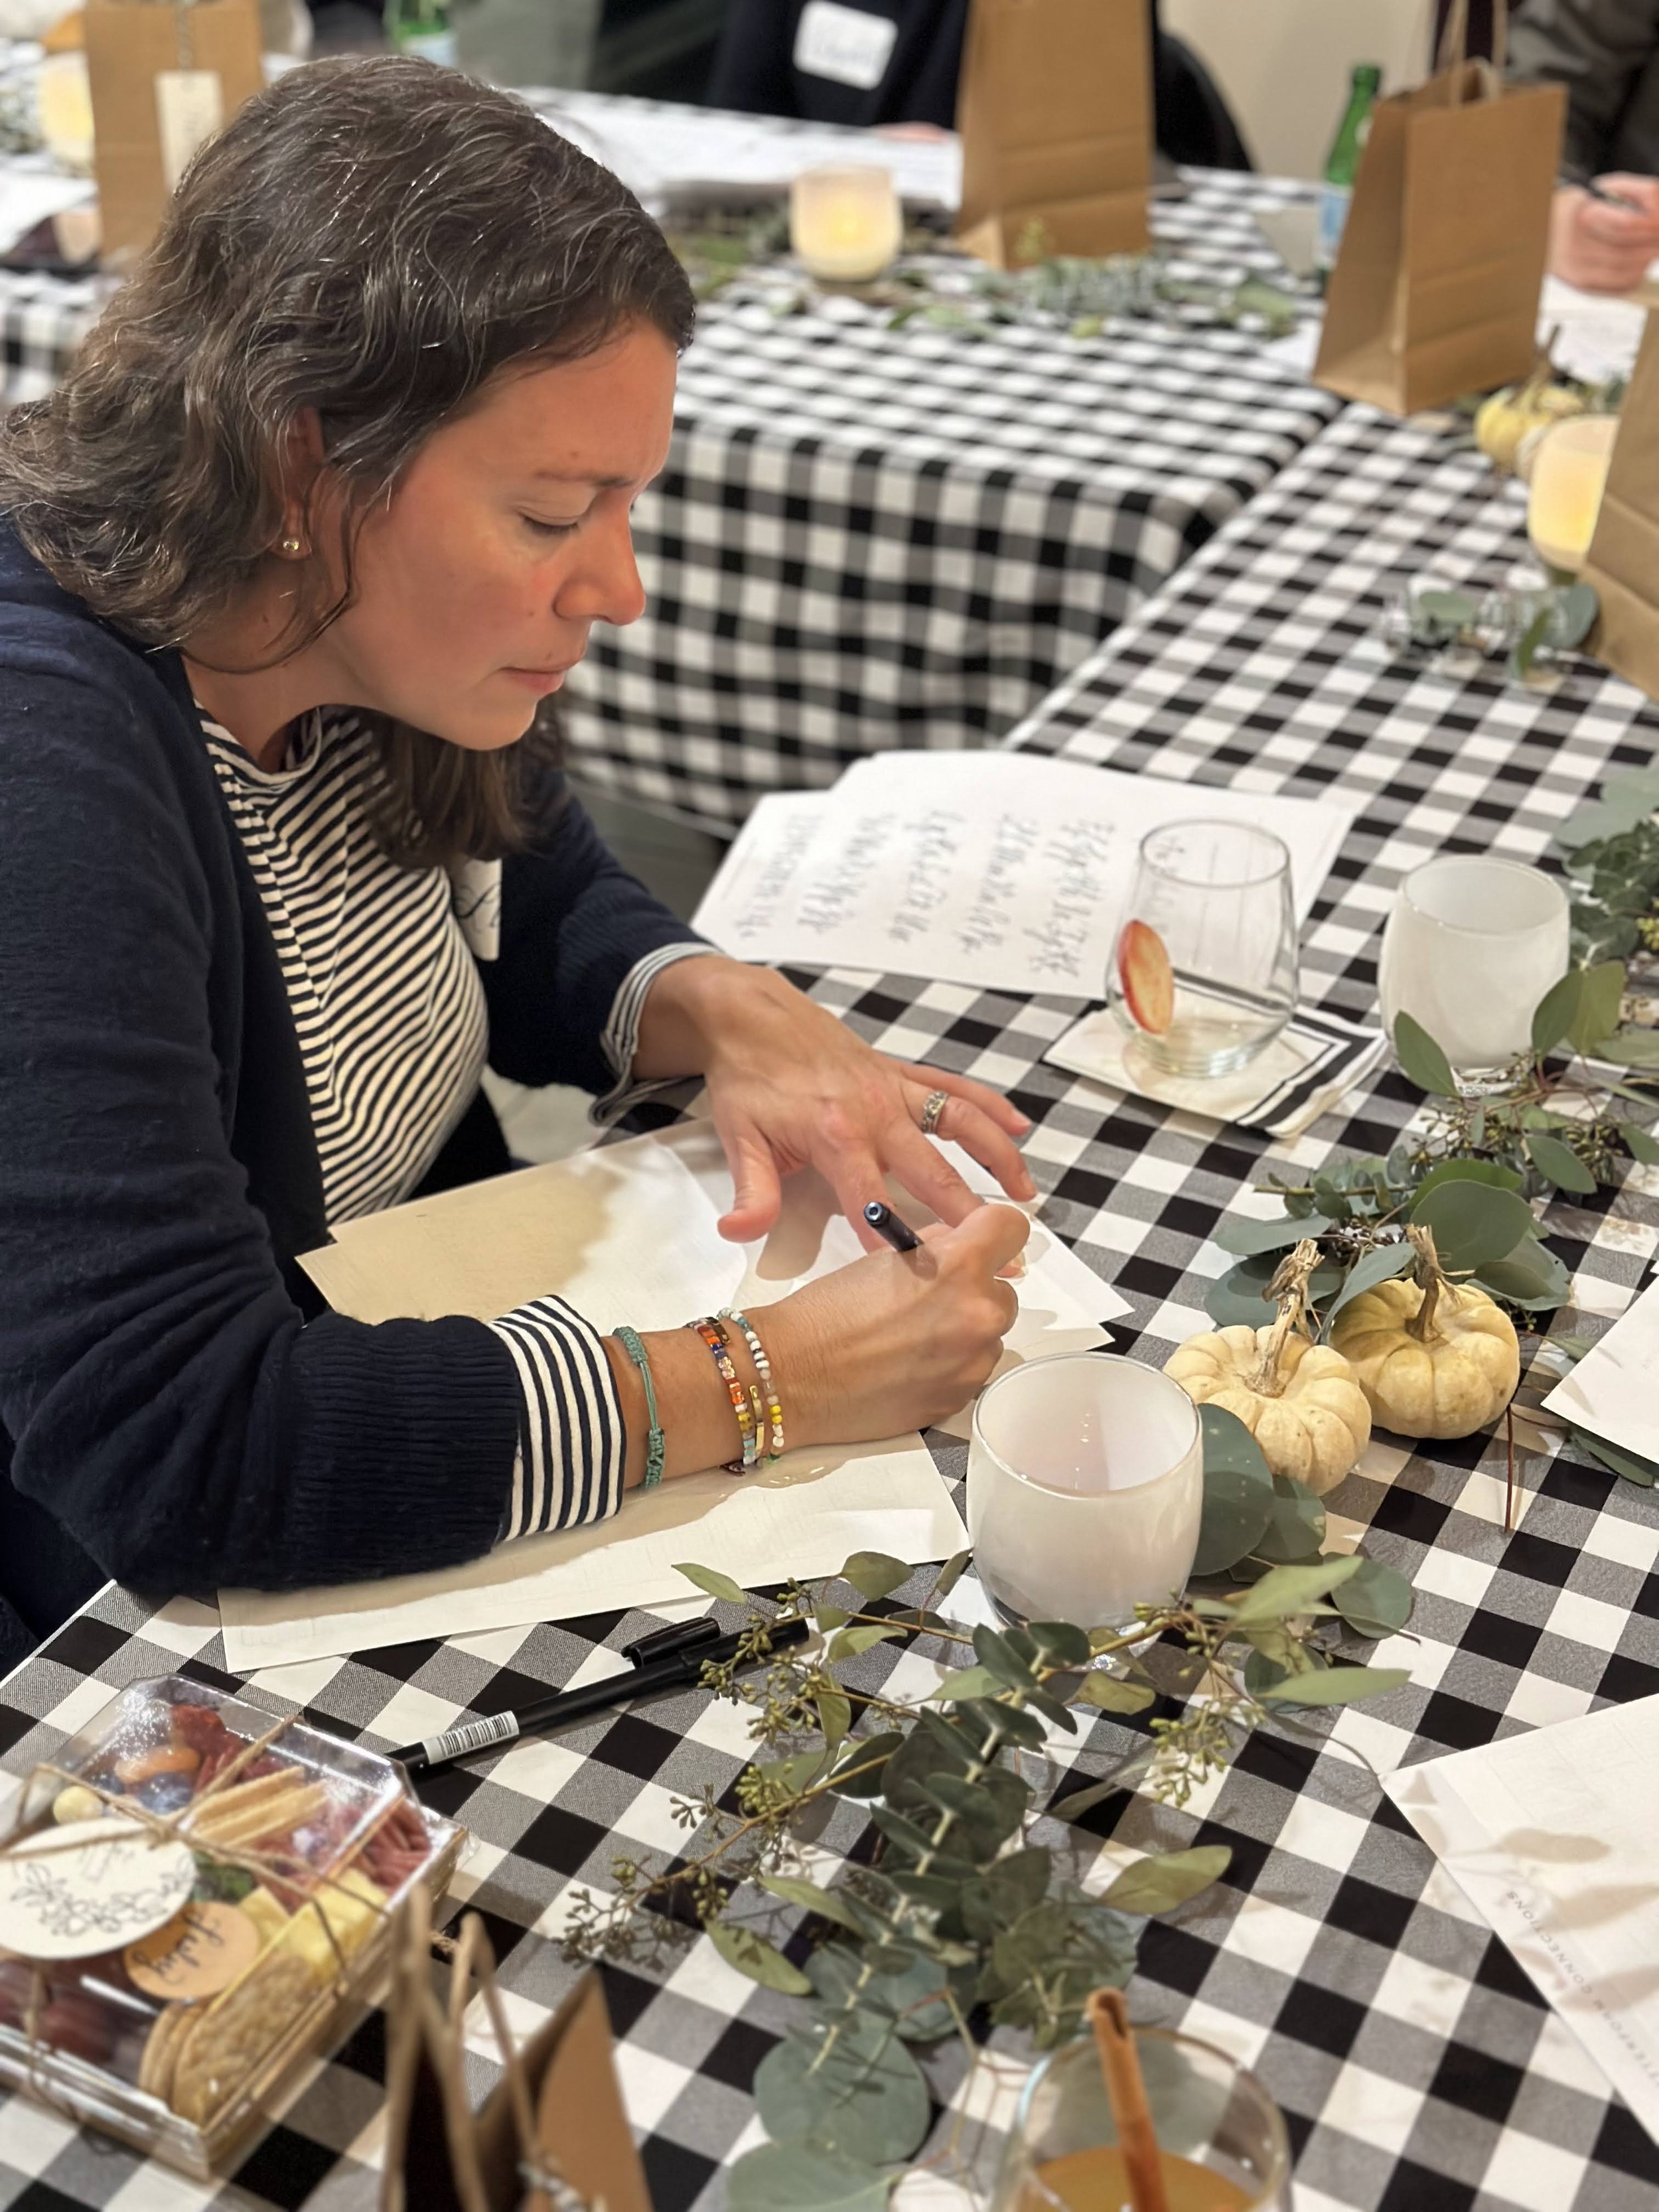
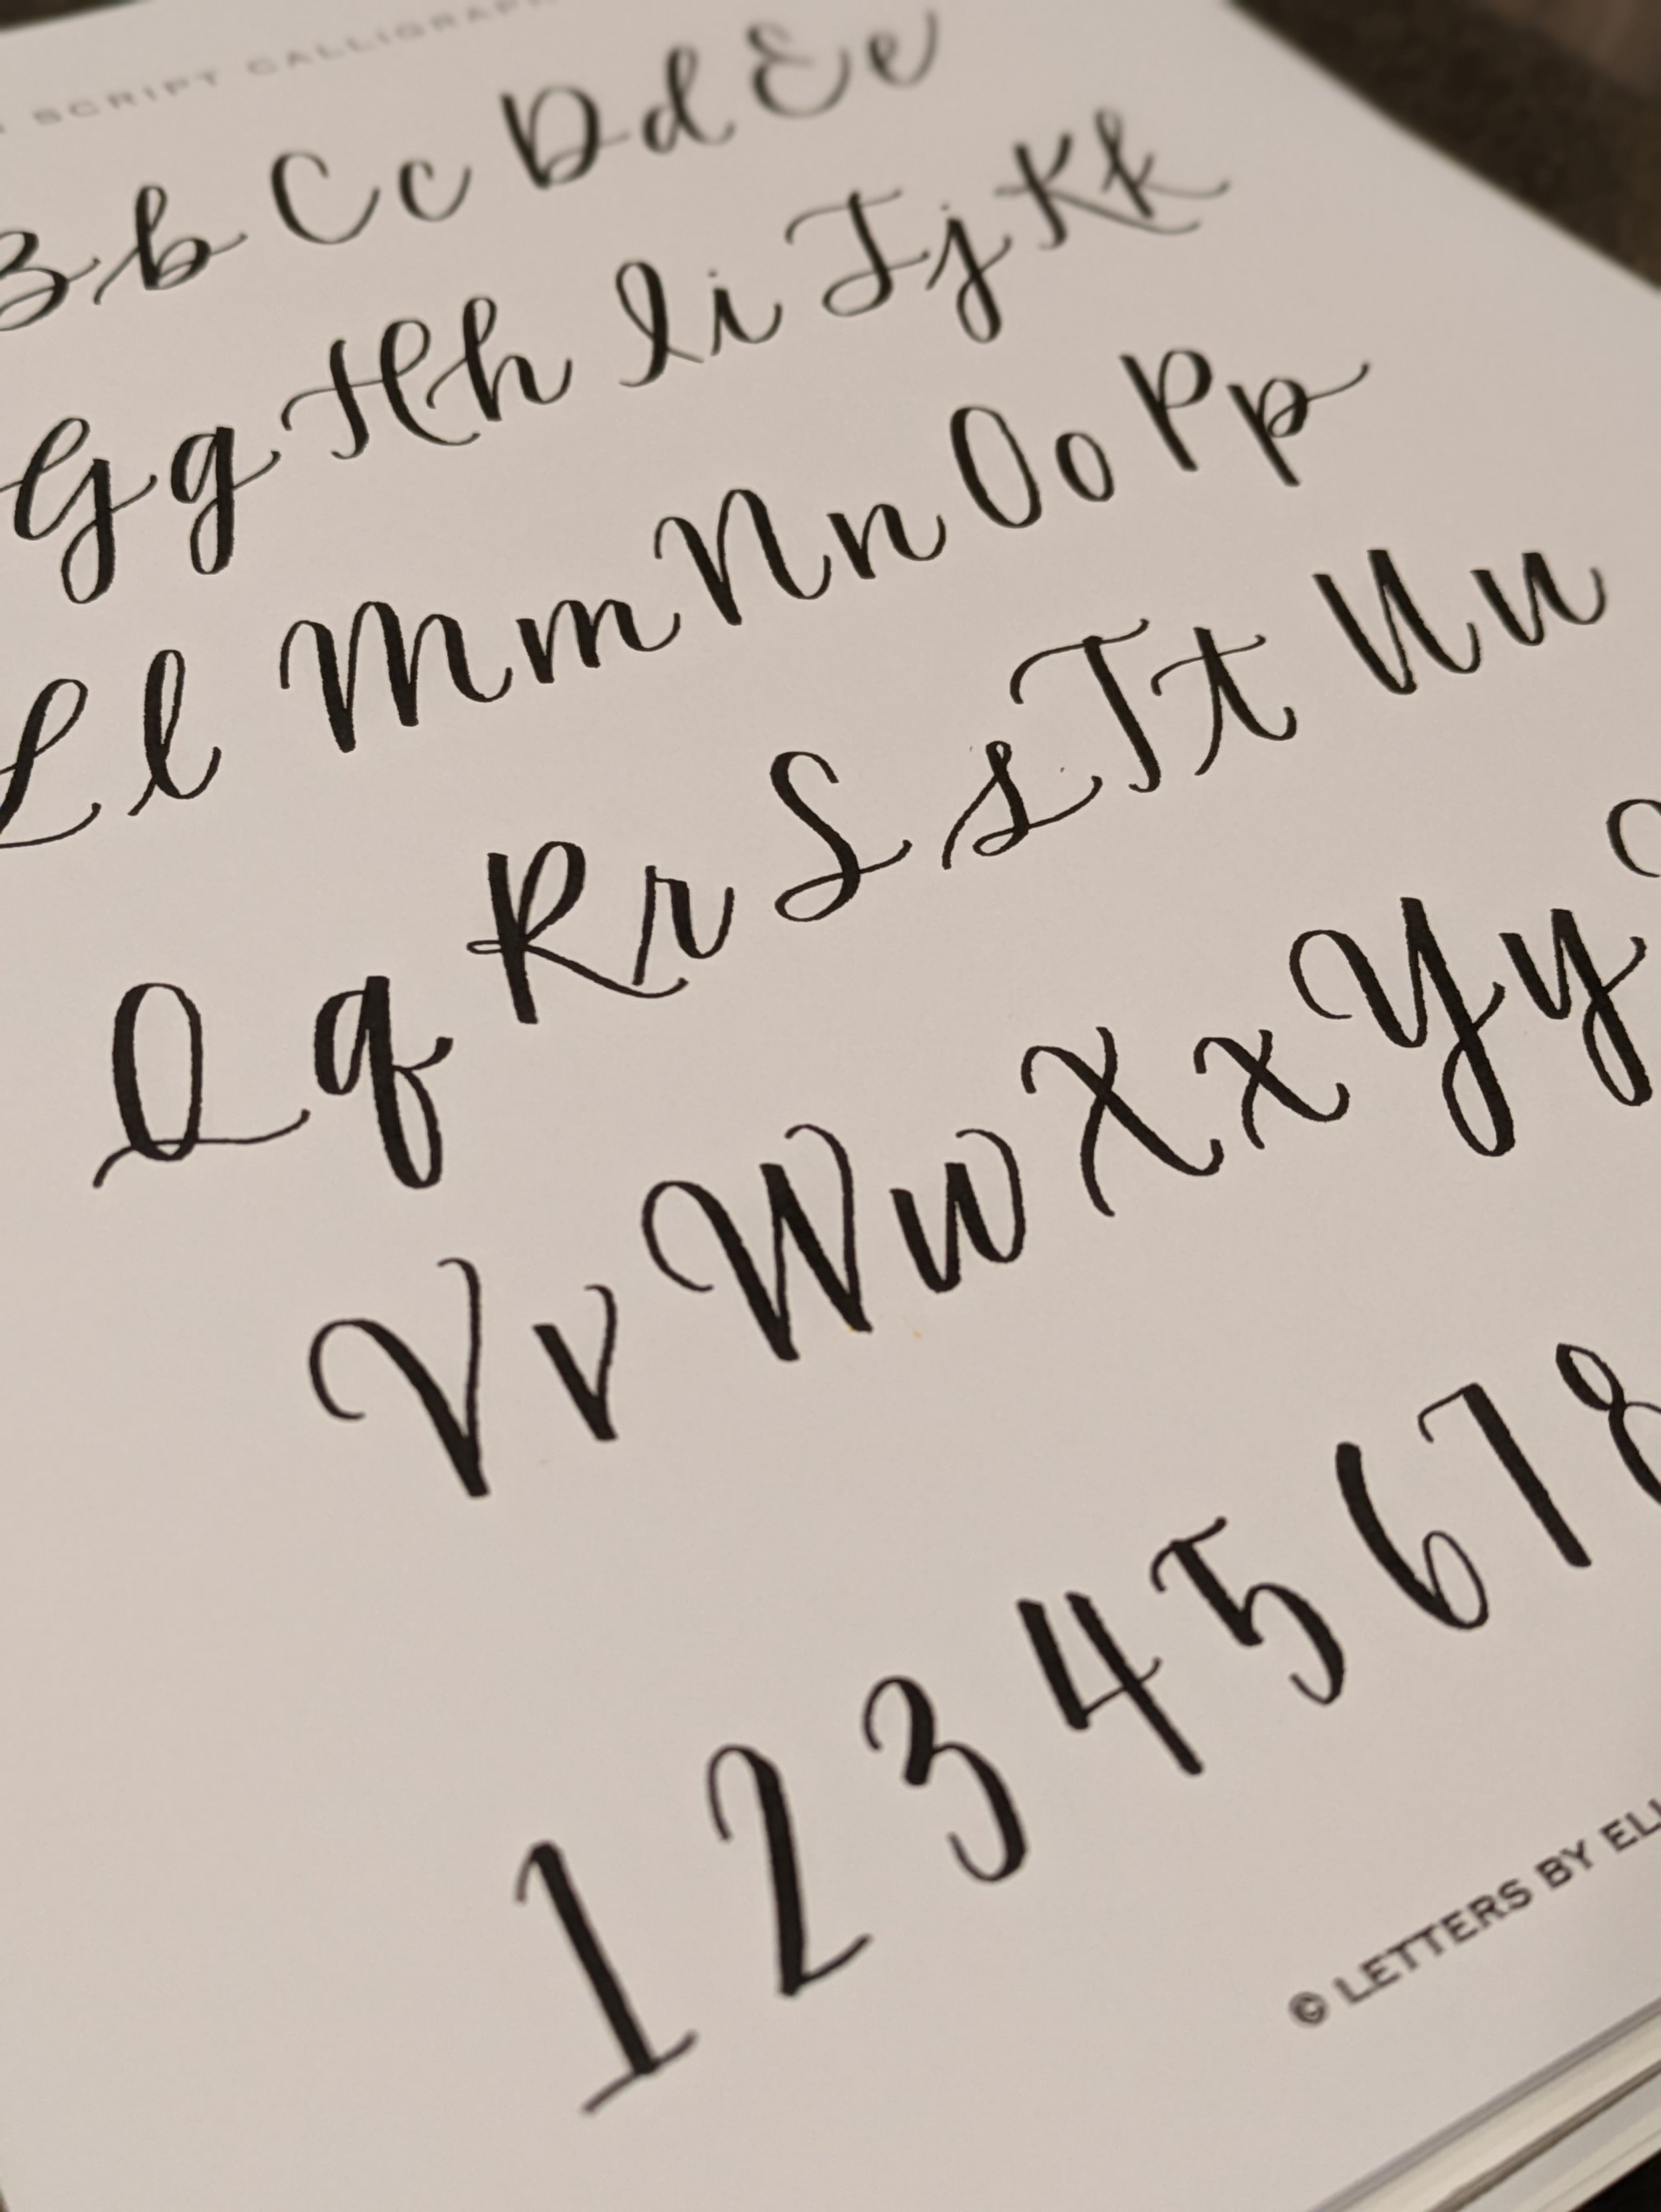
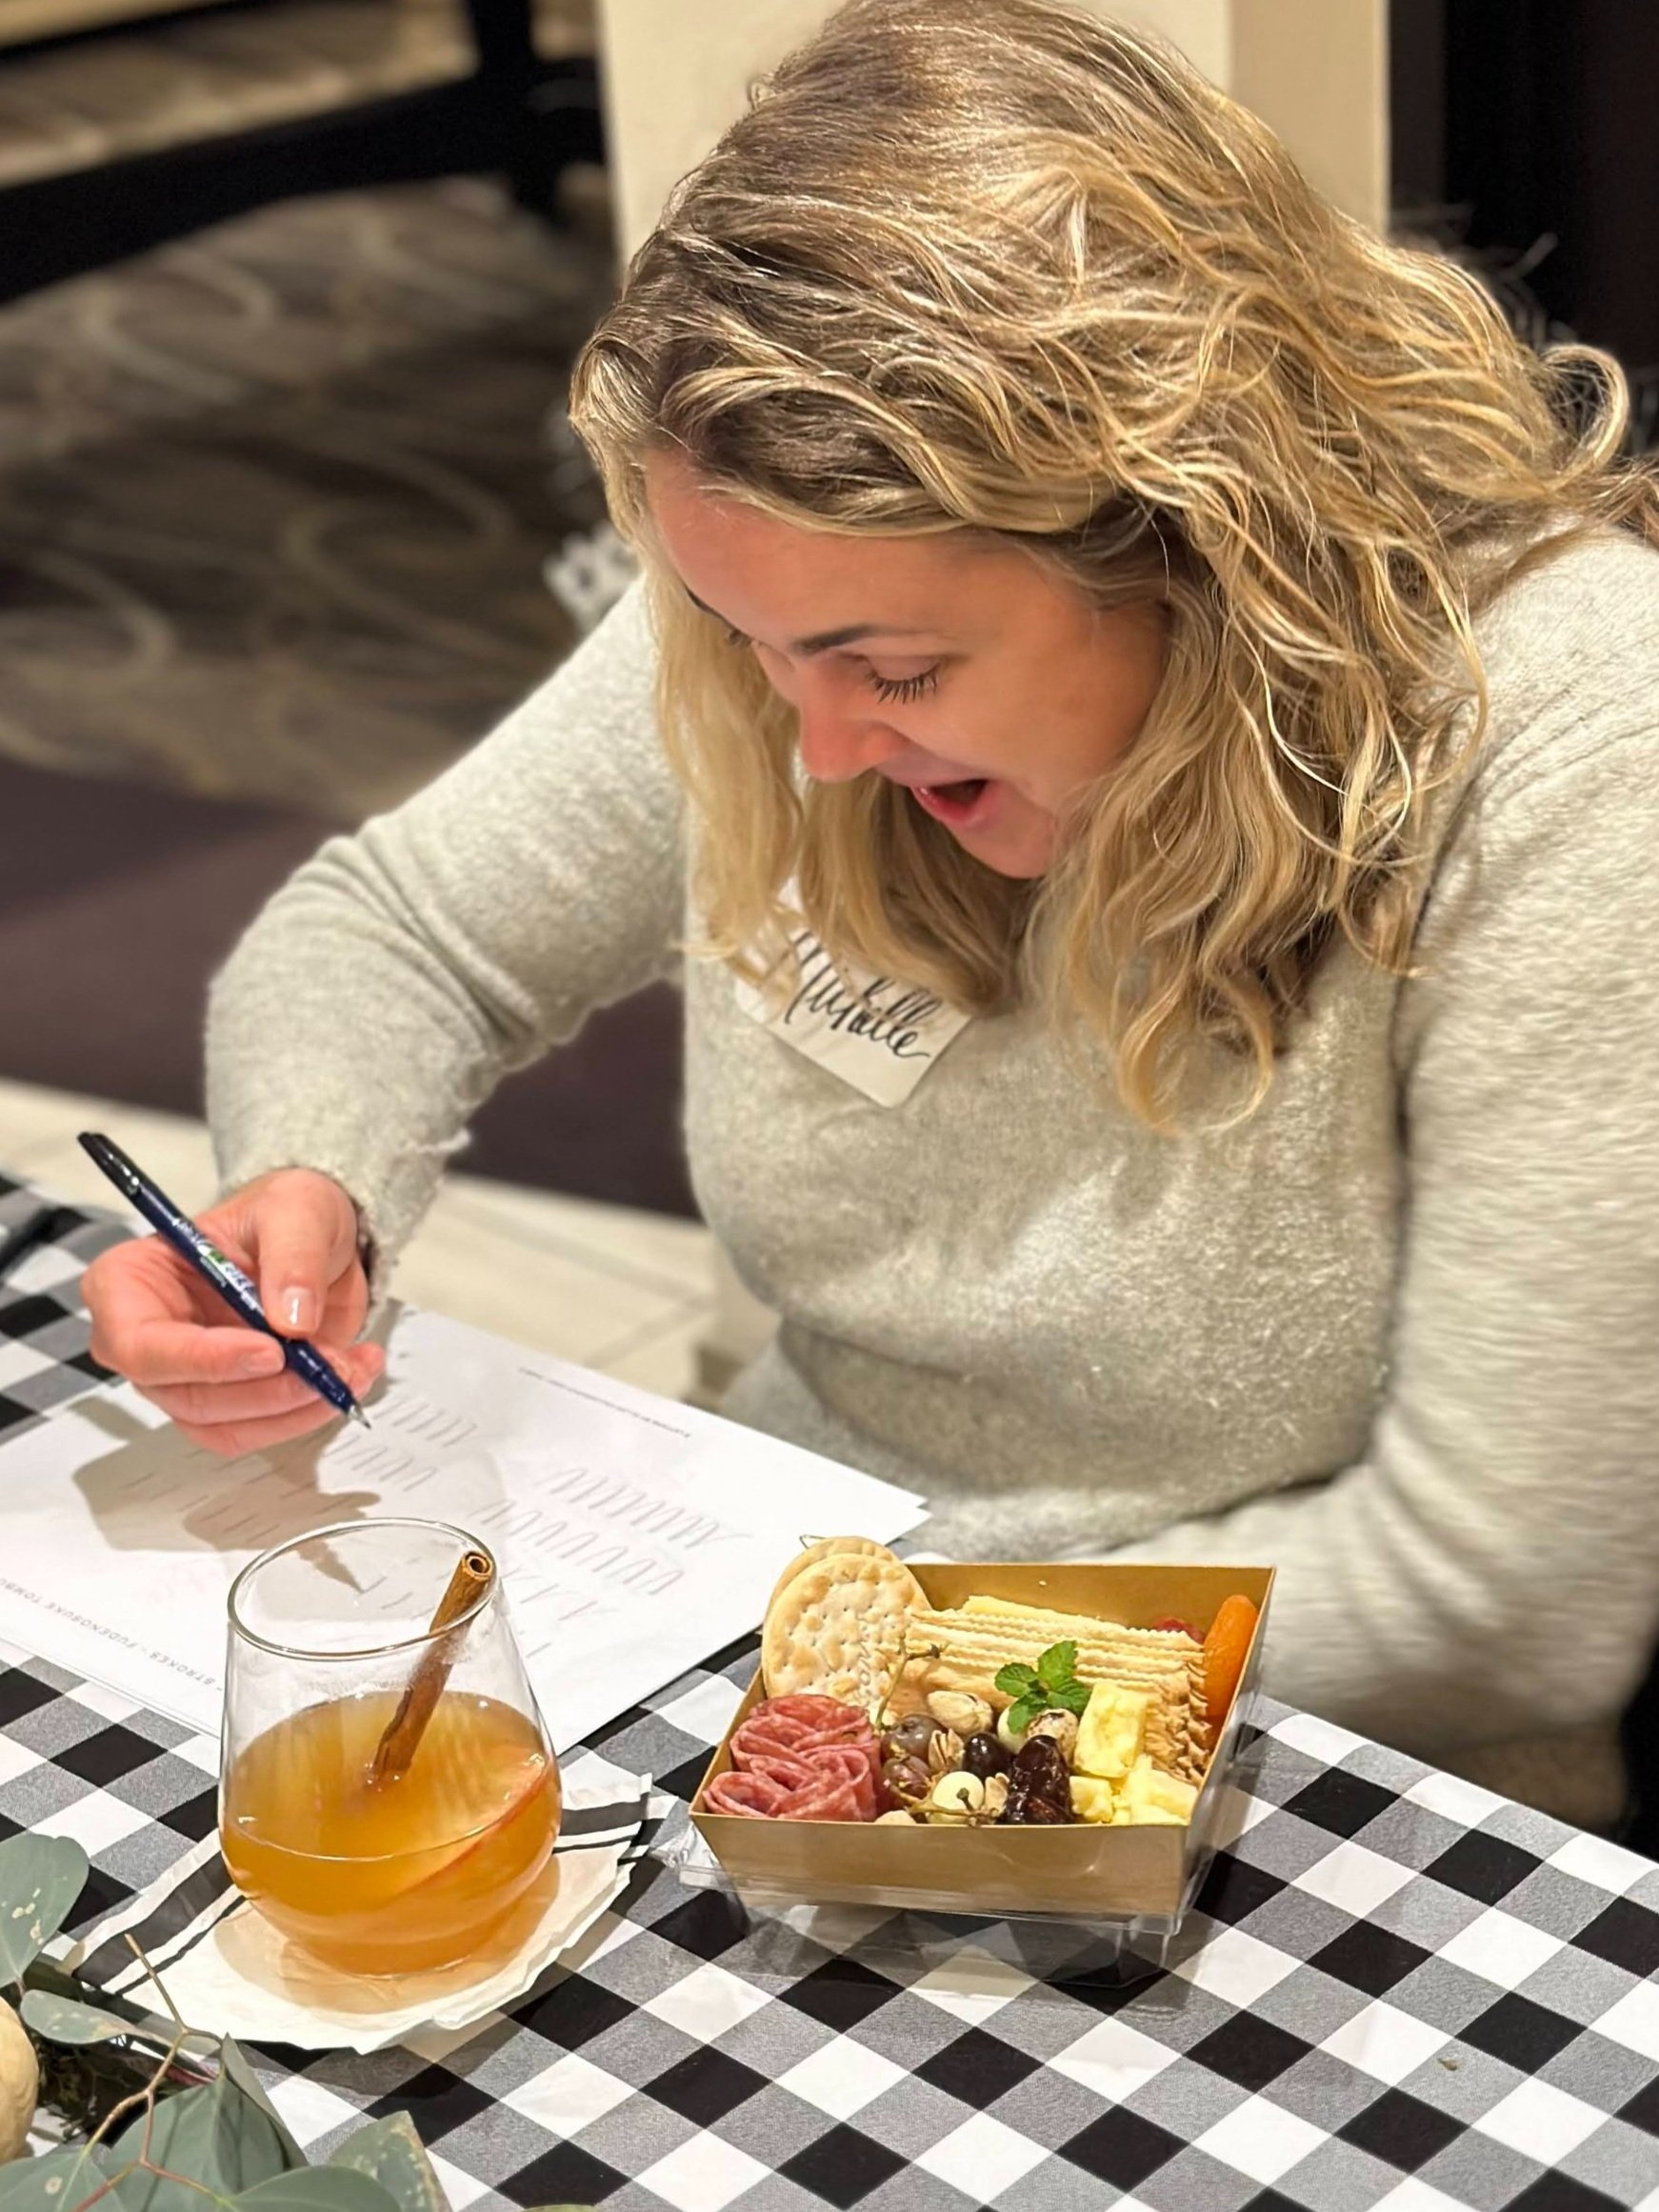
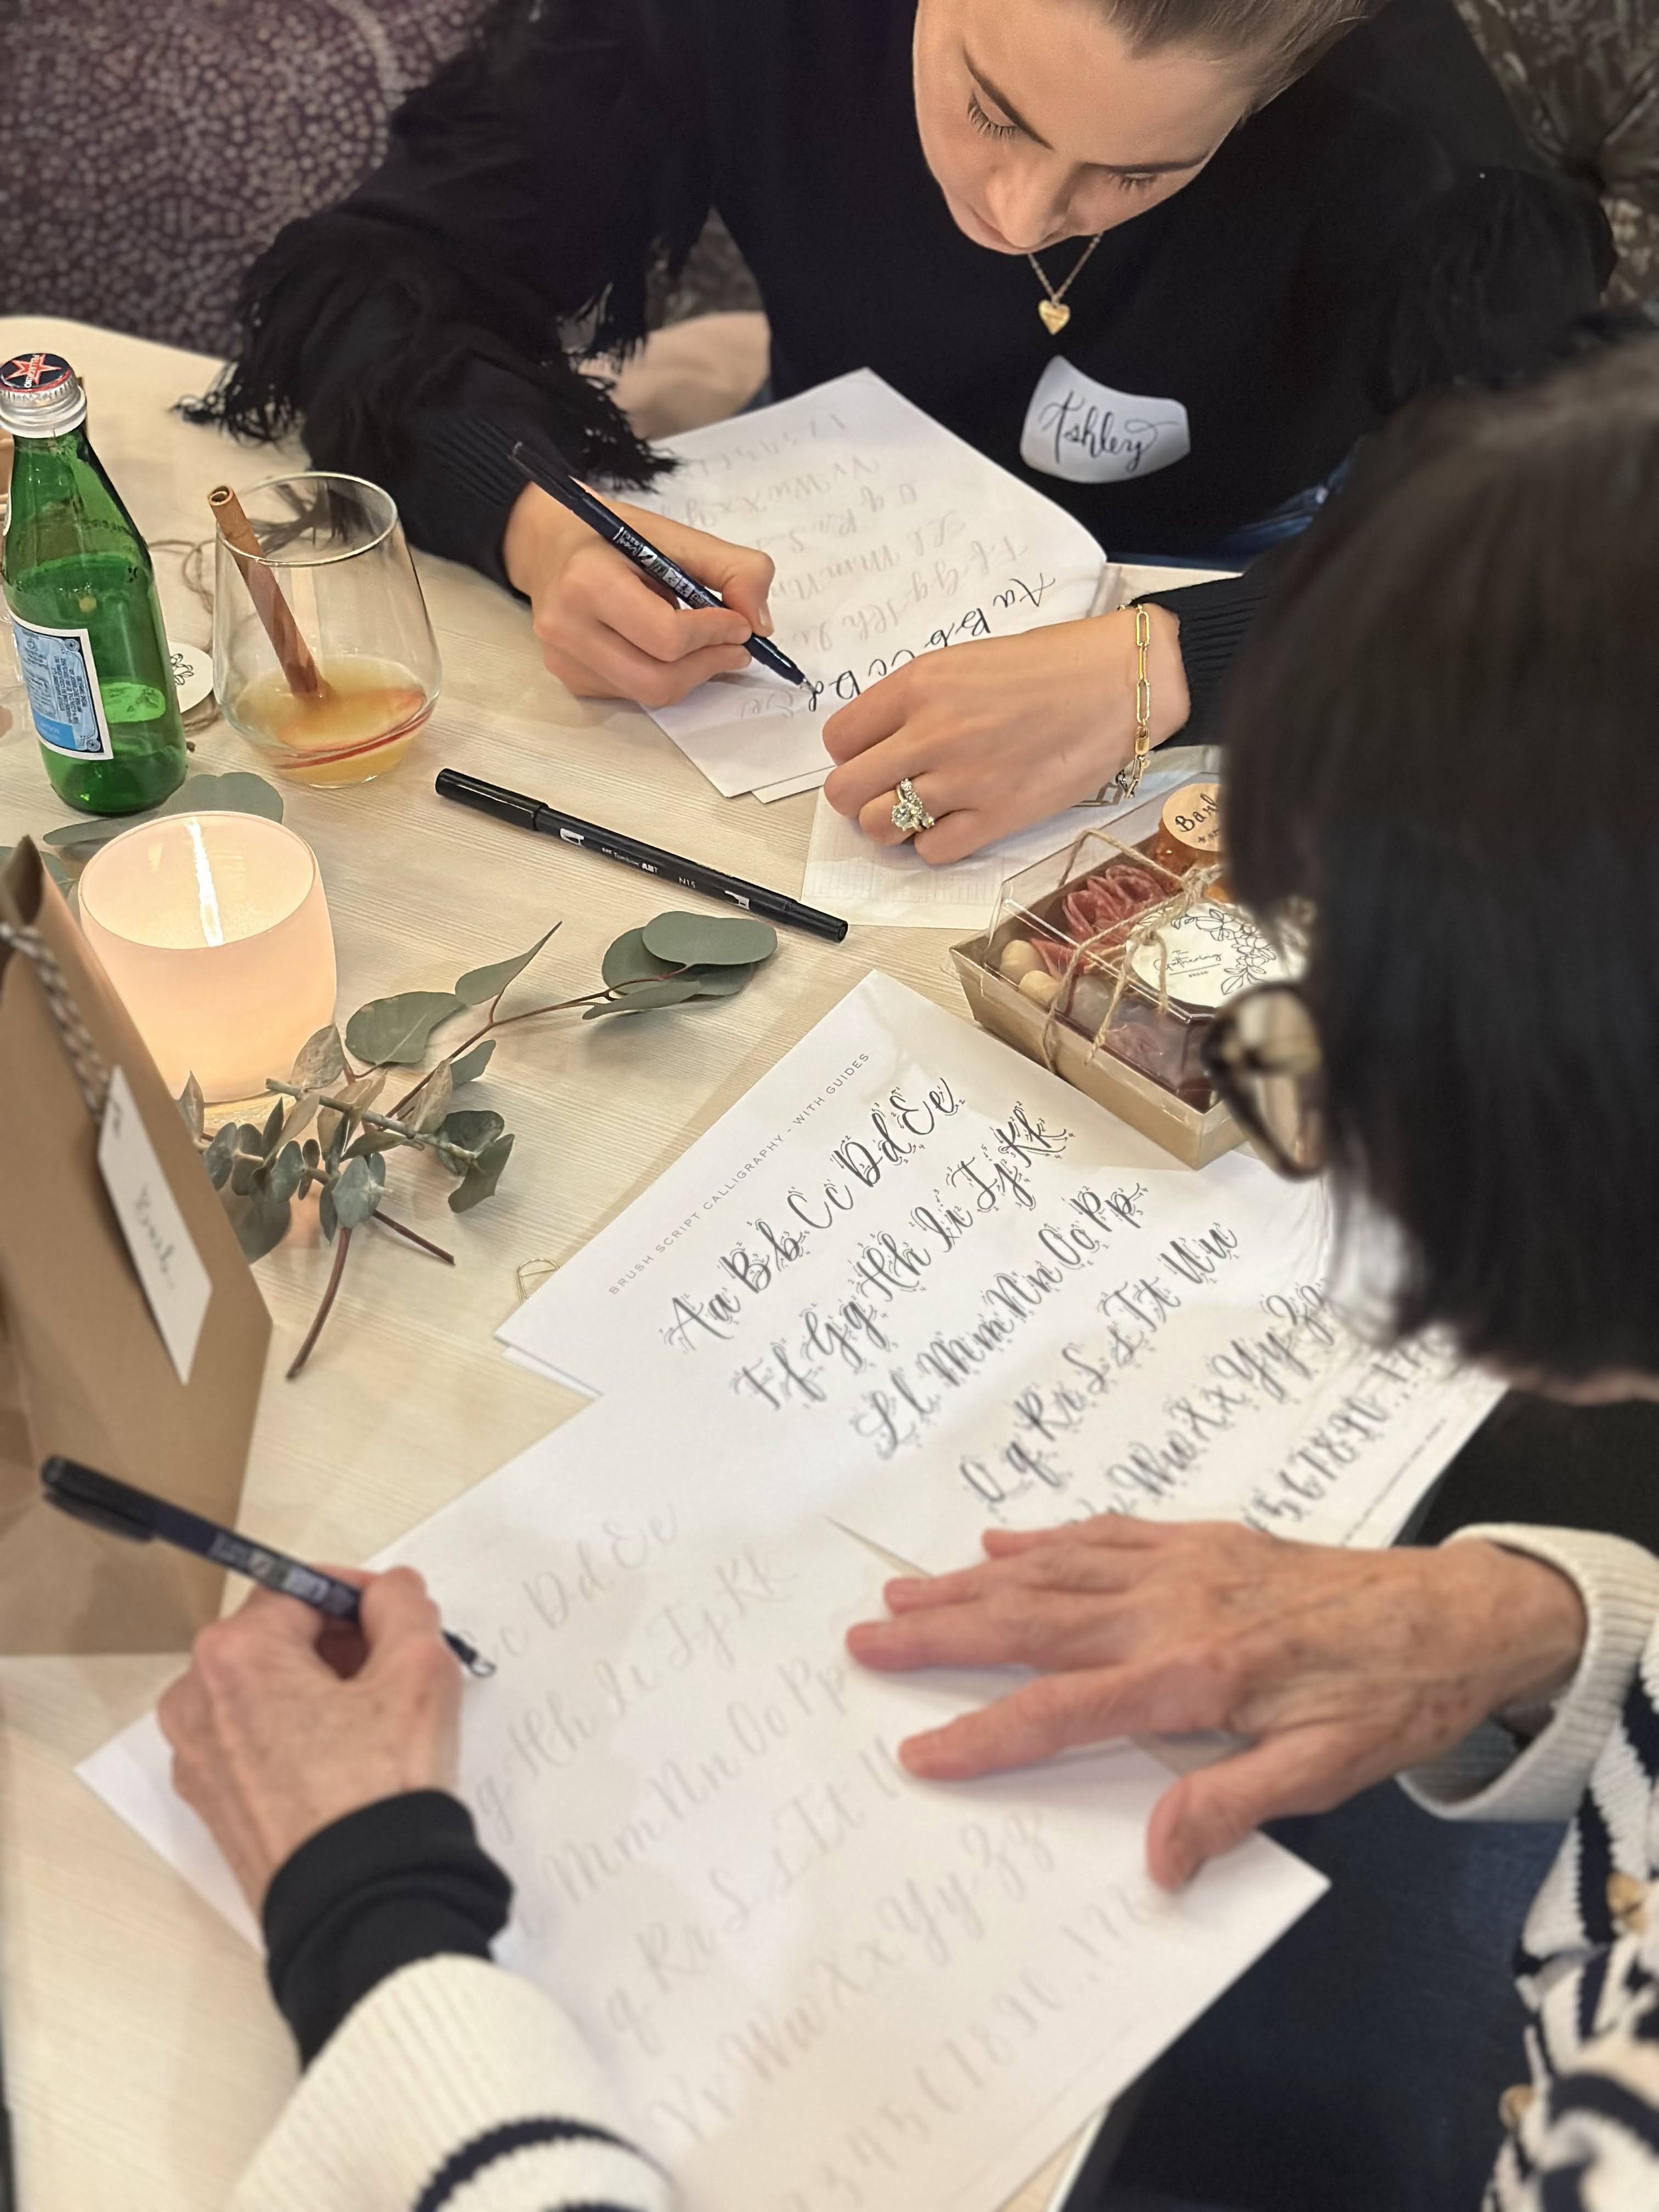
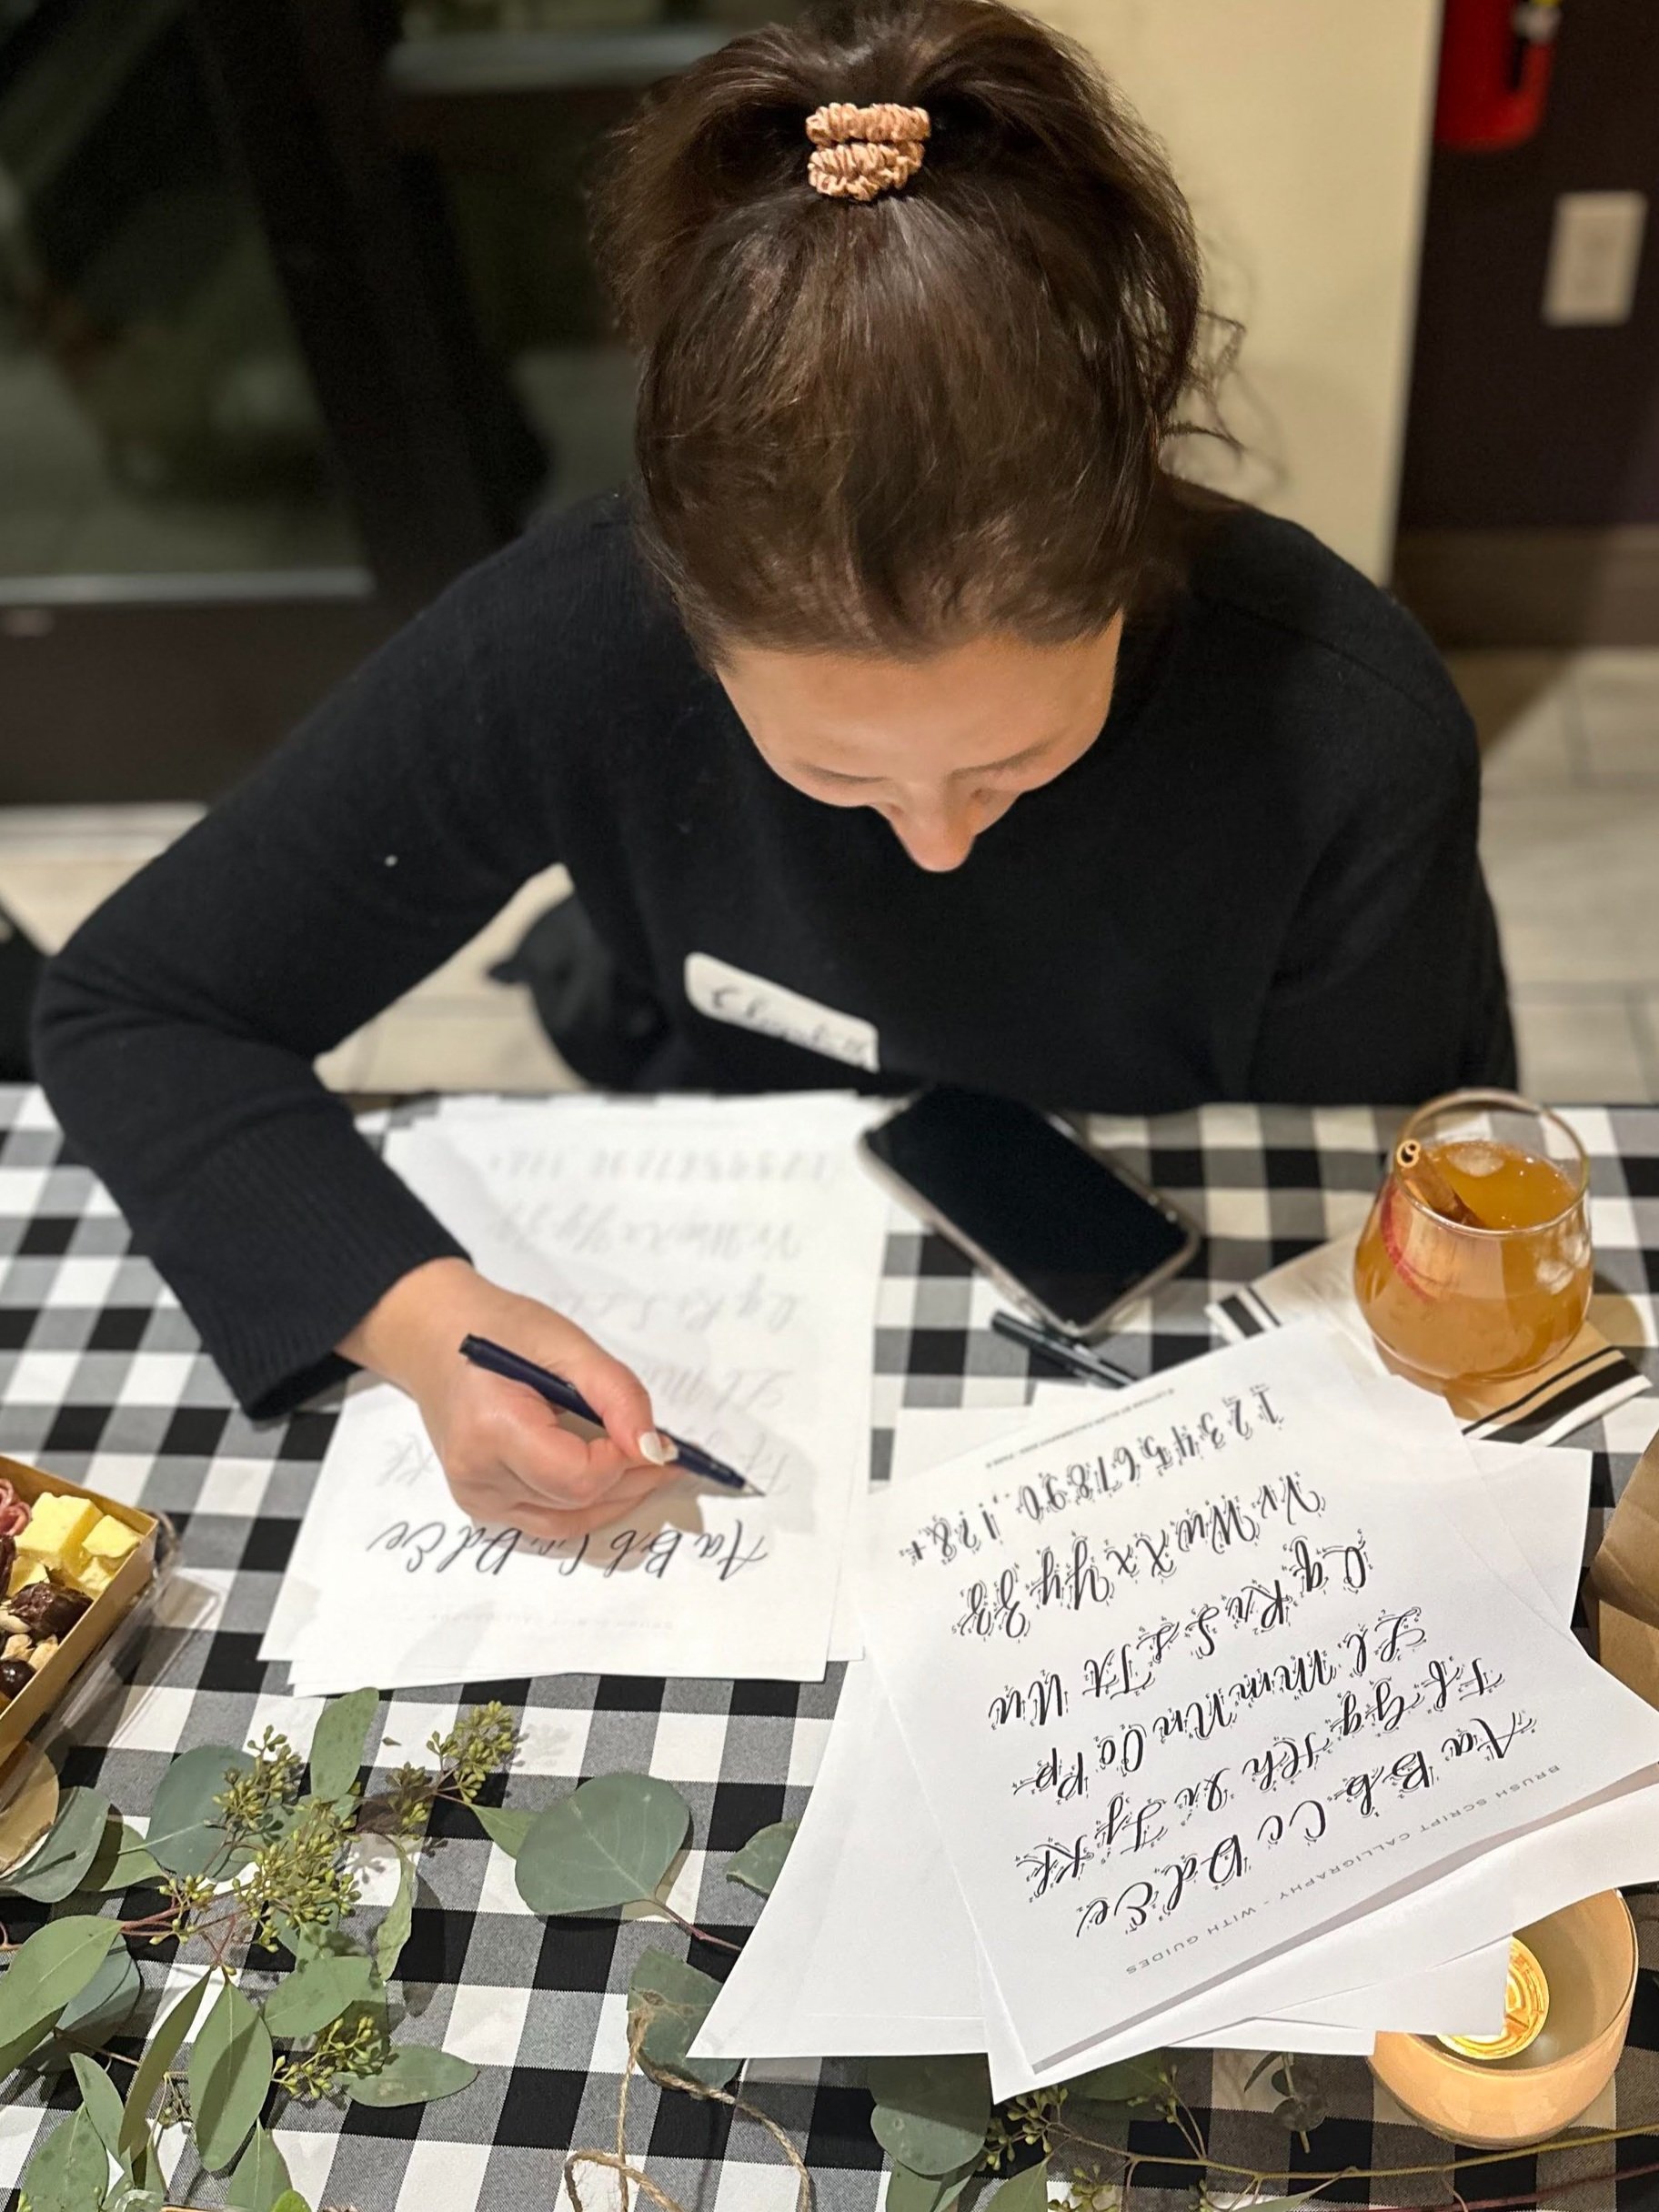
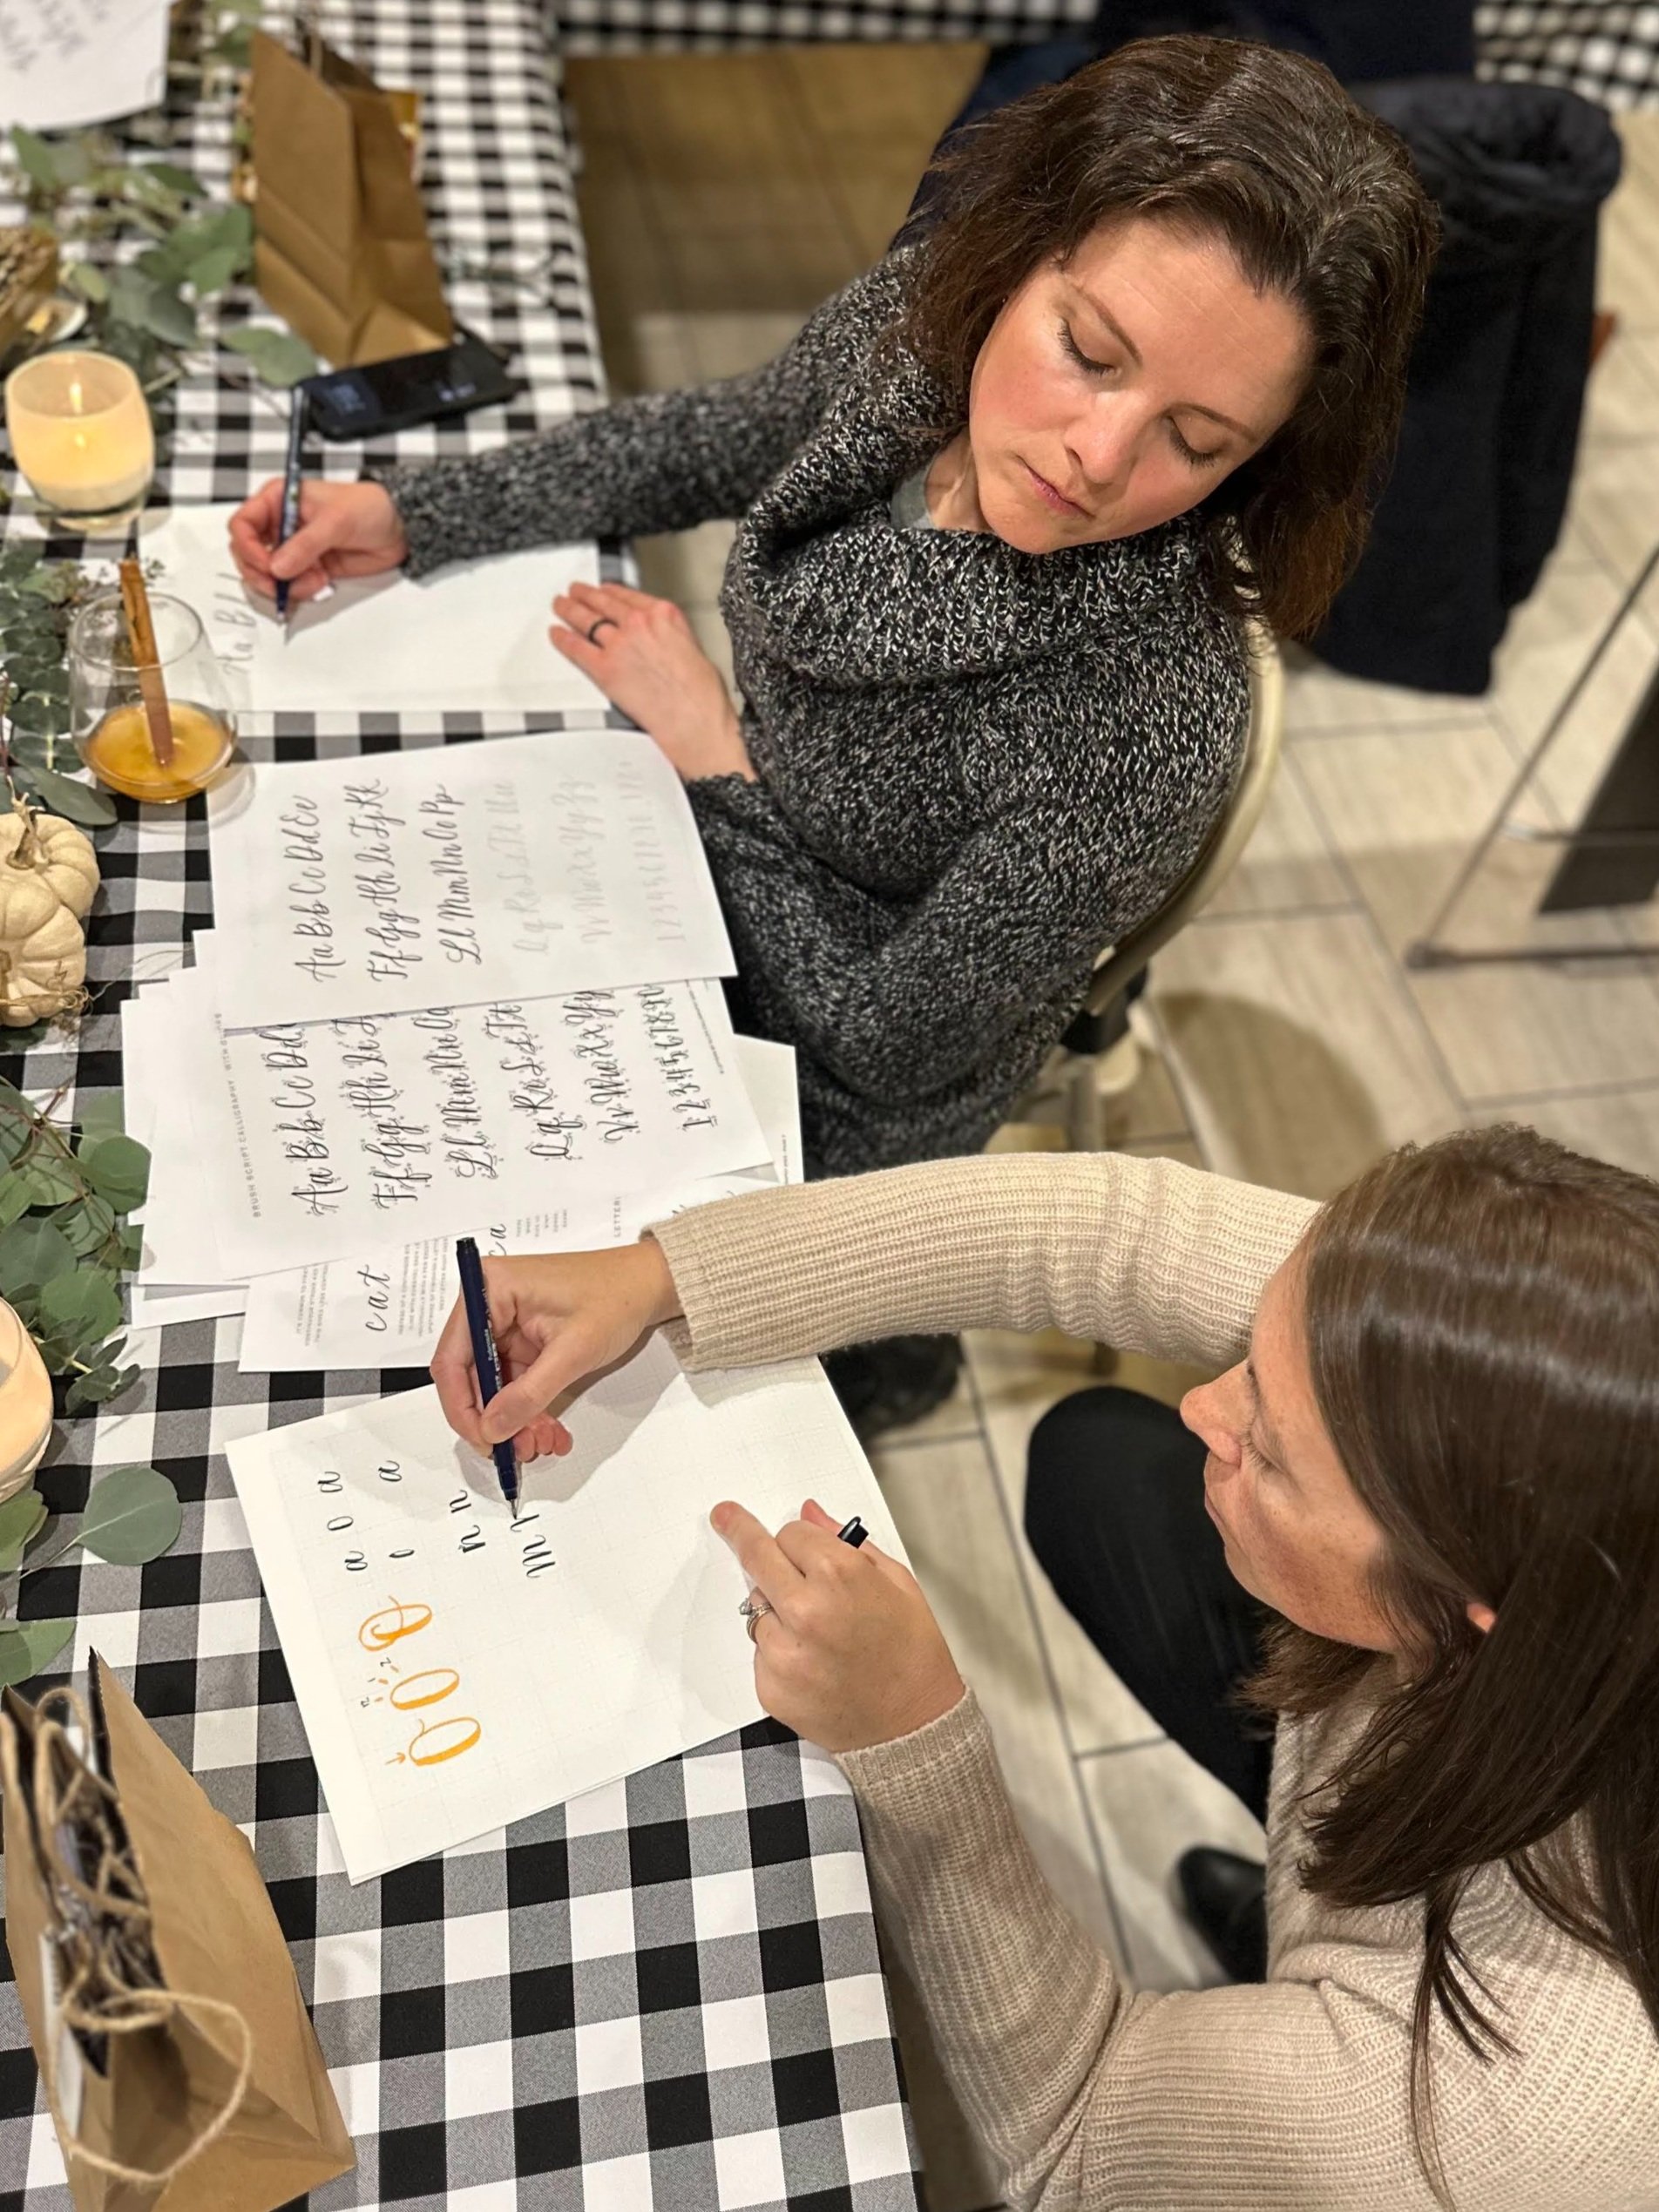
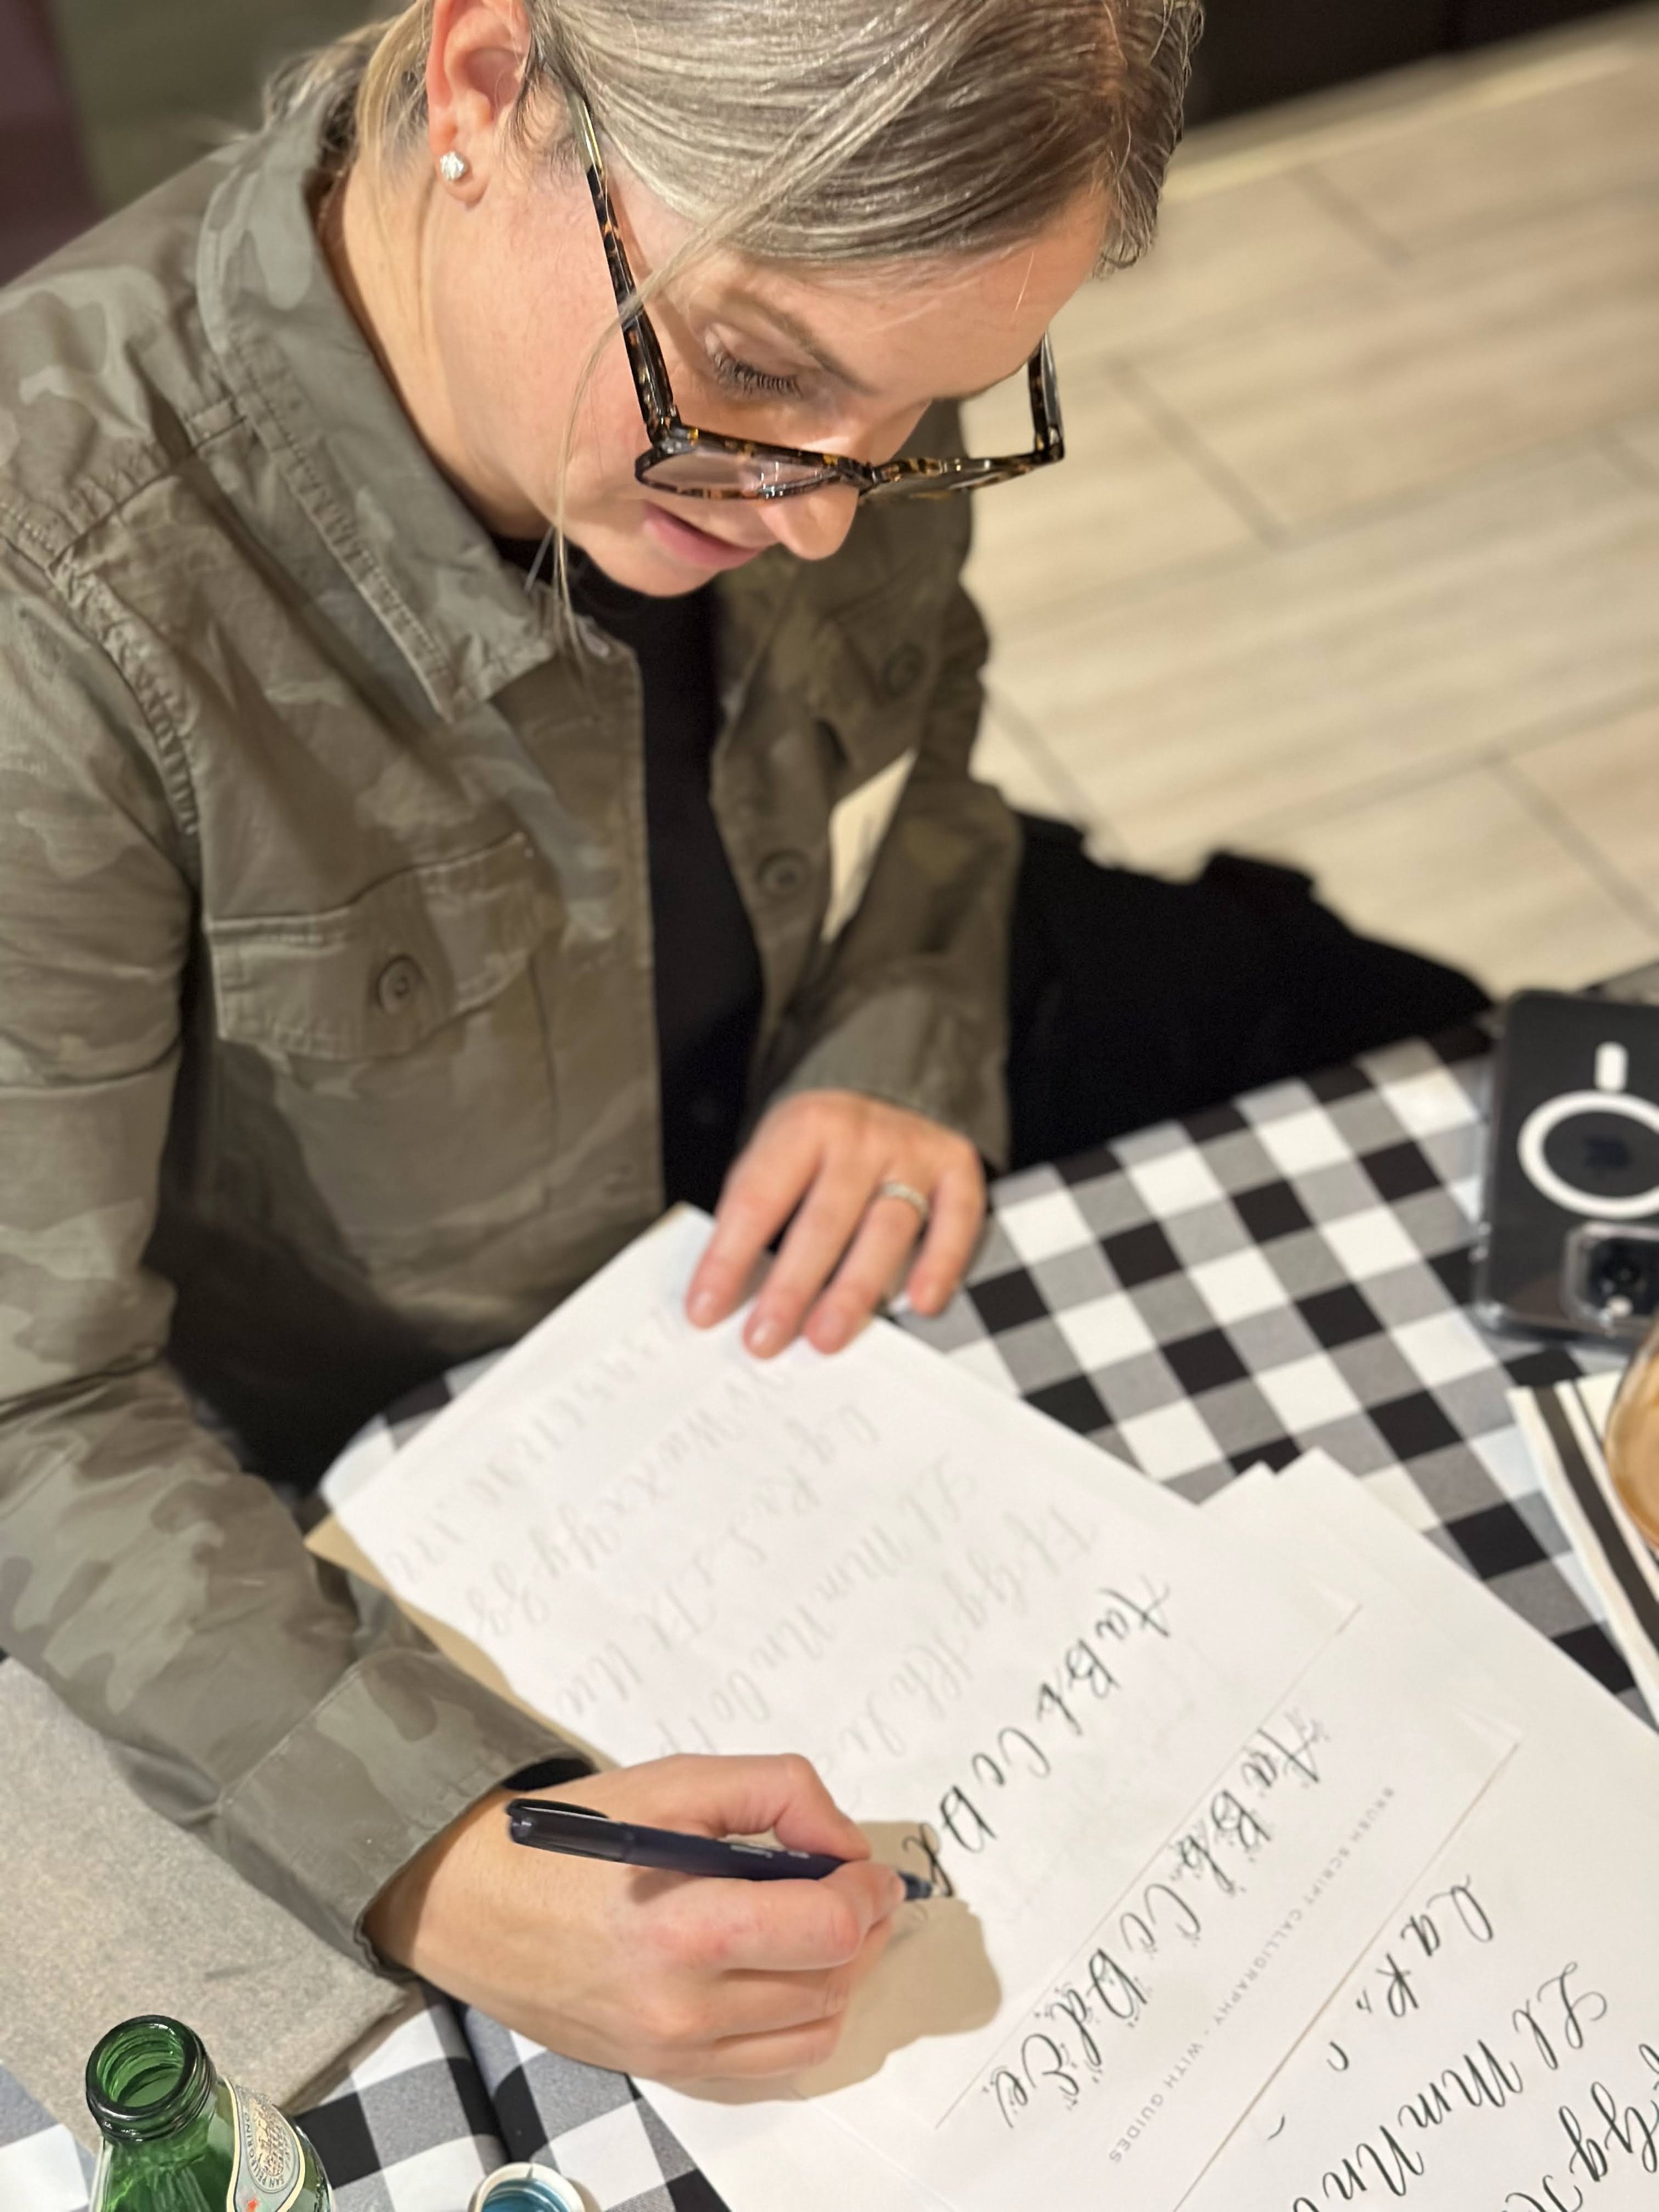
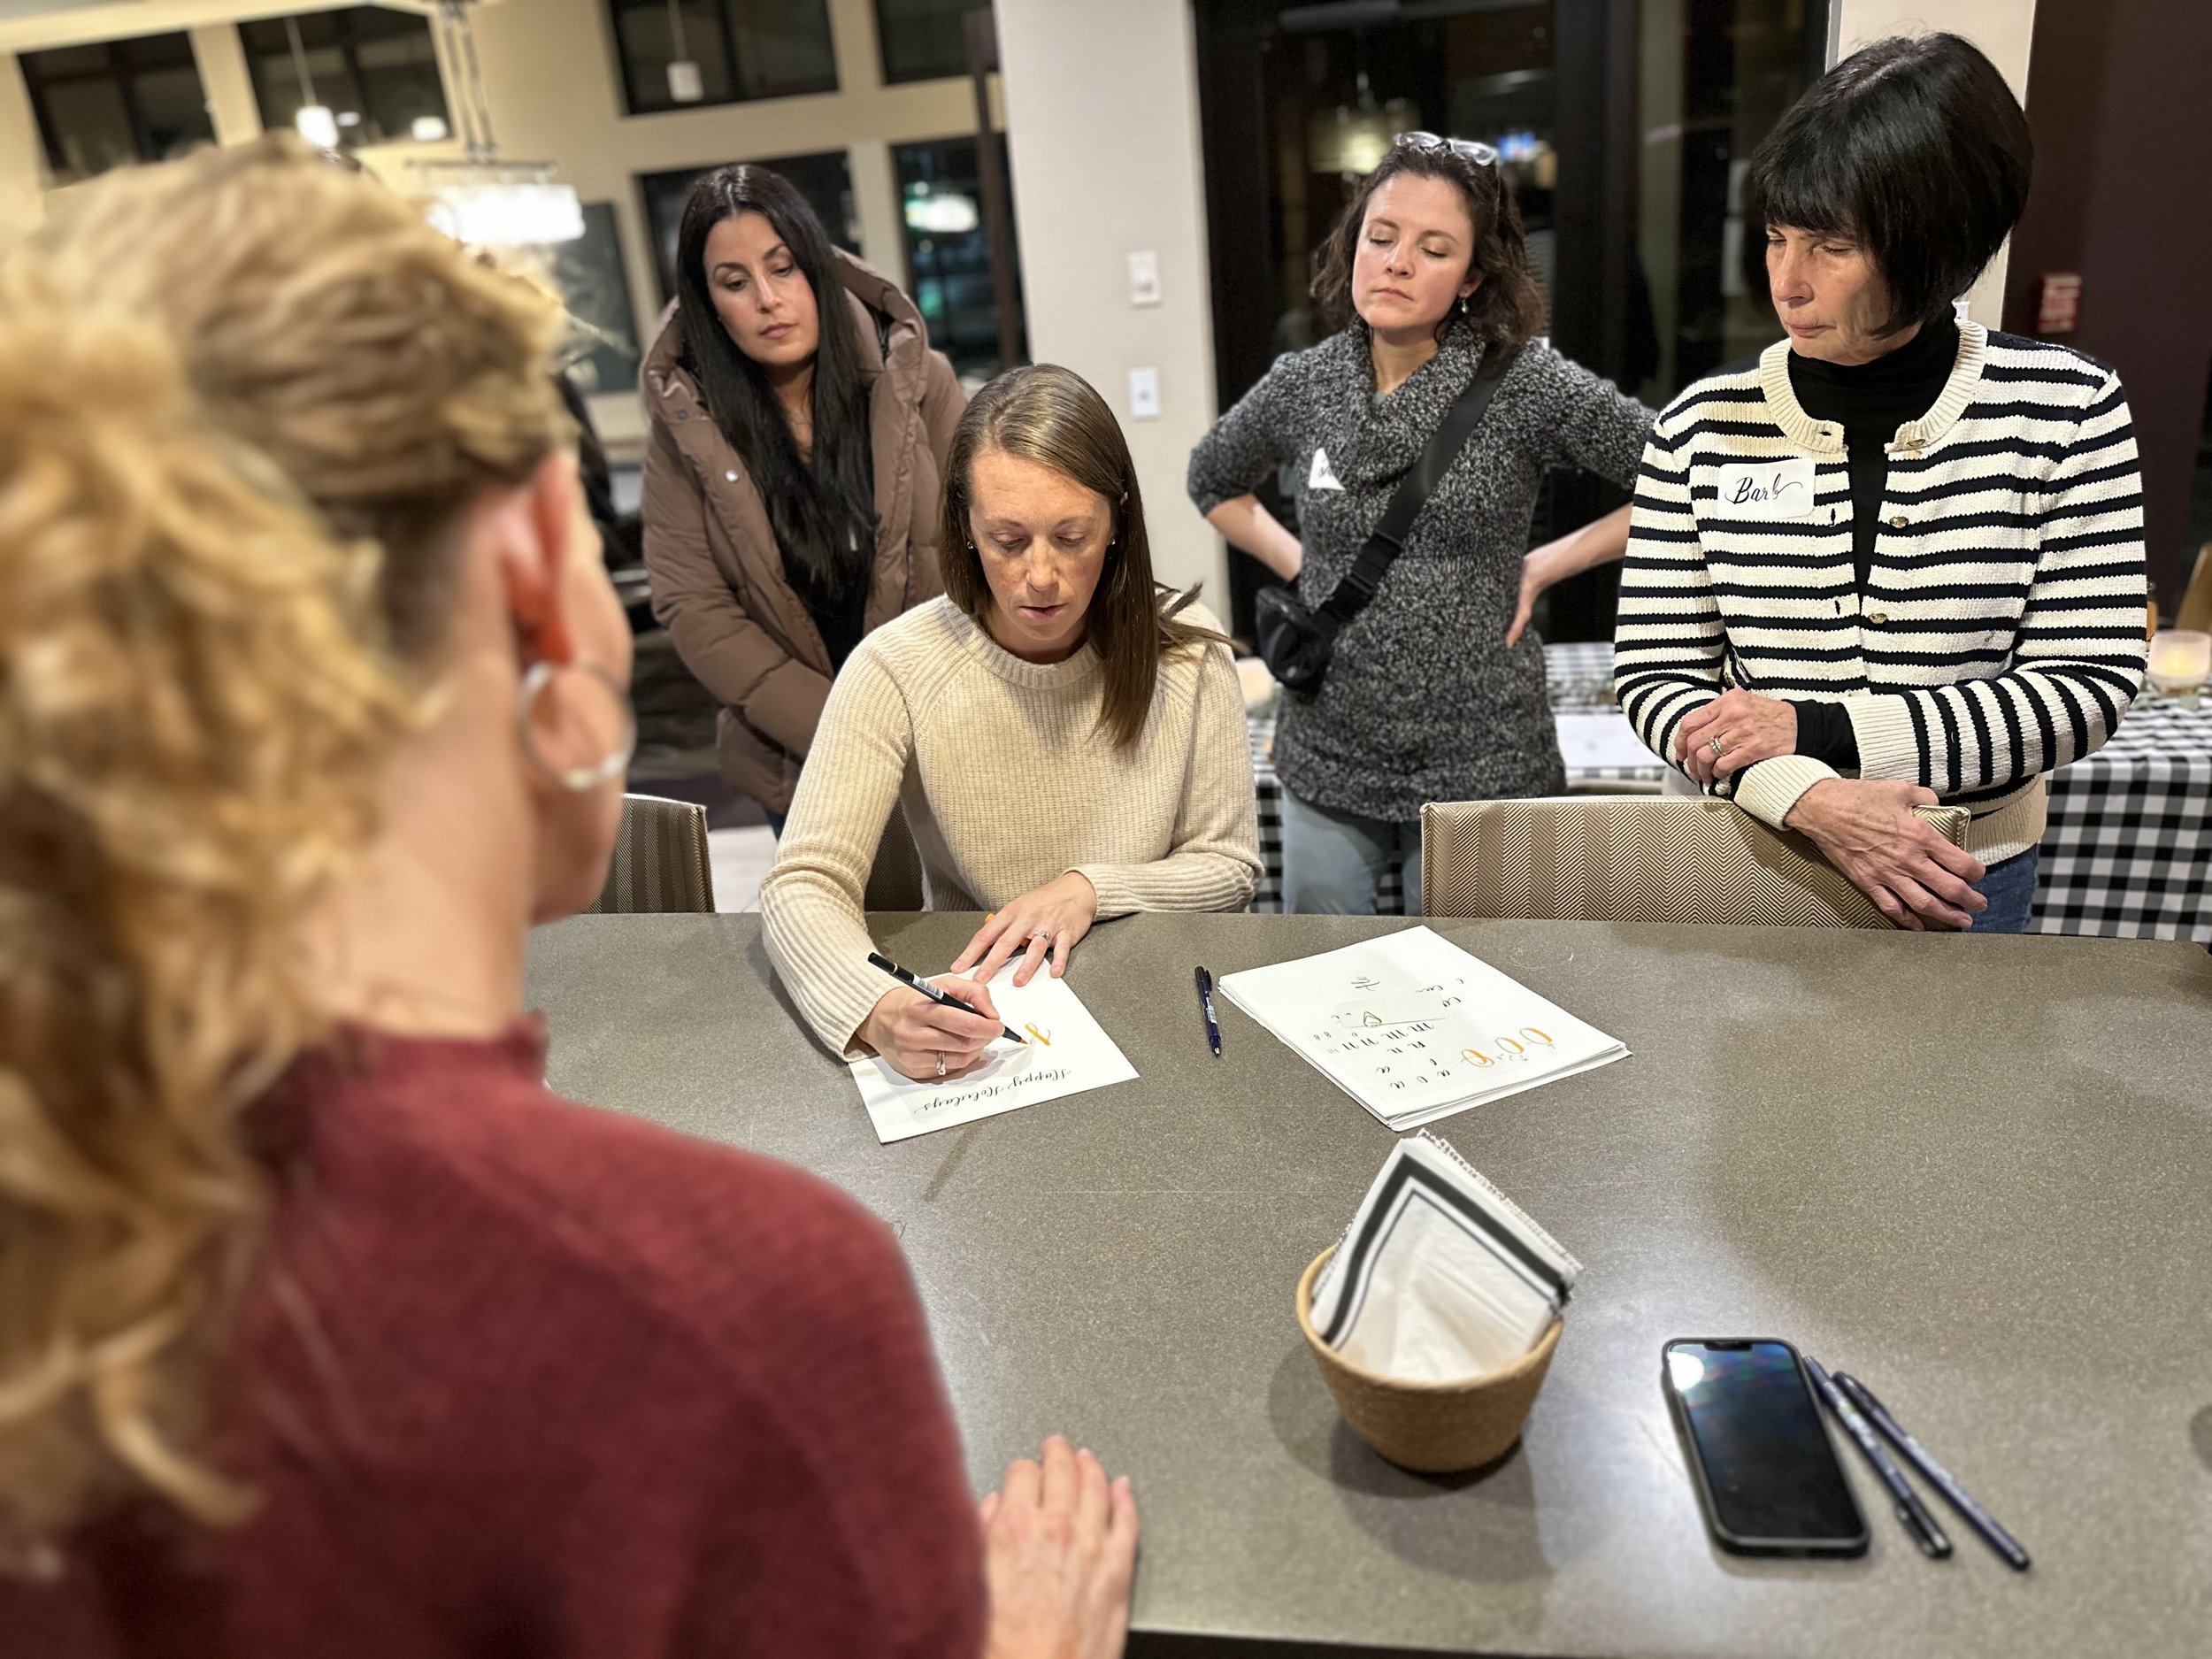
Once our guests mastered the proper pen hold they began practicing lines by using various levels of pressure. We worked on up stokes, down strokes, practiced o’s and u’s and then began tracing one of Ellen’s modern alphabets. We practiced moving our hands and pens as a unit. Guests tackled the five main strokes that are used to write the alphabet. Once everyone felt comfortable with tracing they began working on their own letters without a template. This felt a little scary to most of our guests, but by the end of class we saw so many beautiful letters being formed!
Ellen ended class with a few important reminders. Remember that if your letters begin and end in the same spot they will always be appropriately spaced. She encouraged anyone beginning to learn calligraphy to use all the tricks they can, including sketching outlines in pencil (Fun fact: Tombow pens can be erased over once dry), using light tables, and grid paper. Find inspiration anywhere you go and listen to that emotional response you get from different fonts to find that style that speaks to you.

Did you know that brush calligraphy is the most approachable calligraphy variety? It’s easiest to begin here, and then jump into pointed pen calligraphy later if that's something you want to try.
Modern calligraphy provides freedom as there are not as many rules. Modern calligraphy is based on ovals, not circles which helps define the thin from thick lines and prevents overlap of portions of letters.
Ellen’s tips and tricks:
Write for 5-10 minutes a day to get adequate practice (practice can even be just writing the grocery list or a note for your child's lunch box, etc).
Calligraphy is a super portable art. Pack your pen and practice wherever you go!
Remember calligraphy’s job is to be beautiful! Pick up your pen as many times as you need to.
Be patient!
Slow down! If you write too fast you will get dry brush.
Only lift your pen in spots where people won’t be able to tell (ex. not in the middle of a line).
We have a tendency to flick our pens at the end or our writing as we lift from the paper but resist that urge and lift your pen gently.
Your hand and pen always move as one unit, otherwise your wrist will bend and your hand will end up at a 90 degree angle which restricts your ability to letter correctly.
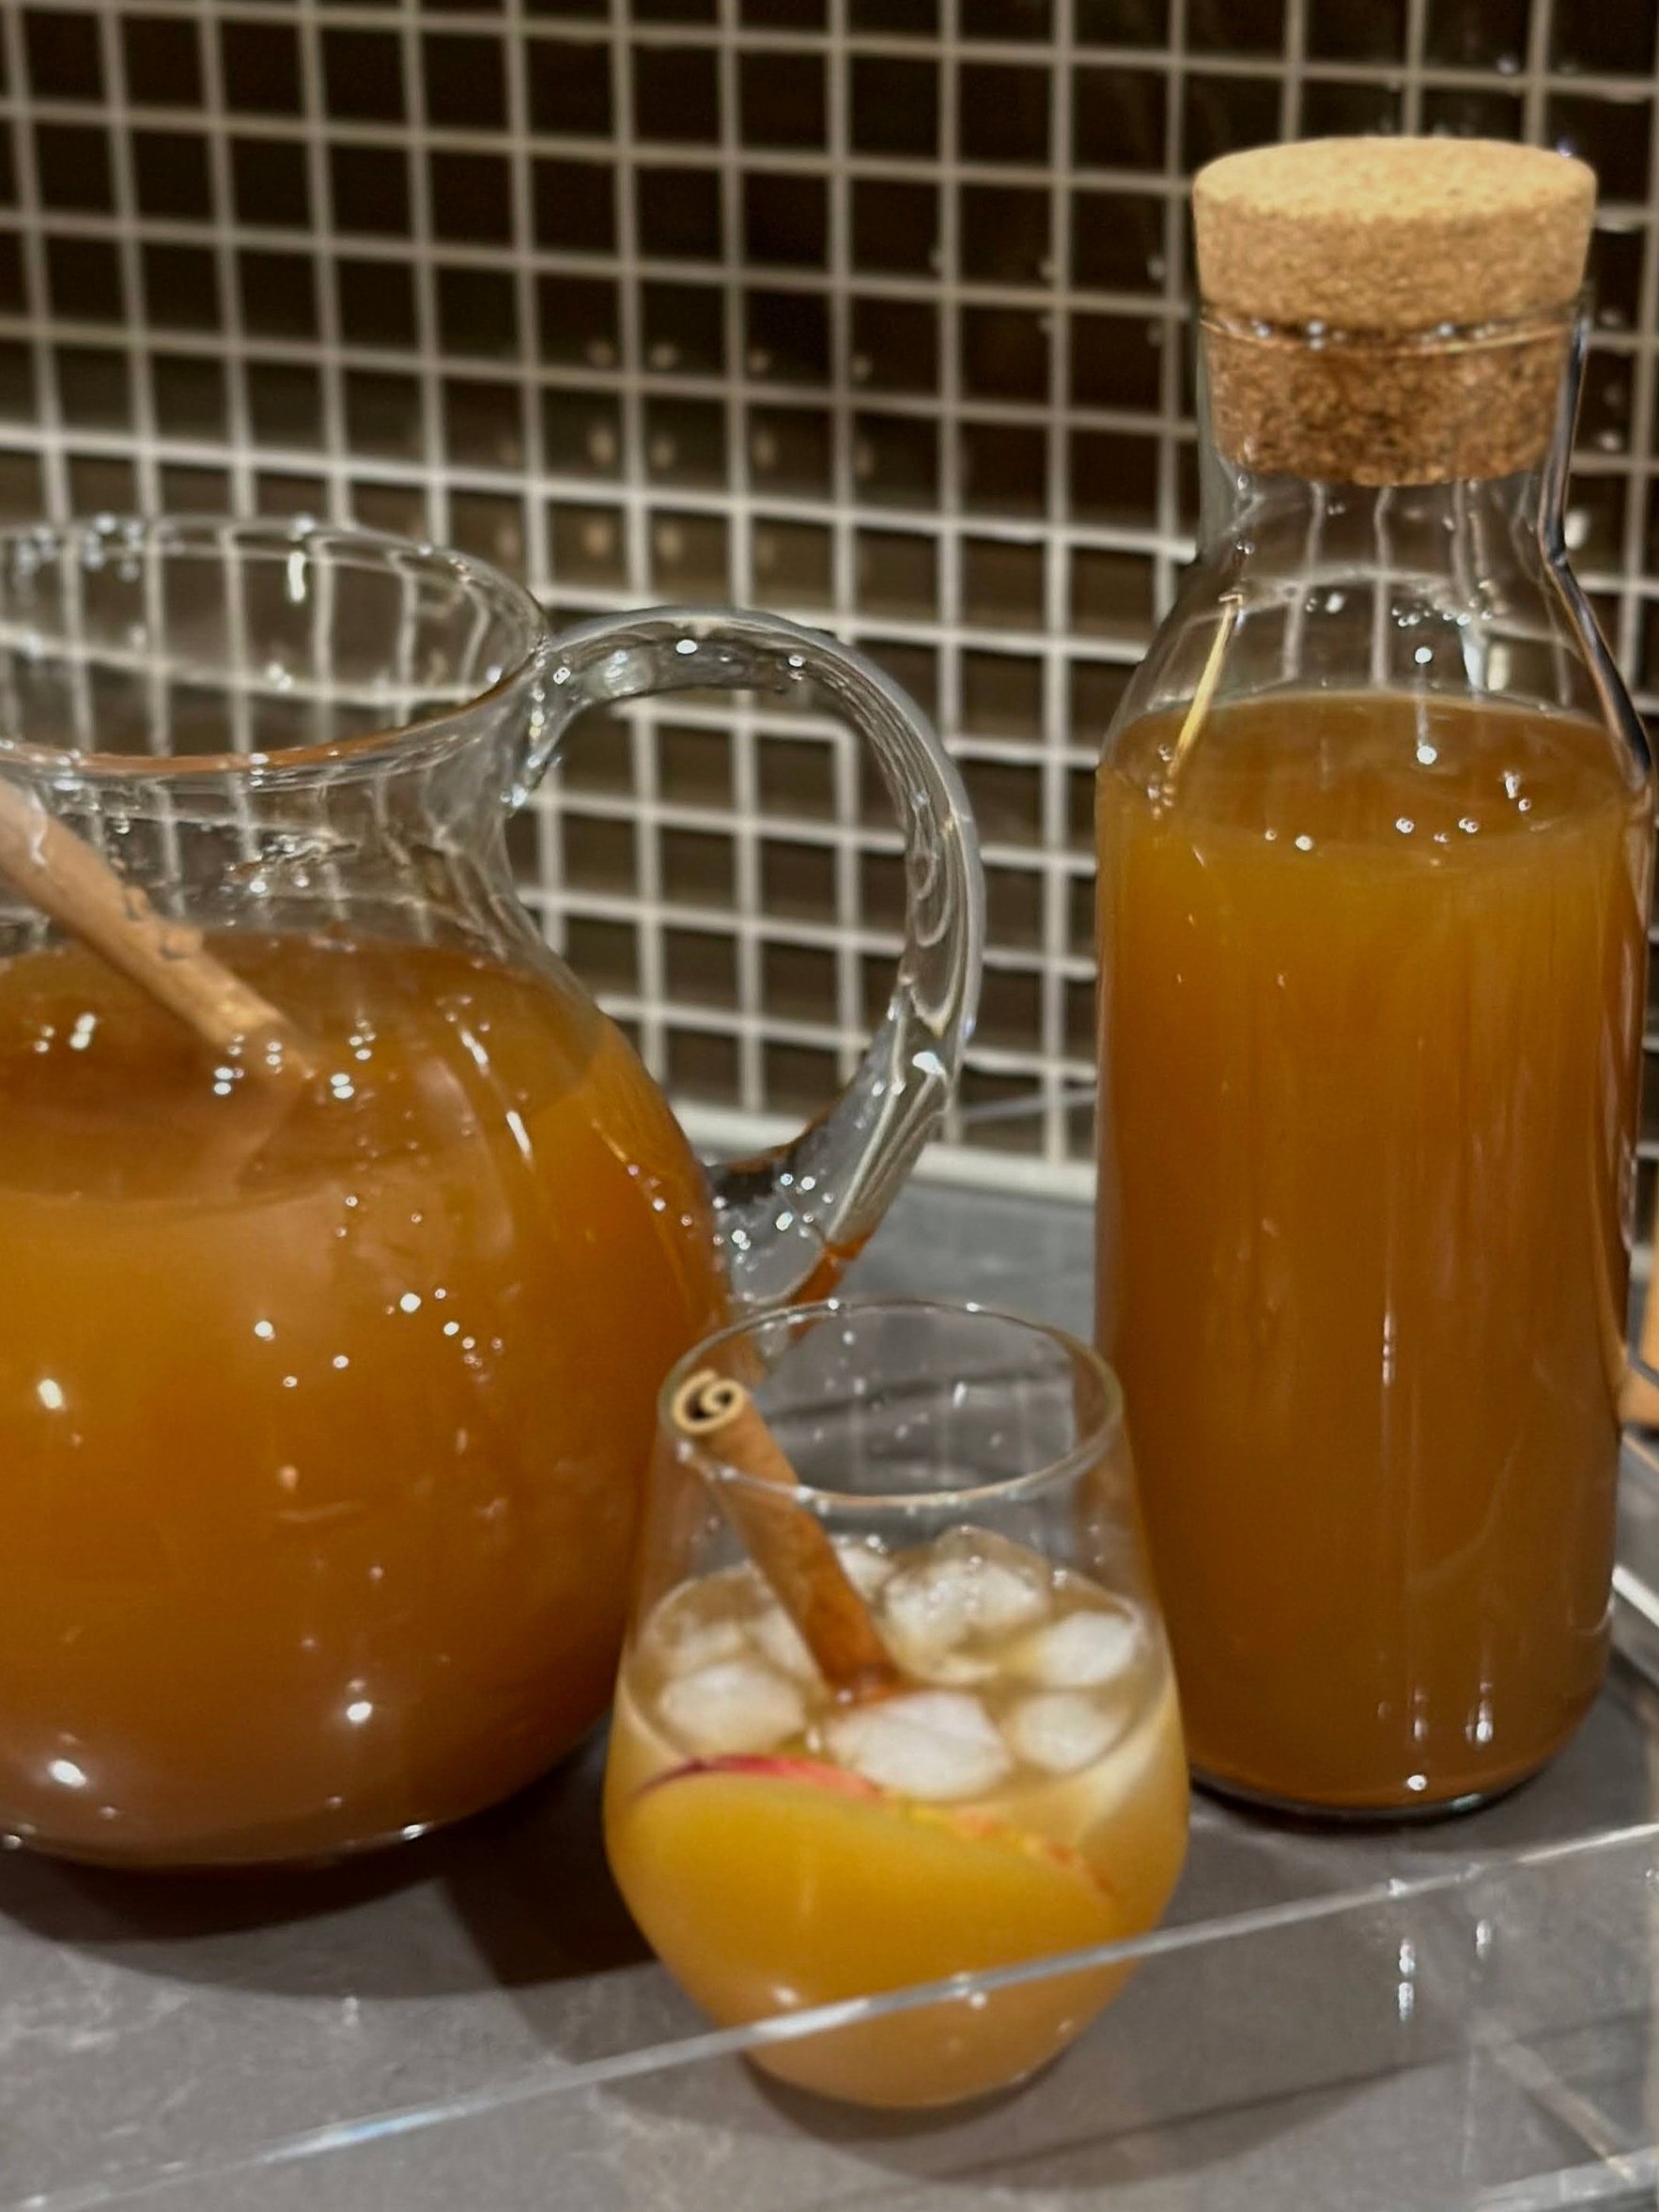
Apple Cider Bourbon
Yield: One gallon (this recipe is perfect to batch for a crowd)
2 ounces lemon juice
36 ounces ginger beer or ginger ale
54 ounces apple cider
36 ounces bourbon
cinnamon sticks and apples slices for garnish
Mix the cider, bourbon, and lemon juice ahead of time and keep in the fridge to stay cold. Wait to add the ginger beer until you’re just about to serve it—if you add it too far ahead of time, it will go flat.
To serve, pour into glasses filled with fresh ice, add a few apple slices and a cinnamon stick and enjoy!

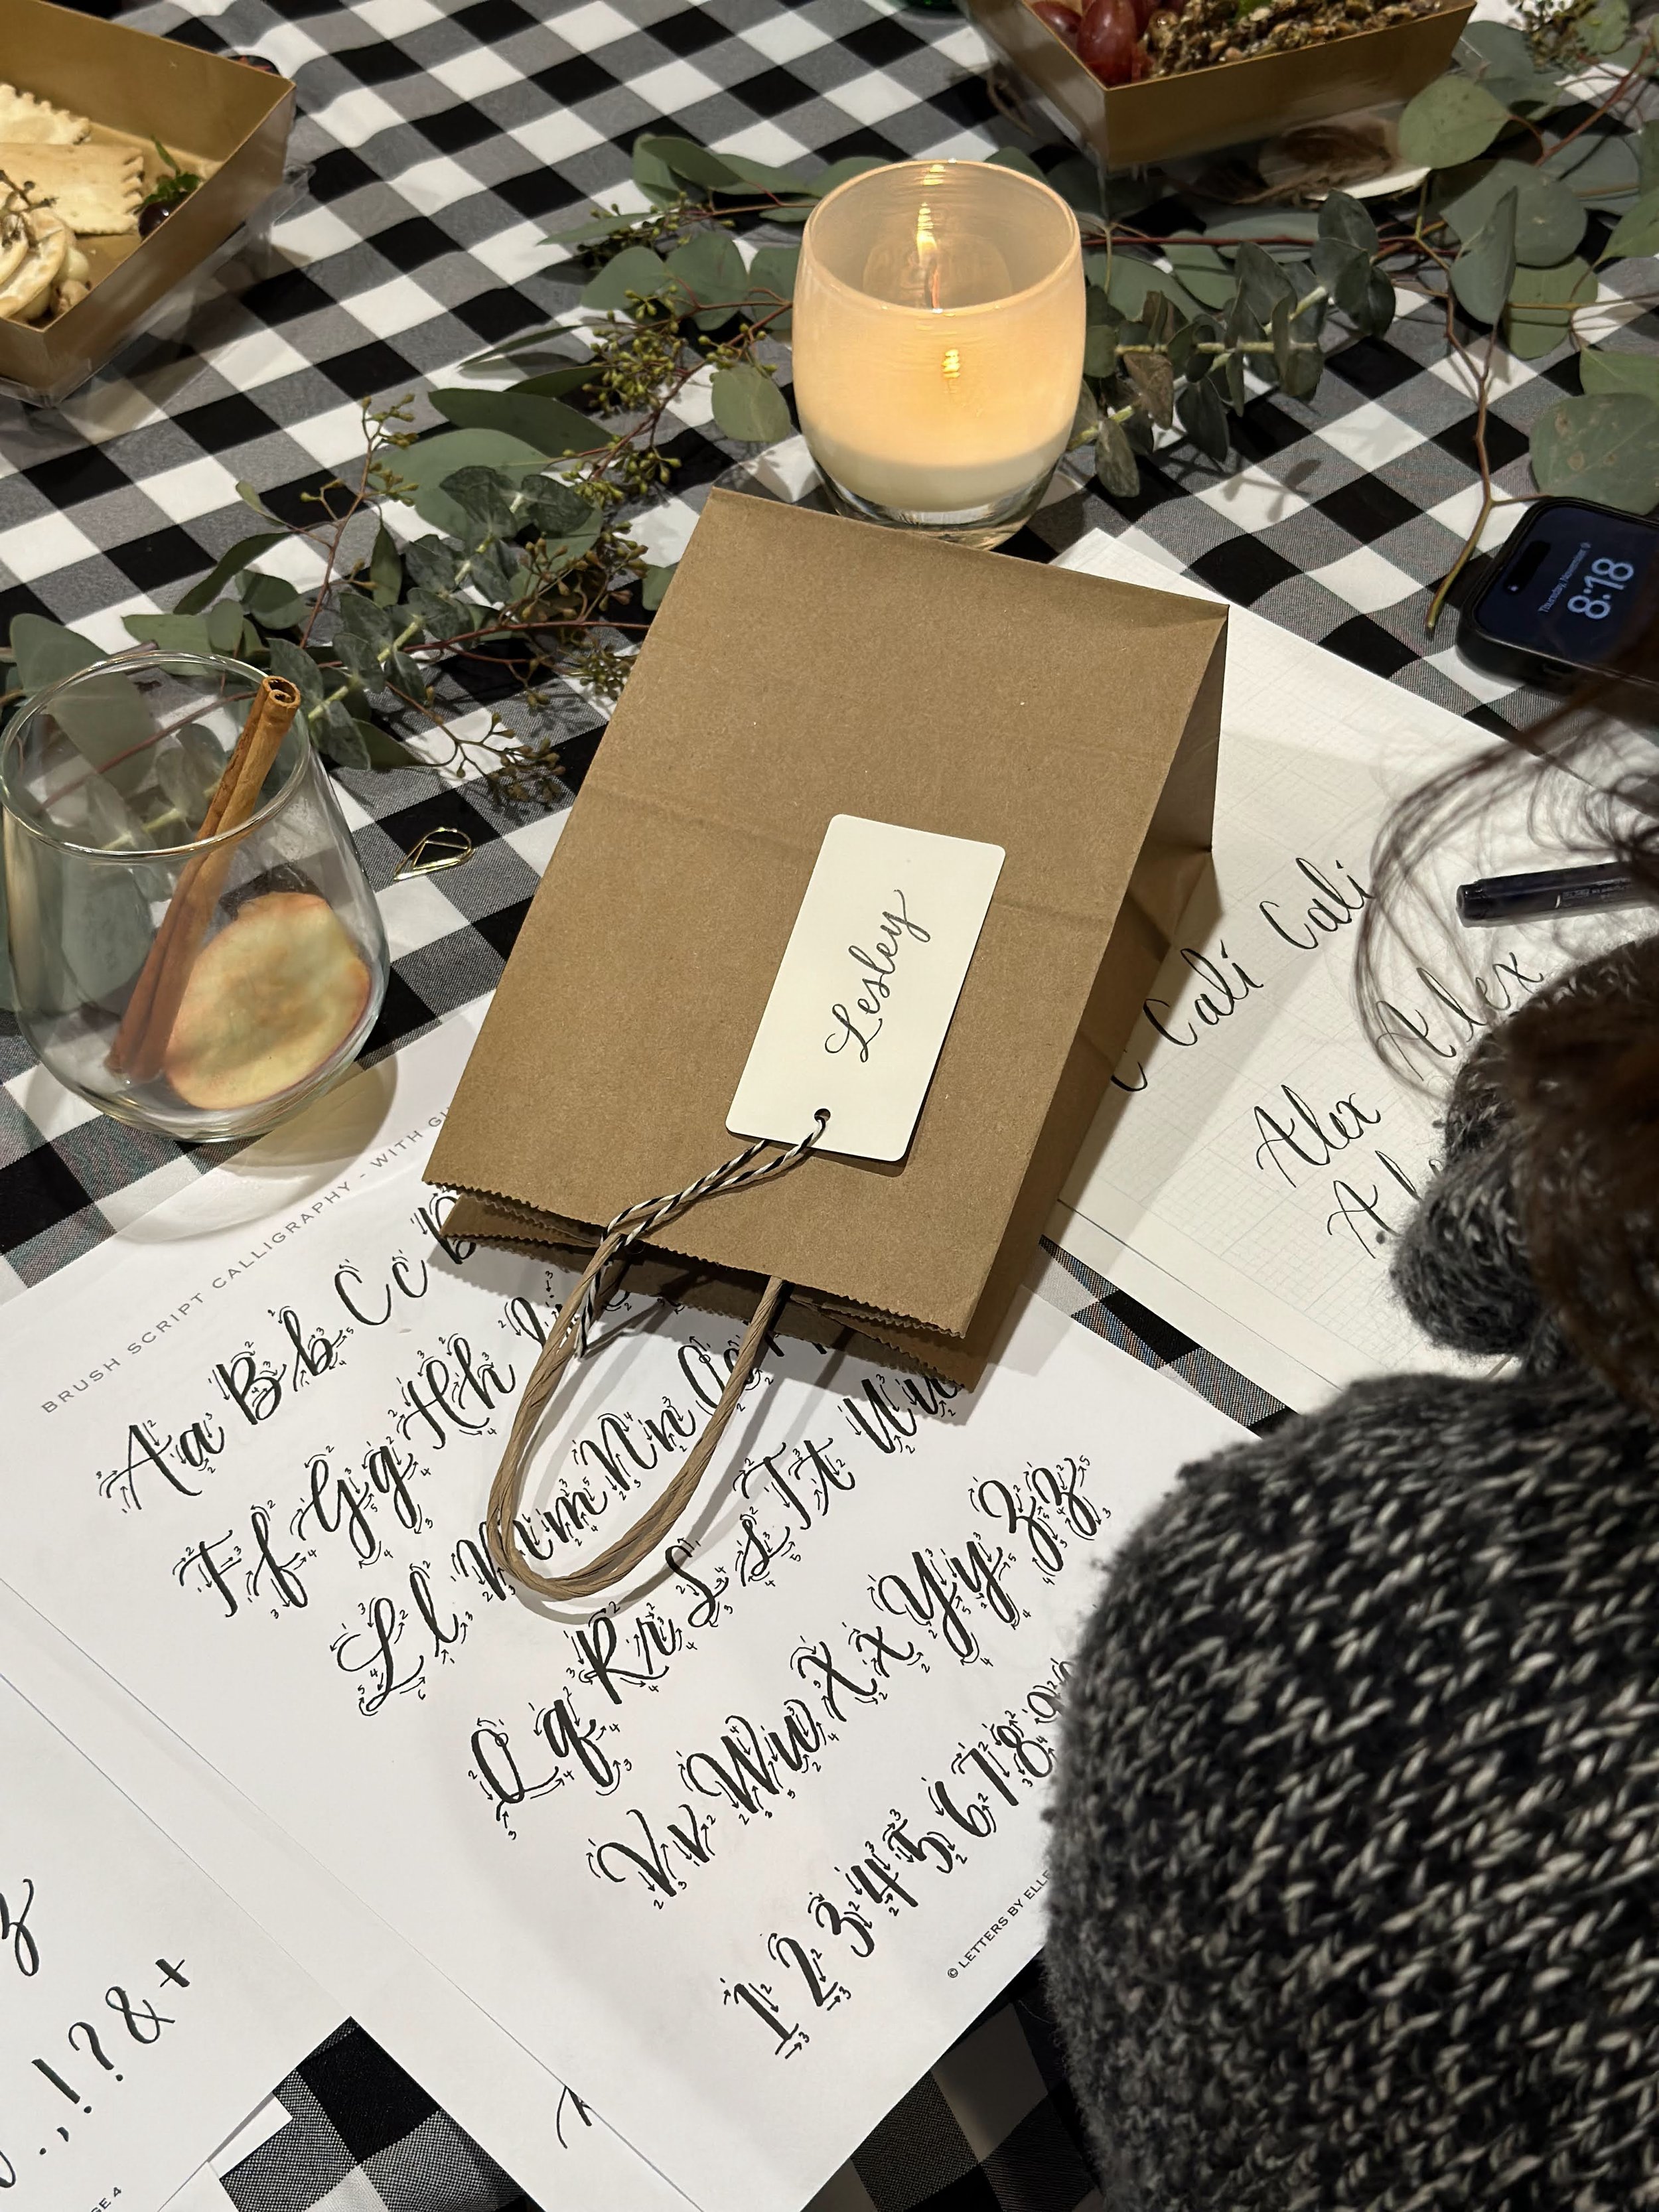
Each of our guests received a Tombow Fudenosuke Brush Marker, Tombow Dual Point Marker, practice paper, an instructional packet, and blank paper gift tags.
“Handwriting is part of your identity and deeply personal.”


Our top picks for calligraphy
Now that you’re ready to continue your calligraphy journey at home it’s time for you to get the tools you need to help you letter with flair! These are Ellen’s top picks. We hope you love them!

Tombow Fudenosuke Black: This firm tip has the perfect amount of flex to create different widths while still providing tons of control. Tombow Hard Tip Brush Pen
Tombow Dual Point Brush Pens: Really customize your lettering with this wide range of individual color options. Each pen features a brush tip and a fine tip so that regardless of the size or specifics of your design, it's all in the color of your choice! Tombow Dual Brush Pen

Tombow Fudenosuke Colors: When you want to move past basic black, check out this set with a wide range of color options. Tombow Colors Brush Pen
Grid Paper: Practice makes perfect. Use this gridded pad to hone in the size and scale of your ascenders and descenders. Grid Pad

Custom Address Stamp: Still perfecting those strokes? Let Ellen Sontra (our expert) take care of your return address with this stamp you can reuse again and again. Custom Address Stamp
Until we gather again!