Autumn Charcuterie: Master the art of the board

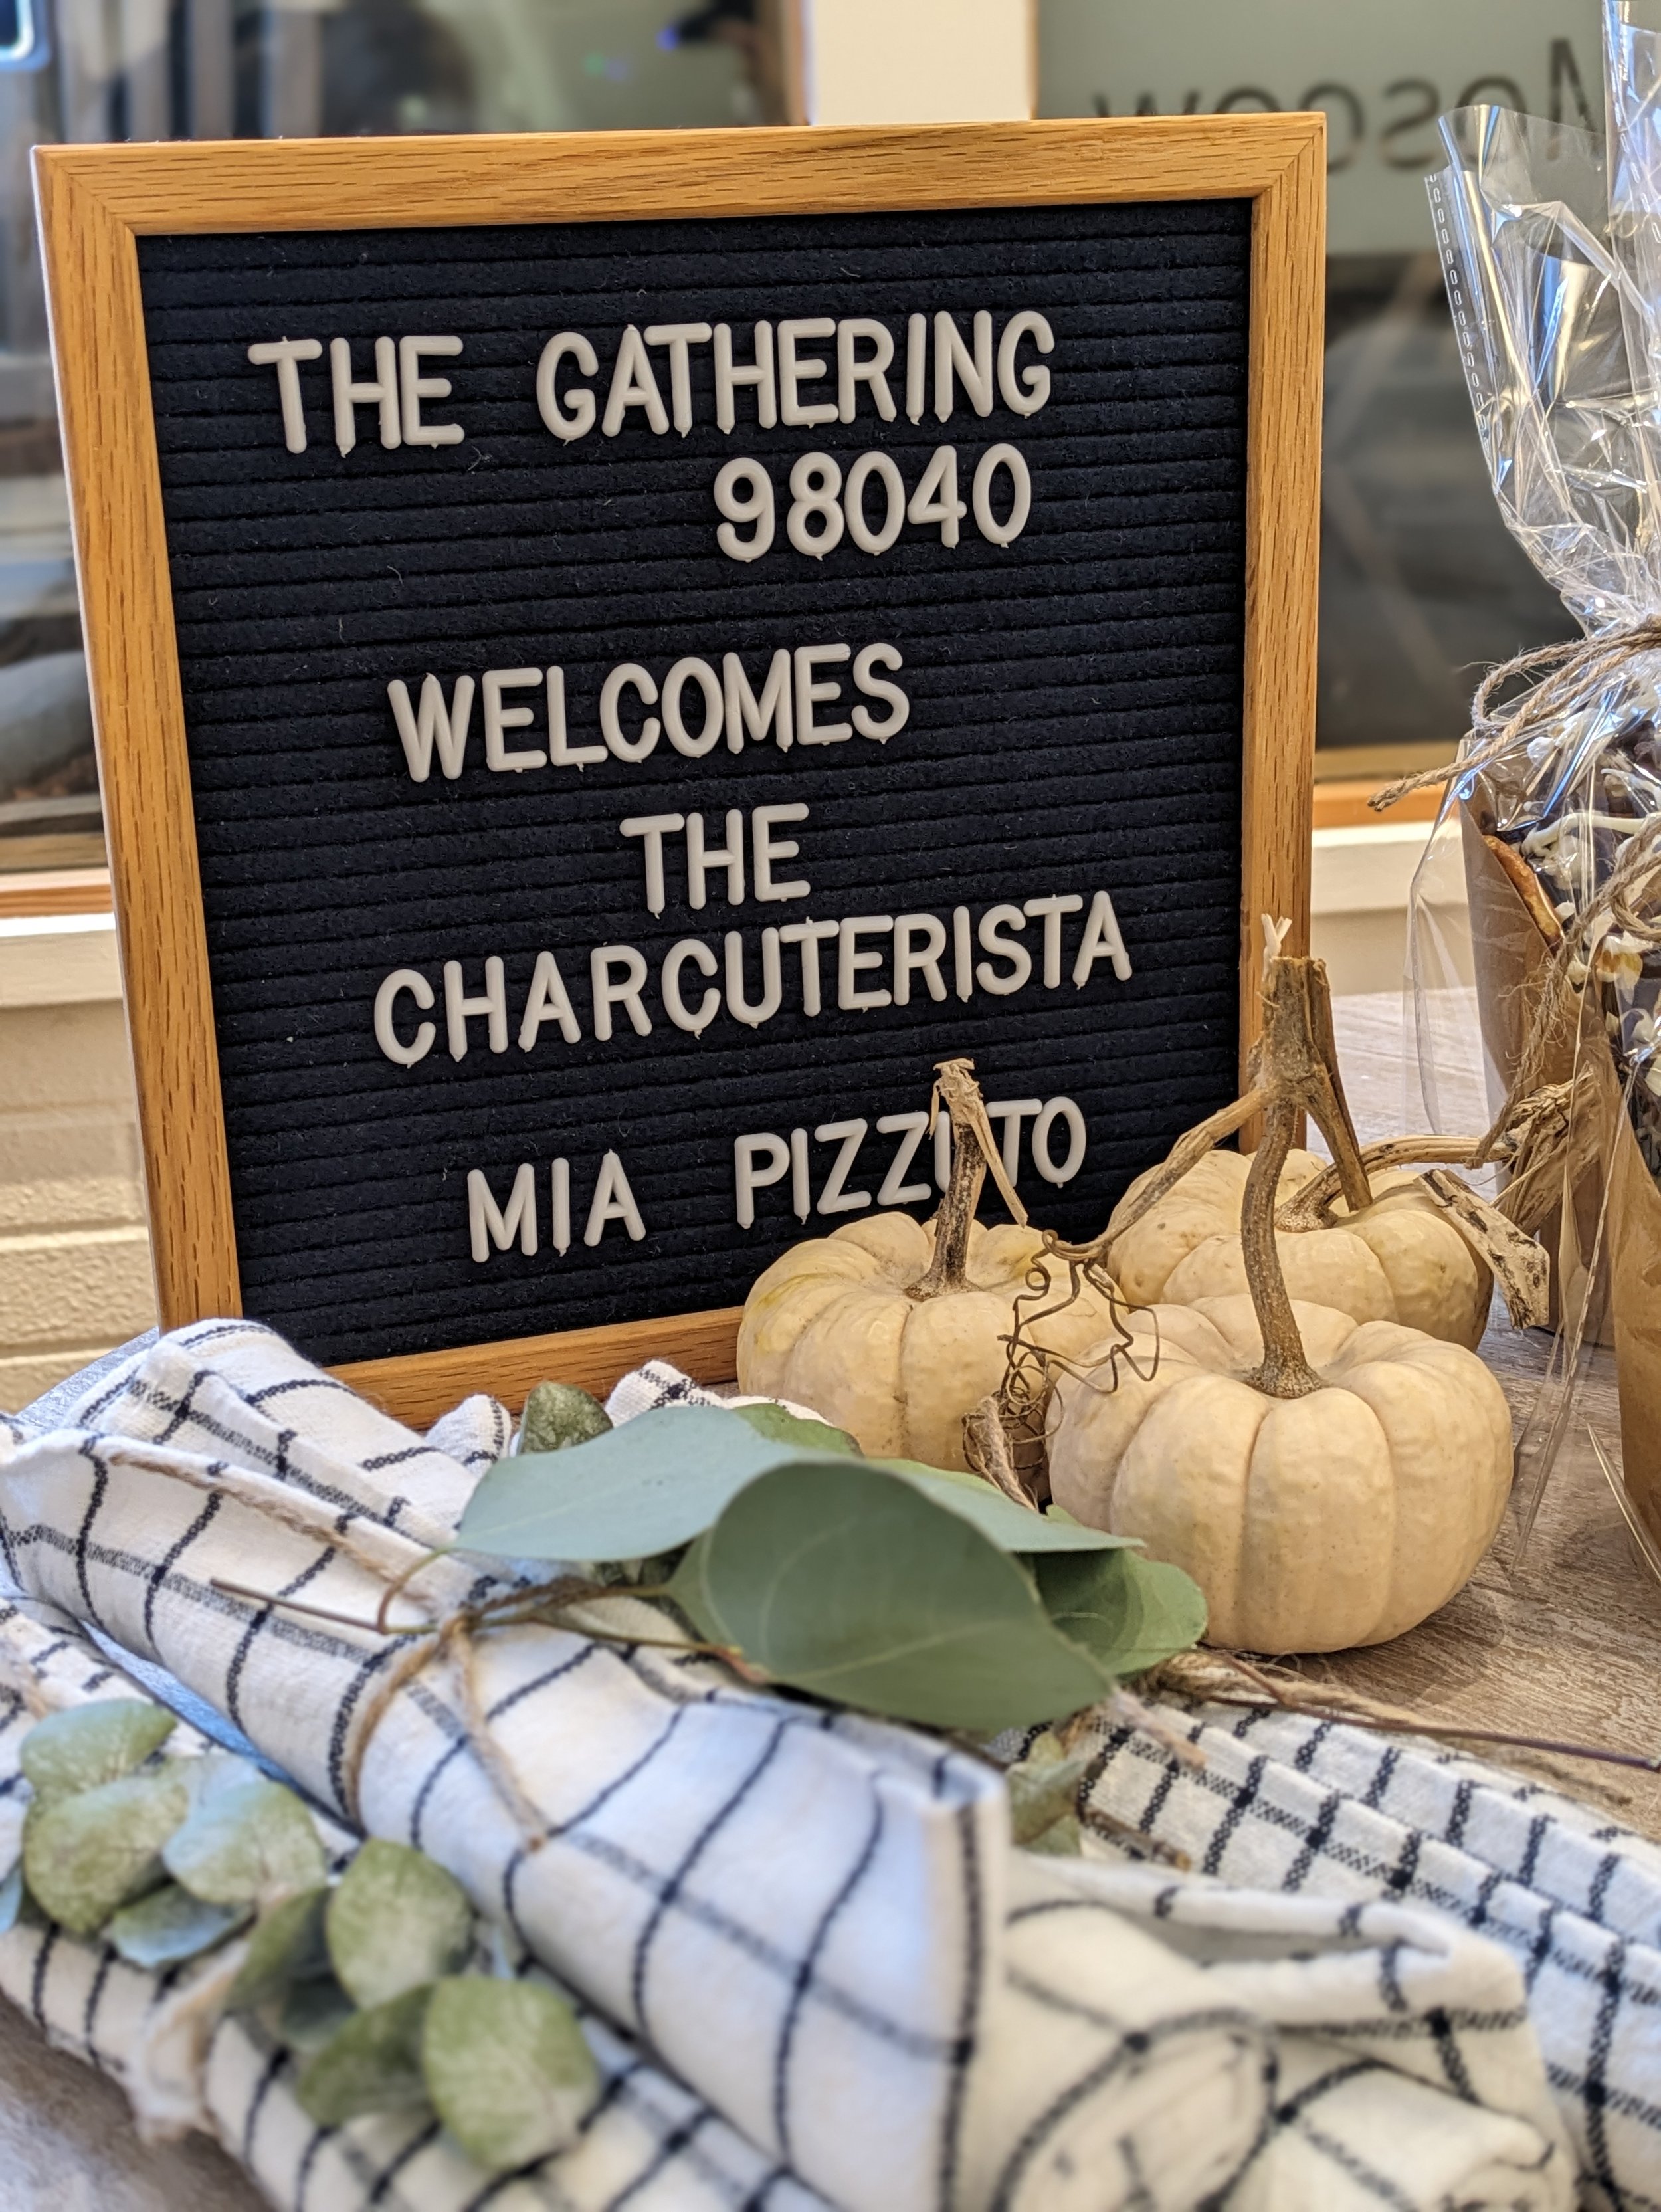
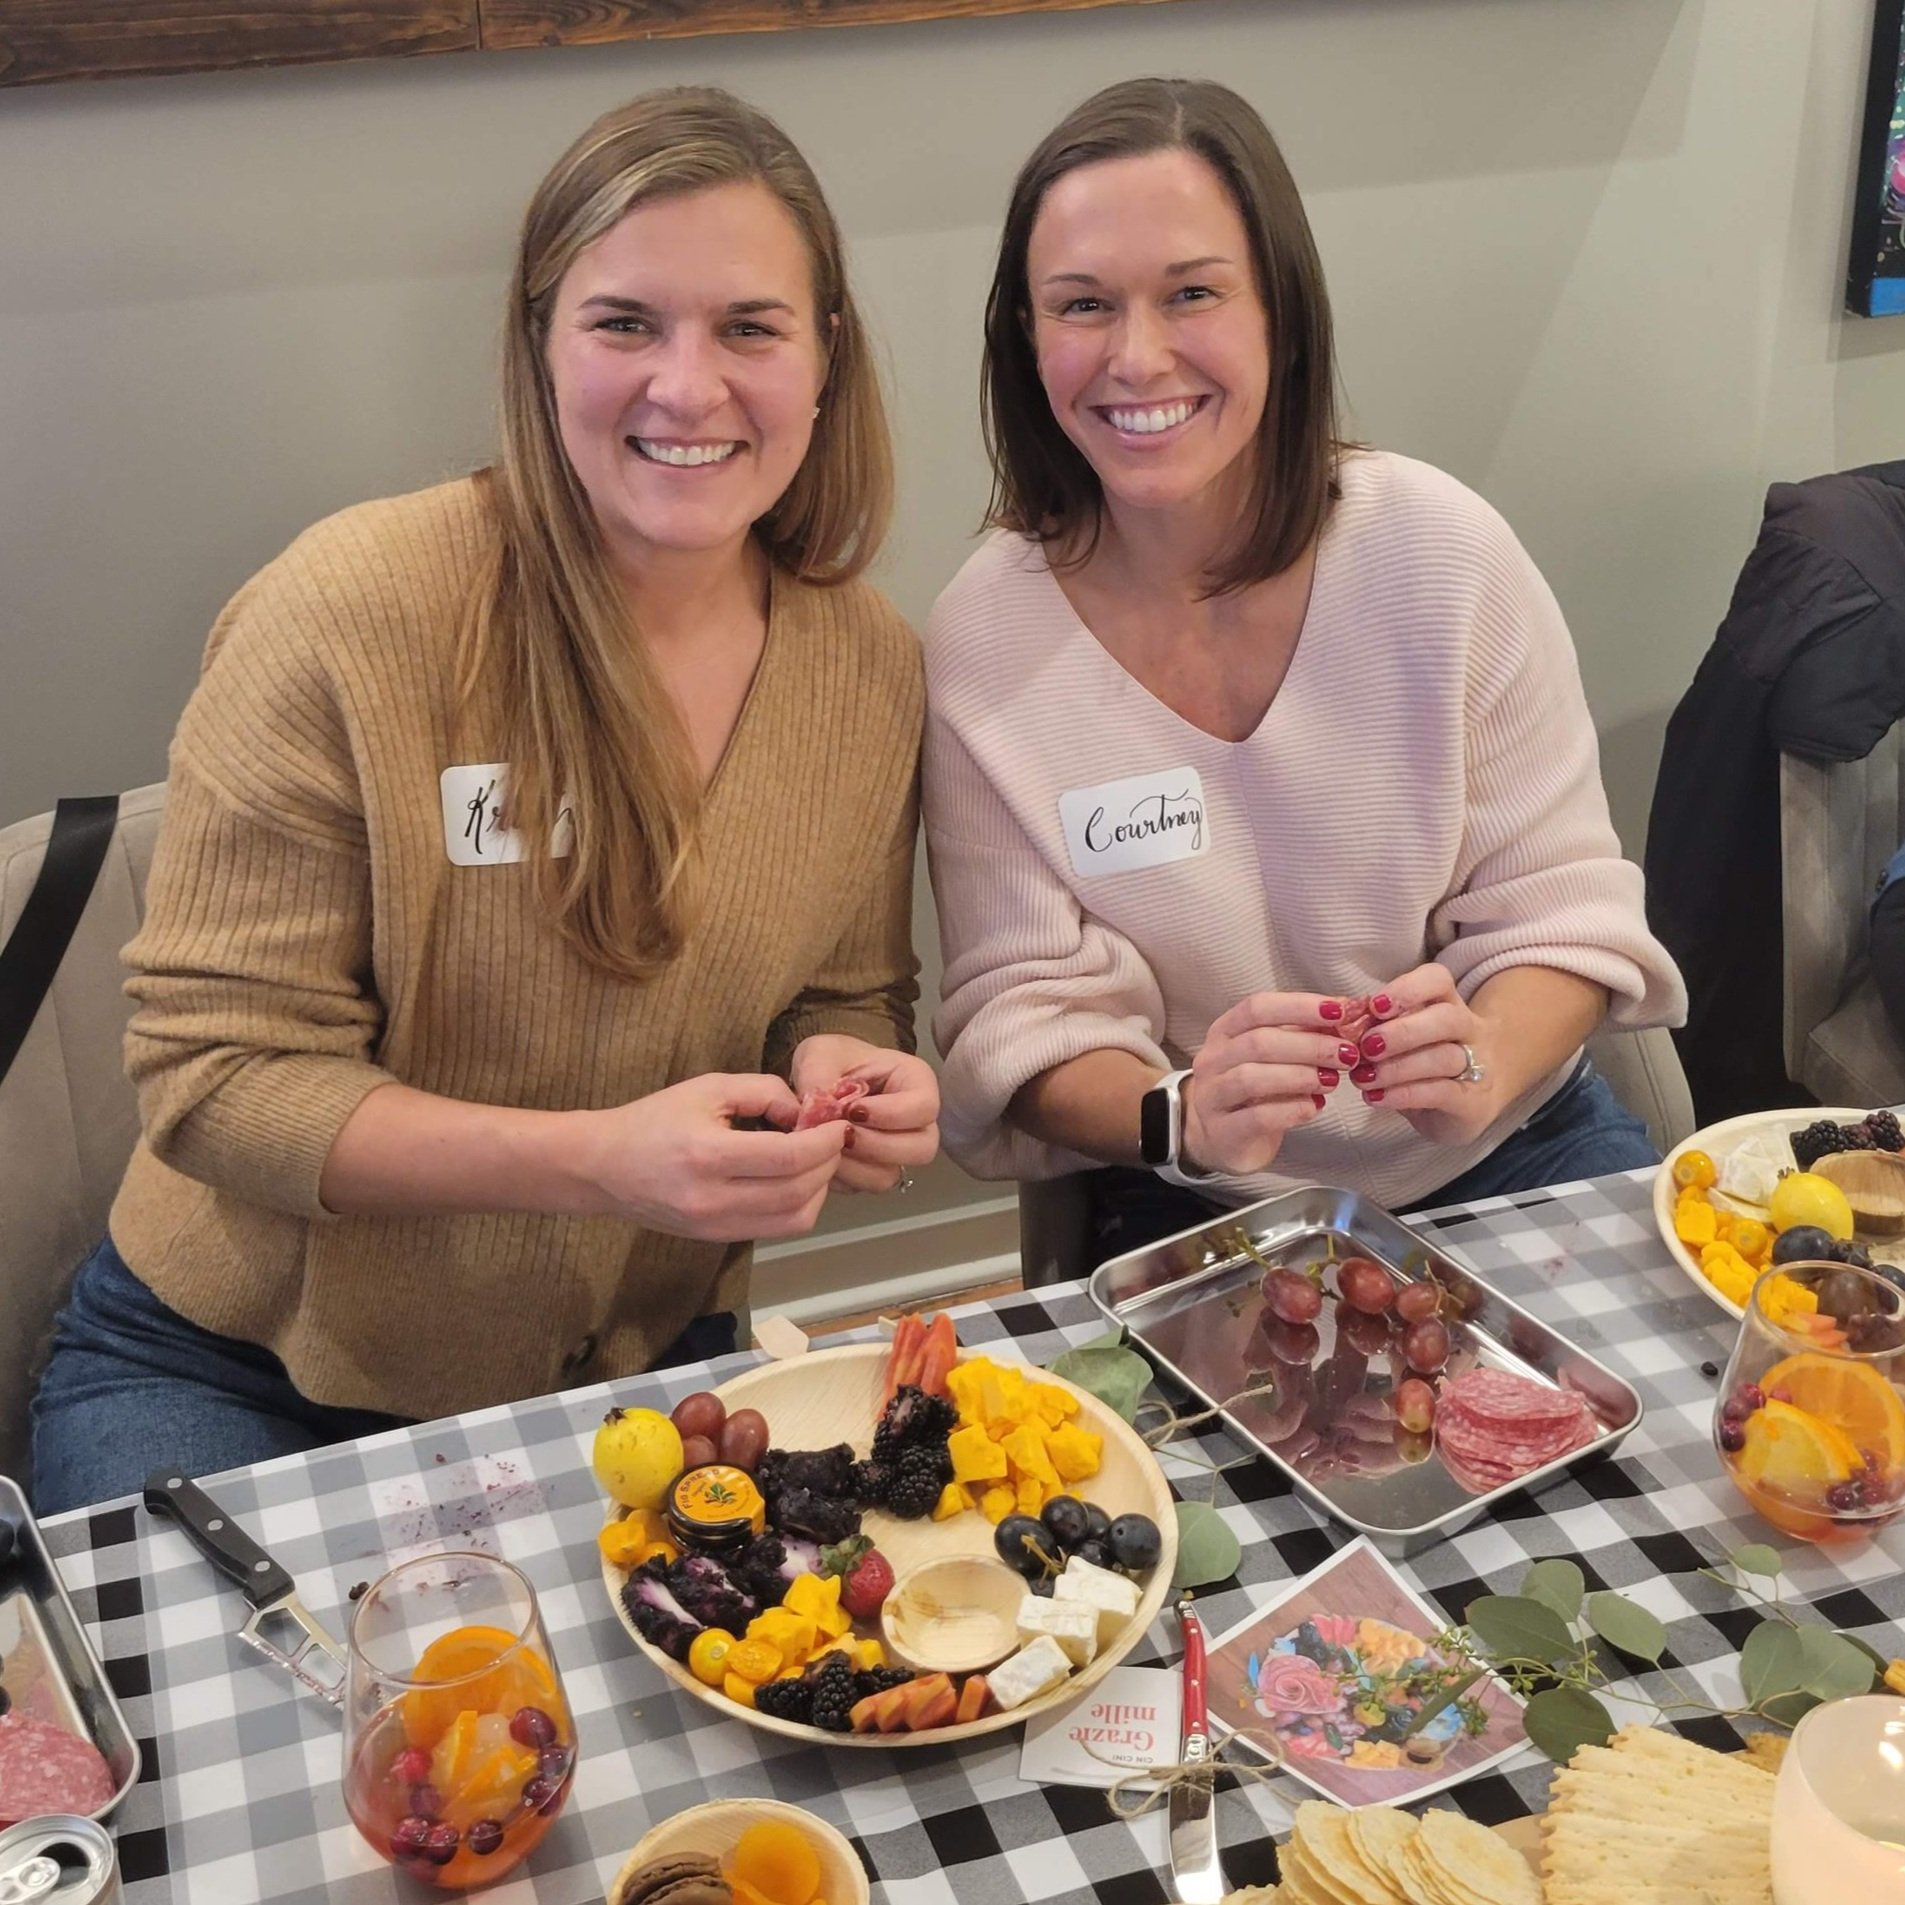
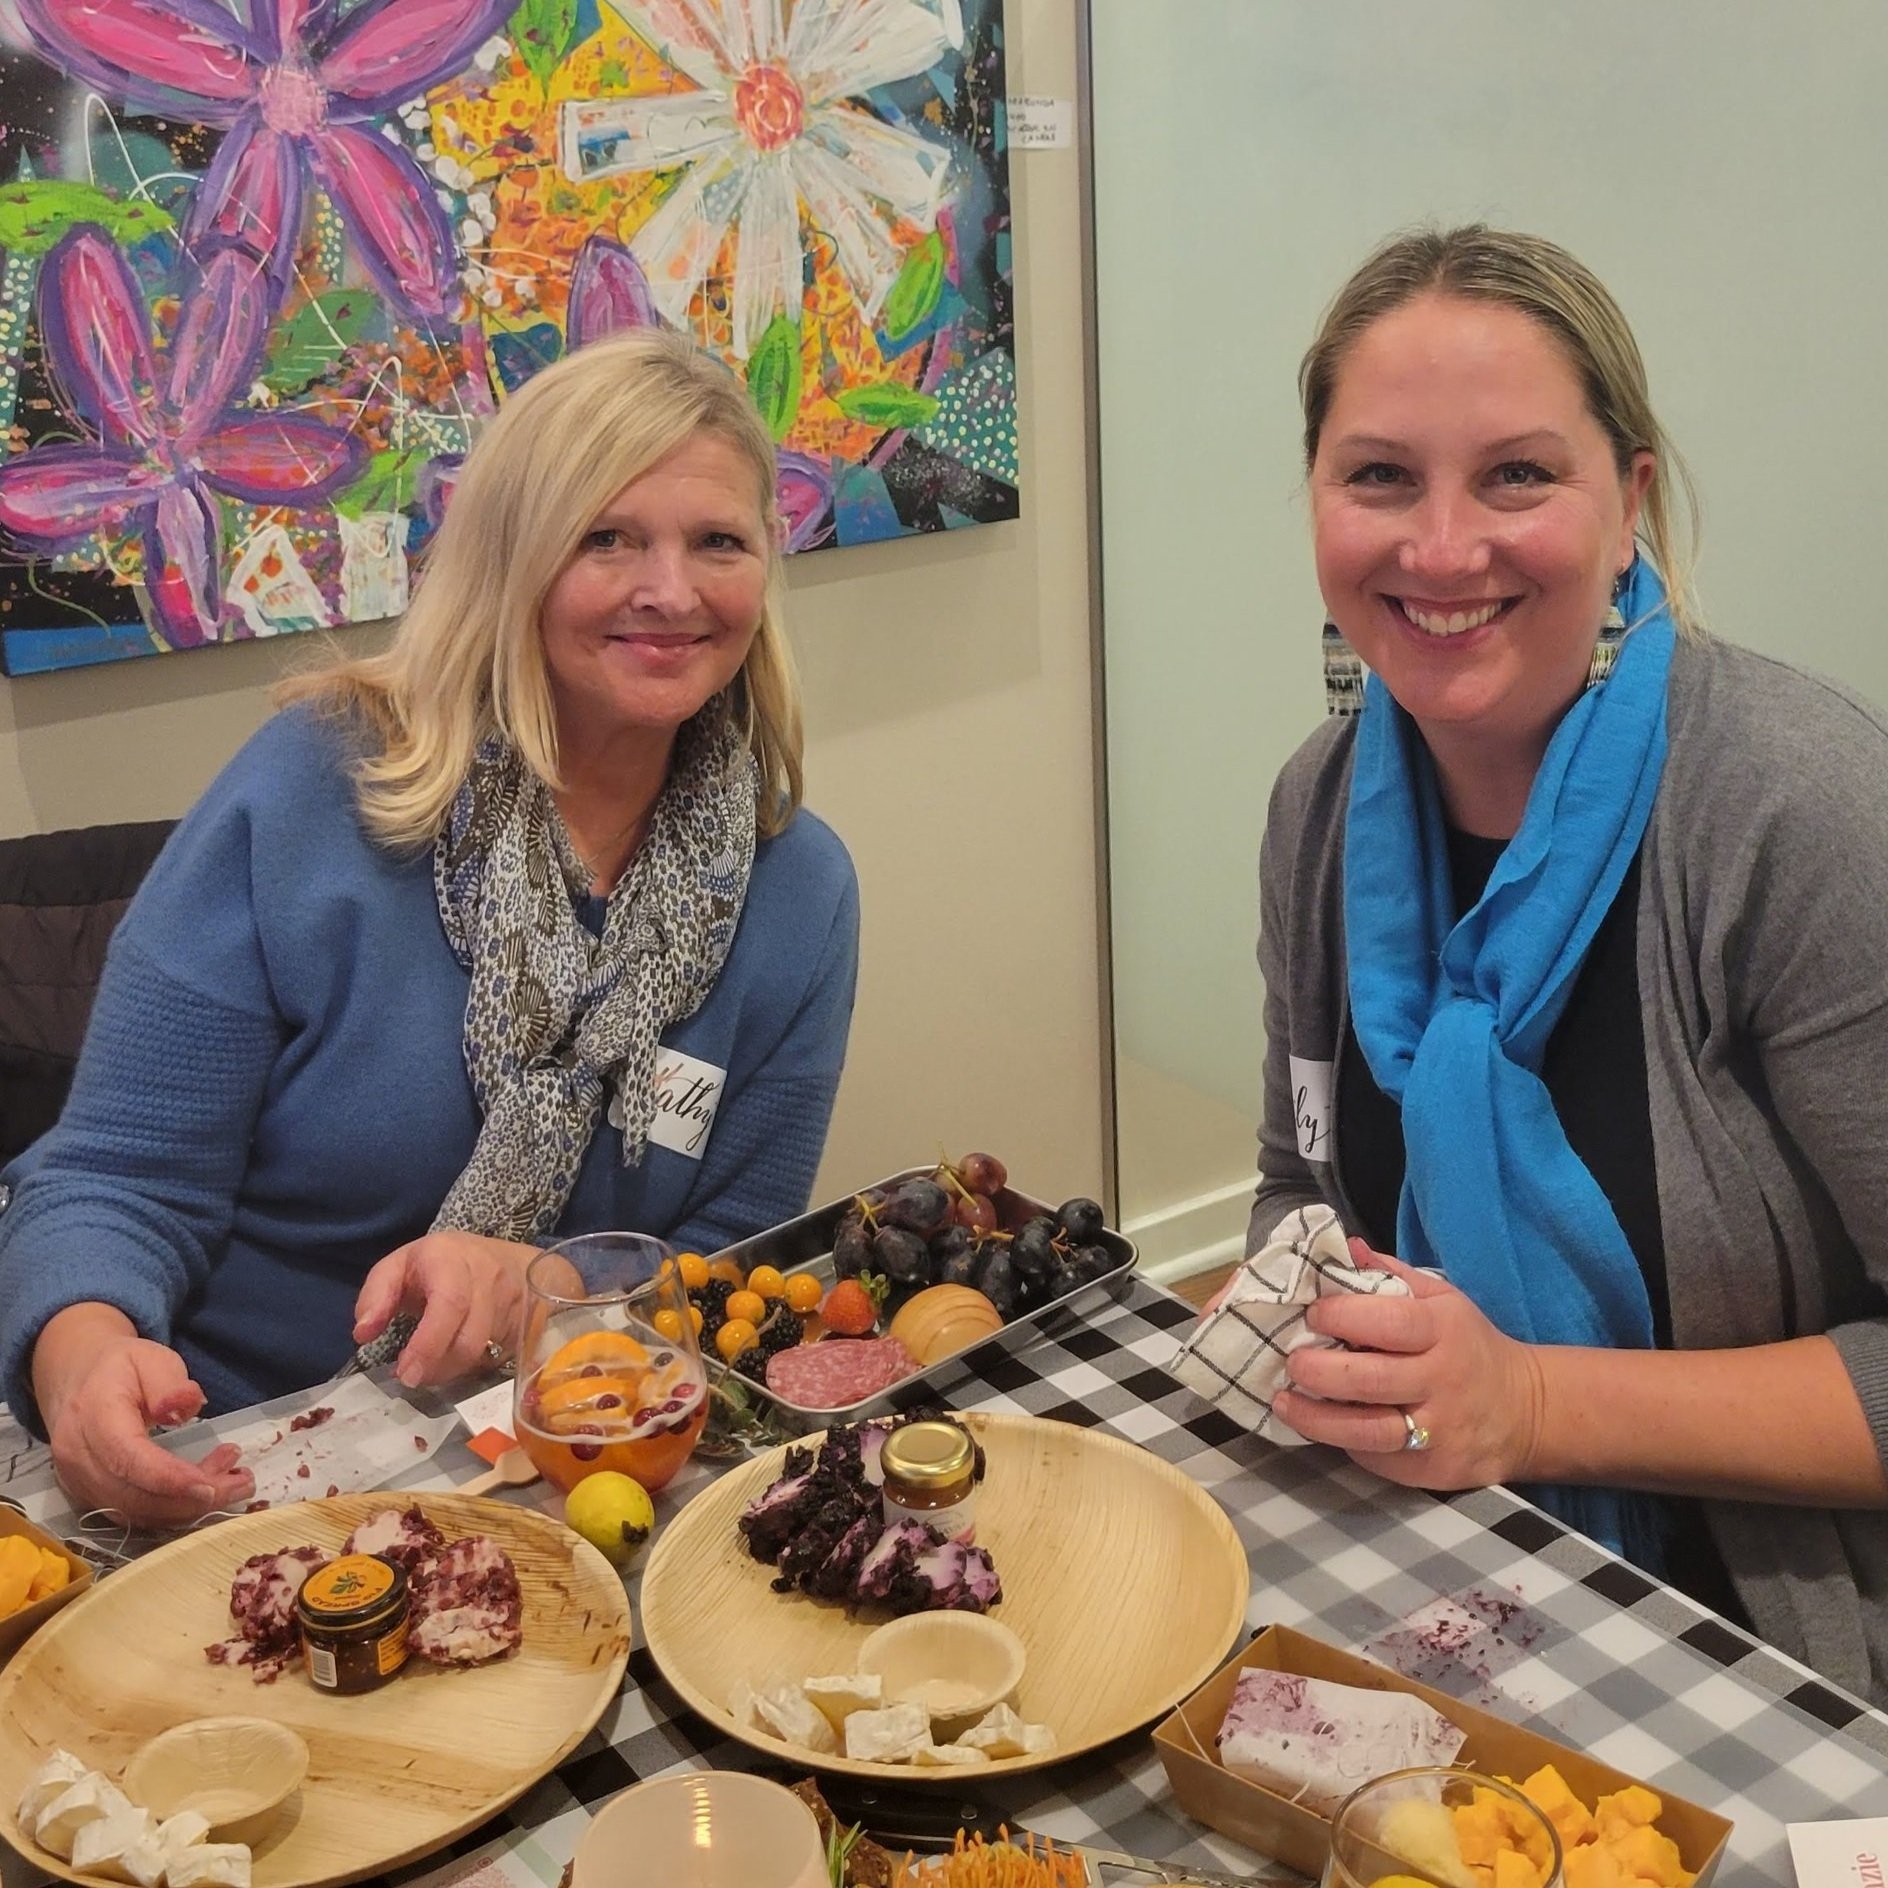
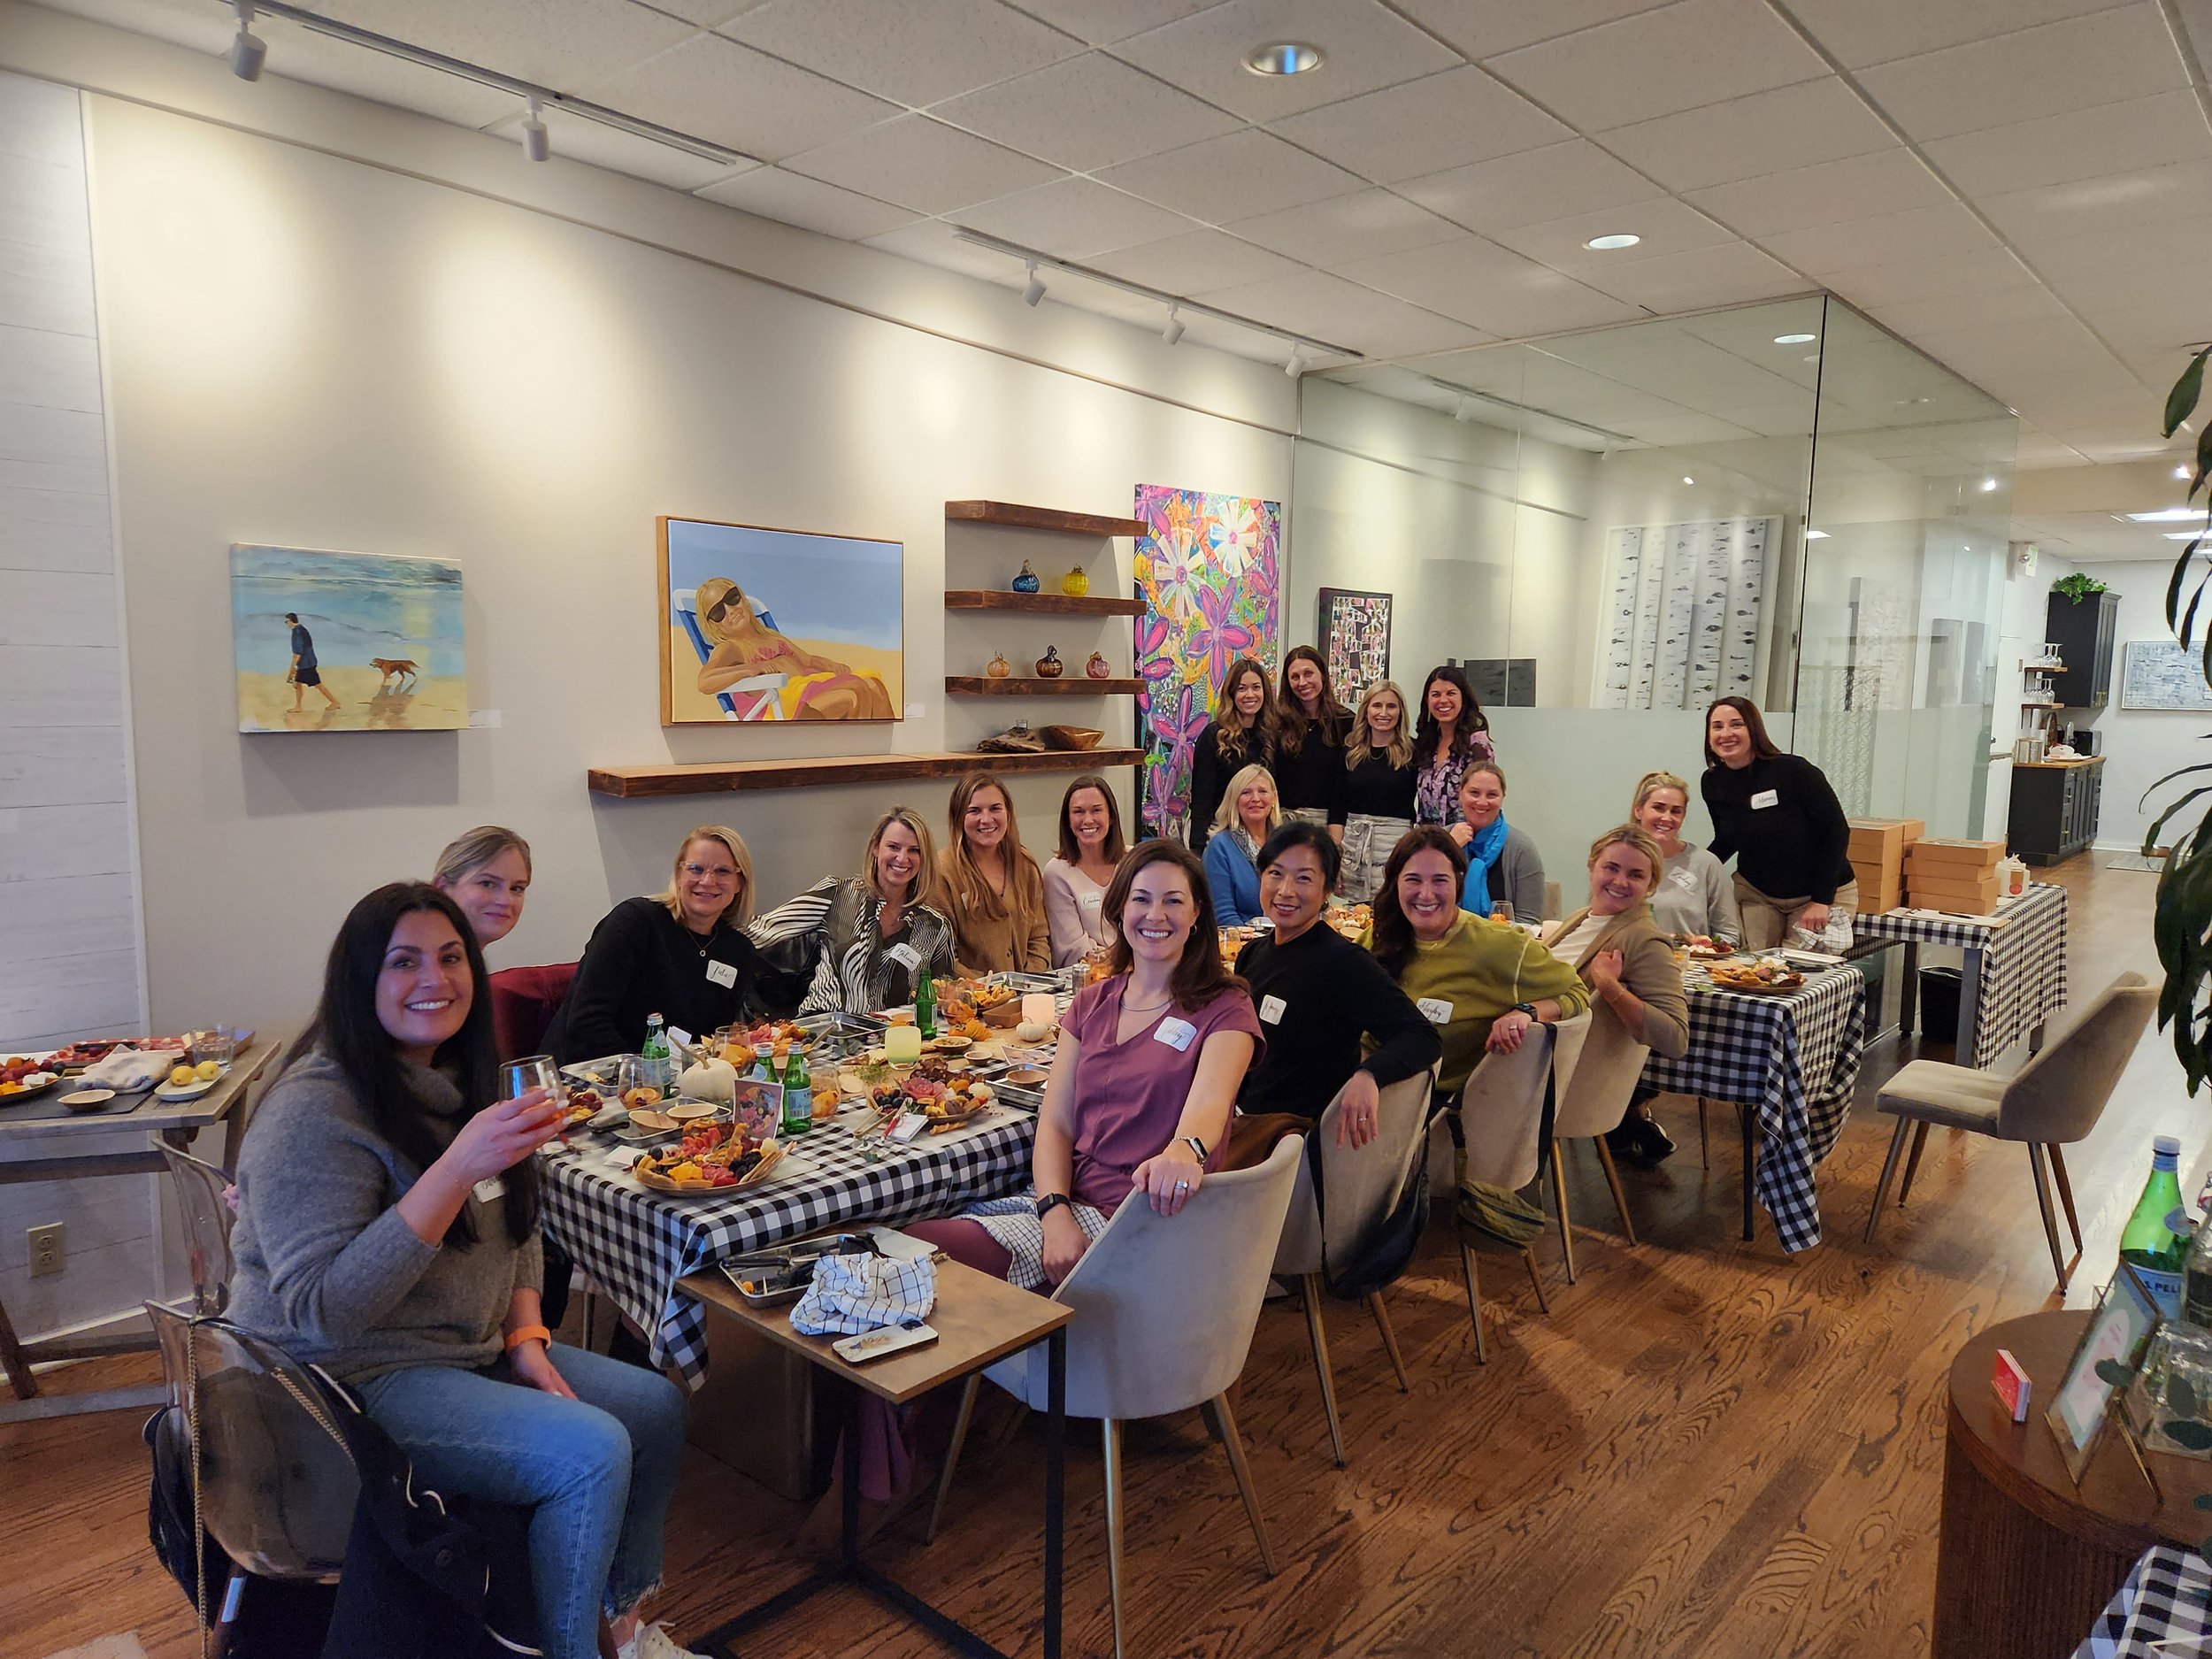
We enjoyed the most delicious evening building spectacular charcuterie boards on a recent Thursday evening. Under the guidance of Mia Pizzuto, aka the Charcuterista, we learned proper layout and filling techniques as well as how to incorporate seasonality and unexpected bites into our boards.
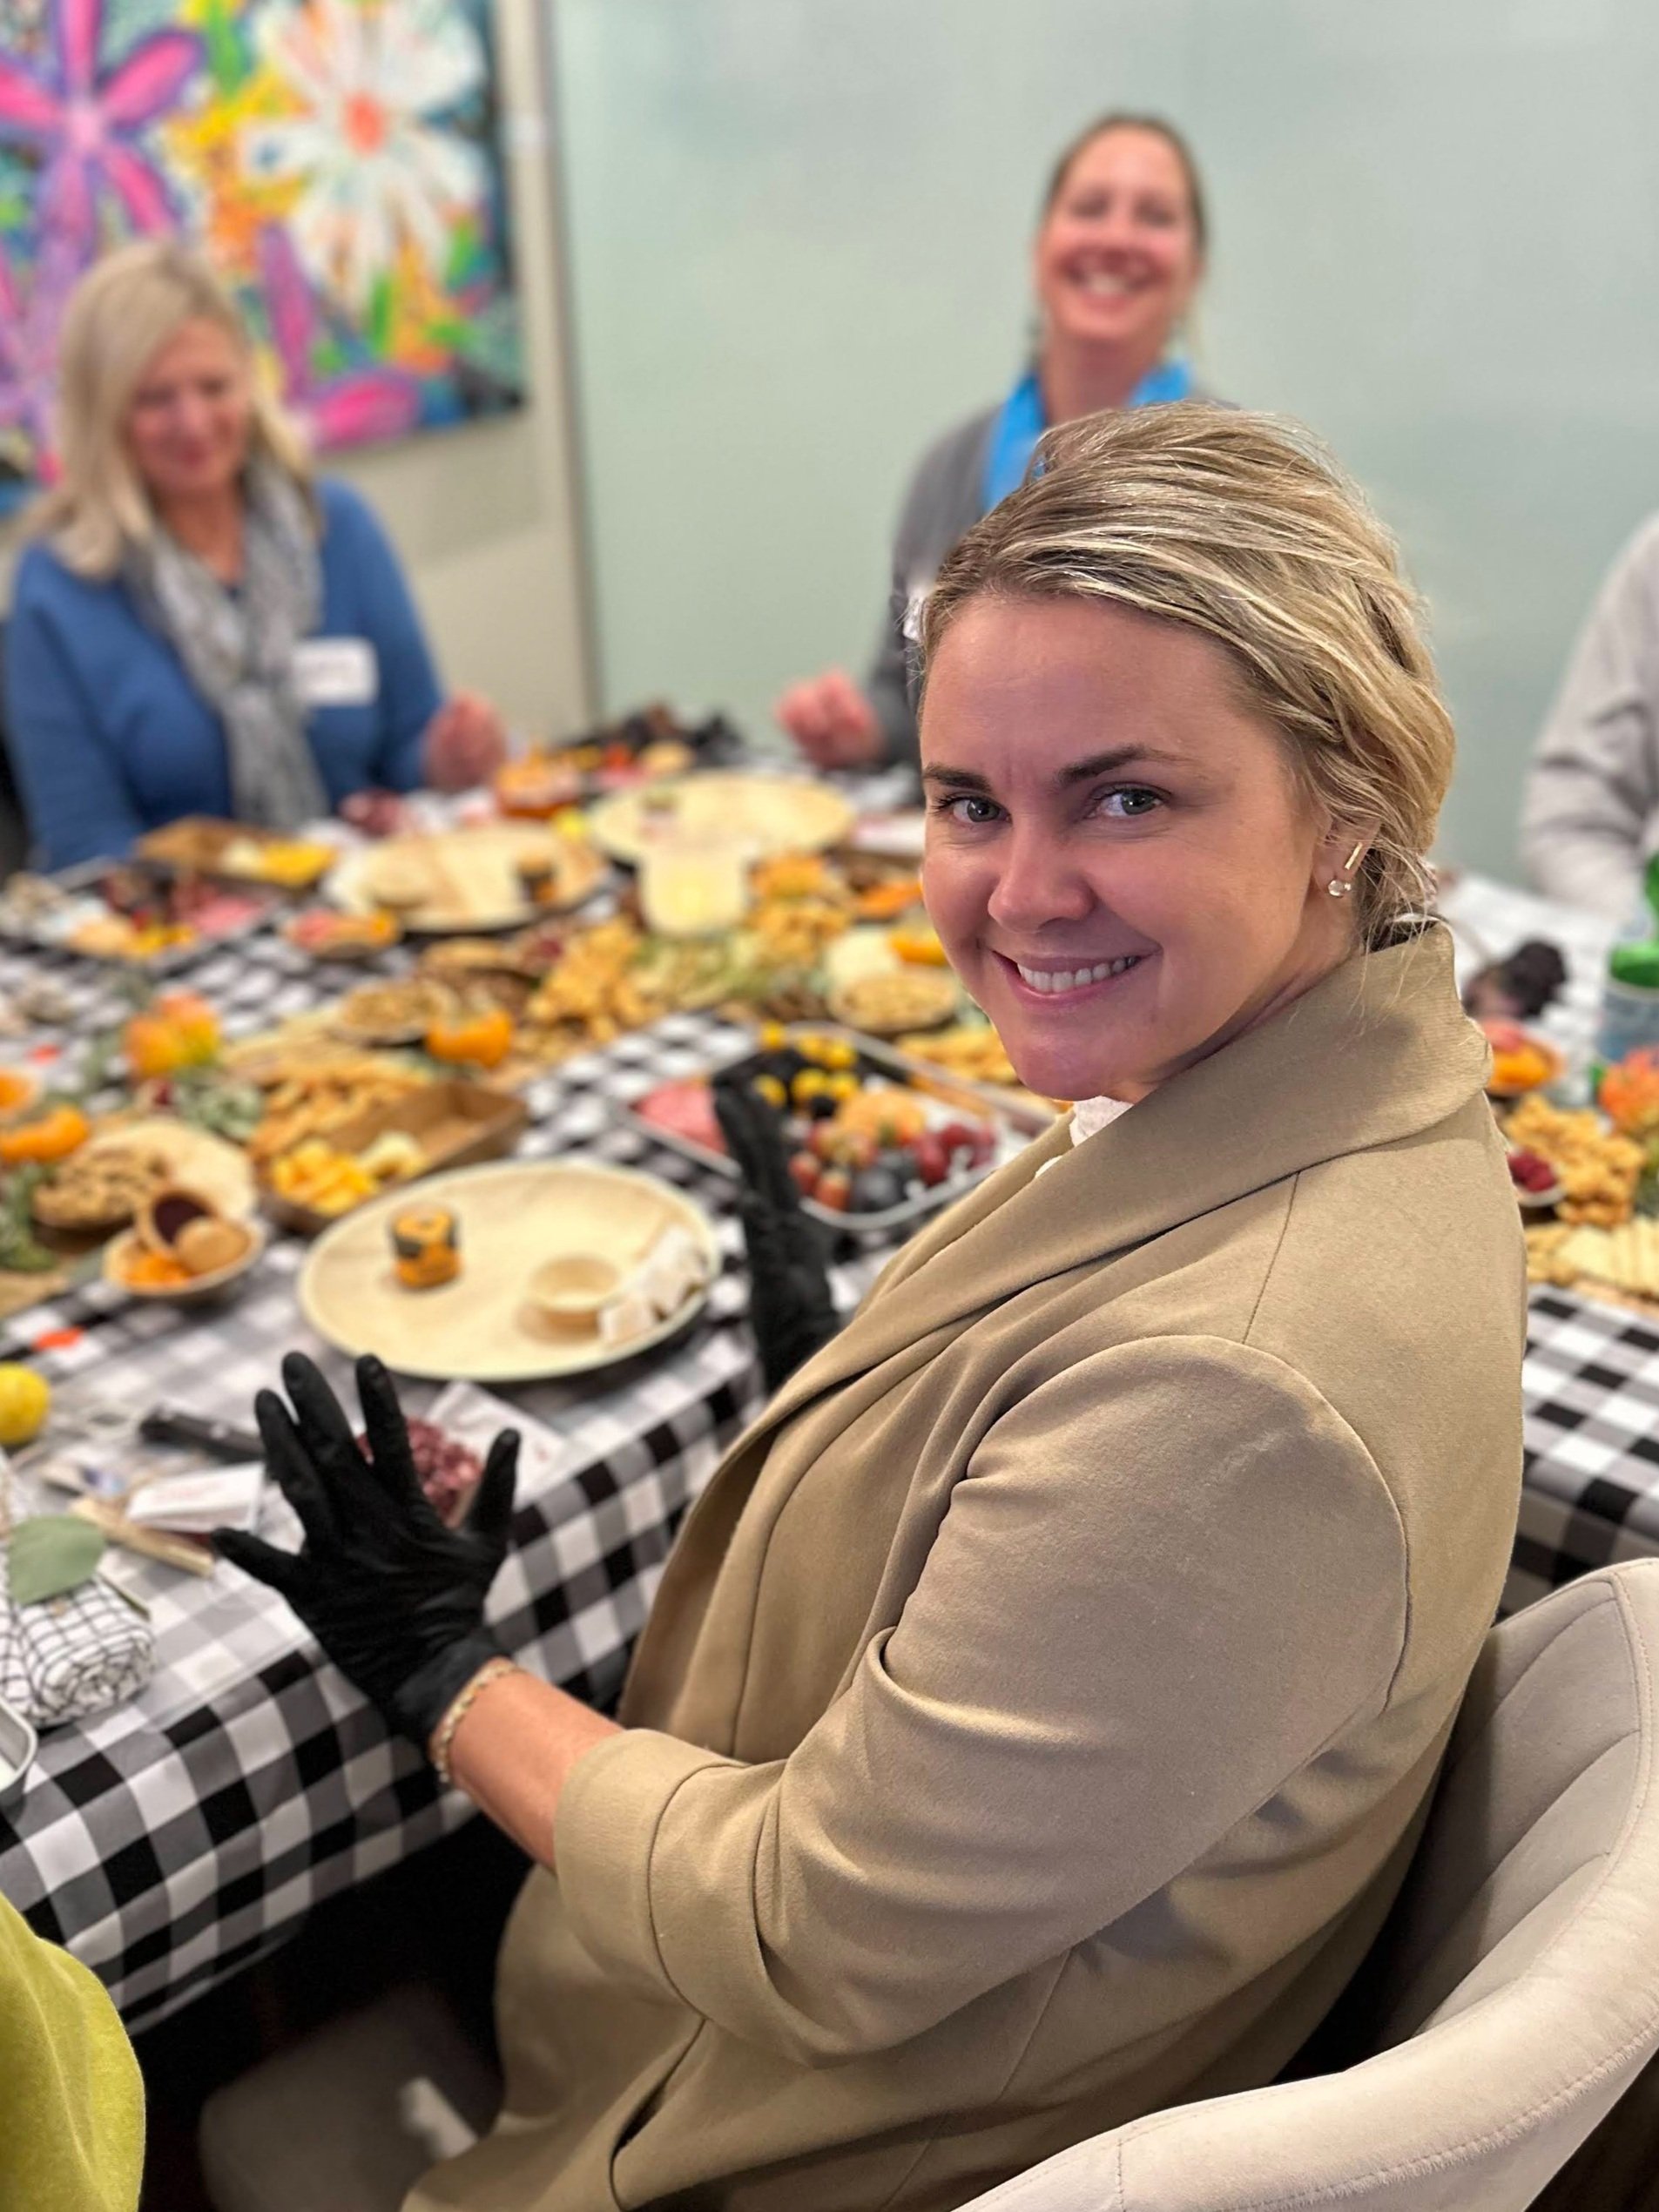
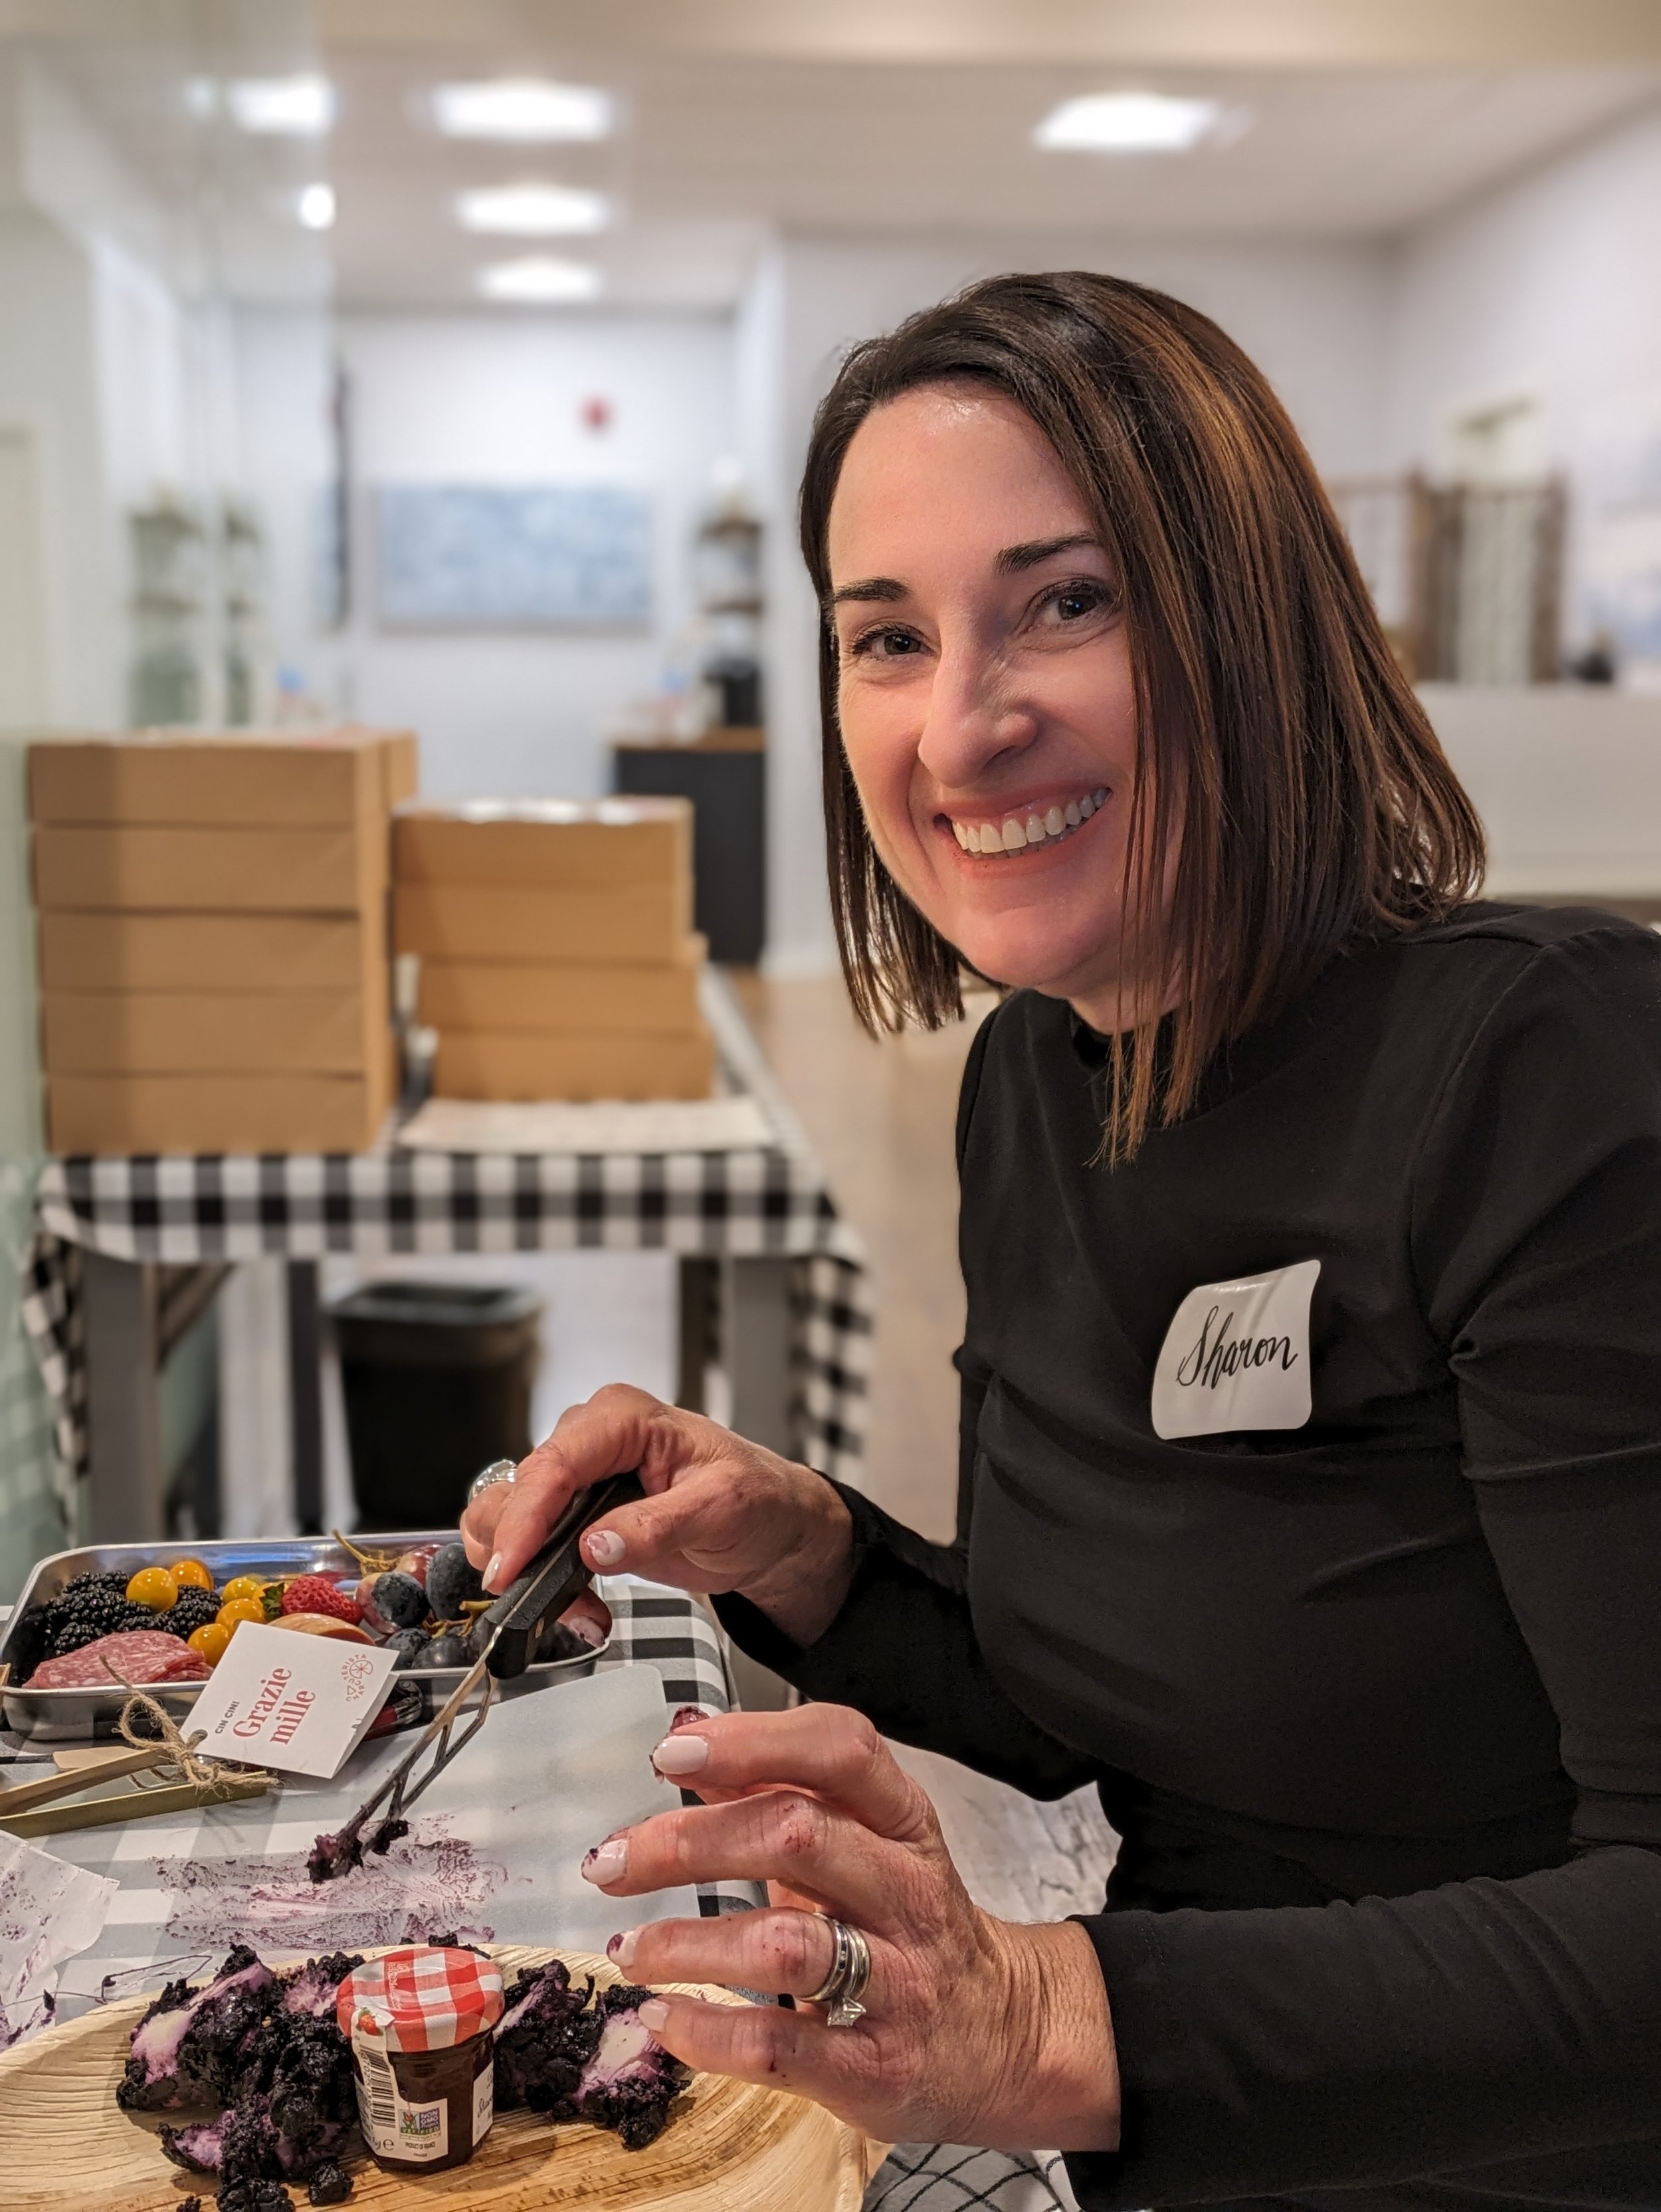
We were thrilled to be able to host our charcuterie workshop in the Realogics Sotheby’s International Realty Mercer Island office. Huge shoutout to Sharon Singh for sharing this beautiful space with us.
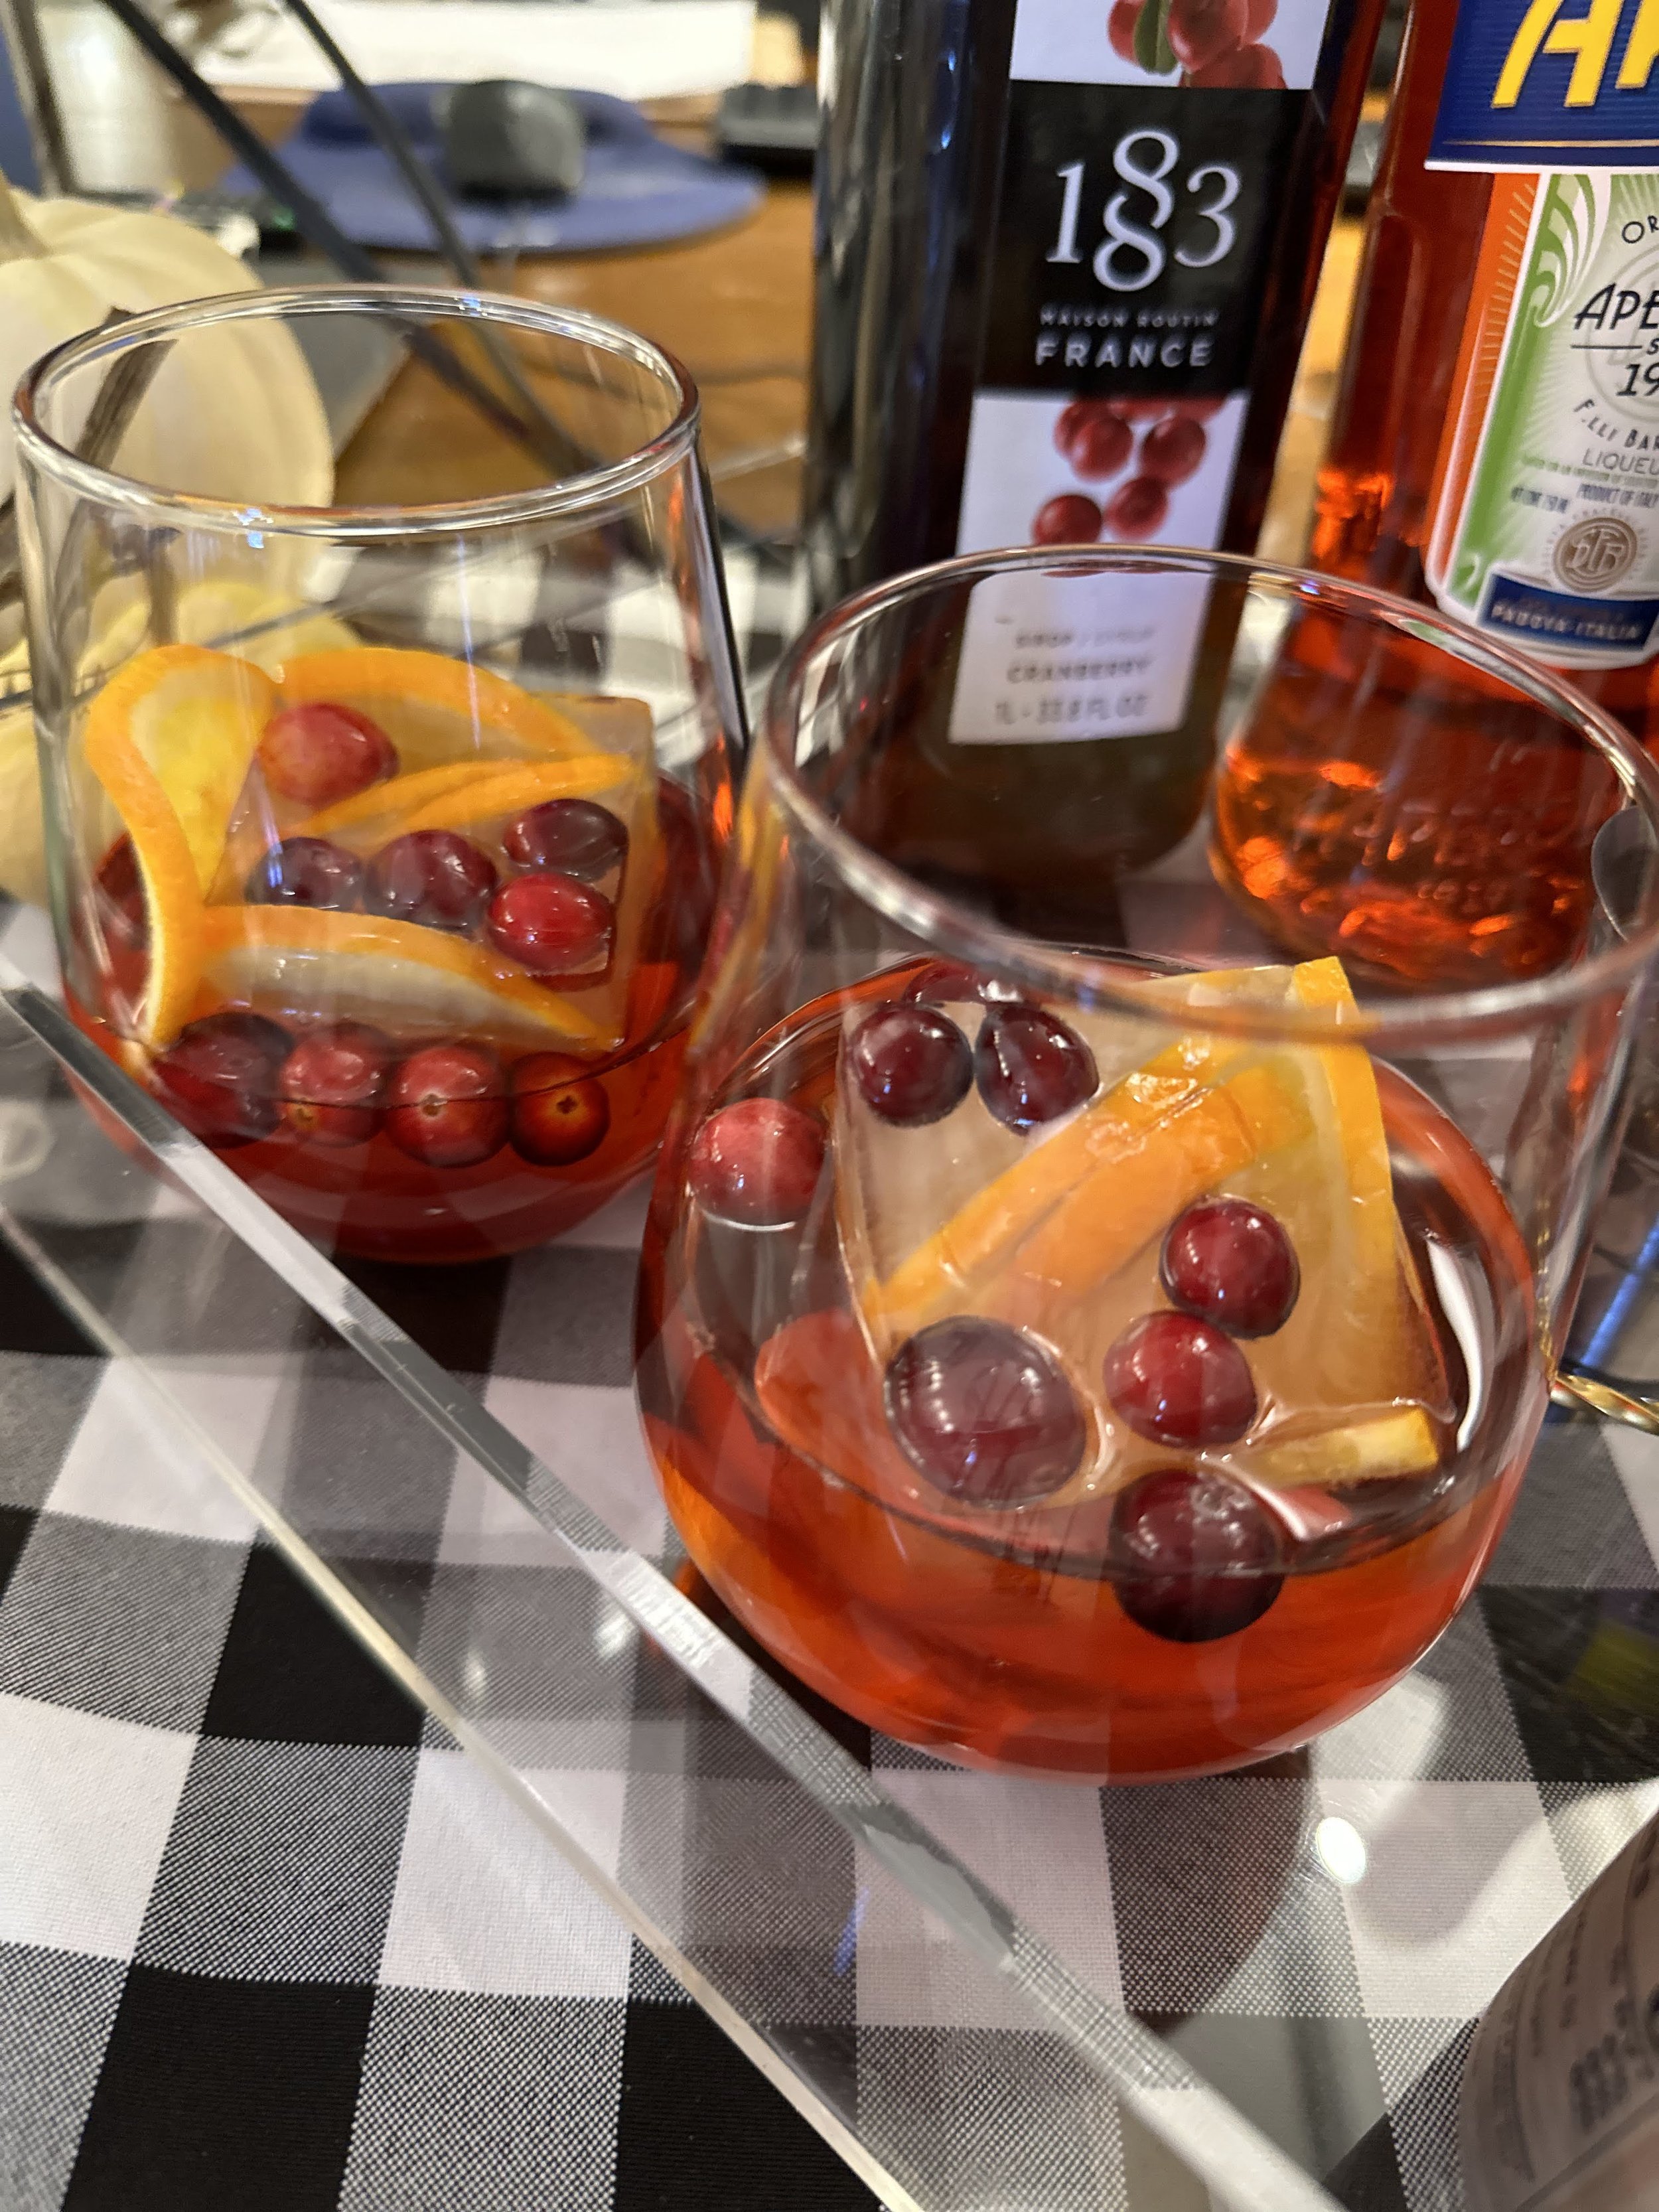
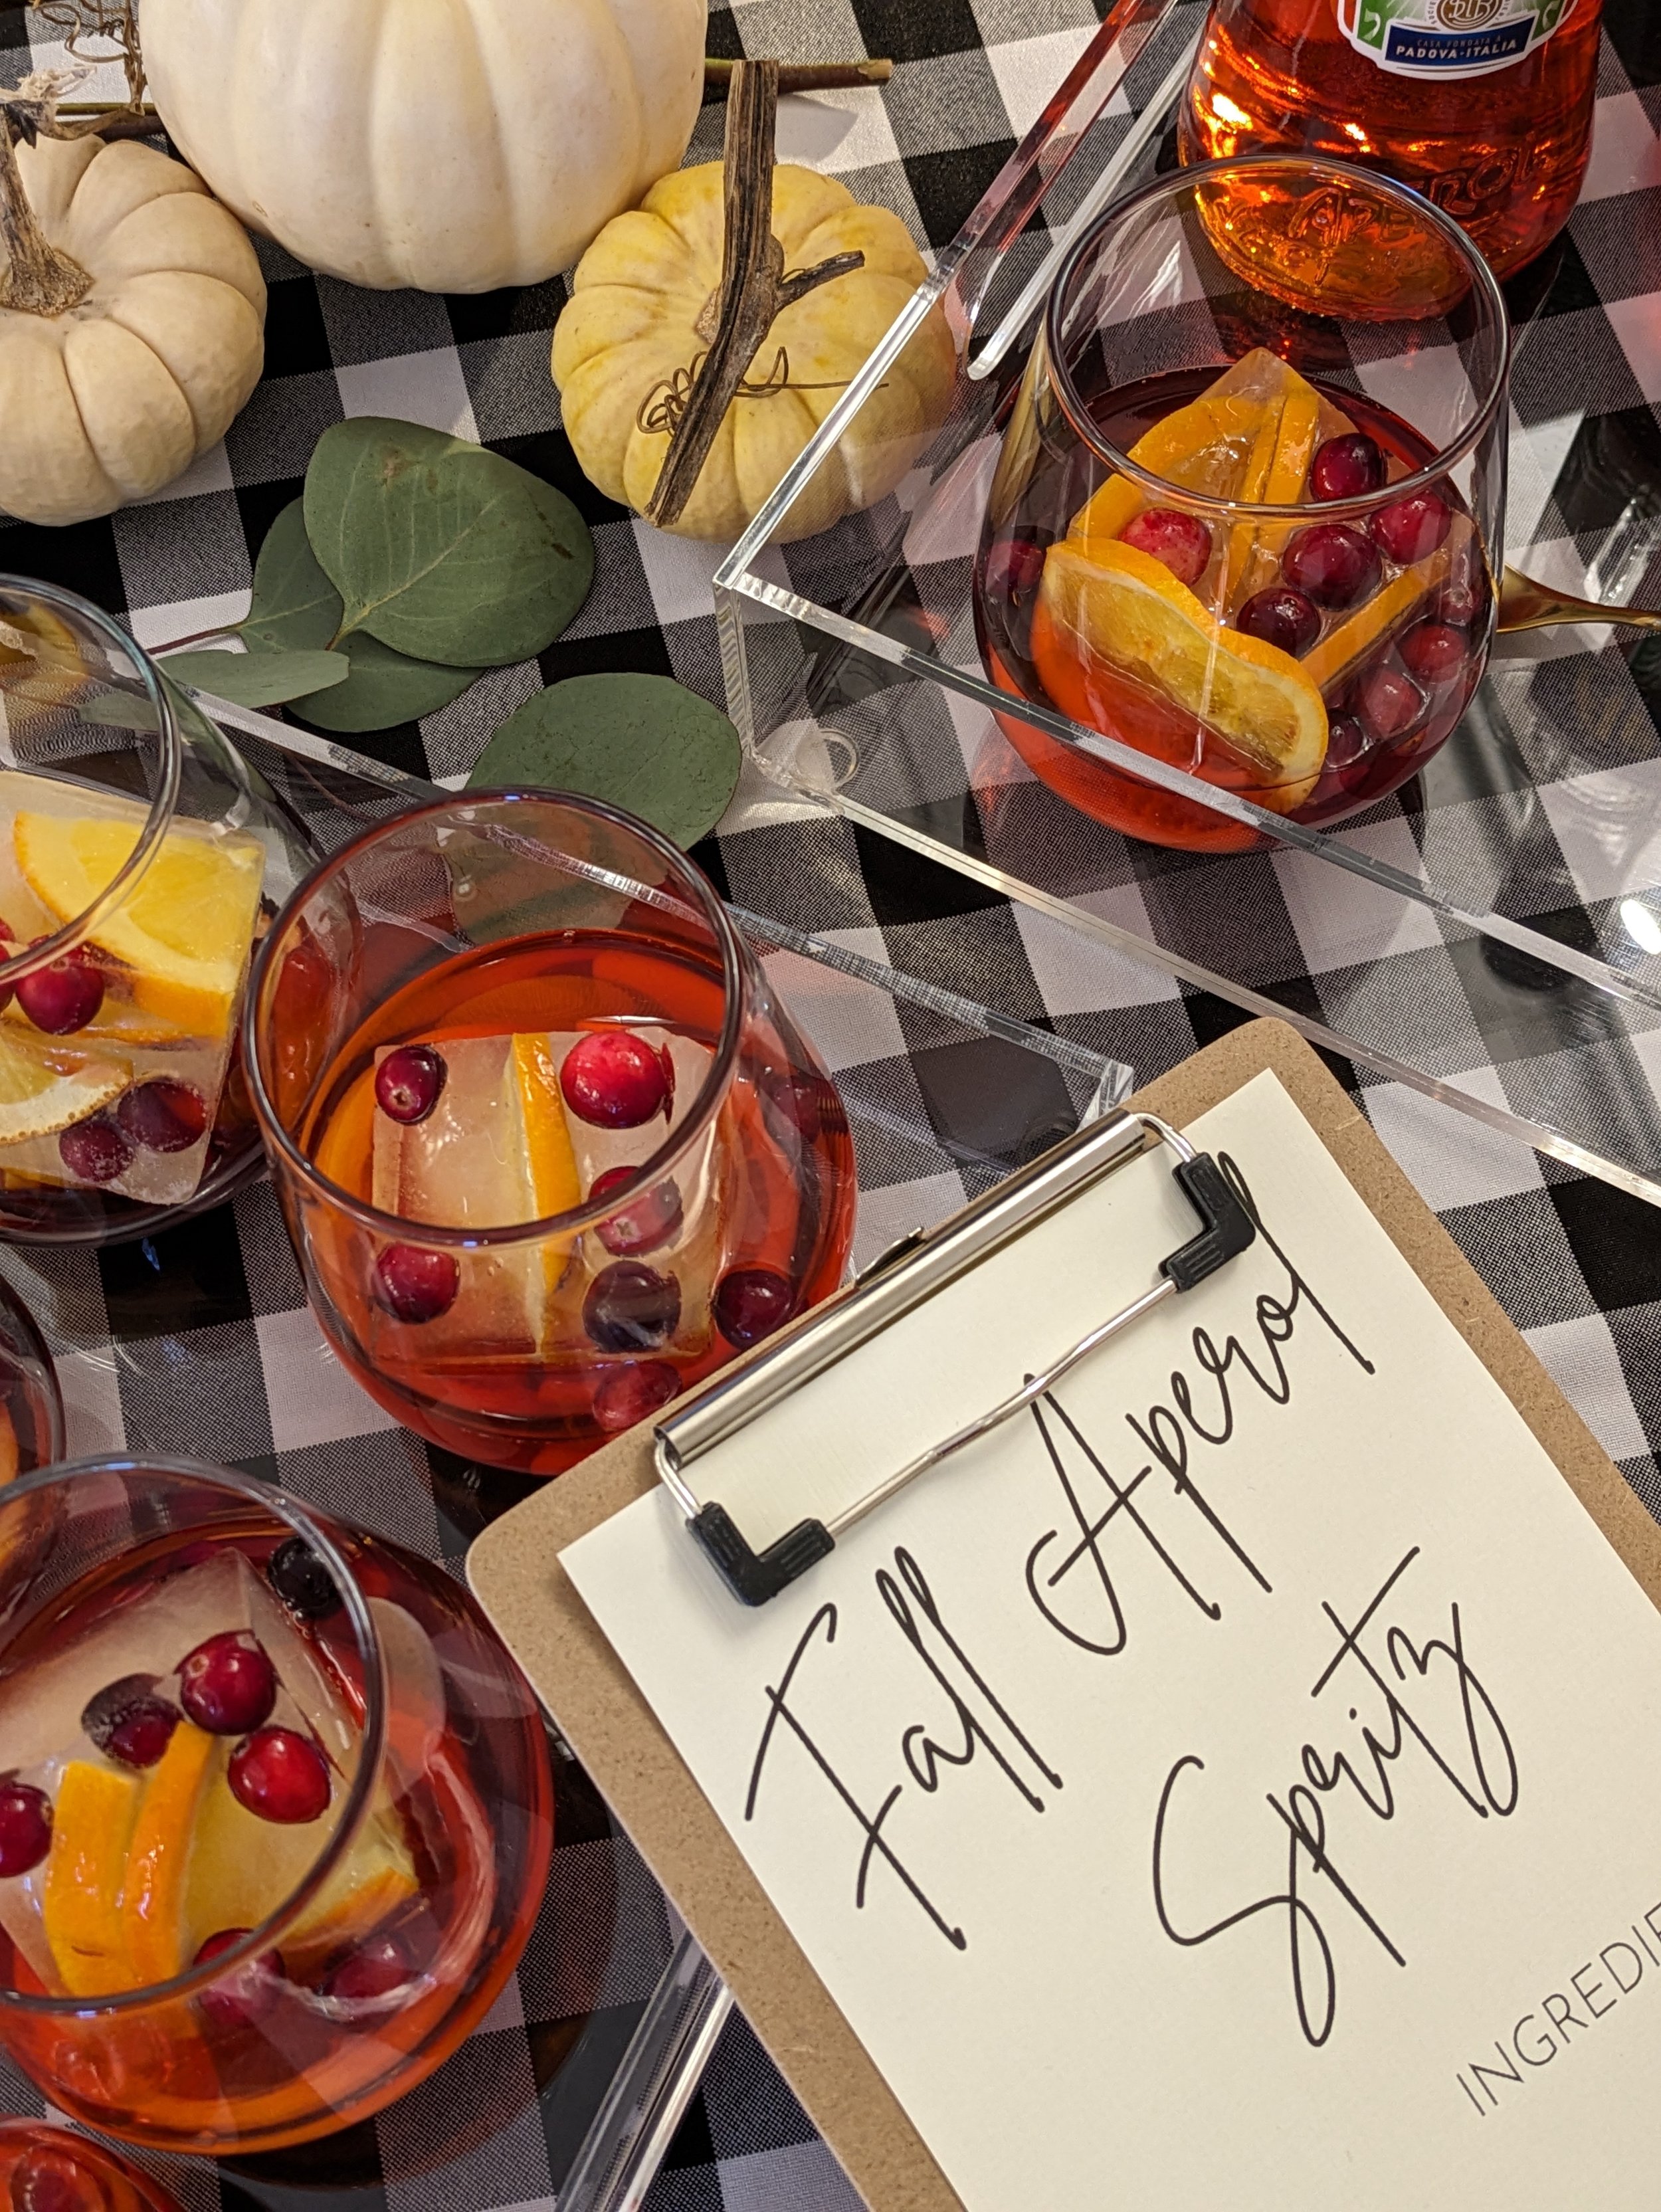
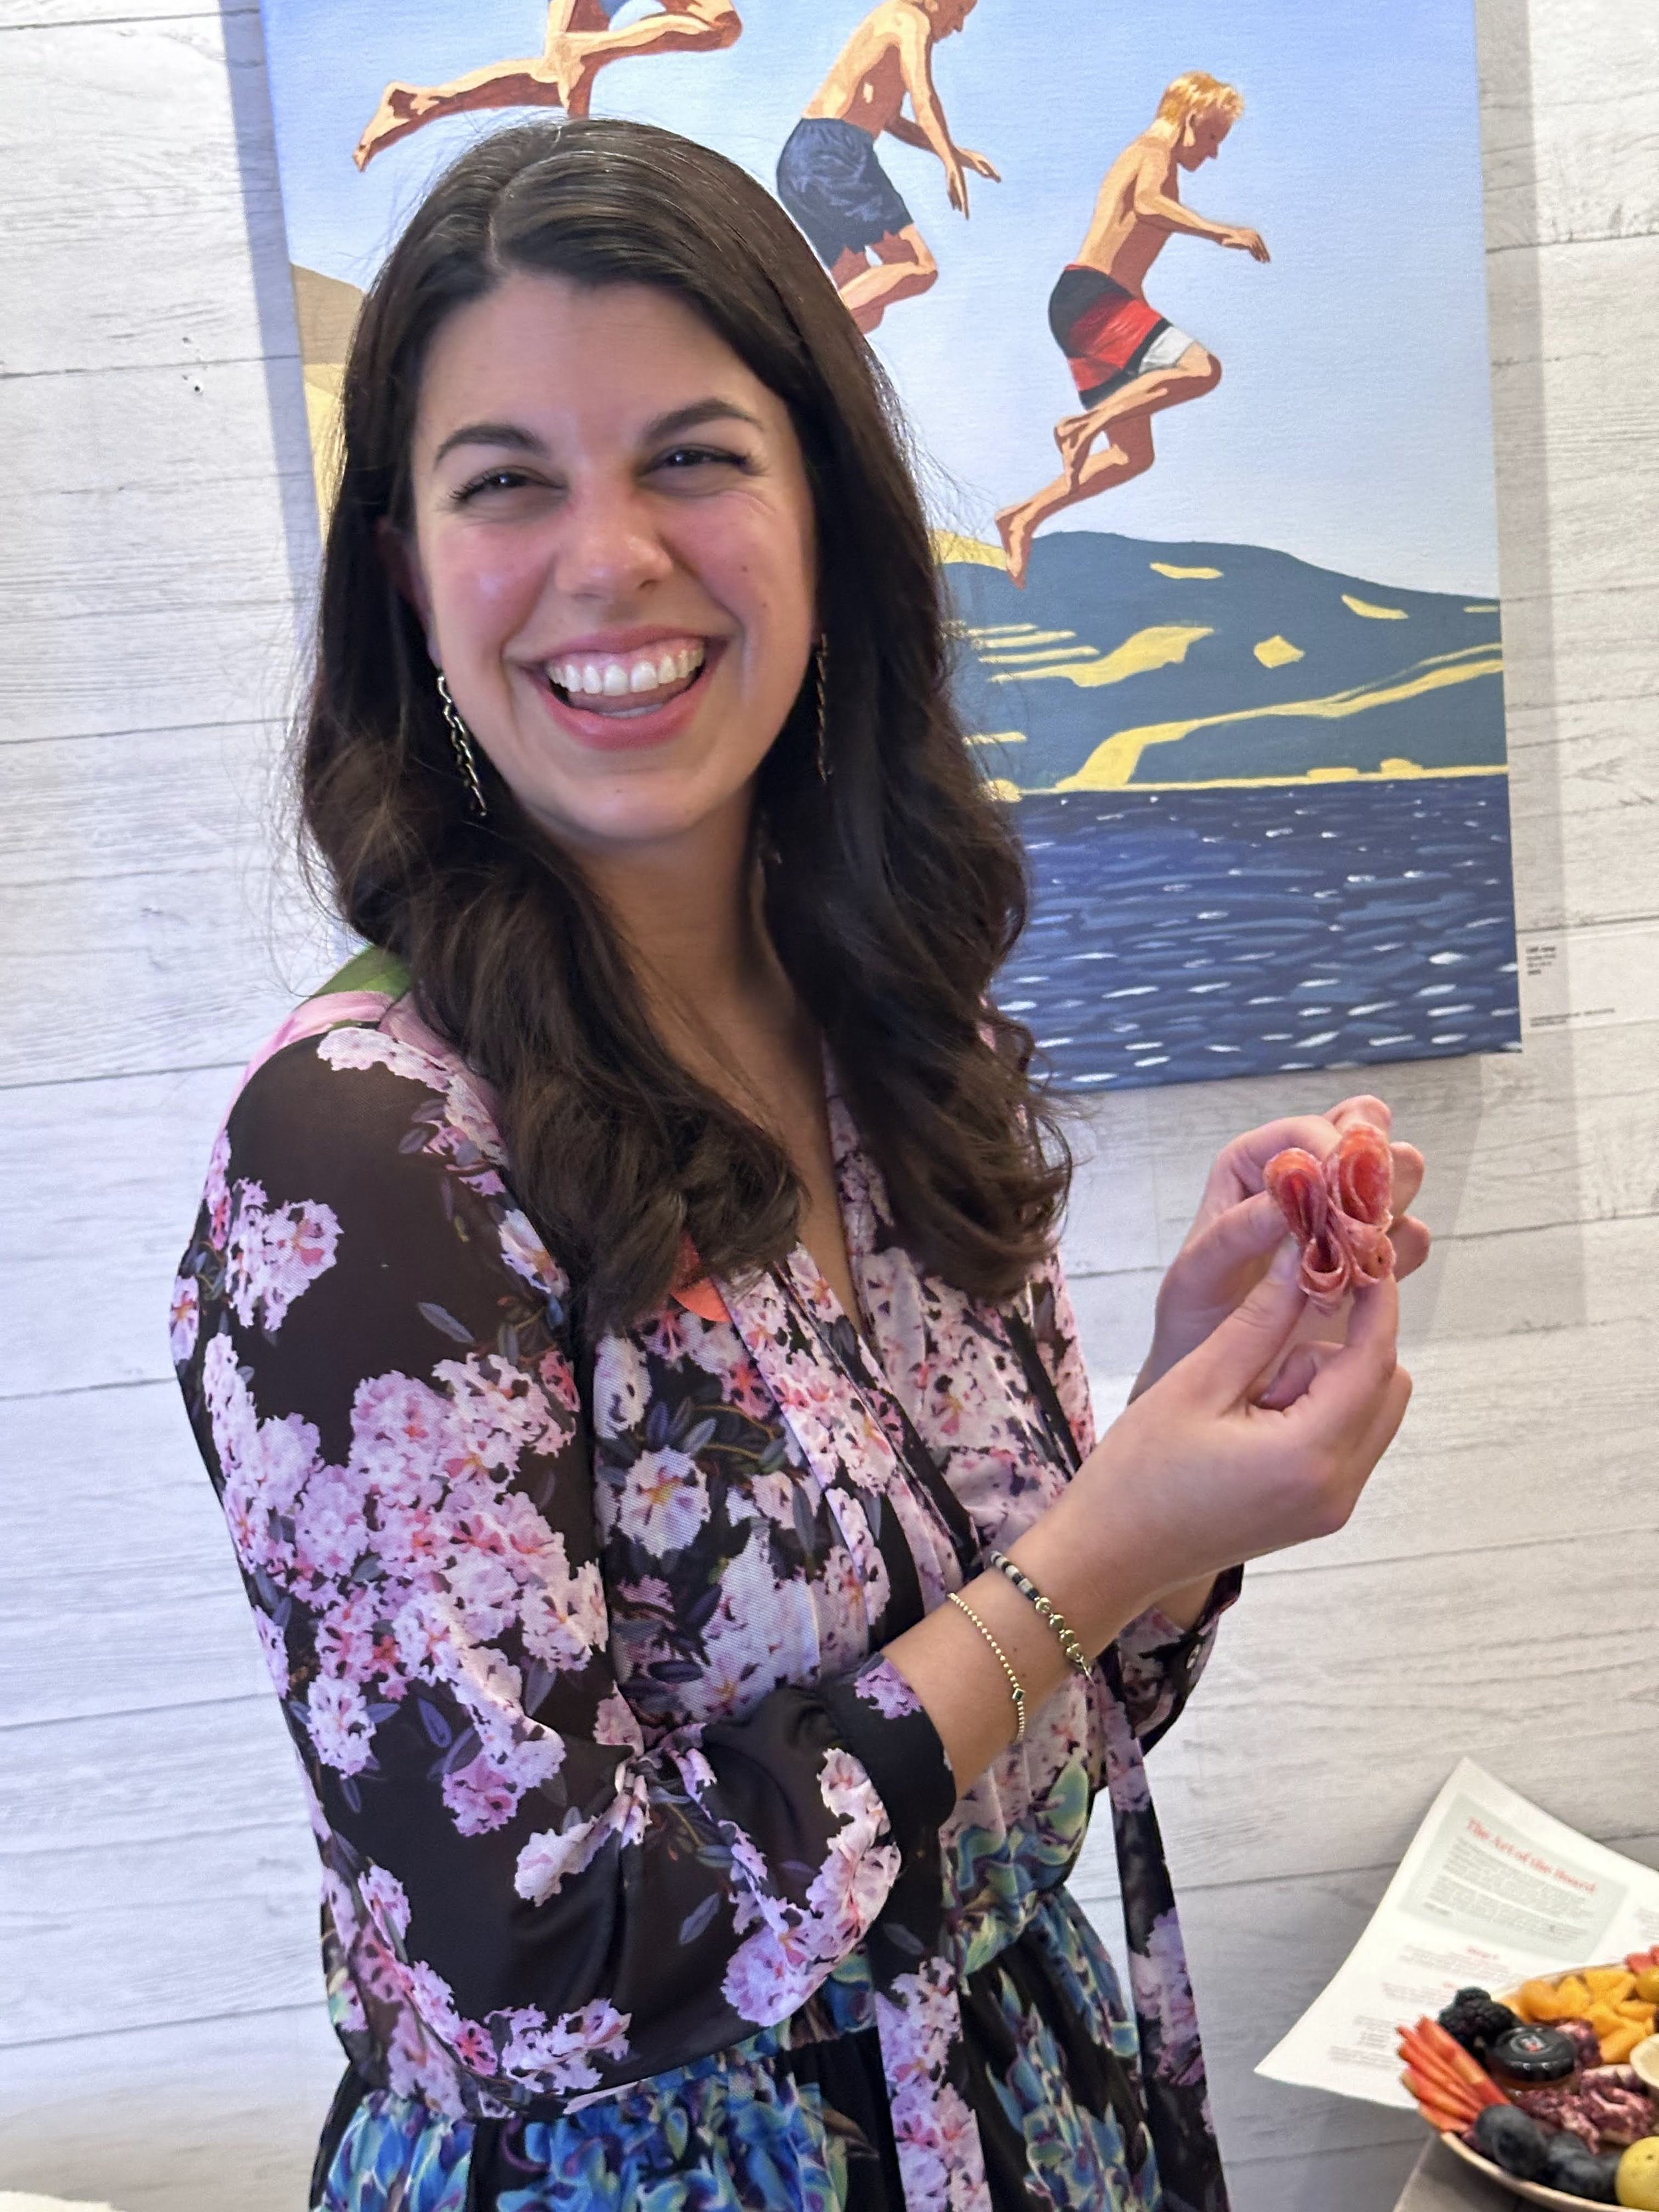
We began our evening with Harvest Aperol Spritzes and Cranberry Mocktail Spritzes. Guests had a little time to mingle and meet one another before selecting their seats. Mia Pizzuto, our instructor for the evening set up a gorgeous and sprawling display of meats, cheeses, seasonal fruits, crackers, nuts and more. We opened the workshop with a quick icebreaker, “What do you reach for first on a charcuterie board?” The answers were as varied as our guests (personally I go for the double salami fold).
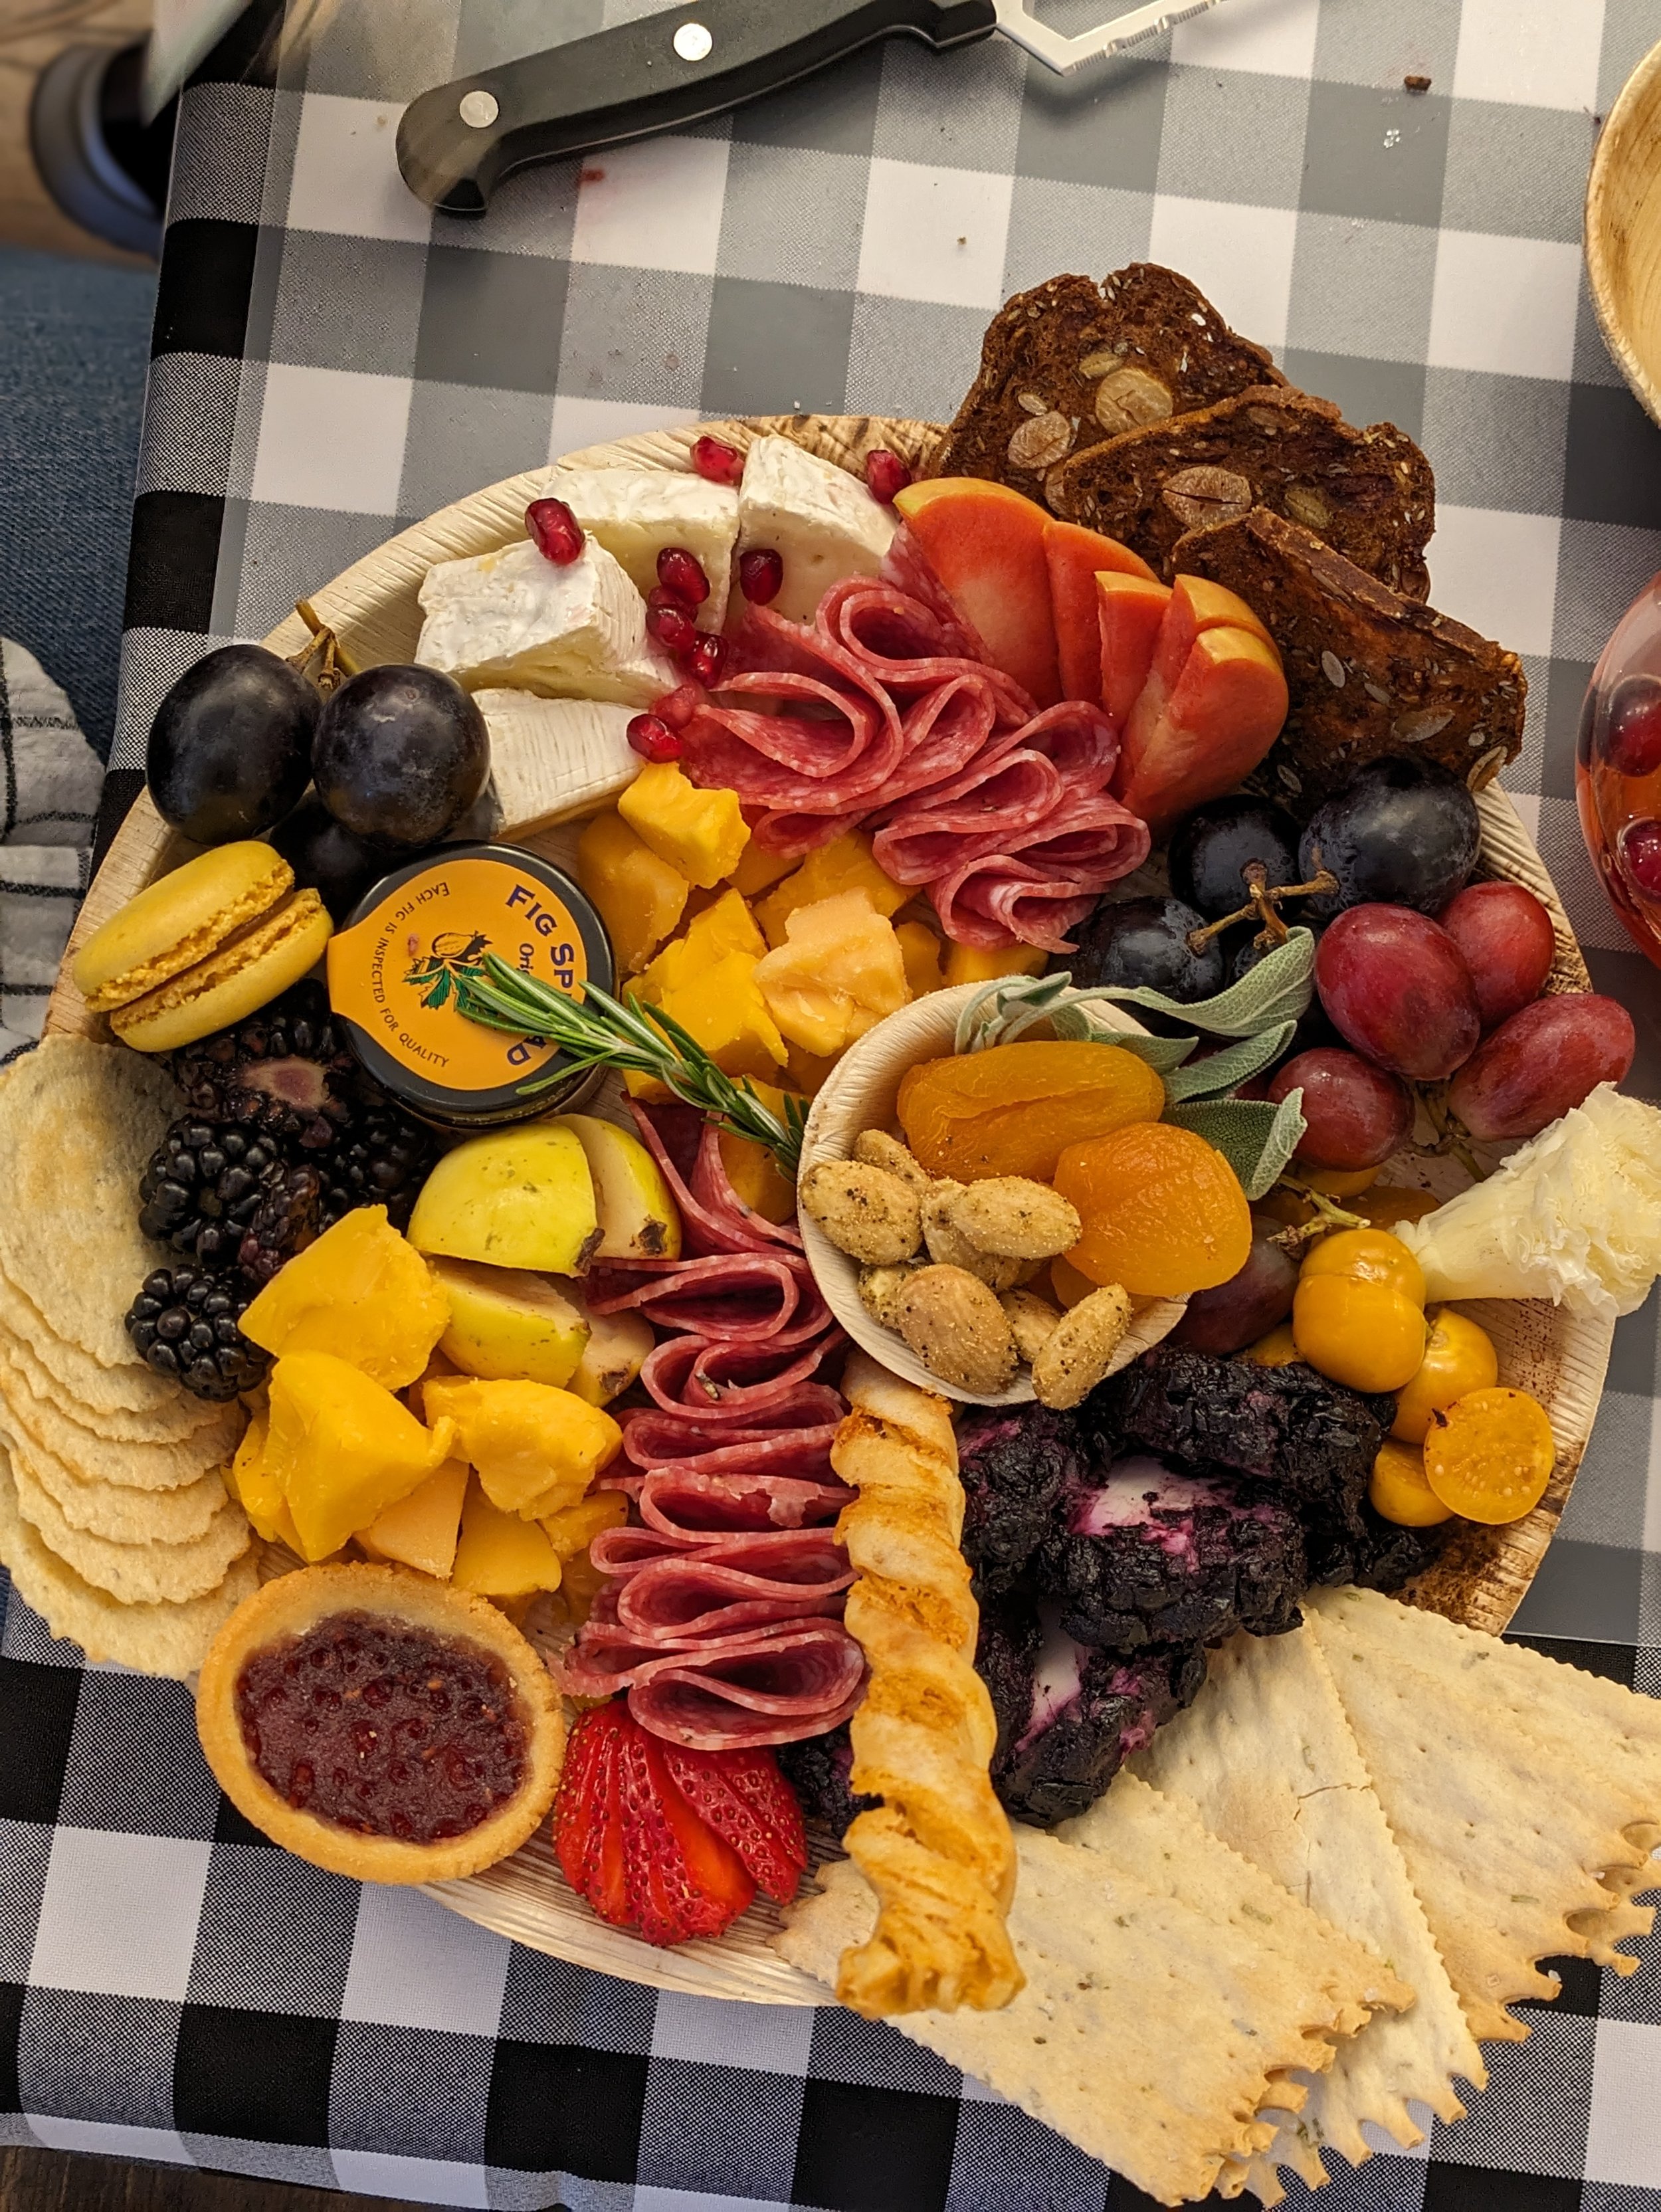
Building a charcuterie board is all about creativity and freedom. Mia recommends letting seasonal, vibrant and flavorful accoutrements inspire you as you arrange your spread. The first step in building any board is to choose your base. You can pick anything from a wood cutting board, to a ceramic platter or even the top of an old wine barrel (we picked one up recently at an antique shop in Snohomish). If your surface is not food safe, or if it’s difficult to clean we recommend laying down a sheet of parchment paper. This not only adds to the rustic look of the board, but makes clean-up a cinch!
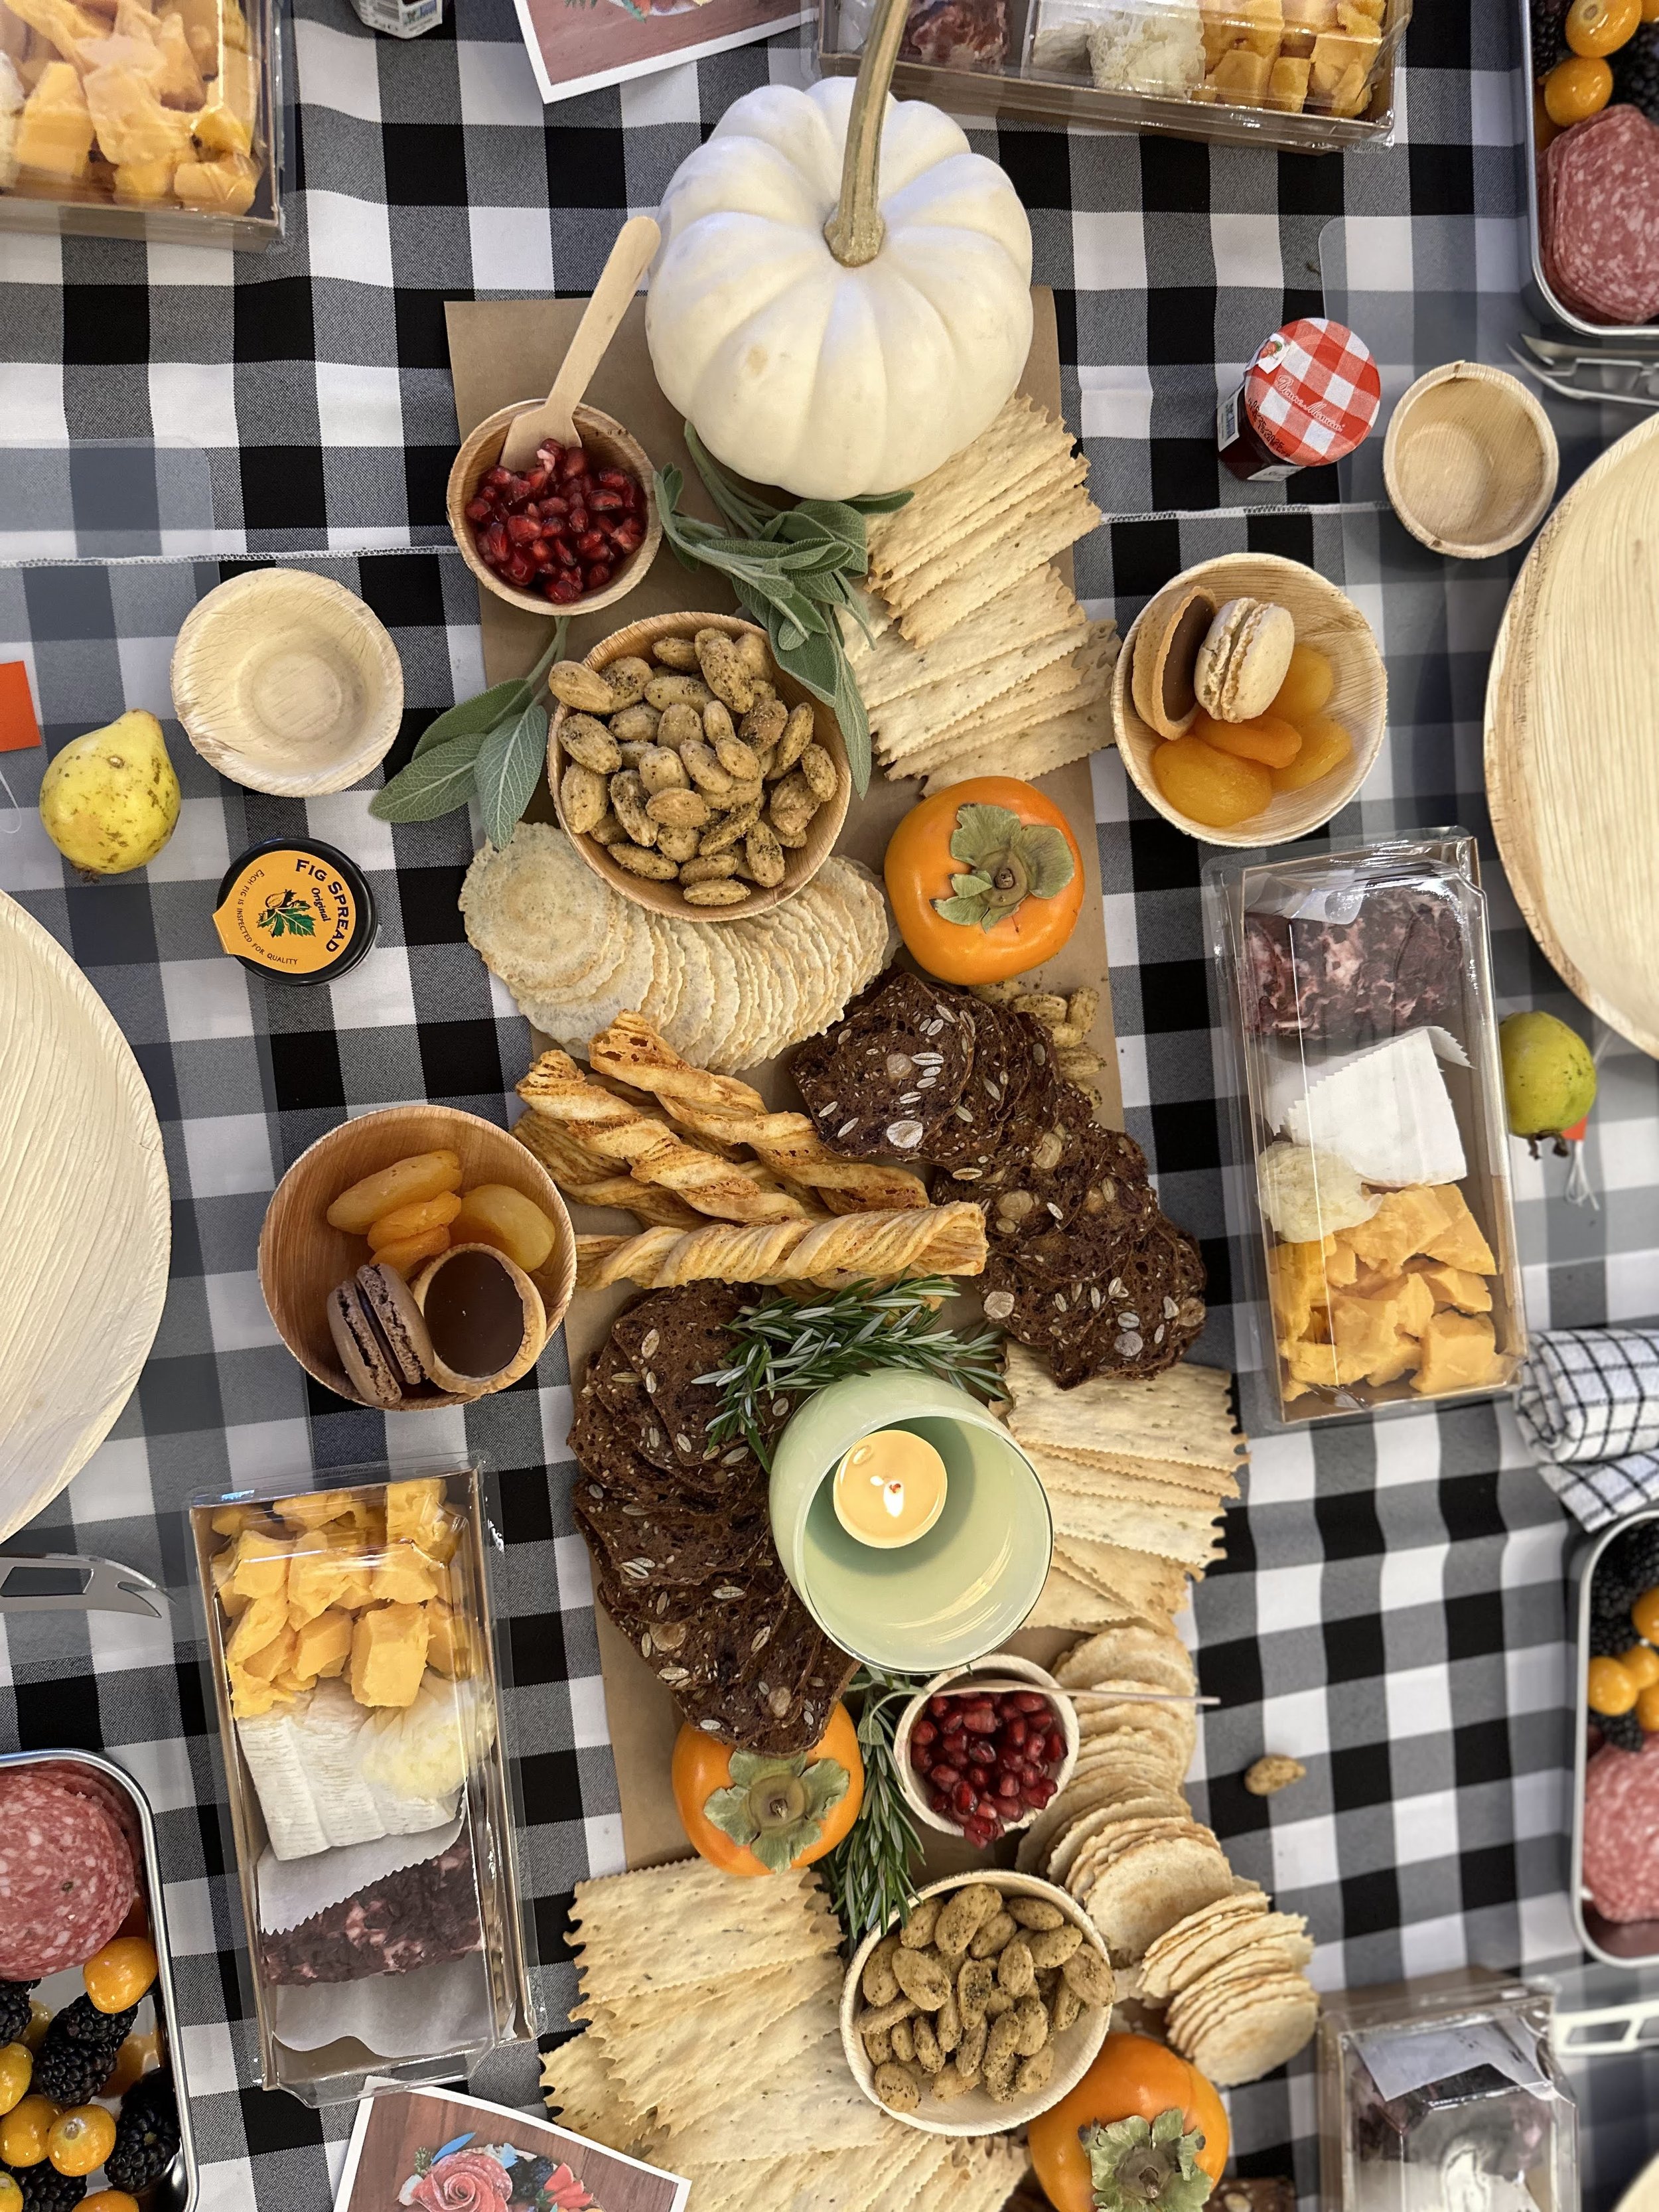
The second step in building that perfect board is to place all of your vessels on the board. Vessel offerings can include small bowls of jam, honey jars, dips, small ramekins of olives, cornichons, candies, nuts, and more.
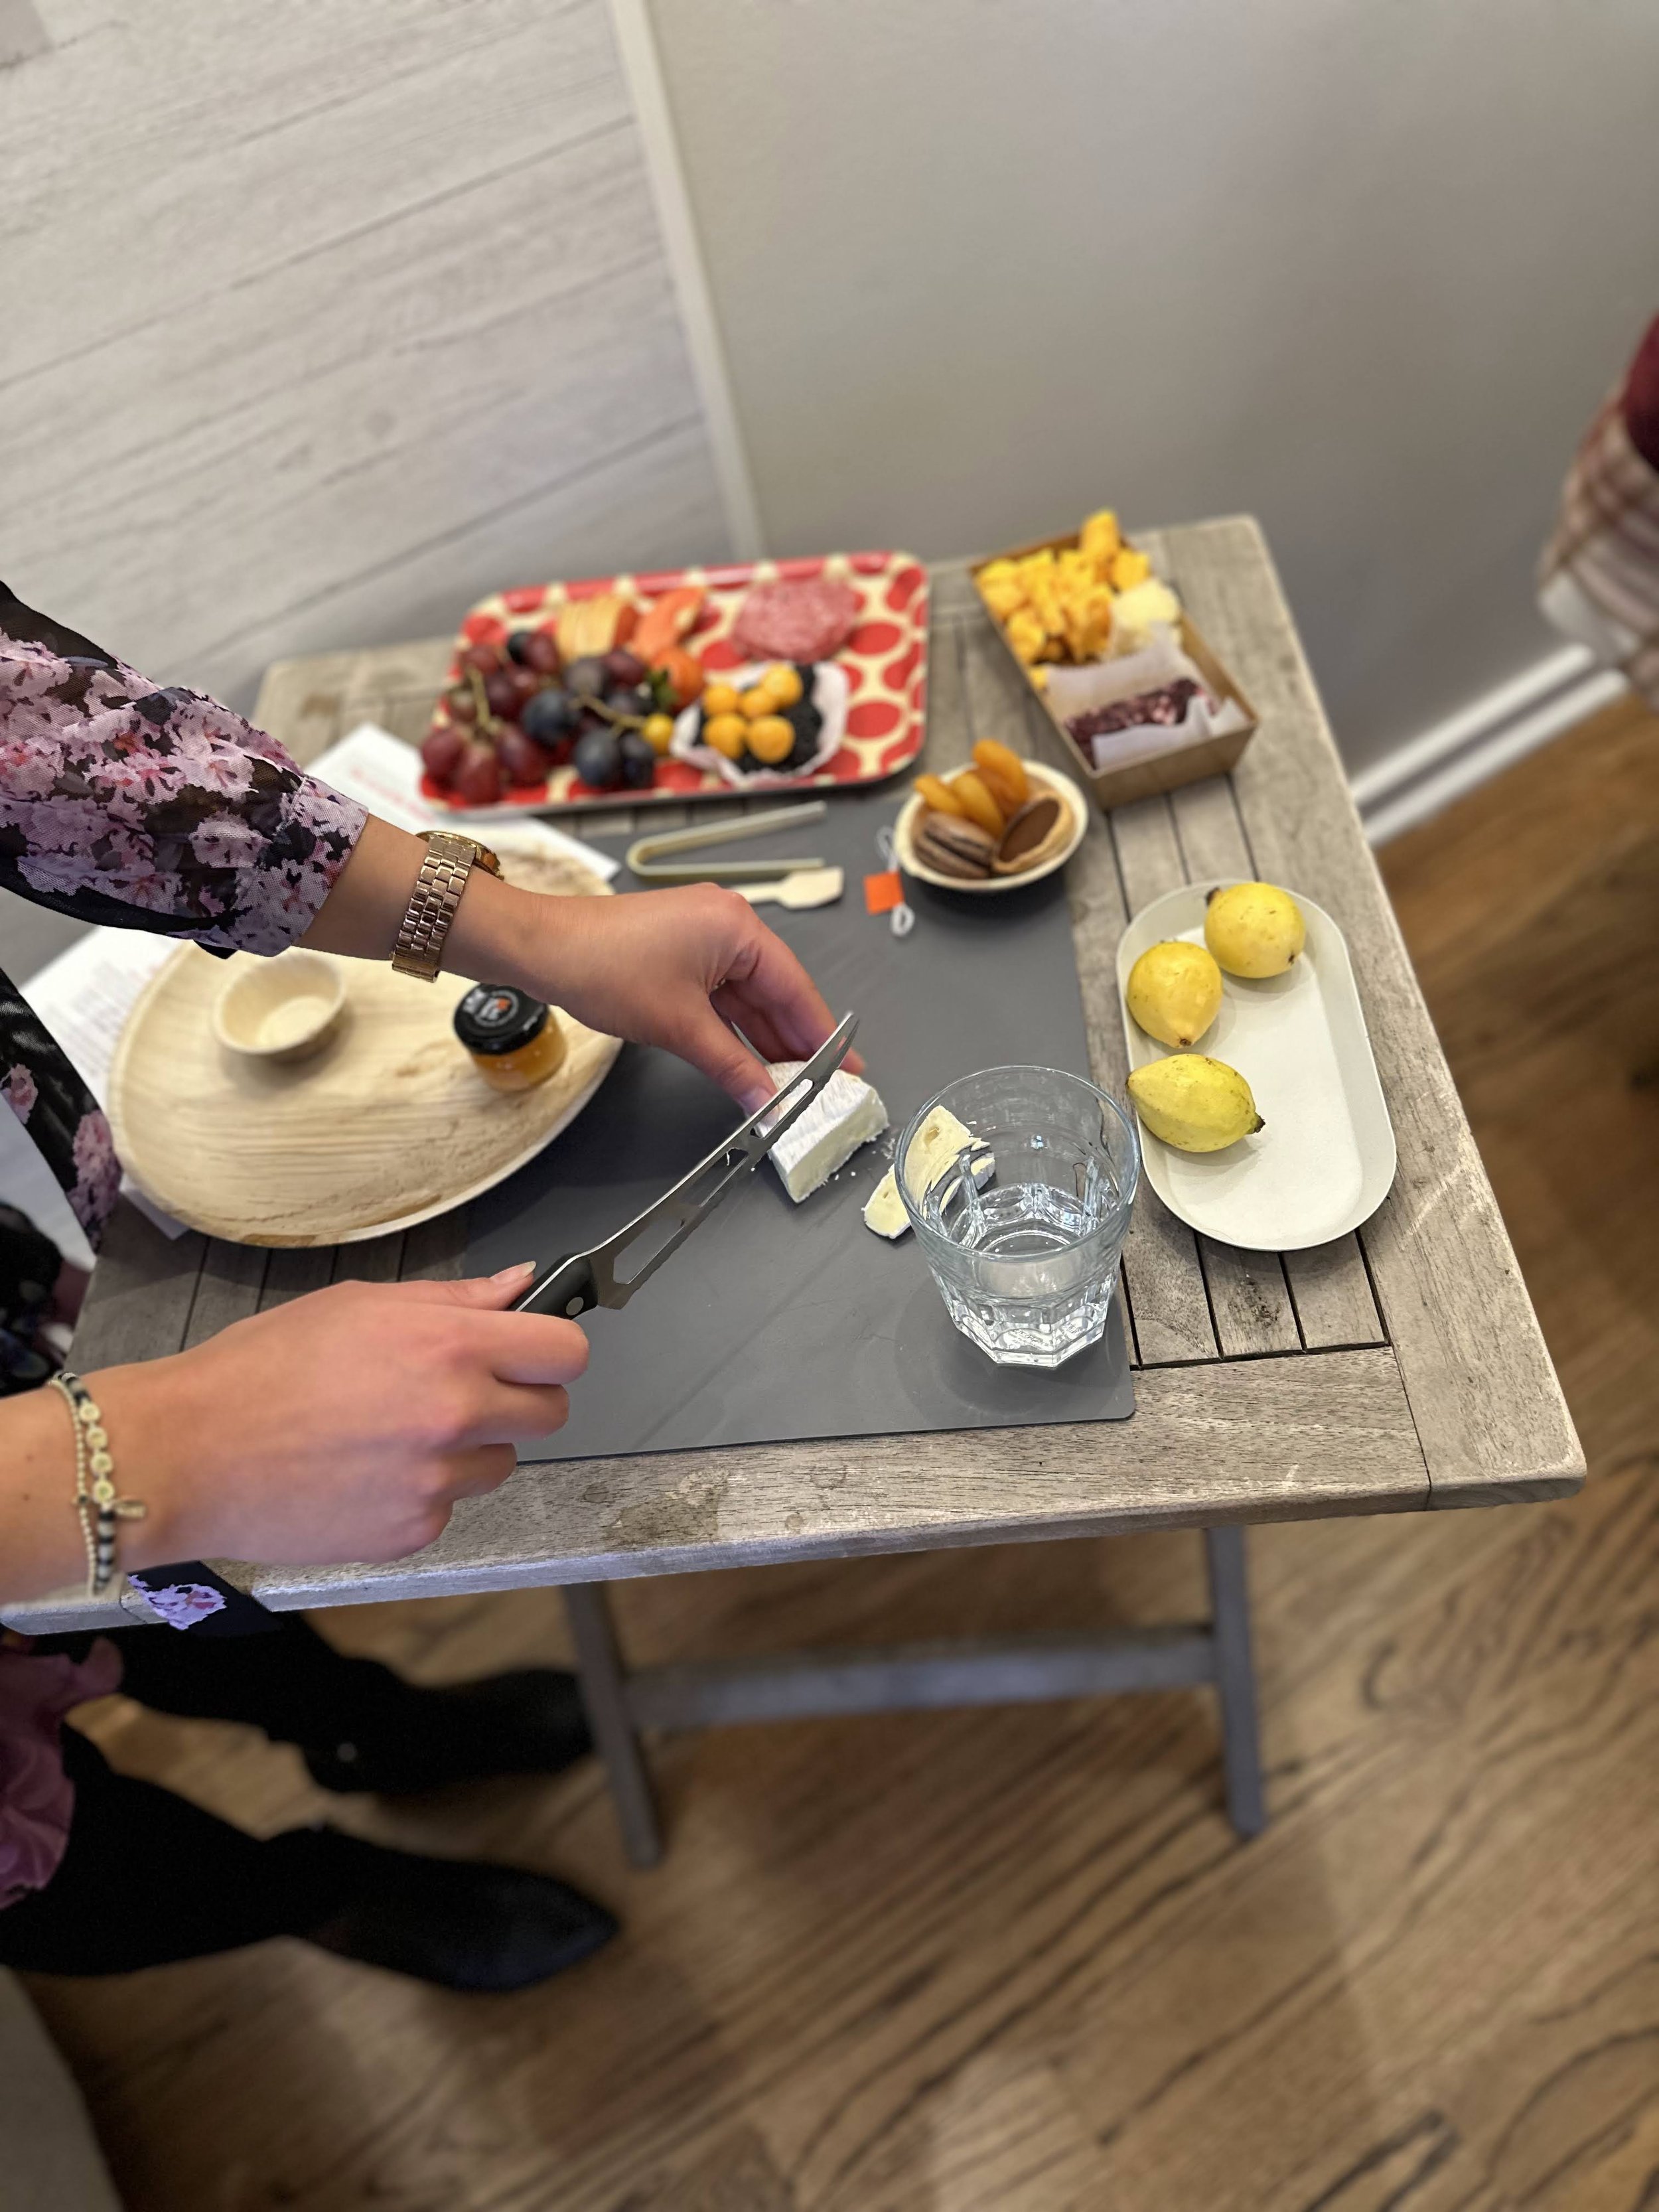
Next up it’s time to start placing your cheese. Mia recommends bringing balance and variety to your board by choosing 2-3 different types of cheese. Some of her favorite combinations are as follows: a goat’s cheese + a cow’s cheese + a sheep’s, a hard + a soft + a semi-soft, a round + a triangle + cubes.
Mia styles her cheeses using her vessels as her markers. She likes to wrap slices of cheese around bowls, and she places cubed piles along the outer edge of her board. Slicing the cheese can feel tricky at times. Mia has given us some awesome cheese tips and tricks that we’ve listed below. Did you know using dental floss instead of a knife makes slicing soft cheeses like goat cheese manageable and dare we say fun?
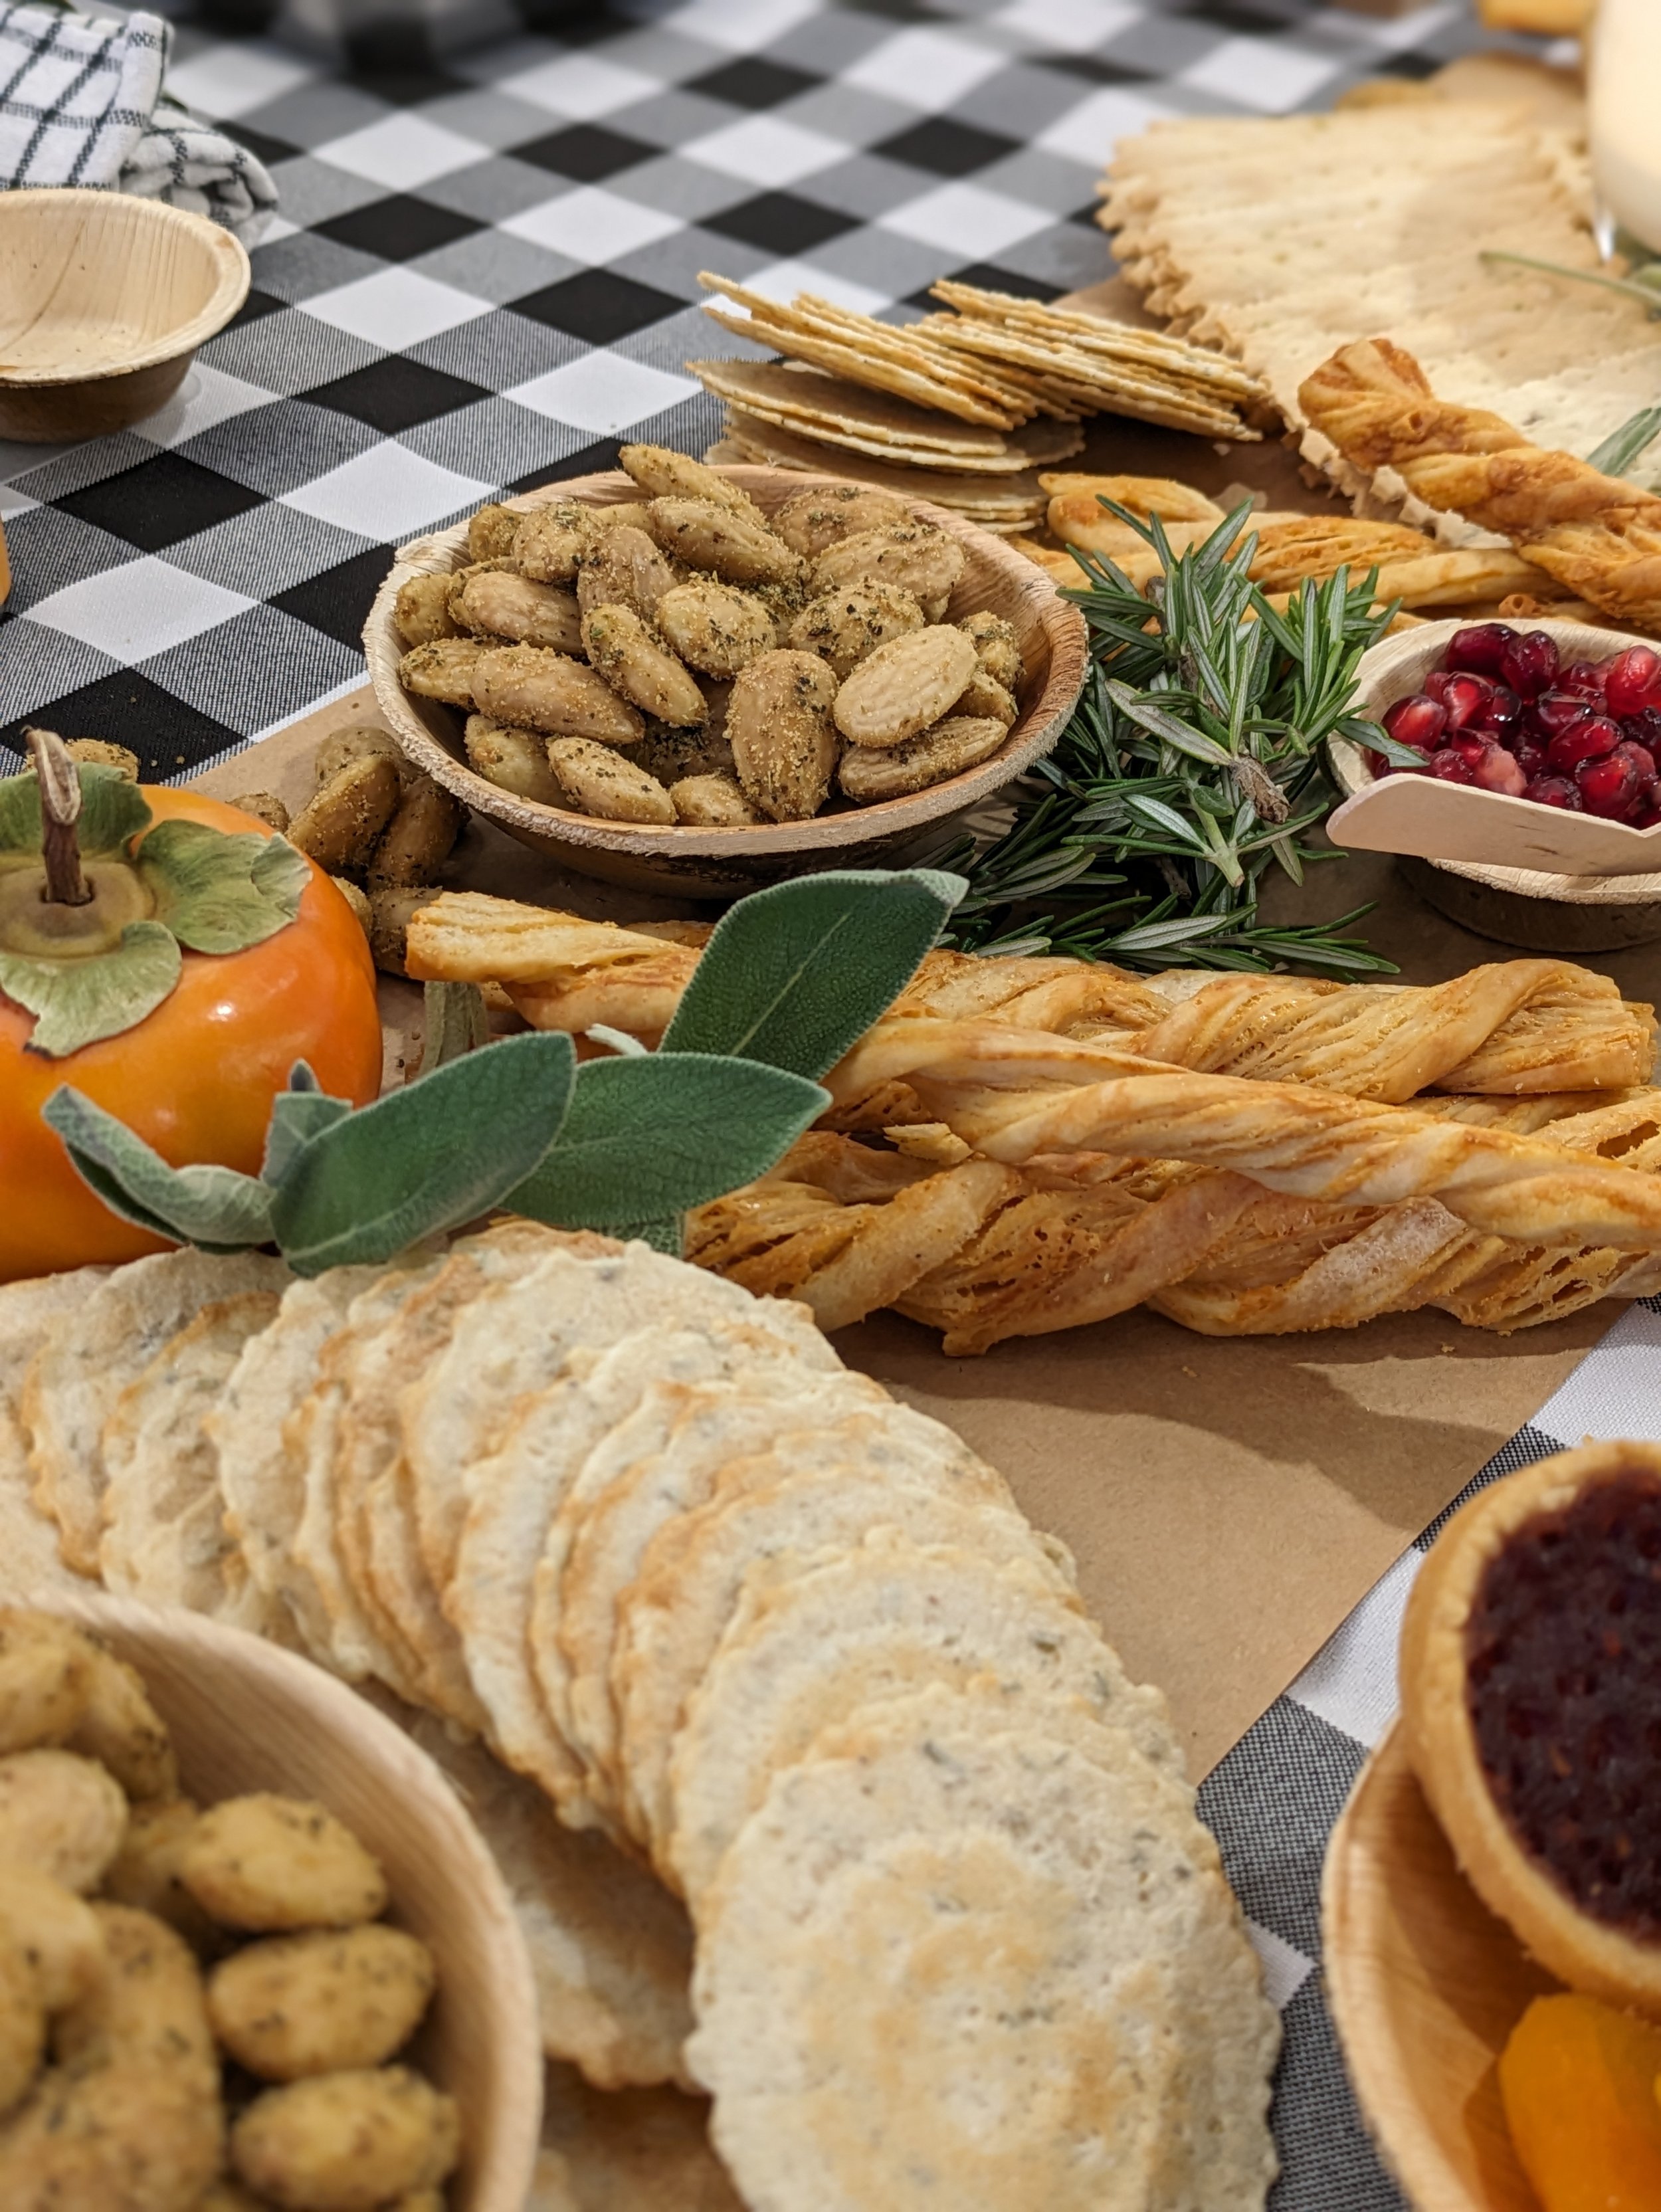
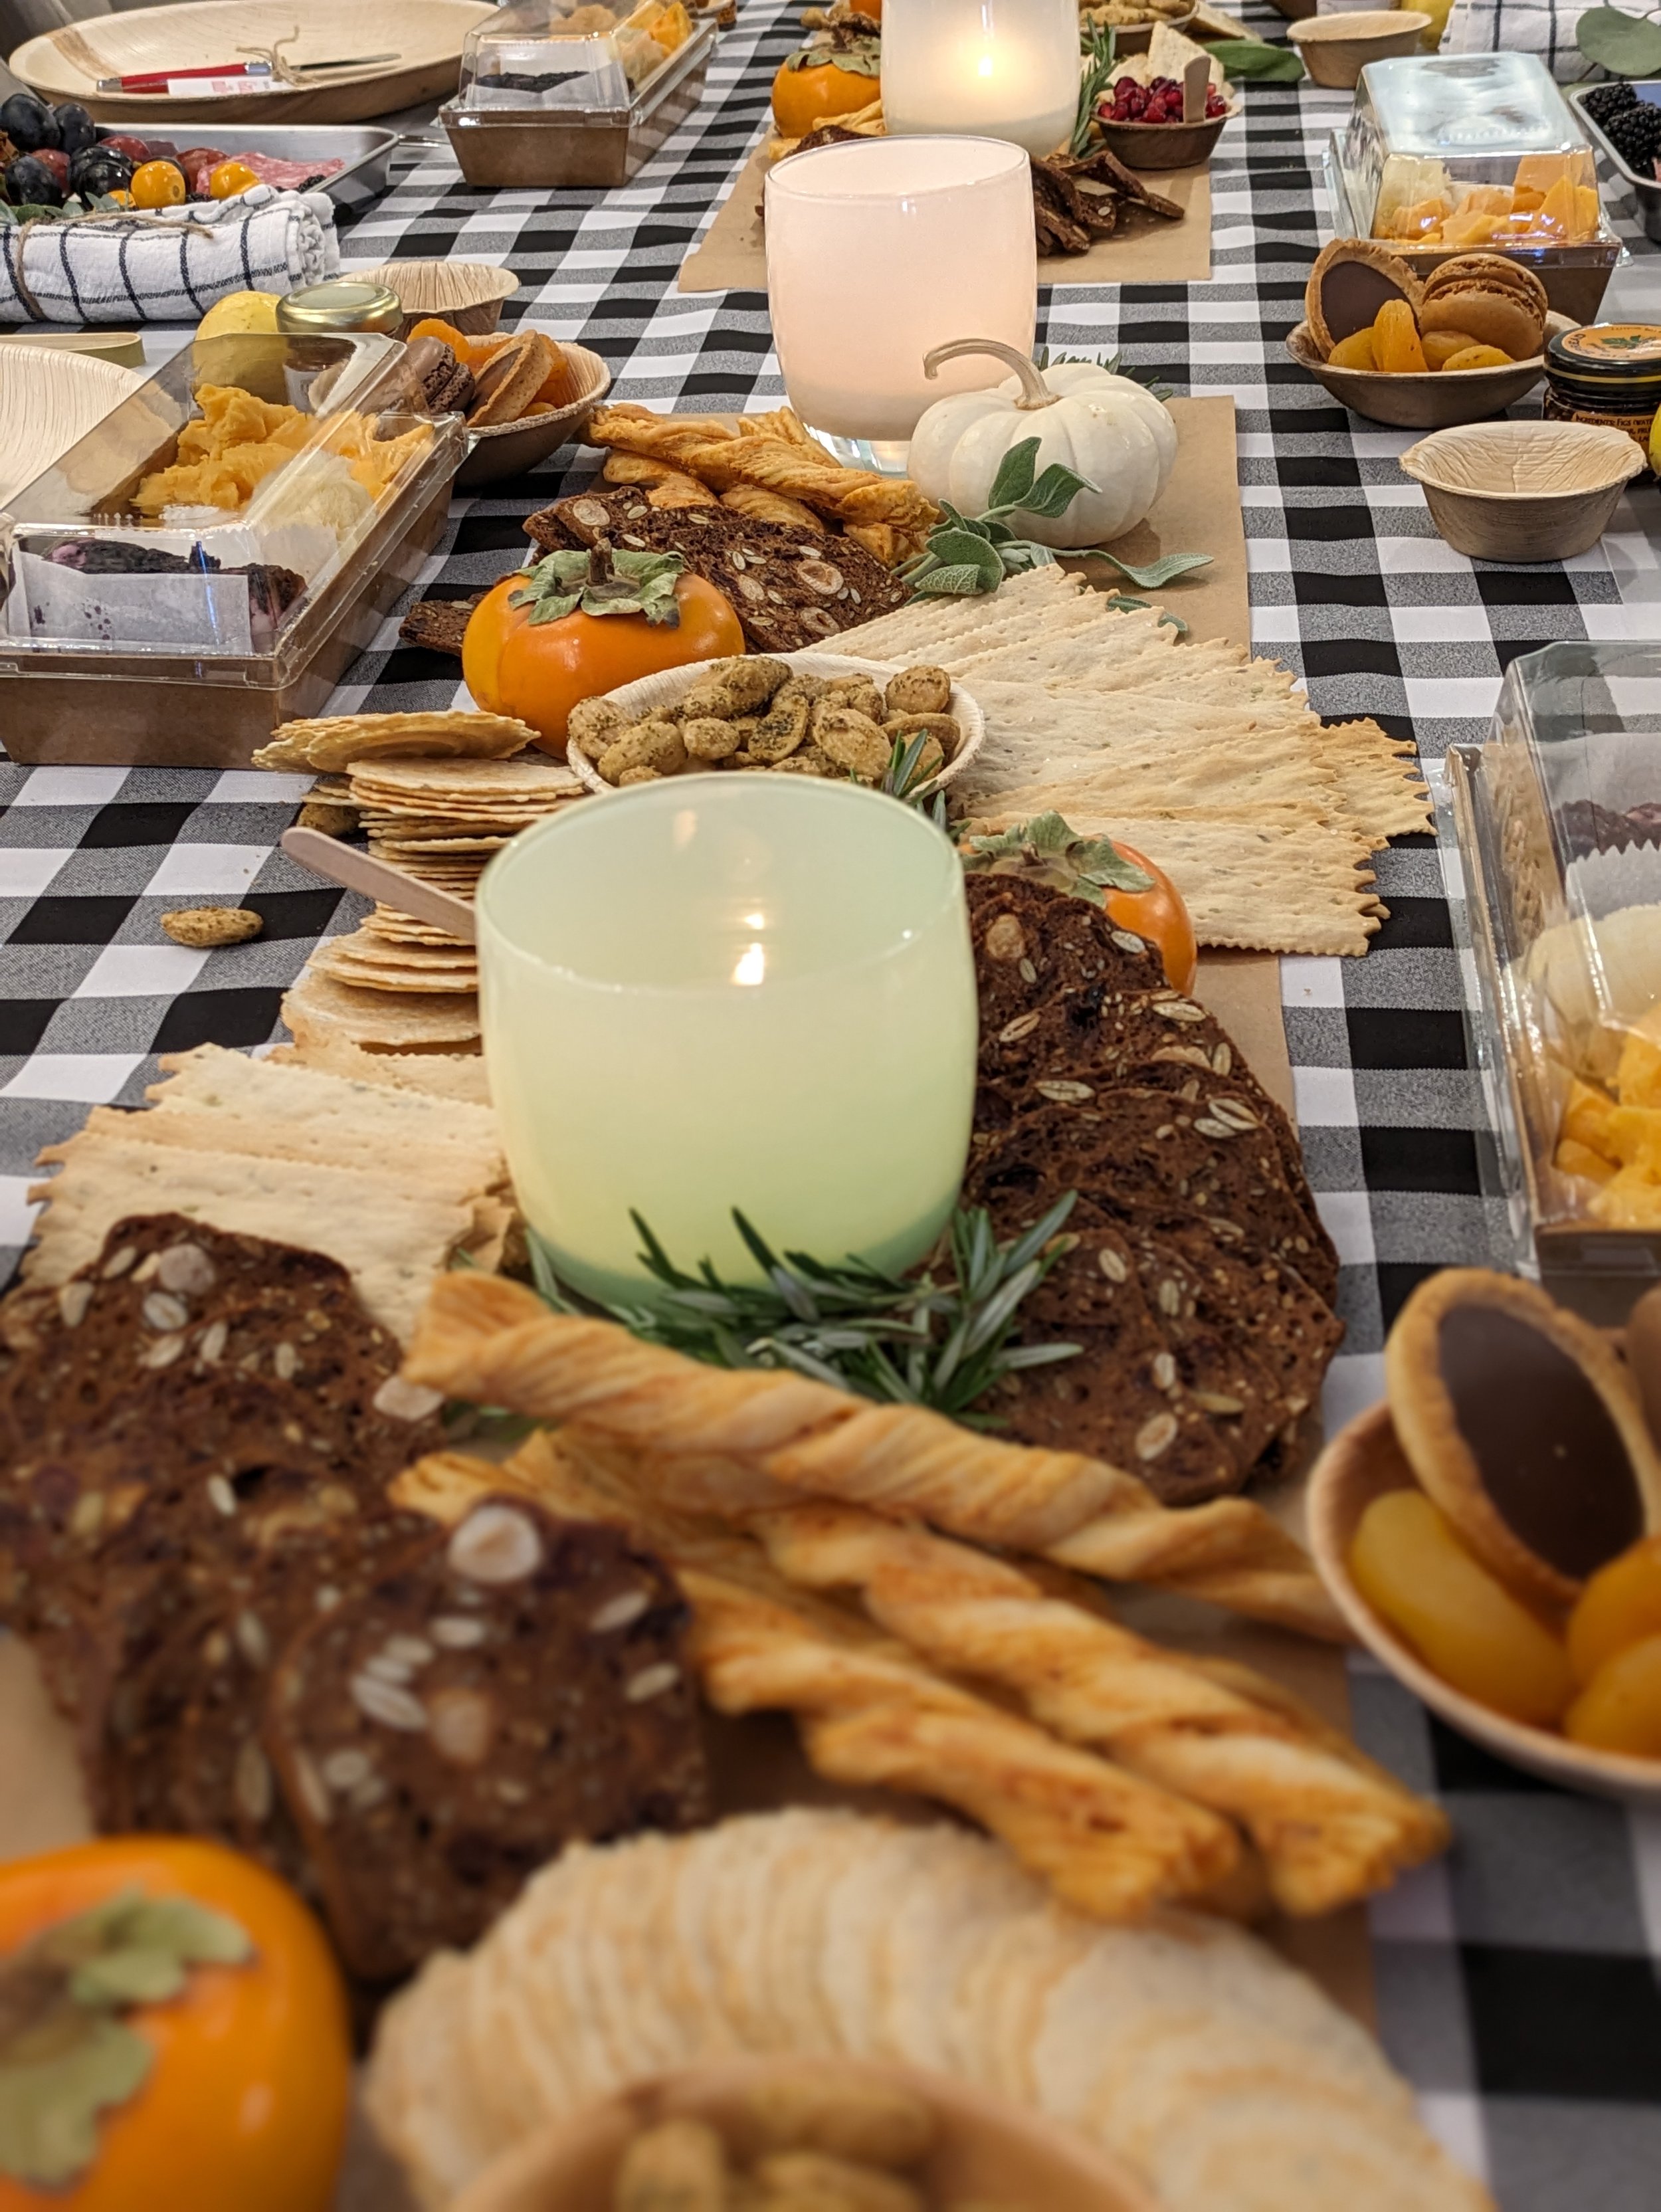
Once you’re happy with the placement of your cheeses it’s time to move on to your produce. This is your moment to embrace the season with your fruit and vegetable choices. If you’re creating an Autumn or Winter board choose fruits like apple, or pear. Use vibrant berries and stone fruits during their peaks at the height of summer. Including seasonal fruits (and even veggies) will add color and richness to your board. Pro Tip: Visit your local farmer’s market for the freshest ingredients!

Be sure to choose seasonal produce to elevate the color and texture of your board. We love to include items like pomegranates, guavas and permissions to a Harvest themed board. They’re both visually appealing and delicious.
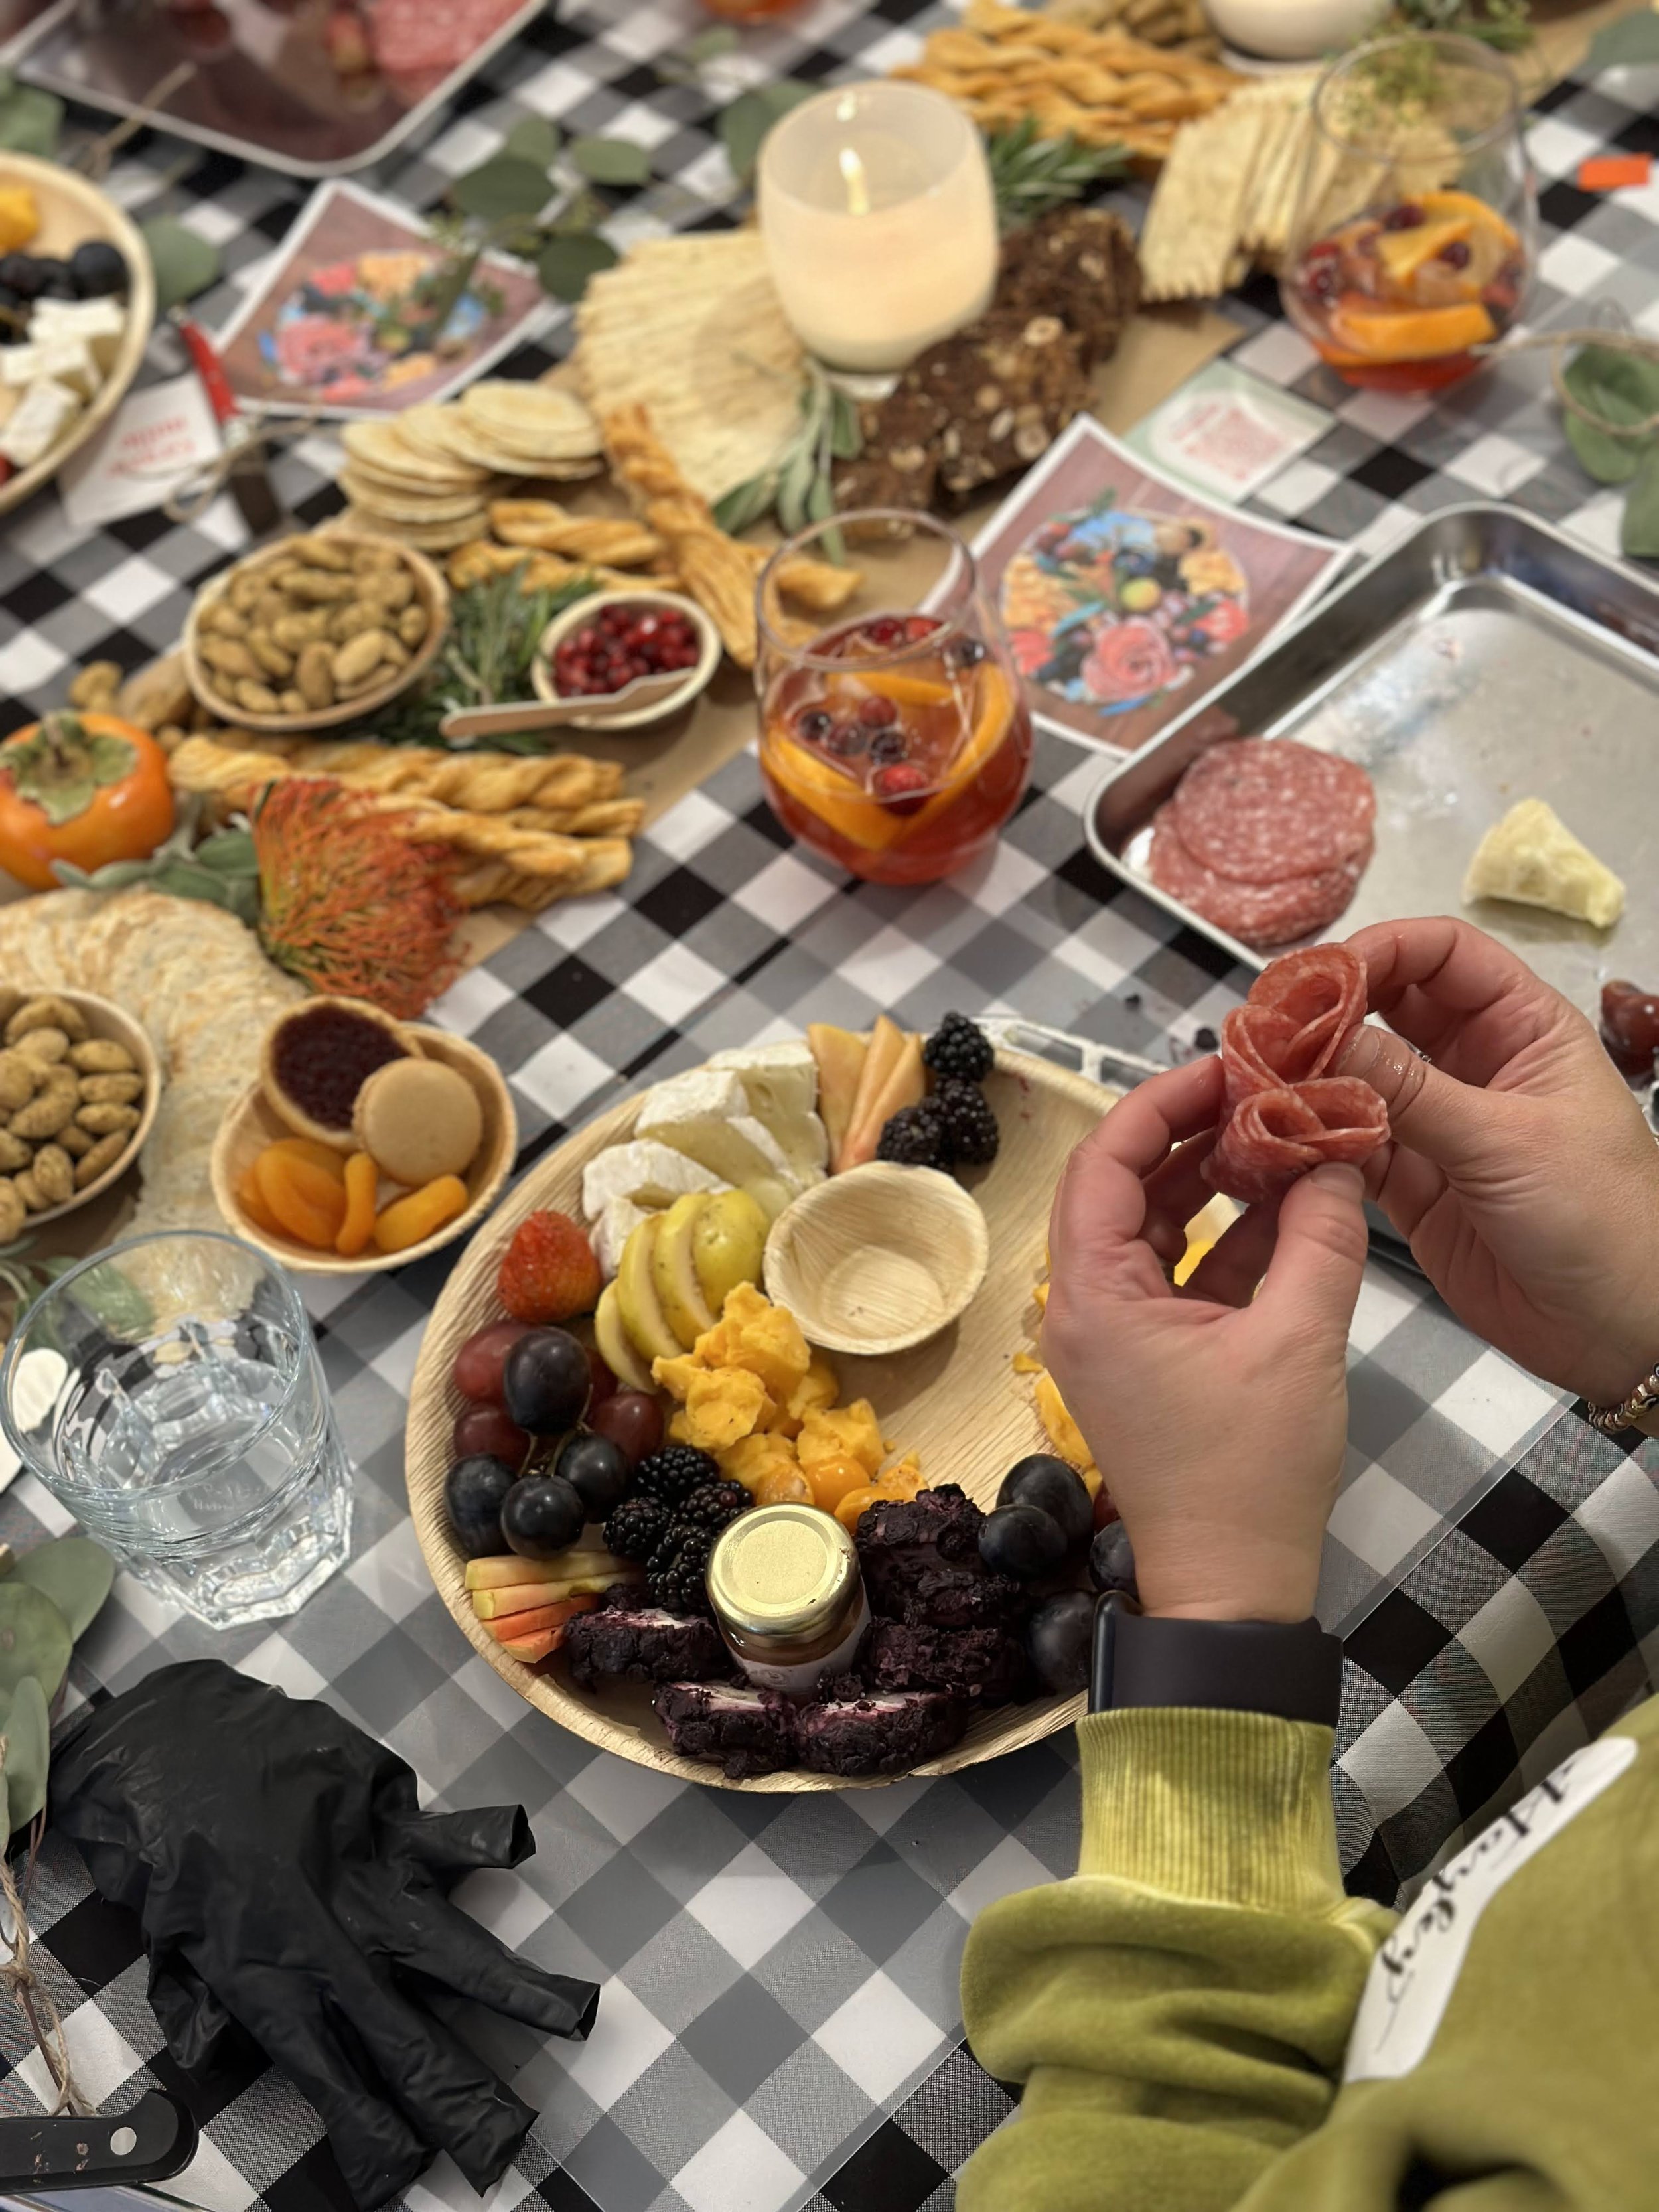
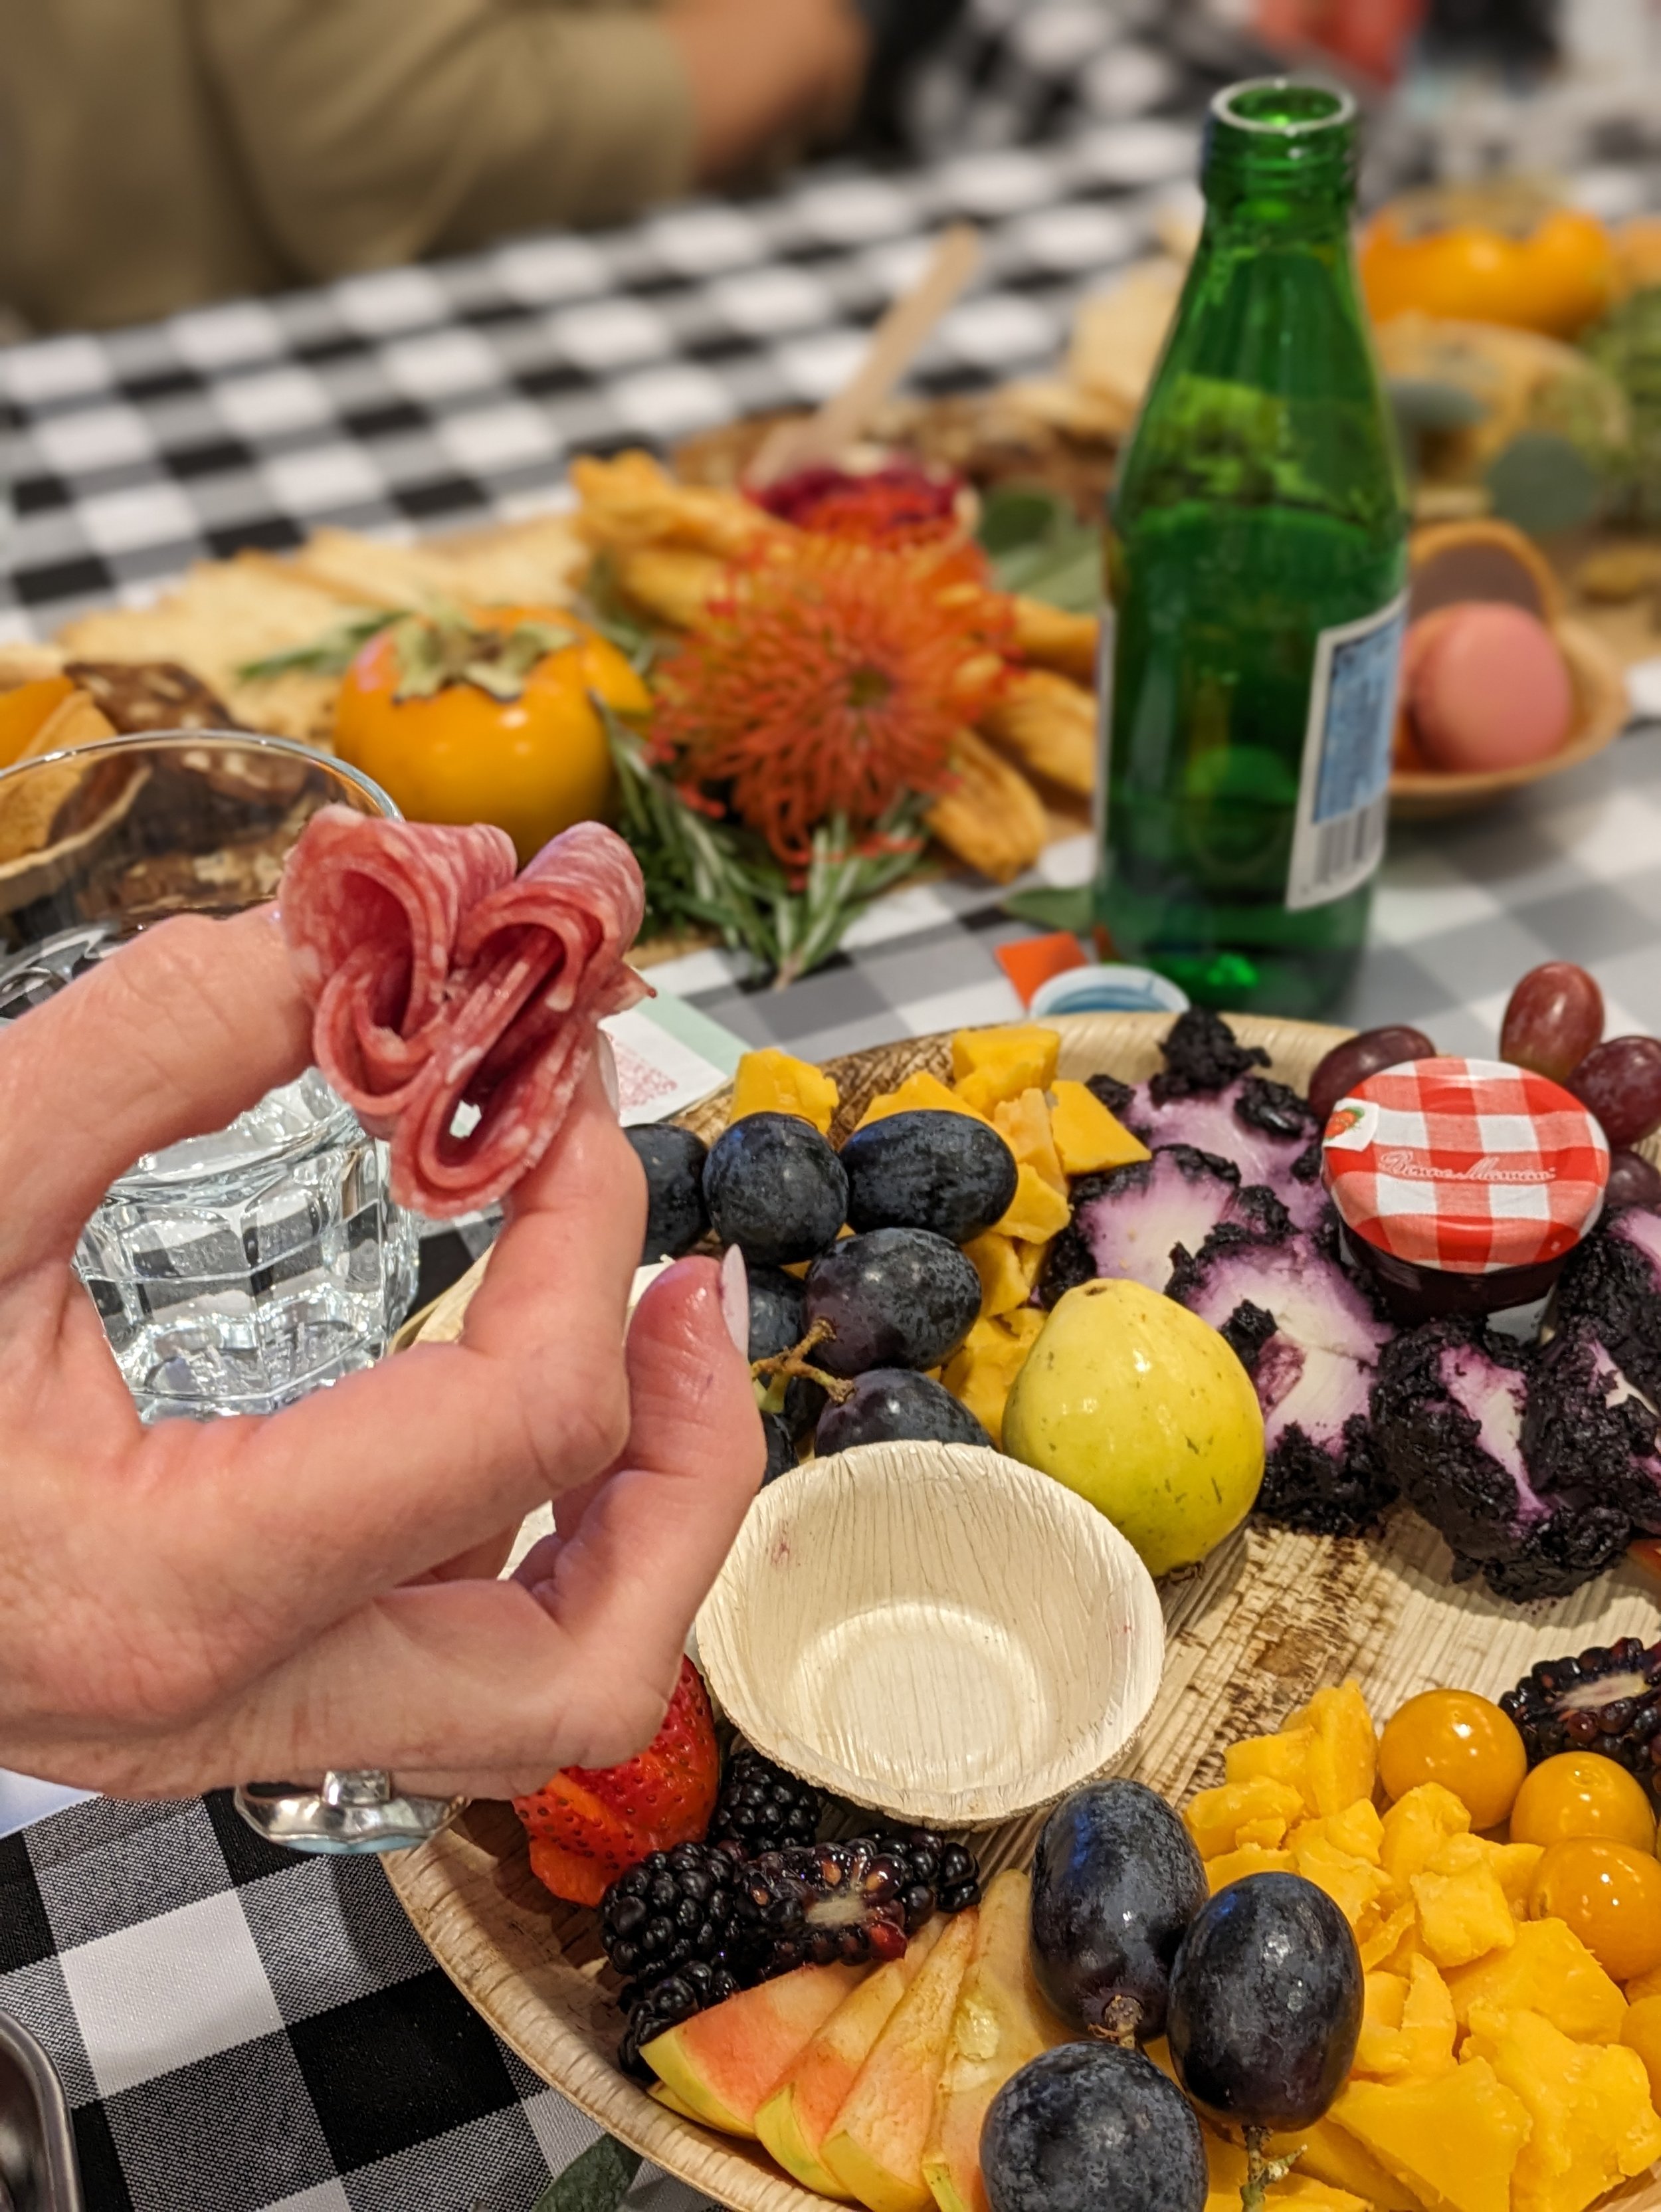
When you’ve finished layering in your produce it’s time to place your charcuterie. Mia likes to add at least 1-2 types of cured meat to her boards. These will bring even more texture and flavor to your display. You can fold your prosciutto into ribbons and style your salami in a river, or even a rose (step-by-step how-to below). We love to mix salami, prosciutto and bias sliced Landjäger semi-dried sausage. **Remember to keep meats in the refrigerator until you are ready to place them on the board. Boards should sit out for a max of 4 hours.

Elevate your next cocktail offering with custom ice cubes. We love tossing in seasonal ingredients like mint, rosemary, berries, lemon or lime slices and more. We used cranberries and sliced oranges for our Harvest Aperol Spritzes. Our favorite silicone ice molds make six cubes at a time and can be found locally at Terra Bella (we’ve tried other brands but these are the easiest to pop out from once frozen).

Three Salami Presentations:
Fold in half and fan.
Chain: fold in half and half again, then tuck into each other.
Rose: lay a slice in a small bowl and overlap 5 slices coming around the rim, then layer 5 slices on your table, slightly overlapping in a row, then fold in half upwards and start rolling tightly from one side, then drop into the bowl with the first pieces of salami.
After your meats have been artfully styled it’s time to add a little crunch to your board. A cracker or baguette slice will serve as the base to your perfect bite. Mia recommends including homemade crostini or grissini (long, thin, crispy bread sticks) as that will be sure to delight your guests and spark conversation. Once your crackers and bread slices are placed it’s time to fill in the gaps and crevices on your board with nuts and dried fruits. We love to include marcona almonds, skinny dipped chocolate almonds, macadamia nuts, pistachios, taralli (small ring shaped crackers) and more.
The final and perhaps most important step in composing your board is to include a garnish. Mia’s favorites include rosemary, sage, or eucalyptus. She also loves to top her boards with edible blooms for making a bolder statement. However you decide to garnish your board - be sure that your choice is edible!
Mia’s Tips and Tricks:
Cheese Tips: Rule of Three: select three cheeses, based on one of these sets of characteristics: either variety in shape, animal origin, or country of origin.
Start to pre-slice large wedges so that they don't feel unapproachable to your guests.
Slice brie, then cascade the pieces to create a layered effect.
Floss can work in place of a wire cutter for very soft items (like chevre) that would otherwise be squished with a regular knife.
Elevate a less expensive cheese (like cheddar) by sticking a knife vertically into the block and then twisting. This will create tiny, artful chunks of cheese that can be stacked on your board.
Make sure your board is always seasonal.
Pair sweet with savory, fruity with nutty.
Fruit Tips: Gooseberries pair well with brie. Also, halve some berries for interest on your board. We love the deep purple color that blackberries bring to a board.
Place grapes stem down first so they are fruit-forward.
Pro-Tip on Portions: Plan for 2 ounces of meat per person, 3 ounces of cheese per person, 4 ounces of produce per person.
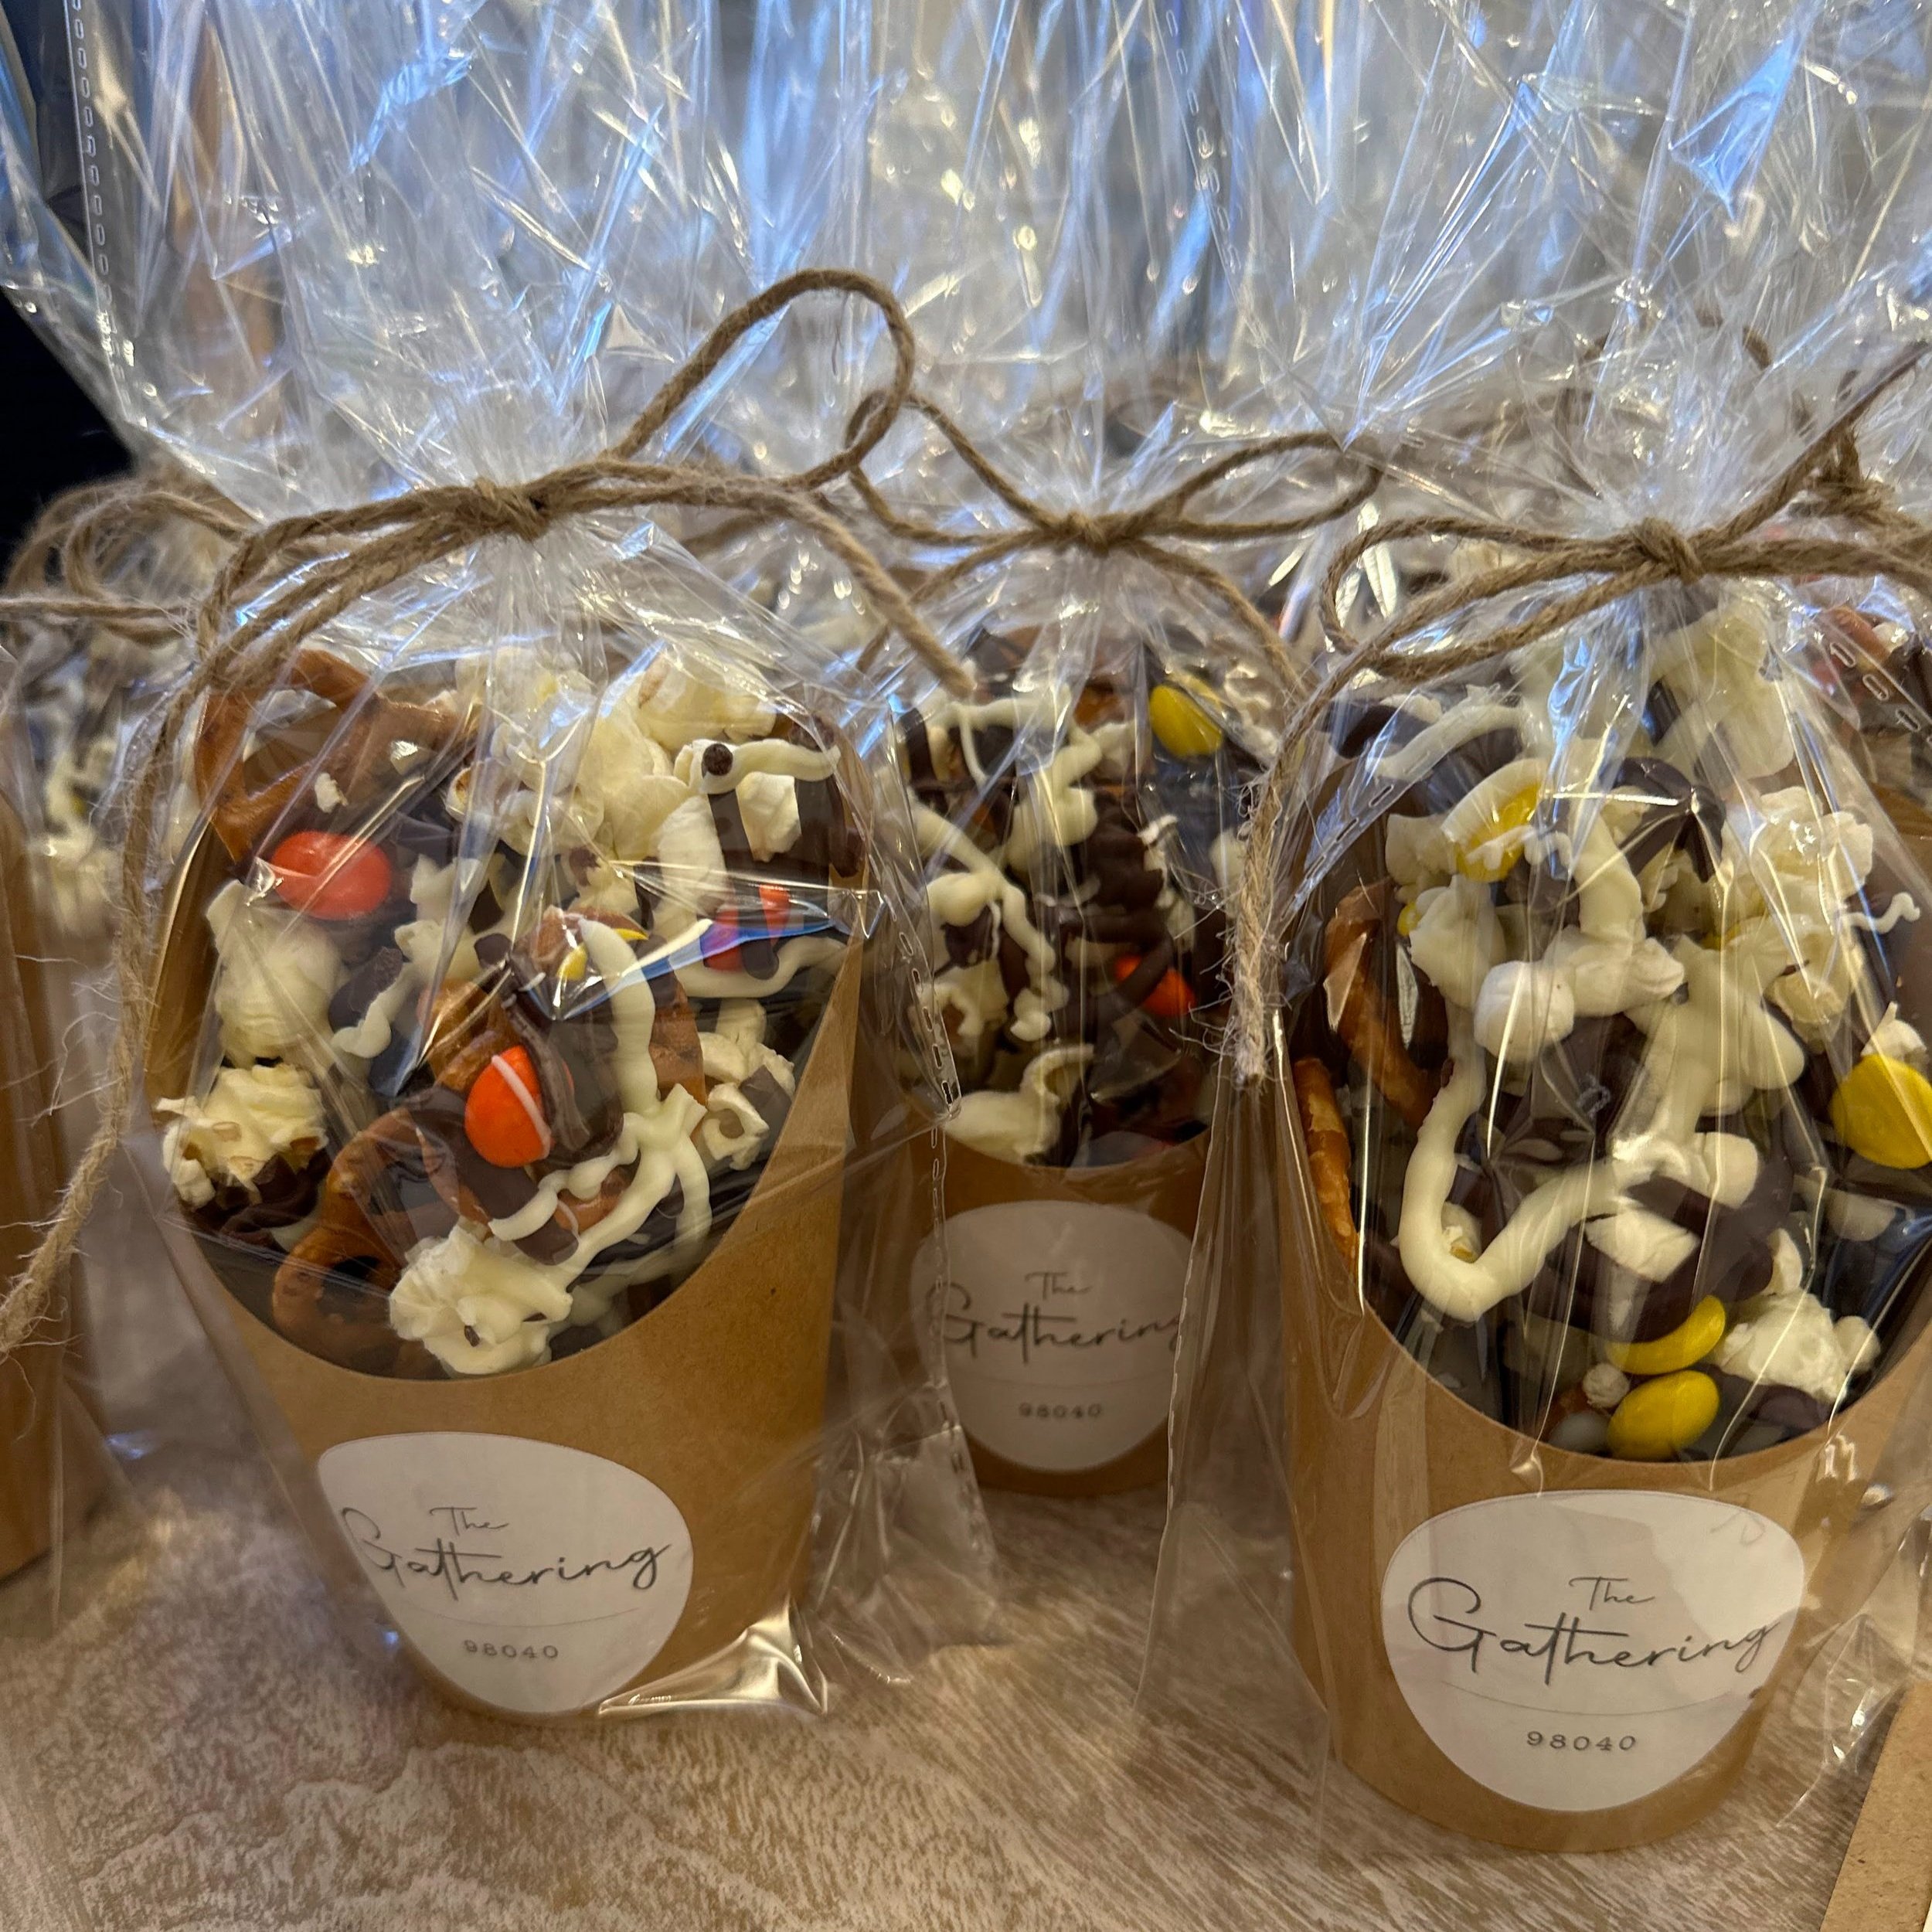
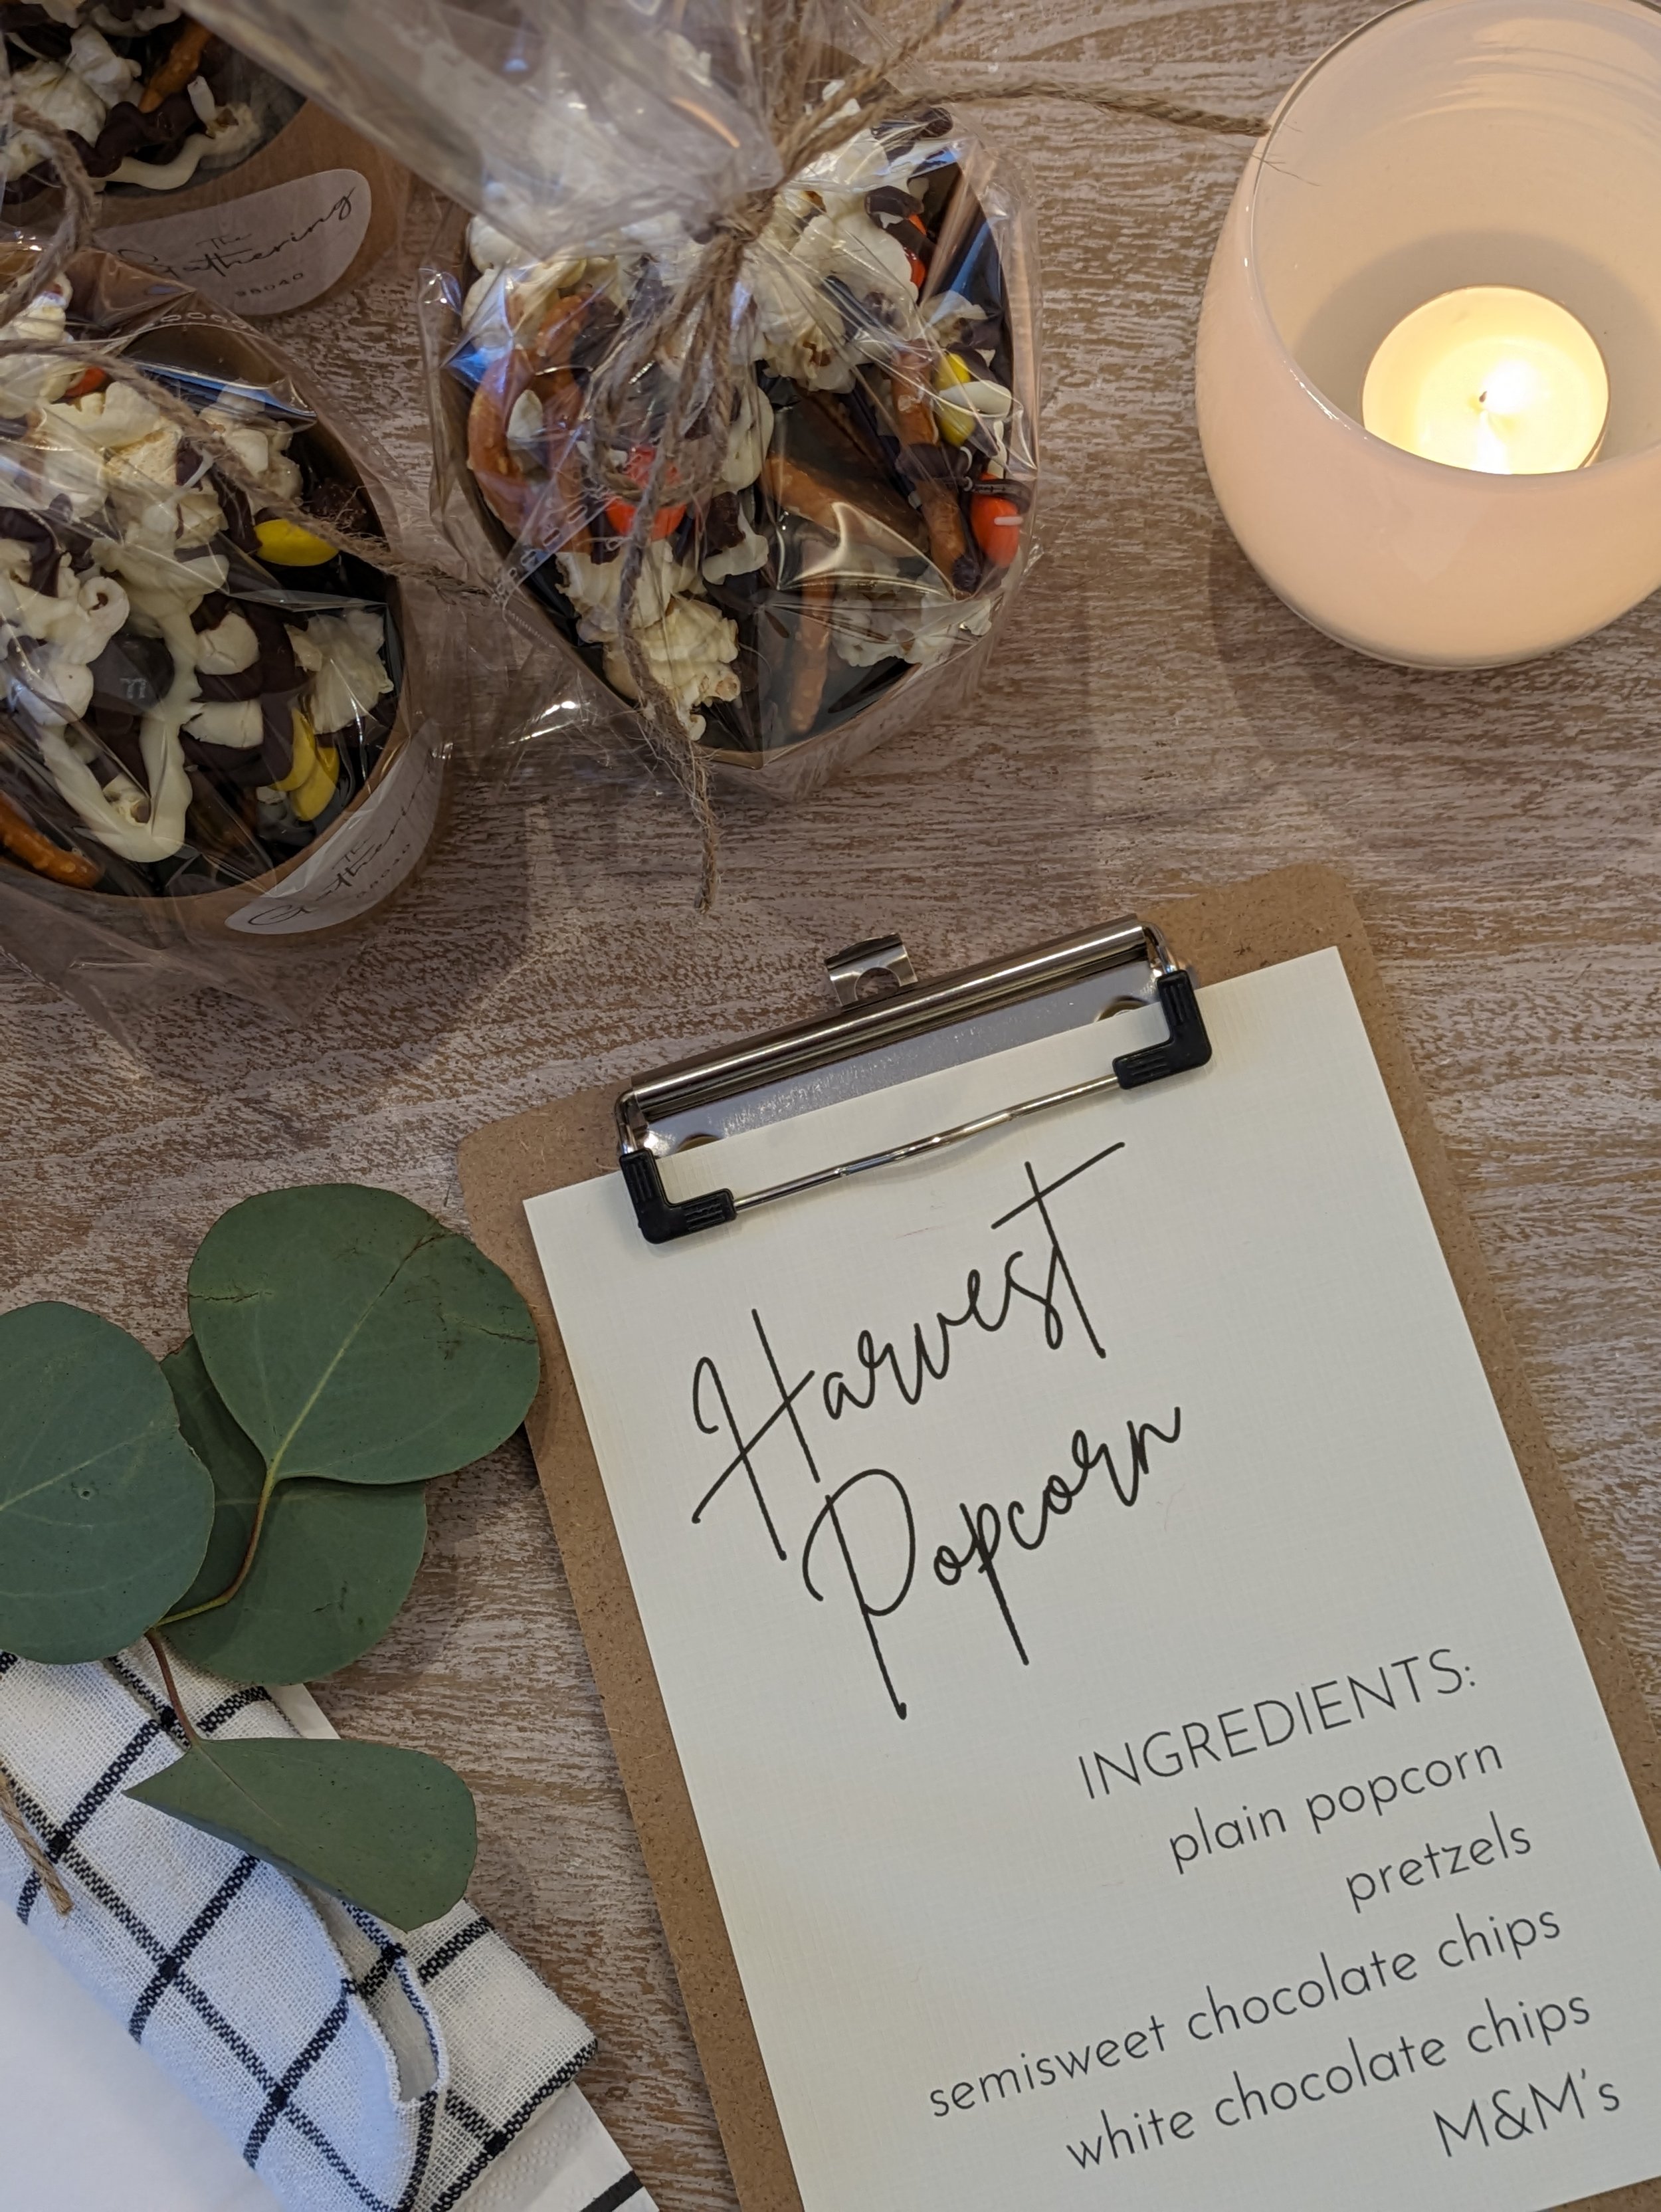
Seasonal Popcorn Munch Recipe:
Ingredients: 3 cups plain popcorn or kettle corn, 2 cups pretzels, 1 cup semisweet chocolate chips (melted), 1 cup white chocolate chips (melted), 1/2 cup yellow, orange, and chocolate M&M's (or sub out for other seasonal colors).
Instructions: On a parchment-lined baking sheet, place a single layer of popcorn or kettle corn and pretzels.
Transfer melted chocolates to separate piping or Ziploc bags, with a corner snipped, and drizzle popcorn and pretzels with melted semisweet chocolate, making sure to drizzle lines very close together (you want the majority of the mix to be covered in chocolate).
Top with M&M's and drizzle with melted white chocolate. Freeze or refrigerate until chocolate is firm, 20 minutes. Break into pieces and serve.

Harvest Aperol Spritz:
3 oz. Aperol
3 oz. Prosecco
1/2 oz. Cranberry Syrup
Splash of soda water
Garnish with orange slices and fresh cranberries
“By using the ingredients as your paints and the board as your canvas, you will be sure to impress all of your guests and most importantly - yourself! ”


Our top picks for charcuterie
Now that you’re ready to master the art of the board, you’ll need the proper tools. We’ve included some of Mia’s favorite products along with some of our own recommendations for building that board at home. We hope you love them!

Marble Cheese Knife Set: We recently purchased this lovely black marble cheese knife set for a spooky Halloween themed board. It would also pair beautifully with a Harvest or Winter board too! Terraine Cheese Knife Set
Williams Sonoma Antonini Olivewood Cheese Knives: These are an investment, but fourteen years in and they're still as good as the day they were purchased! Super sturdy and with a smooth hand-feel, they're a go-to on your cheese board. Williams Sonoma Cheese Knives

Milieu Gift Box: Send a delicious gift, either with cheeses you select yourself or by letting the pros do it for you. Venissimo Cheese
Cheese Knife: This serrated, pronged cheese knife is great for semi-soft, semi-hard cheeses and bonus it’s easy on the walelt! Serrated Cheese Knife
Wire Cheese Slicer: Mia says this wire cheese slicer is great for hard cheeses or soft (in case you want to graduate from floss)! Wire Cheese Slicer

Salami Rose Bamboo Cup: This mini bowl/ cup works well to hold nuts, pomegranate seeds, and more. Use it to house your fancy salami roses! 2.5" Bamboo Bowl
Larger Bamboo Cup: This cup works well to hold olives, cornichons, mixed nuts and more. These are cheap enough that you can keep a small stack on hand to take to all those upcoming holiday parties. Larger Bamboo Bowl

Bees Knees Raw Honeycomb: Instantly add elegance and interest to your charcuterie board with honeycomb. Delicious served with Cambozola Black or a gorgonzola dolce! Honeycomb
Until we gather again!
**As Amazon Associates we earn from qualifying purchases.