
Sourdough Basics: Learn to bake bread with Sea Wolf
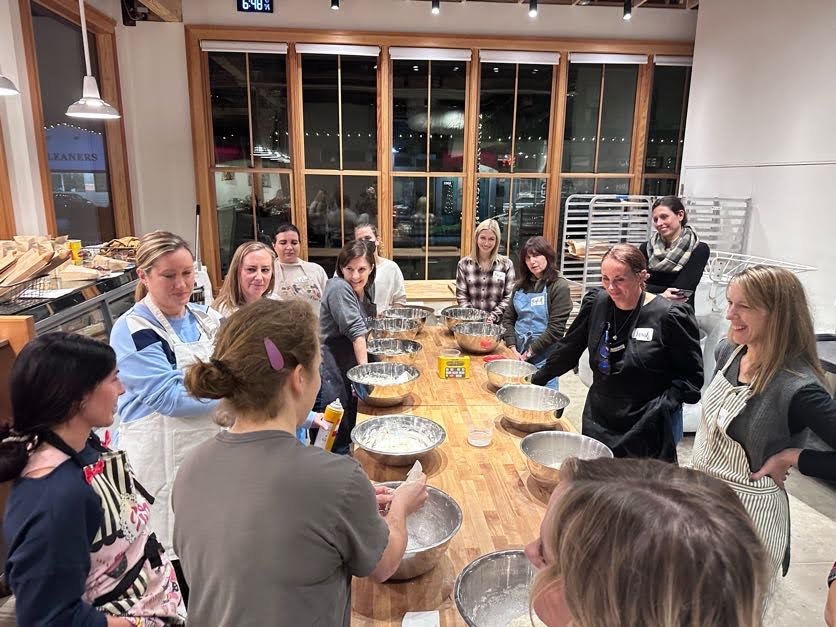
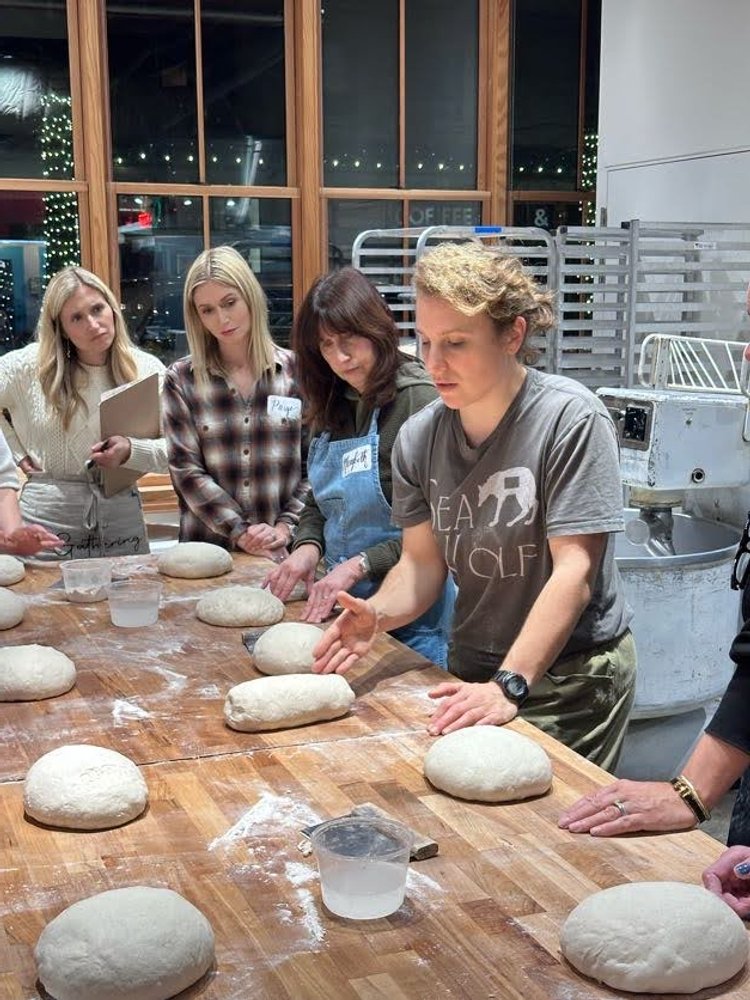
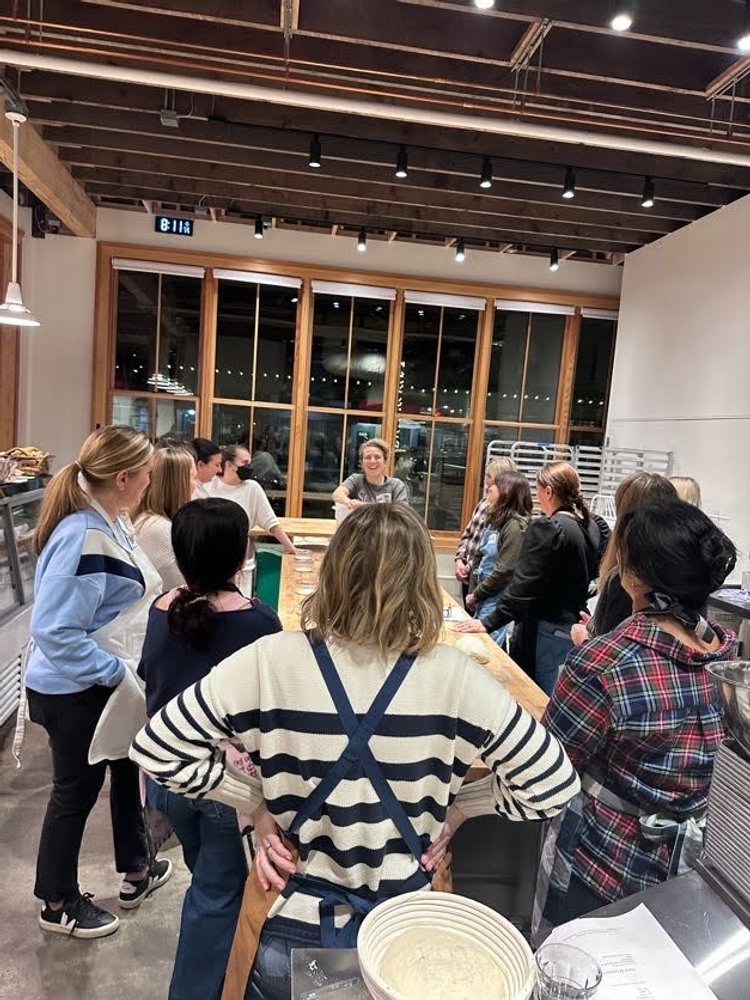
We spent the most lovely evening learning to make white sourdough with Haley Sive of Sea Wolf on a recent chilly January evening. Guided by Haley's insightful tips and tricks, we discovered the joy of shaping, scoring, and coaxing our sourdough creations to life.

We were thrilled to partner with Oxbow Bakery (owned and operated by Sea Wolf) for our Sourdough Basics workshop this January. Sea Wolf began in 2014 as a wholesale only business. In 2016 Sea Wolf began offering the retail bread and pastries that we all know and love. You’ve probably eaten their bread if you’ve eaten out in Seattle recently at any of Renee Erickson or Ethan Stowell’s restaurants (to name a few).
Our instructor Haley has been with Sea Wolf since 2017 where she began working in the back of house with bread and pastry, and is now Head of Sales. We were delighted to have such an experienced and patient instructor as our guide for the evening. Sourdough bread baking is a multi-day process from starting with your levain, to ending with a perfectly browned boule. Haley wanted each guest to leave the workshop with the tools to continue to develop this skill at home. It was her hope that the class gave each guest a solid foundation of knowledge that they can continue to build on.
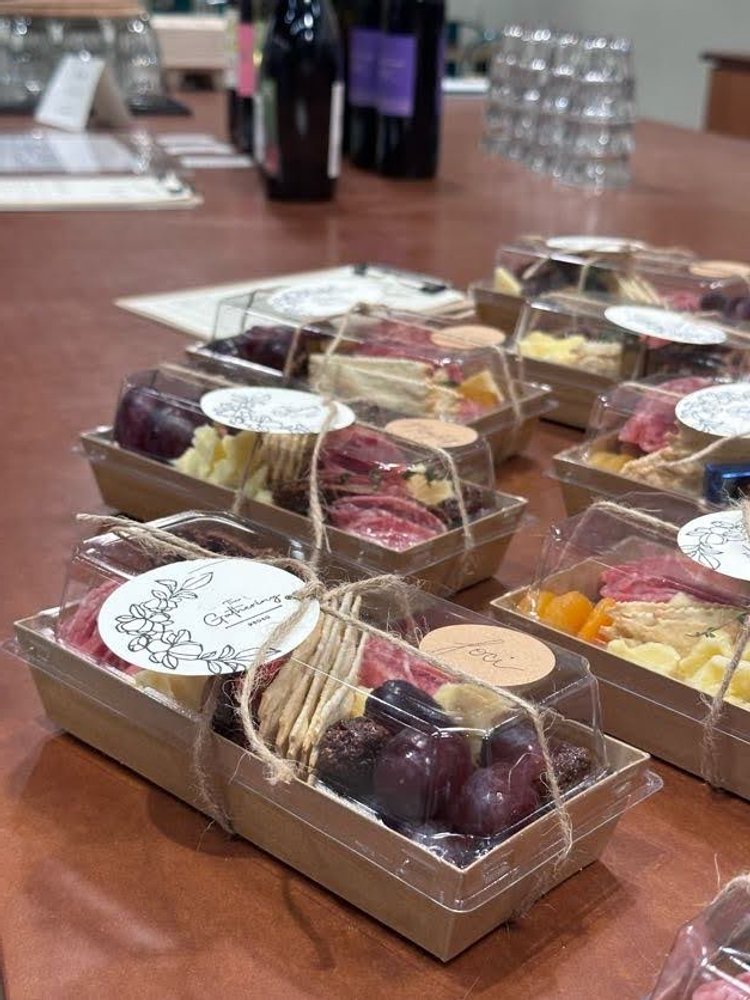
Guests, armed with charcuterie boxes and their beverage of choice, had a little time to mingle before rolling up their sleeves to begin learning the art of sourdough. Haley had us jump between stages in the process in order to cover all of the steps in our two-hour class. We started the evening by getting to peek at some fully proofed dough. Haley let attendees poke and prod the dough to get a feel for what properly proofed bread should look and feel like (picture Santa’s jolly belly). We learned how to test the dough for being under or over proofed. In general you can anticipate the proofing stage to take about four hours depending on the temperature in your house. Next Haley showed us how to properly score the dough using a razor blade (you can use a single use razor blade, scissors, a serrated knife or a bread lame). Scoring the dough allows the steam to release during the baking process which allows the bread to rise and expand. If you don’t score your bread the steam will bet trapped resulting in dense bread.

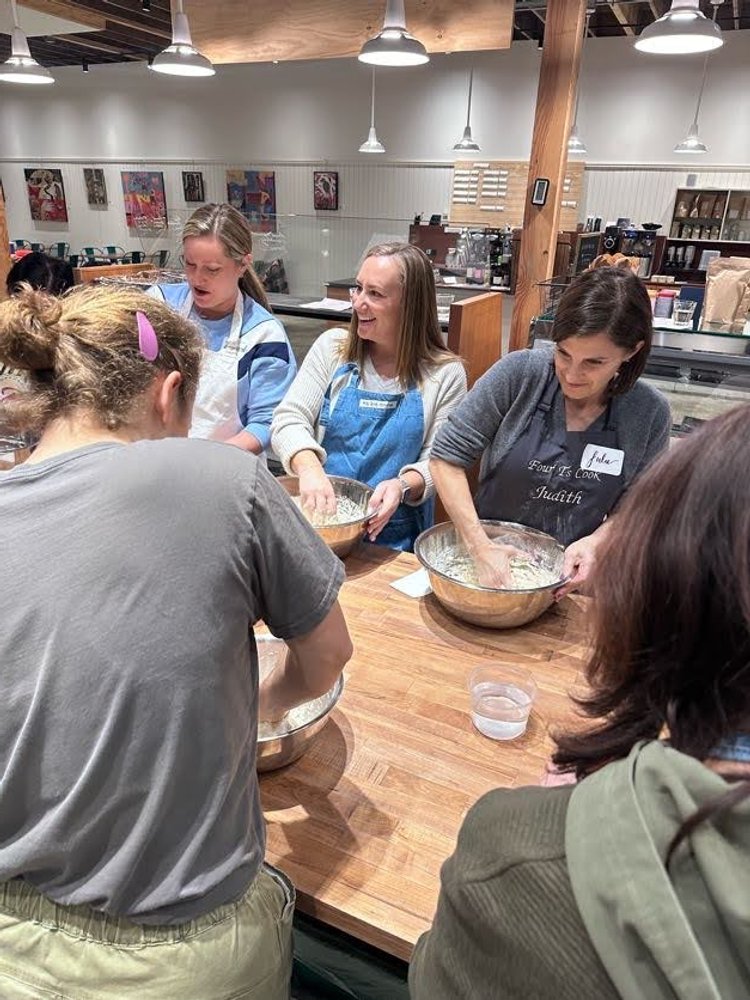
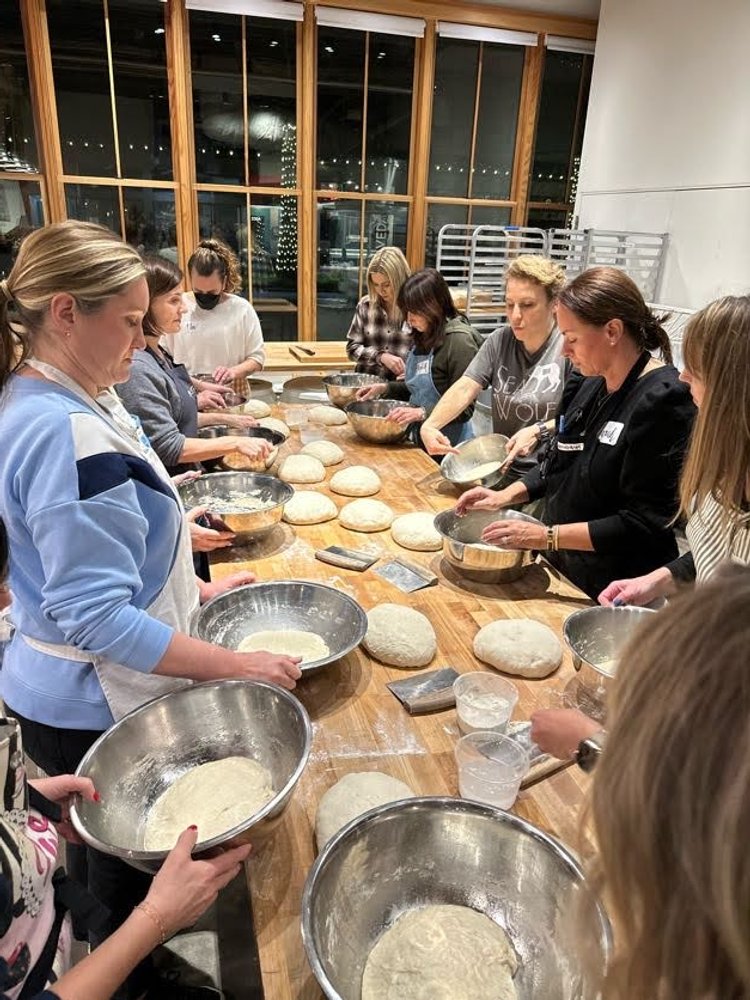
Once Haley popped the first two fully proofed loaves in the oven it was time to rewind the process and begin mixing our own dough. Each attendee was given a bowl, scraper, and the five ingredients necessary for sourdough: flour, whole grain flour, sea salt, sourdough culture (levain) and water.
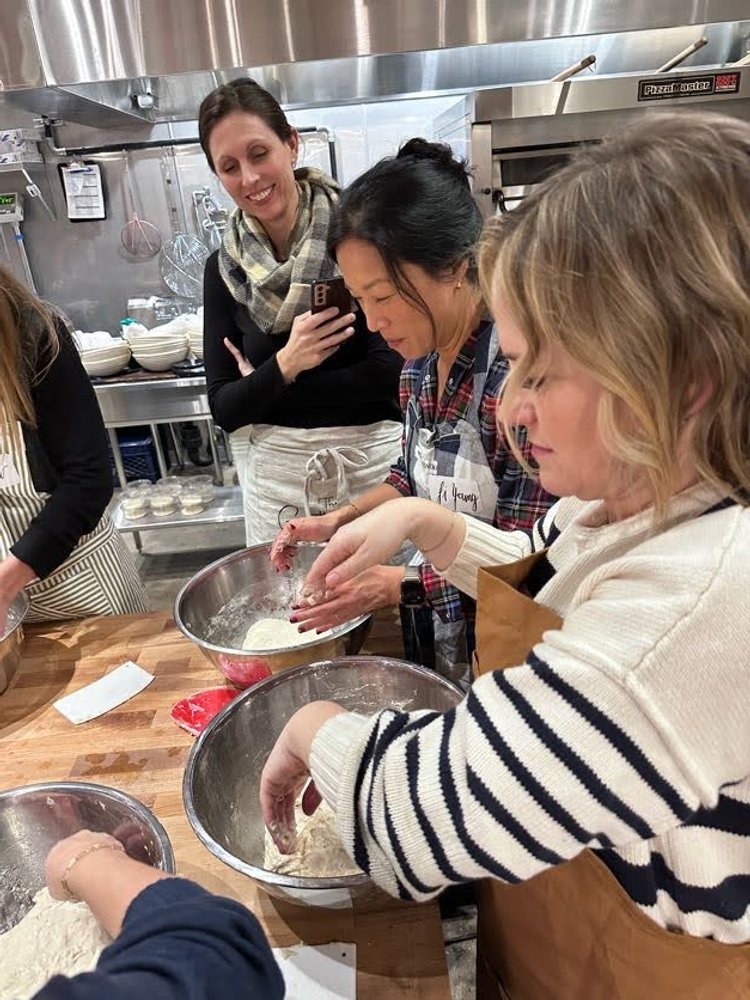
Guests mixed their ingredients by keeping one hand on the bowl and using the other as a “paddle.” Haley recommends mixing by alternating cutting in and scraping down the bowl and the bottom. You’re done mixing when there is no water and no dry spots. Your dough will look a bit “shaggy.” *Hot Tip: you can use your flexible scraper to clean your hands. Toss the excess dough back in your bowl.

Once our dough was mixed we let it sit for 20 minutes. This gives the starches and proteins time to cohere. Our next step was to transfer our dough to a bowl that had been lightly oiled (a plastic cambro bowl with a lid works great for this step).
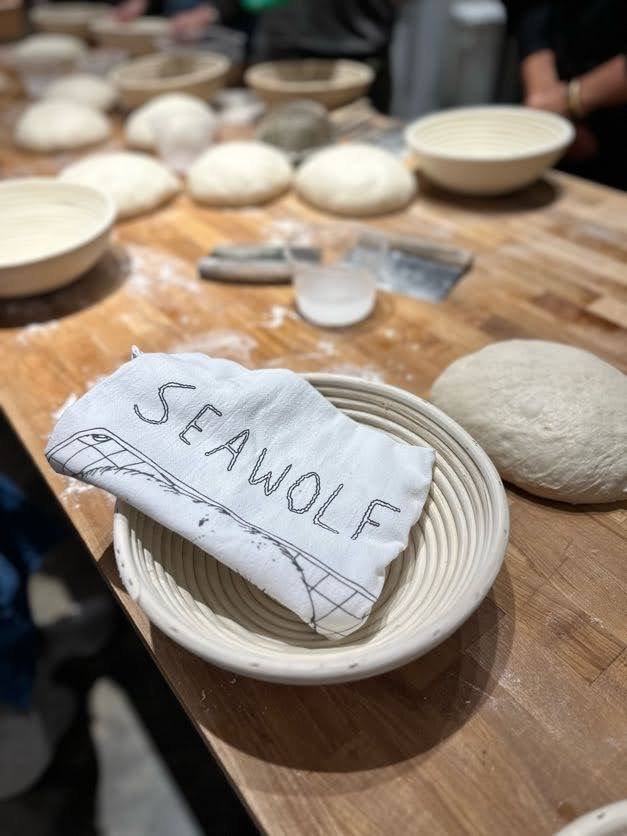
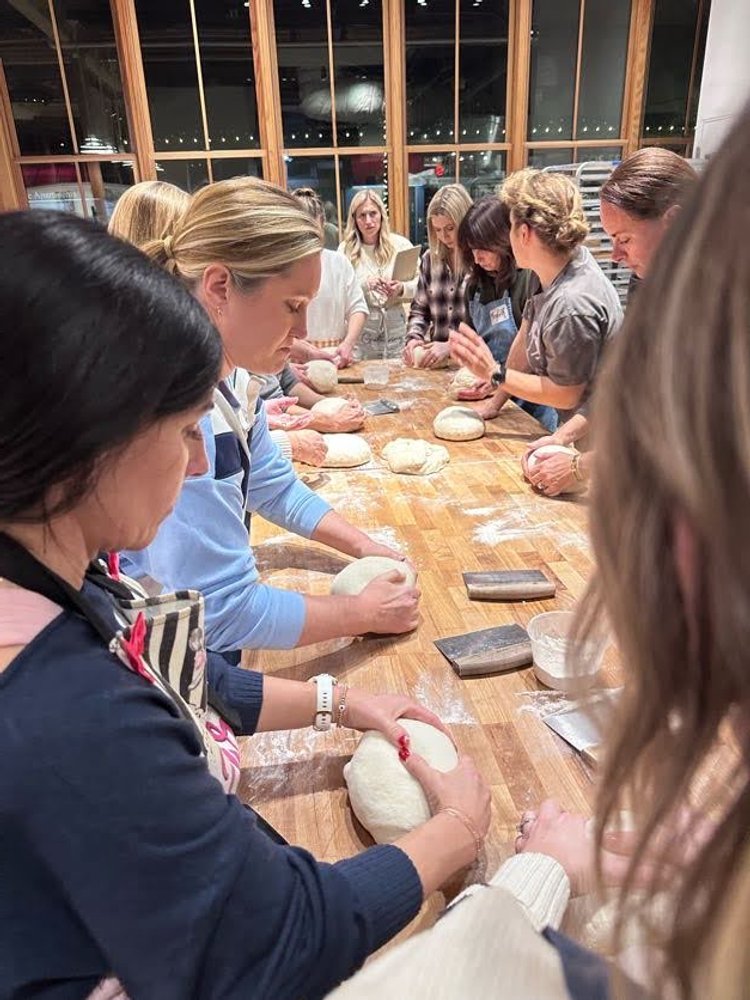
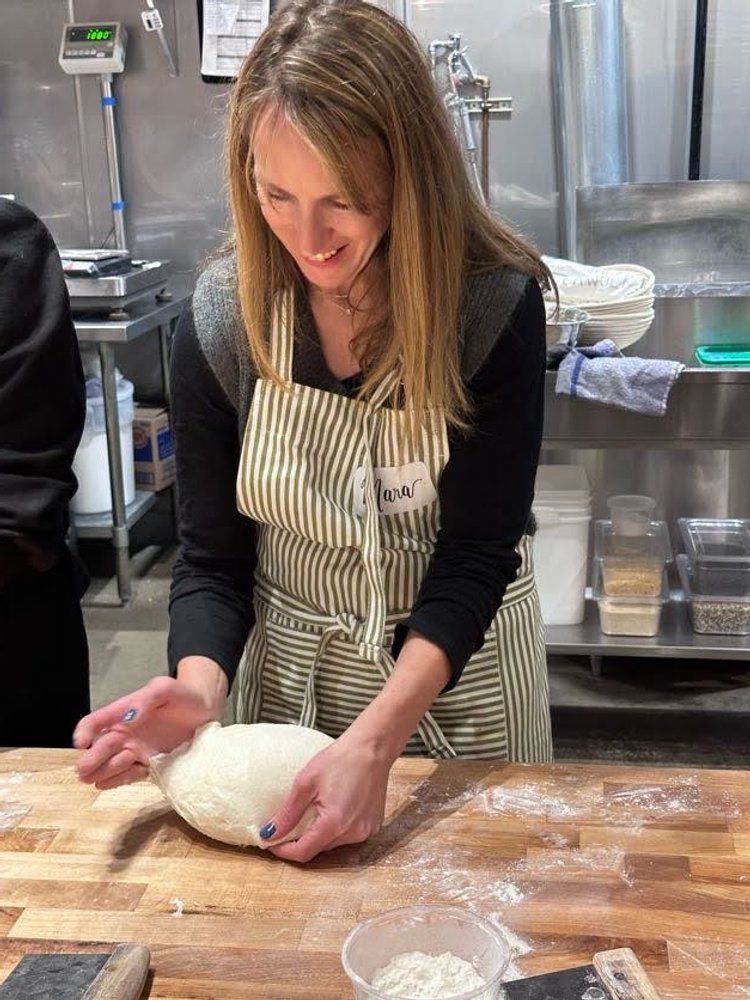
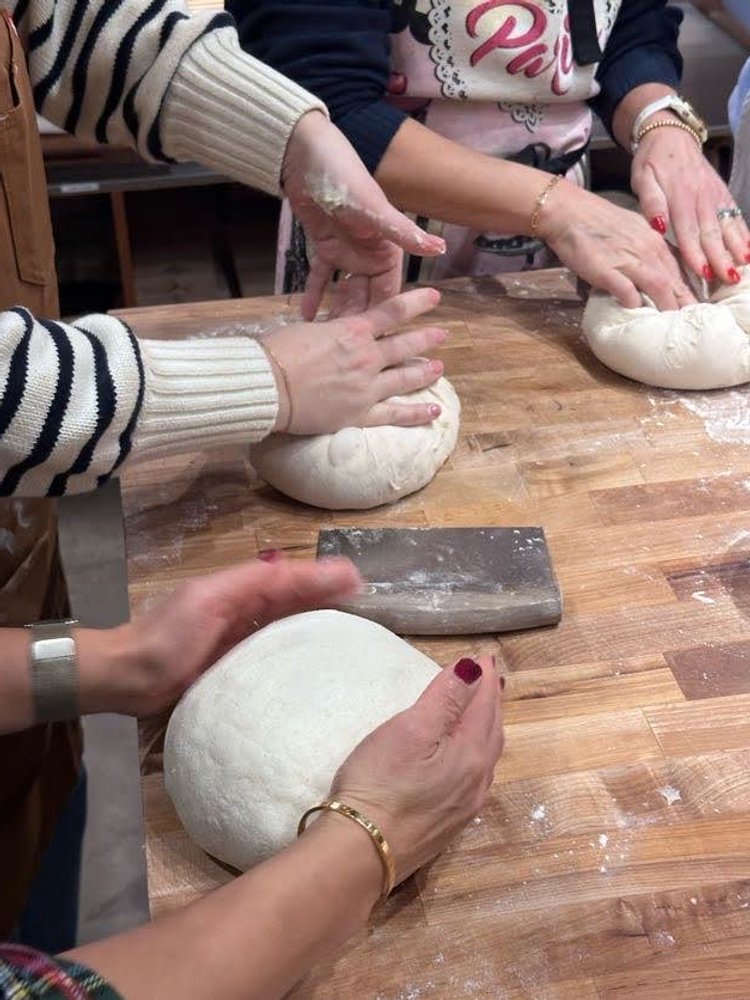
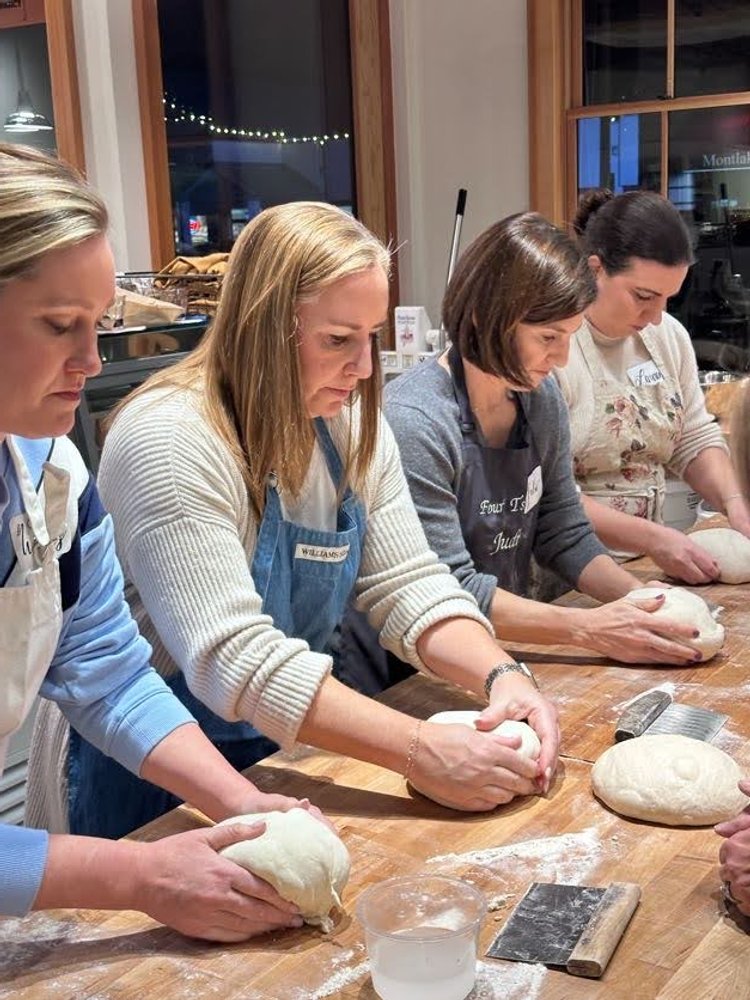
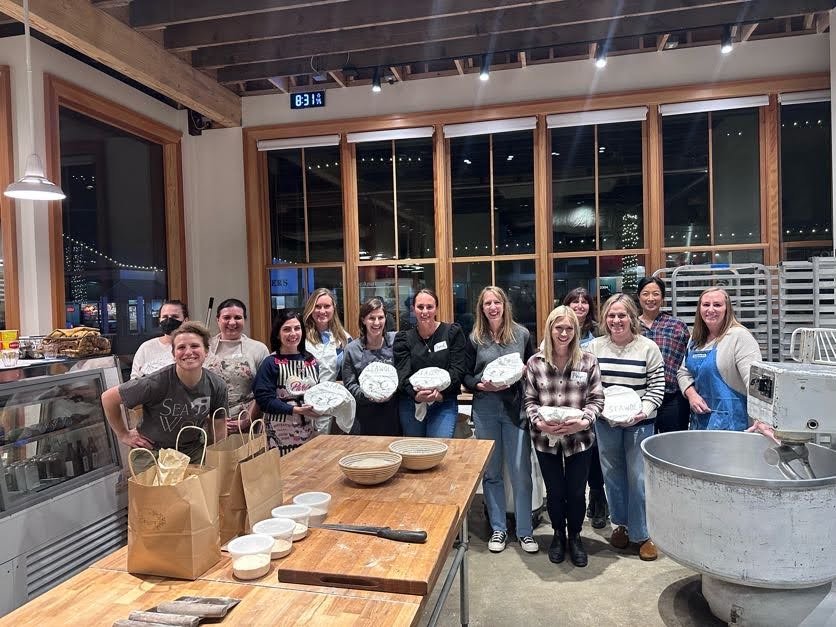
Our attendees then moved on to the next stages of prepping their dough which included: folding, pre-shaping, resting and the final-shaping of their dough. Each attendee took home their dough in a proofing basket that was ready to bake.
“Don’t stress too much. These are all guidelines. Your levain is resilient so long as it isn’t exposed to extreme temperatures or totally neglected. Even really old, gross-looking levain can be revived with a few feedings.”
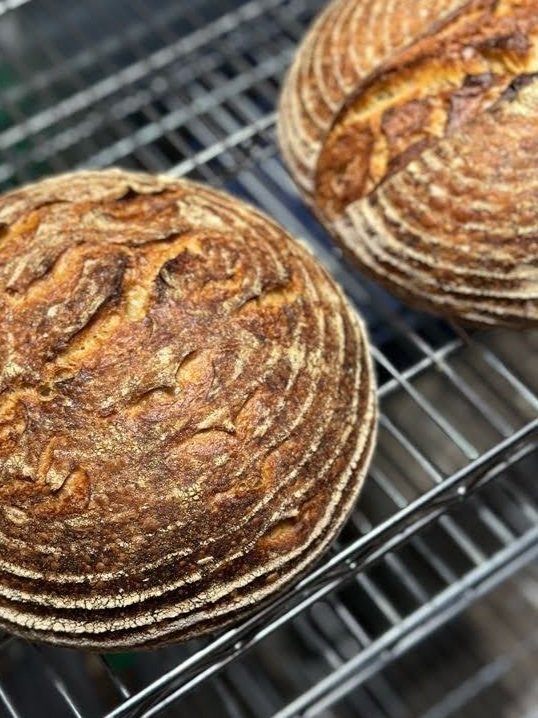
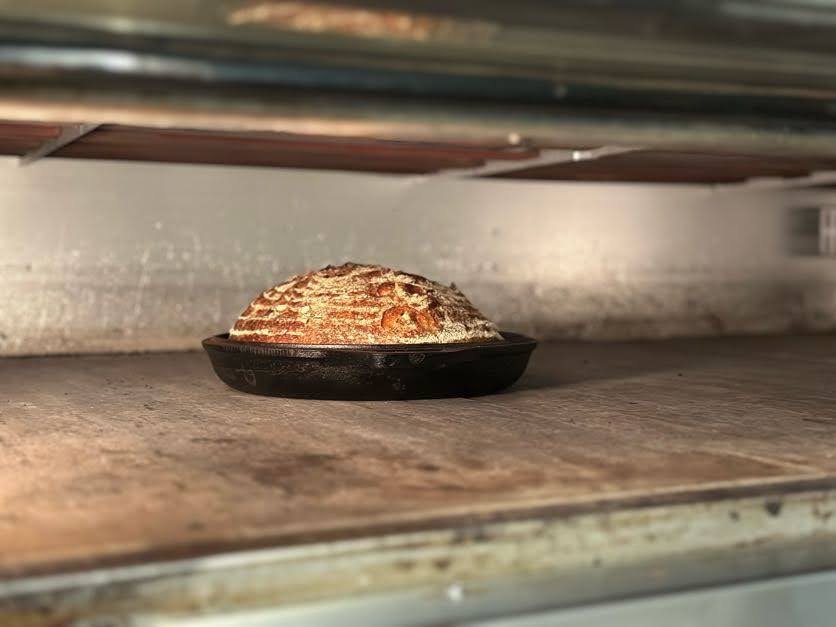
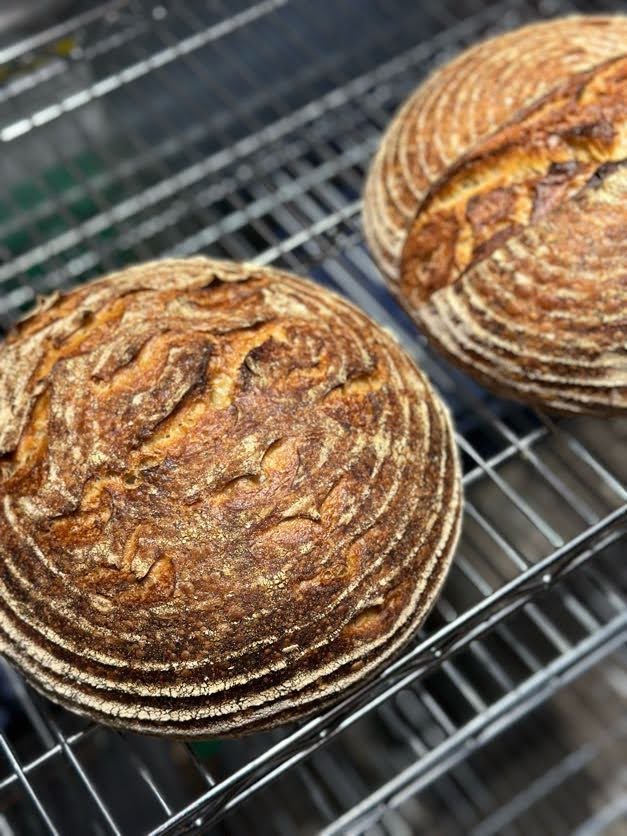
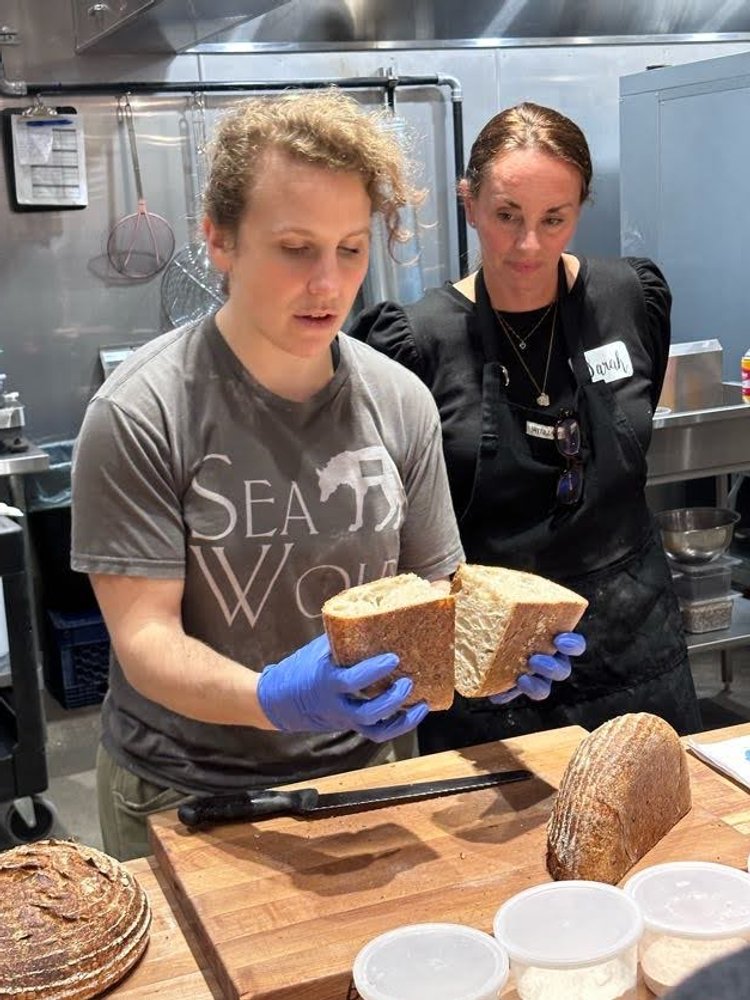
Haley wrapped up the class with a mini-lesson on the types of flour available locally (both at grocery stores and local flour mills) and how varying the flour in your recipe can subtly change the flavor and texture of your bread. About the time we’d finished all of our dough prep-work, the sourdough loaves that had been baking and cooling on wire racks were ready to be cut. Haley sliced open the fresh bread and showed off the gorgeous air bubbles and perfectly browned crusts. Each guest took home a fresh quarter of a sourdough boule.
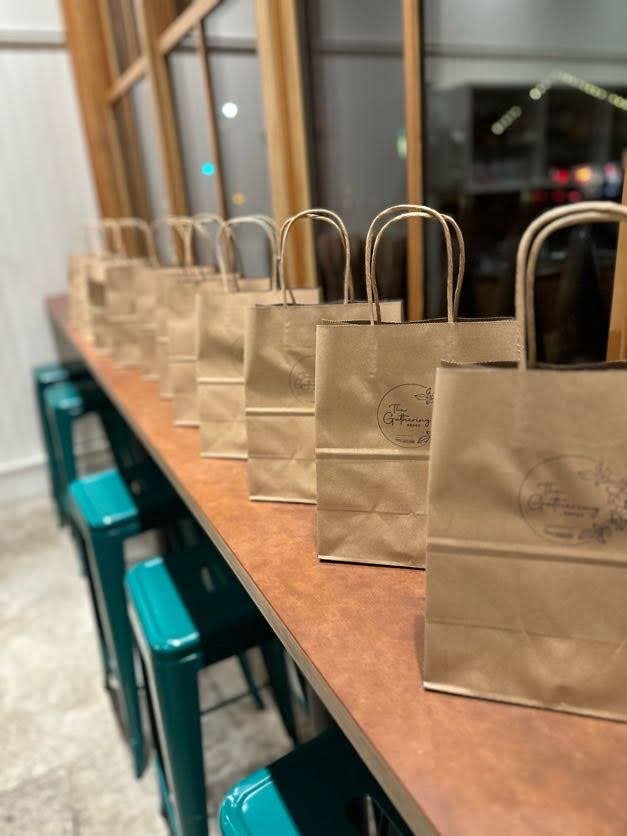
Attendees each went home with some freshly baked sourdough, a proofing basket, sea wolf tea towel, a sea wolf sourdough starter and two batches of dough in varying stages of the proofing process, along with a seven page how-to guide from Sea Wolf for baking sourdough at home.

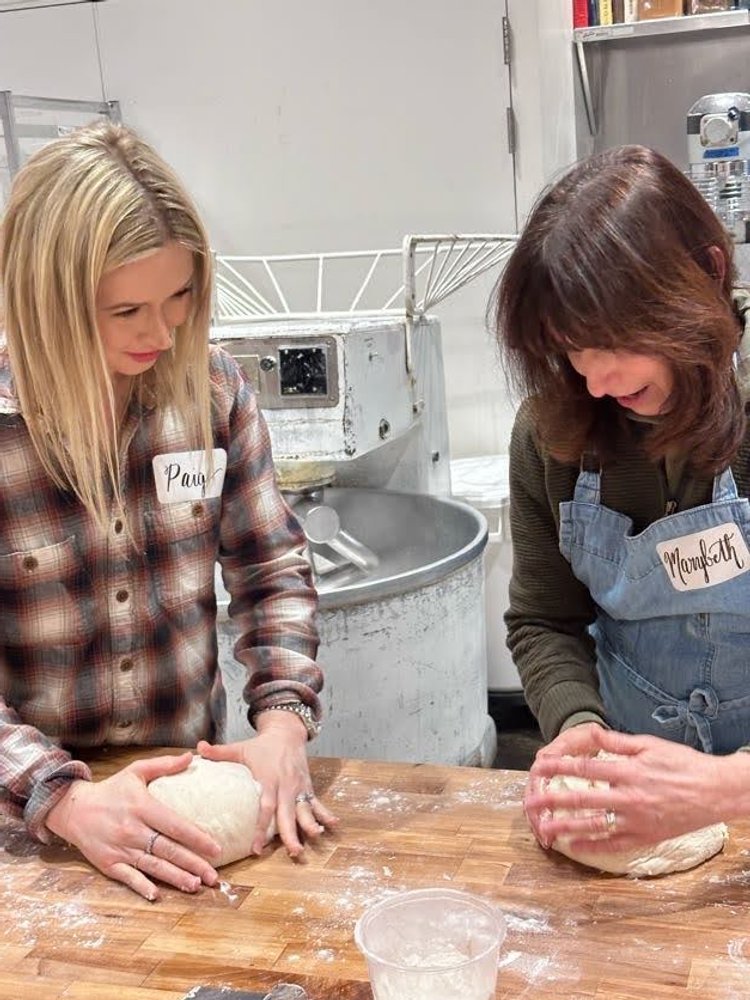
Folding the dough (not kneading) helps trap bubbles in the dough. Guests folded their dough about four times over a two hour period.
After the folding stage guests pre-shaped their dough. This is done by grasping the outer edge of the dough circle and stretching it upwards gently before folding it towards the center of the circle. This movement was repeated 4-6 times before the last stages which include a bench rest, a final shape and one last proofing.
-
Read on for tips and tricks to help you in your bread baking journey!
-
When measuring out dry ingredients be sure to use a scale for accurate measurements.
Sift all dry ingredients together for even dispersal.
-
When you begin mixing your dough, use your hand as a paddle at first, then open your fingers and pull through them, making sure flour gets pulled off the sides of the bowl.
Alternate cutting in and scraping down the sides of the bowl with fingers.
Your dough is finished being mixed when it is nice and homogenous, and nothing is left dry.
Use the flexible dough scraper to pull excess dough off your hands.
-
Dough should always be covered with a damp tea towel.
The ideal temperature for proofing is 74’ - 85’ degrees. You can place dough in an oven (turned off) and pour a small hot water bath in a vessel on the rack below to help facilitate a warm environment to proof.
Size is your number one sign of proofing (carbon dioxide is being produced). Your bread is proofed when only 3-4 rings are visible around the end of your proofing basket.
Finger dents: a good proof will spring back when poked but still leaves a small dent (it’s under-proofed if there is no dent).
You cannot come back from over-proofing! Your bread is over-proofed when there are no shoulders and dough has fallen and is clinging to the sides of the basket (insert sad face).
You can plan for 2-3 hours for final proof even in the best case scenario (perfect temperatures, etc.).
You can retard proofing by moving your basket into the fridge (in a ziploc bag to prevent a skin from developing).
-
Heat your cast iron in the oven for 45 minutes (before adding your dough).
Bake at 425-450’ depending on the leakiness of your oven. Bake on the top rack and use a sheet pan on the lower rack to deflect heat if bottom of your bread is prone to burning.
Your bread is finished baking when it is browned to the point of nearly being black but still has some white poking through the scored areas.
Let your bread cool on a wire rack for at least 45 minutes so that the starches can set.
-
To clean out your basket wait until it is very dry then tap the flour out and use a bristle brush to dust out anything remaining (no need to wash unless it starts smelling funky or growing anything fuzzy).
When getting ready to proof your dough dust basket with 50/50 rice flour and AP flour (the purpose of rice flour is that you can use less because less absorbs into the dough).
Dust basket until thoroughly covered but not so much that it forms an avalanche.


ADDITIONAL HELPFUL TIDBITS:
INGREDIENTS:
Flour: Great brands you can find locally include Shepherd’s Grain, Bob’s Red Mill, Stone-Buhr, Guisto’s, King Arthur and Fairhaven Mills.
Salt: Be sure that the salt grain is fairly fine so that is dissolves thoroughly in the dough.
Water: If your water is too hot it can kill your levain. Shoot for somewhere in the high 70’s to low 80’s.
TOOLS:
Digital Kitchen Scale: Purchase a basic kitchen scale that is accurate up to the gram. This will ensure proper measurement of your dry ingredients.
Digital Thermometer: You can use an instant read thermometer to check the temperature of your water.
Bowl Scraper: These are super afforable and beyond handy for scraping your bowl and hands.
Proof Basket: Purchase one of these so that you can properly proof your bread. It also helps create the gorgeous circular pattern you see on Sea Wolf Boules.
Our top picks for sourdough
Now that you’re ready to continue your sourdough journey at home, you’ll need the proper tools. We’ve included some of Haley’s favorite products along with some of our own recommendations for baking delicious sourdough at home. We hope you love them!

Flexible Dough Scraper: These guys are super handy for scraping out your dough bowl (and your fingers) during the mixing process. You can also use them for quick cleanup up of your workstation. Dough Scraper
Cambro Containers: Haley recommends cambro containers for storing your starter. They also work great for the early proofing phase of our dough. These durable containers are freezer and dishwasher safe with a handy lid. Bonus- they stack easily in your fridge. Cambro Containers

Bread Lame: Ready to make gorgeous sourdough? This lame makes it easy to get the correct score depth and the blades slide through your dough like butter. Bread Lame Tool
Proofing Basket: This Bread Proofing Basket Set can be used for a variety of bread recipes, including sourdough, French bread, and more. Remember your dough will double in size so be sure your basket is large enough for the proofing process! Proofing Basket

Lodge Bread Baker: The Lodge Cast Iron Combo Cooker does it all. It not only bakes fresh sourdough to perfection, but it can act as a deep skillet, a fryer, and a Dutch oven in one. Bonus the lid doubles as a shallow skillet or griddle. Lodge Cast Iron Combo

Sea Wolf Gift Card: Love baking fresh sourdough, but keeping all its deliciousness for yourself? Give the gift of fresh bread or pastries to a loved one! You can even place a pick up order in advance. Sea Wolf Gift Card
Until we gather again!
**As Amazon Associates we earn from qualifying purchases.