
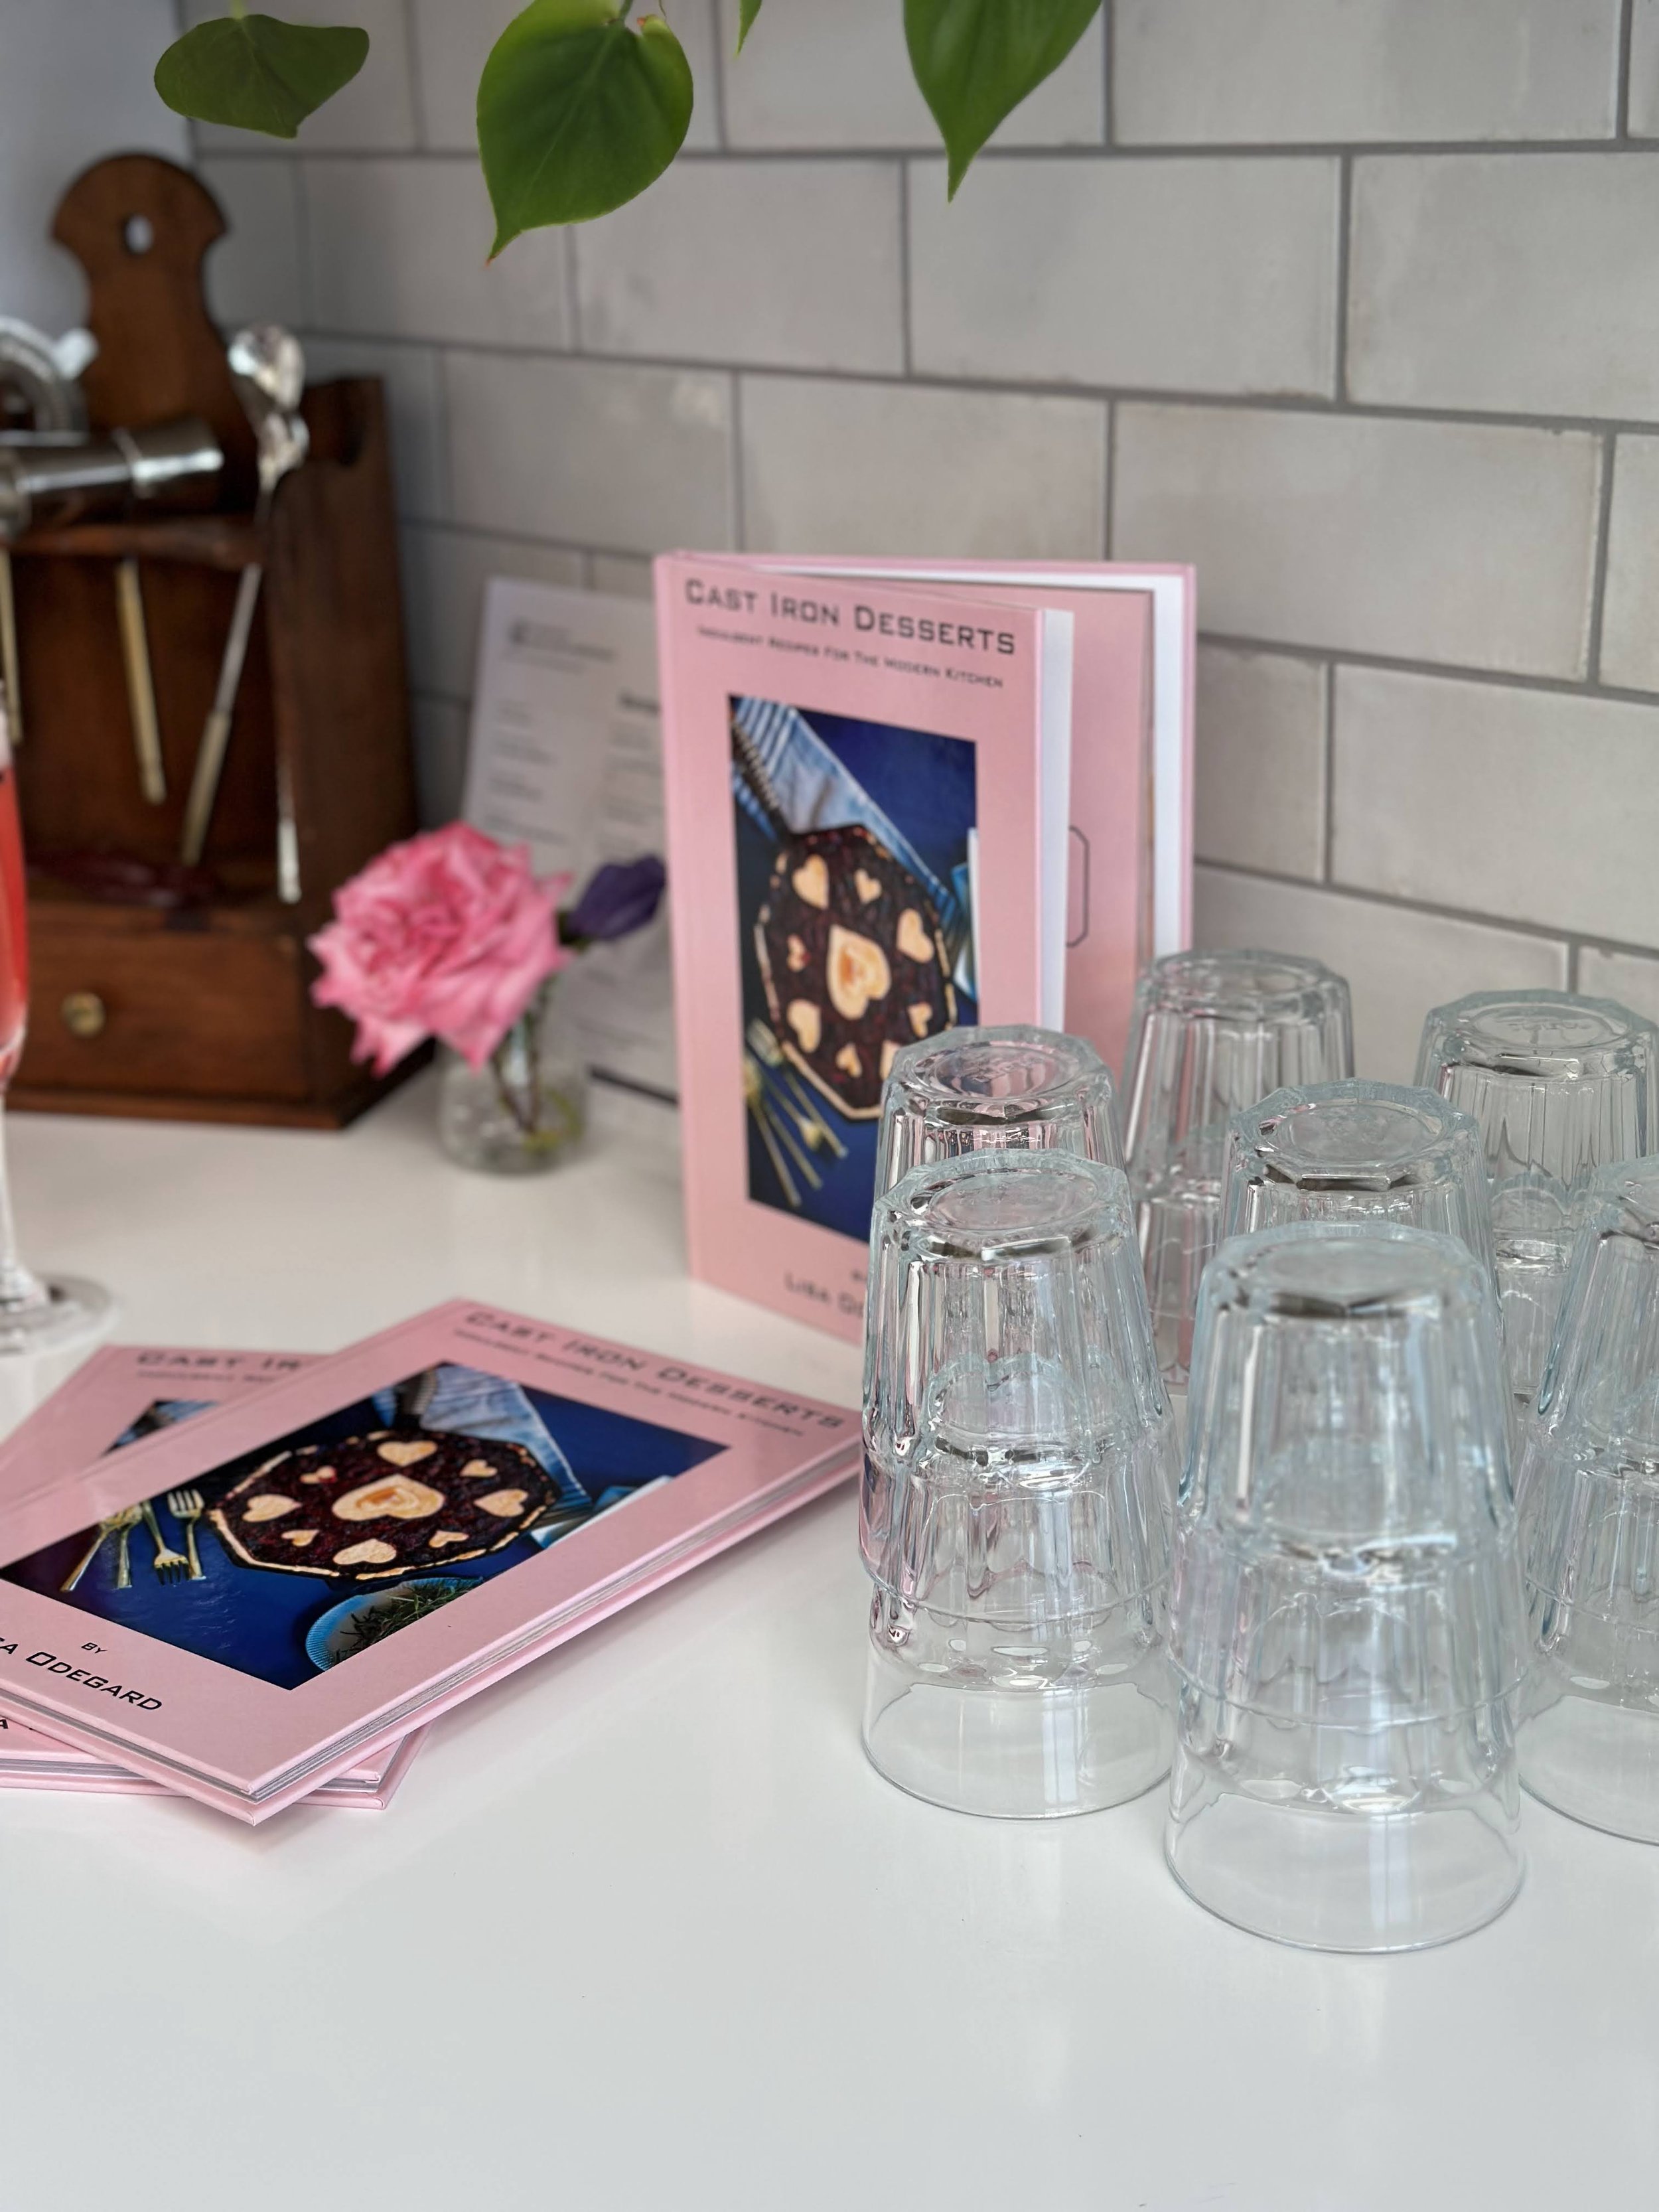
Seafood Spectacular: Delicious and unfussy recipes to cook at home
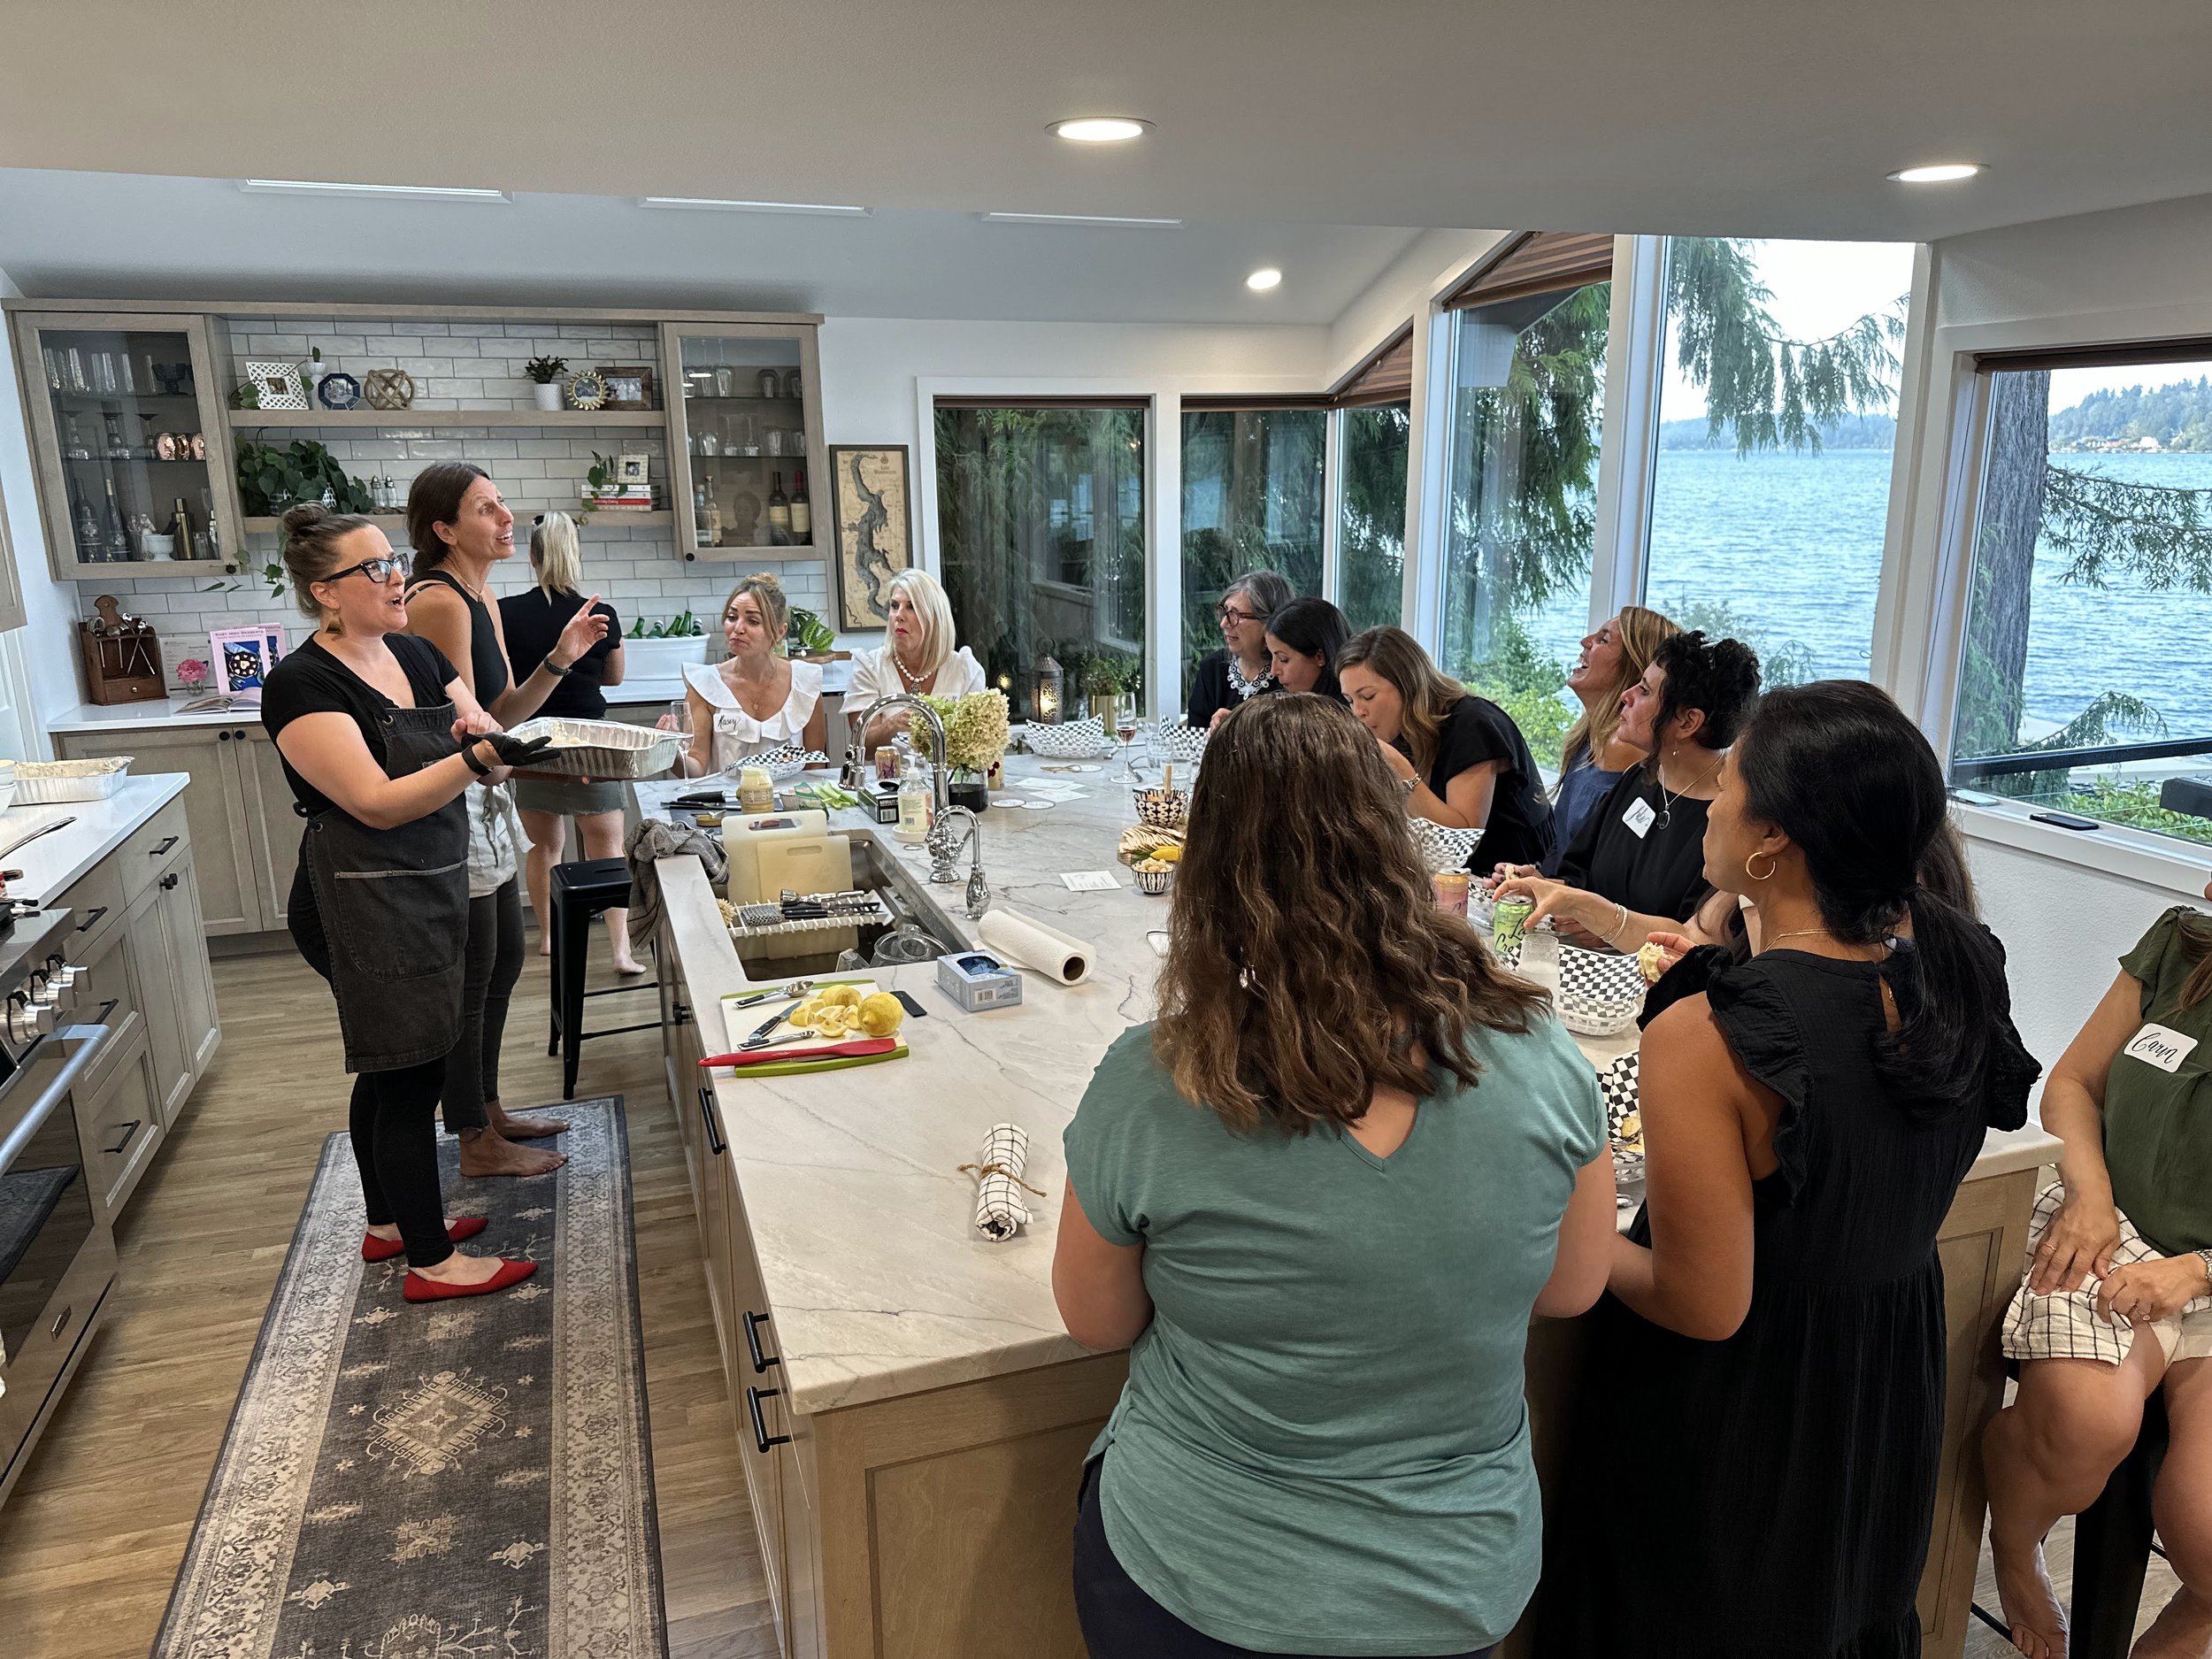
We had a lovely evening this past Thursday with chef Lisa Odegard and the ladies behind Premier Catch. Our chef cooked up a multi-course seafood extravaganza with dishes that included scallops, crab, shrimp, salmon three ways and a cast iron dessert. Read on for all the recipes, and Lisa’s tips and tricks from the evening.
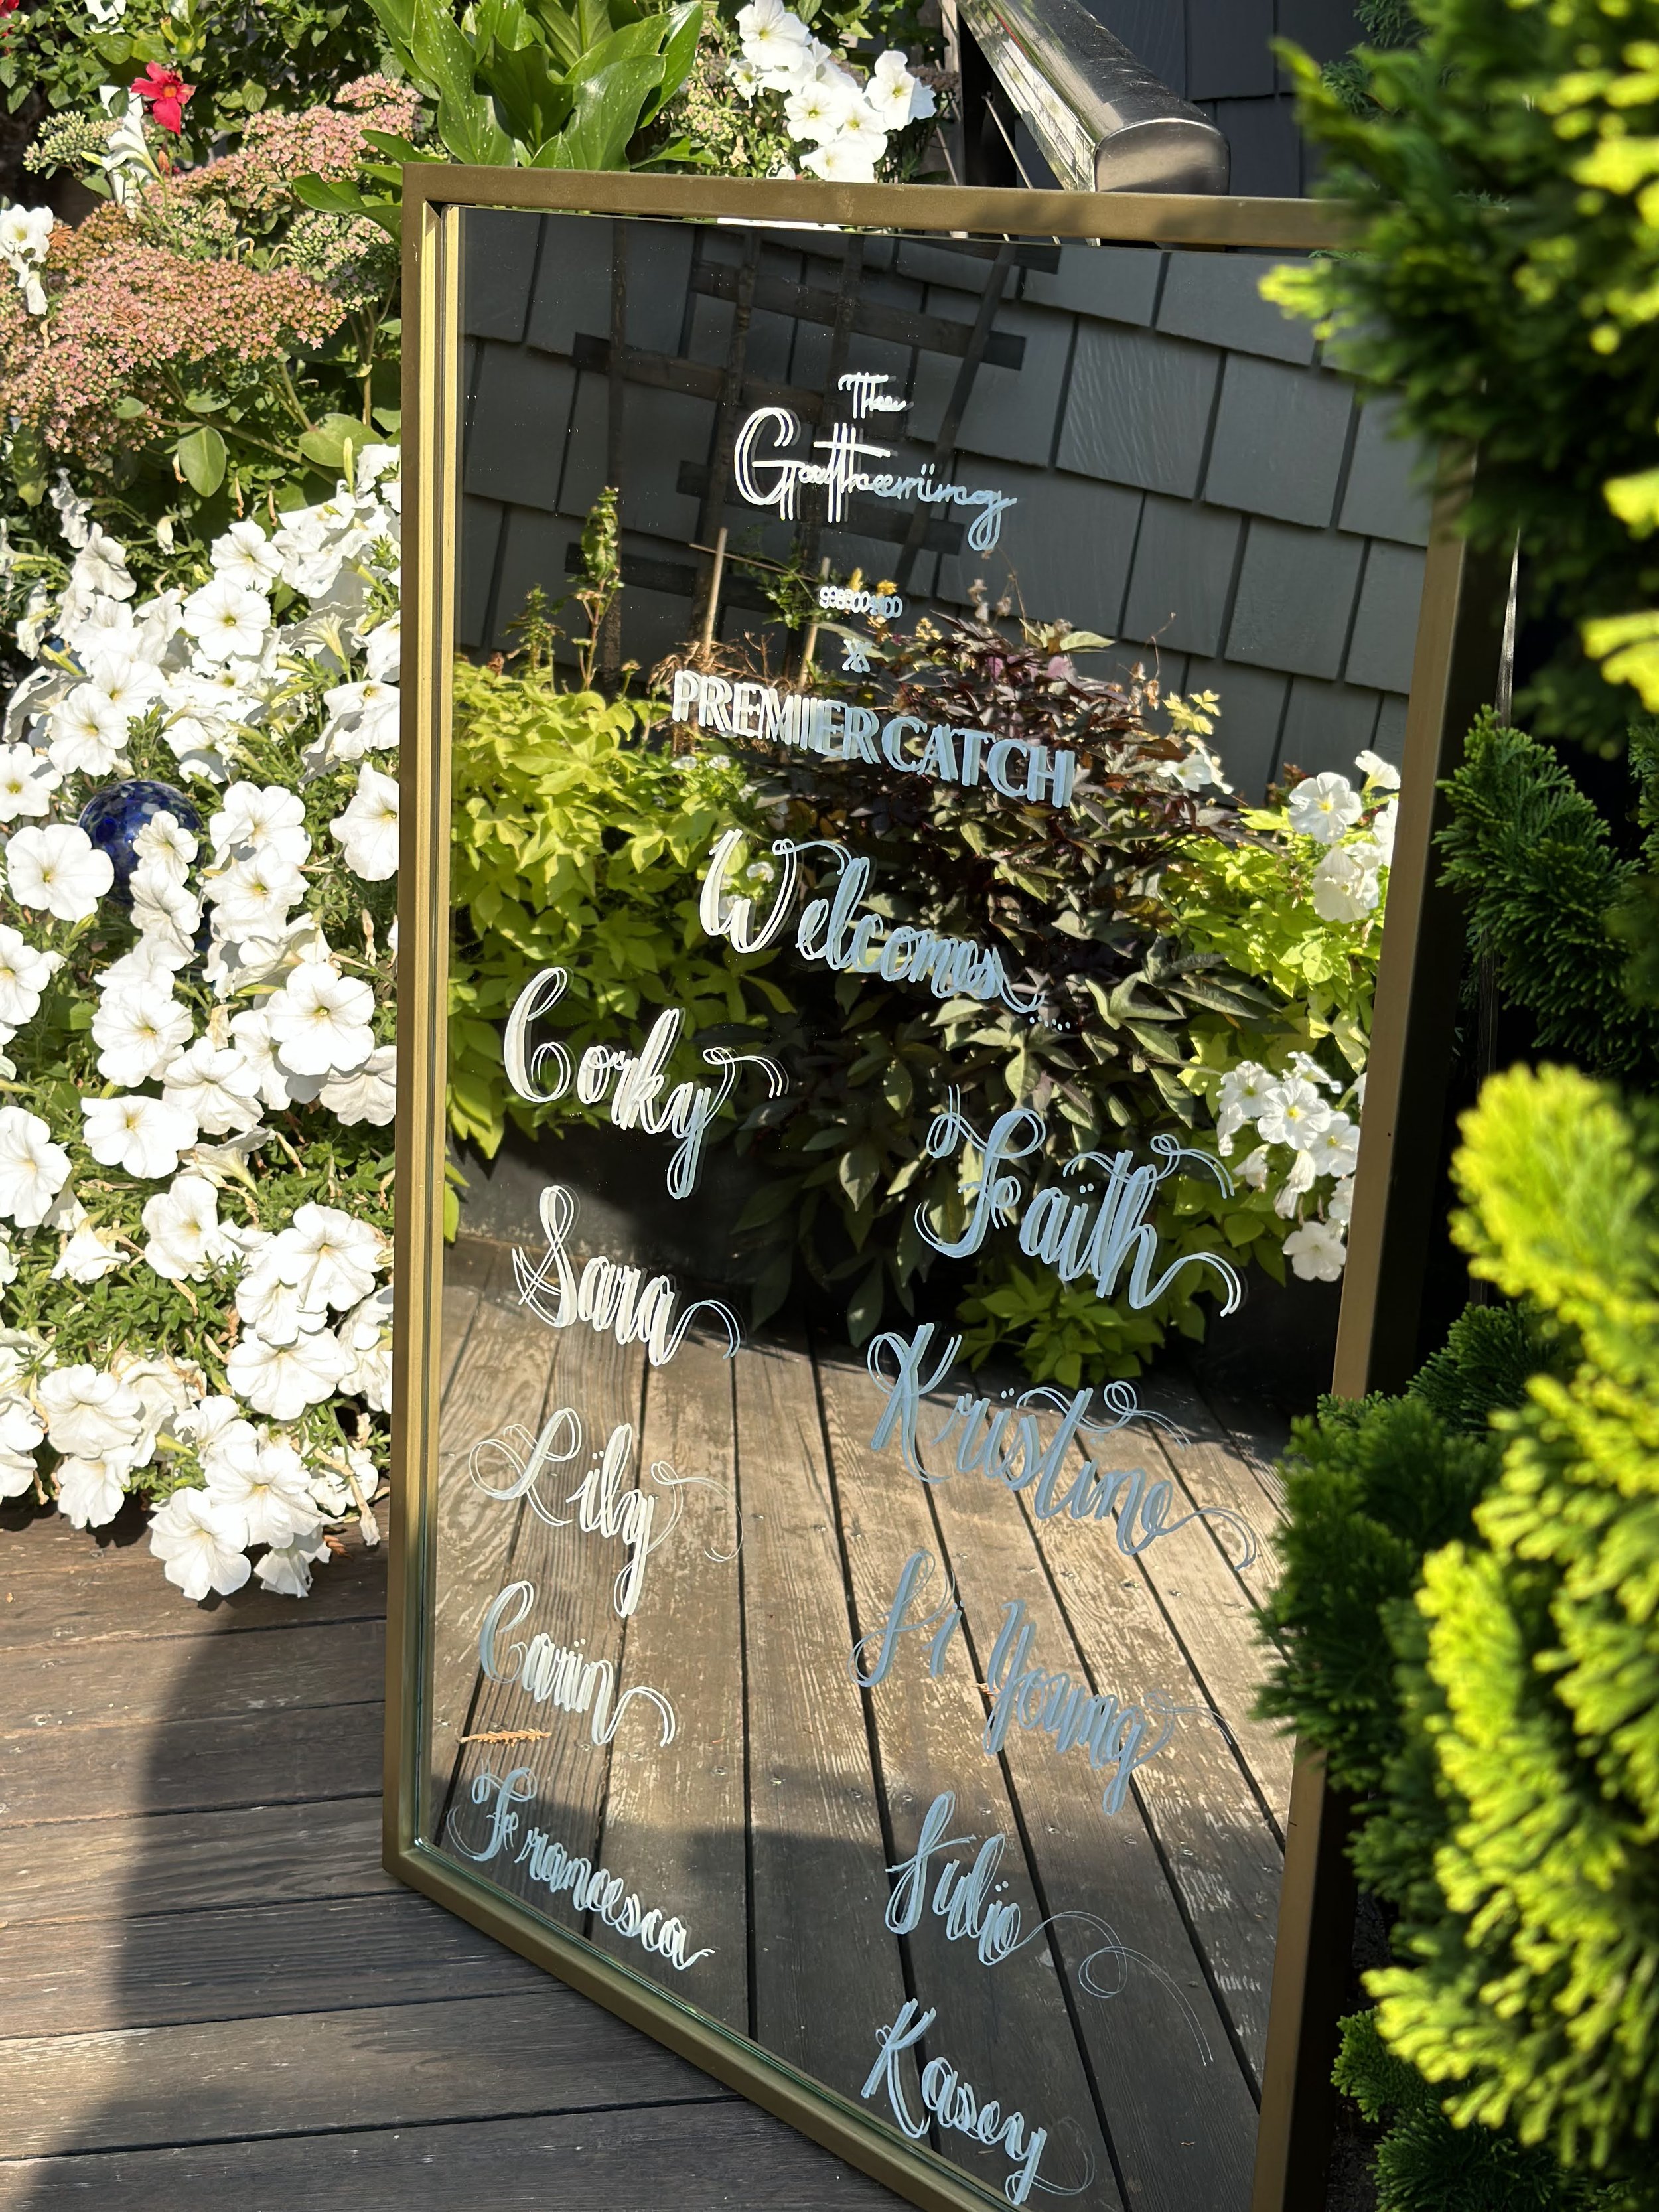
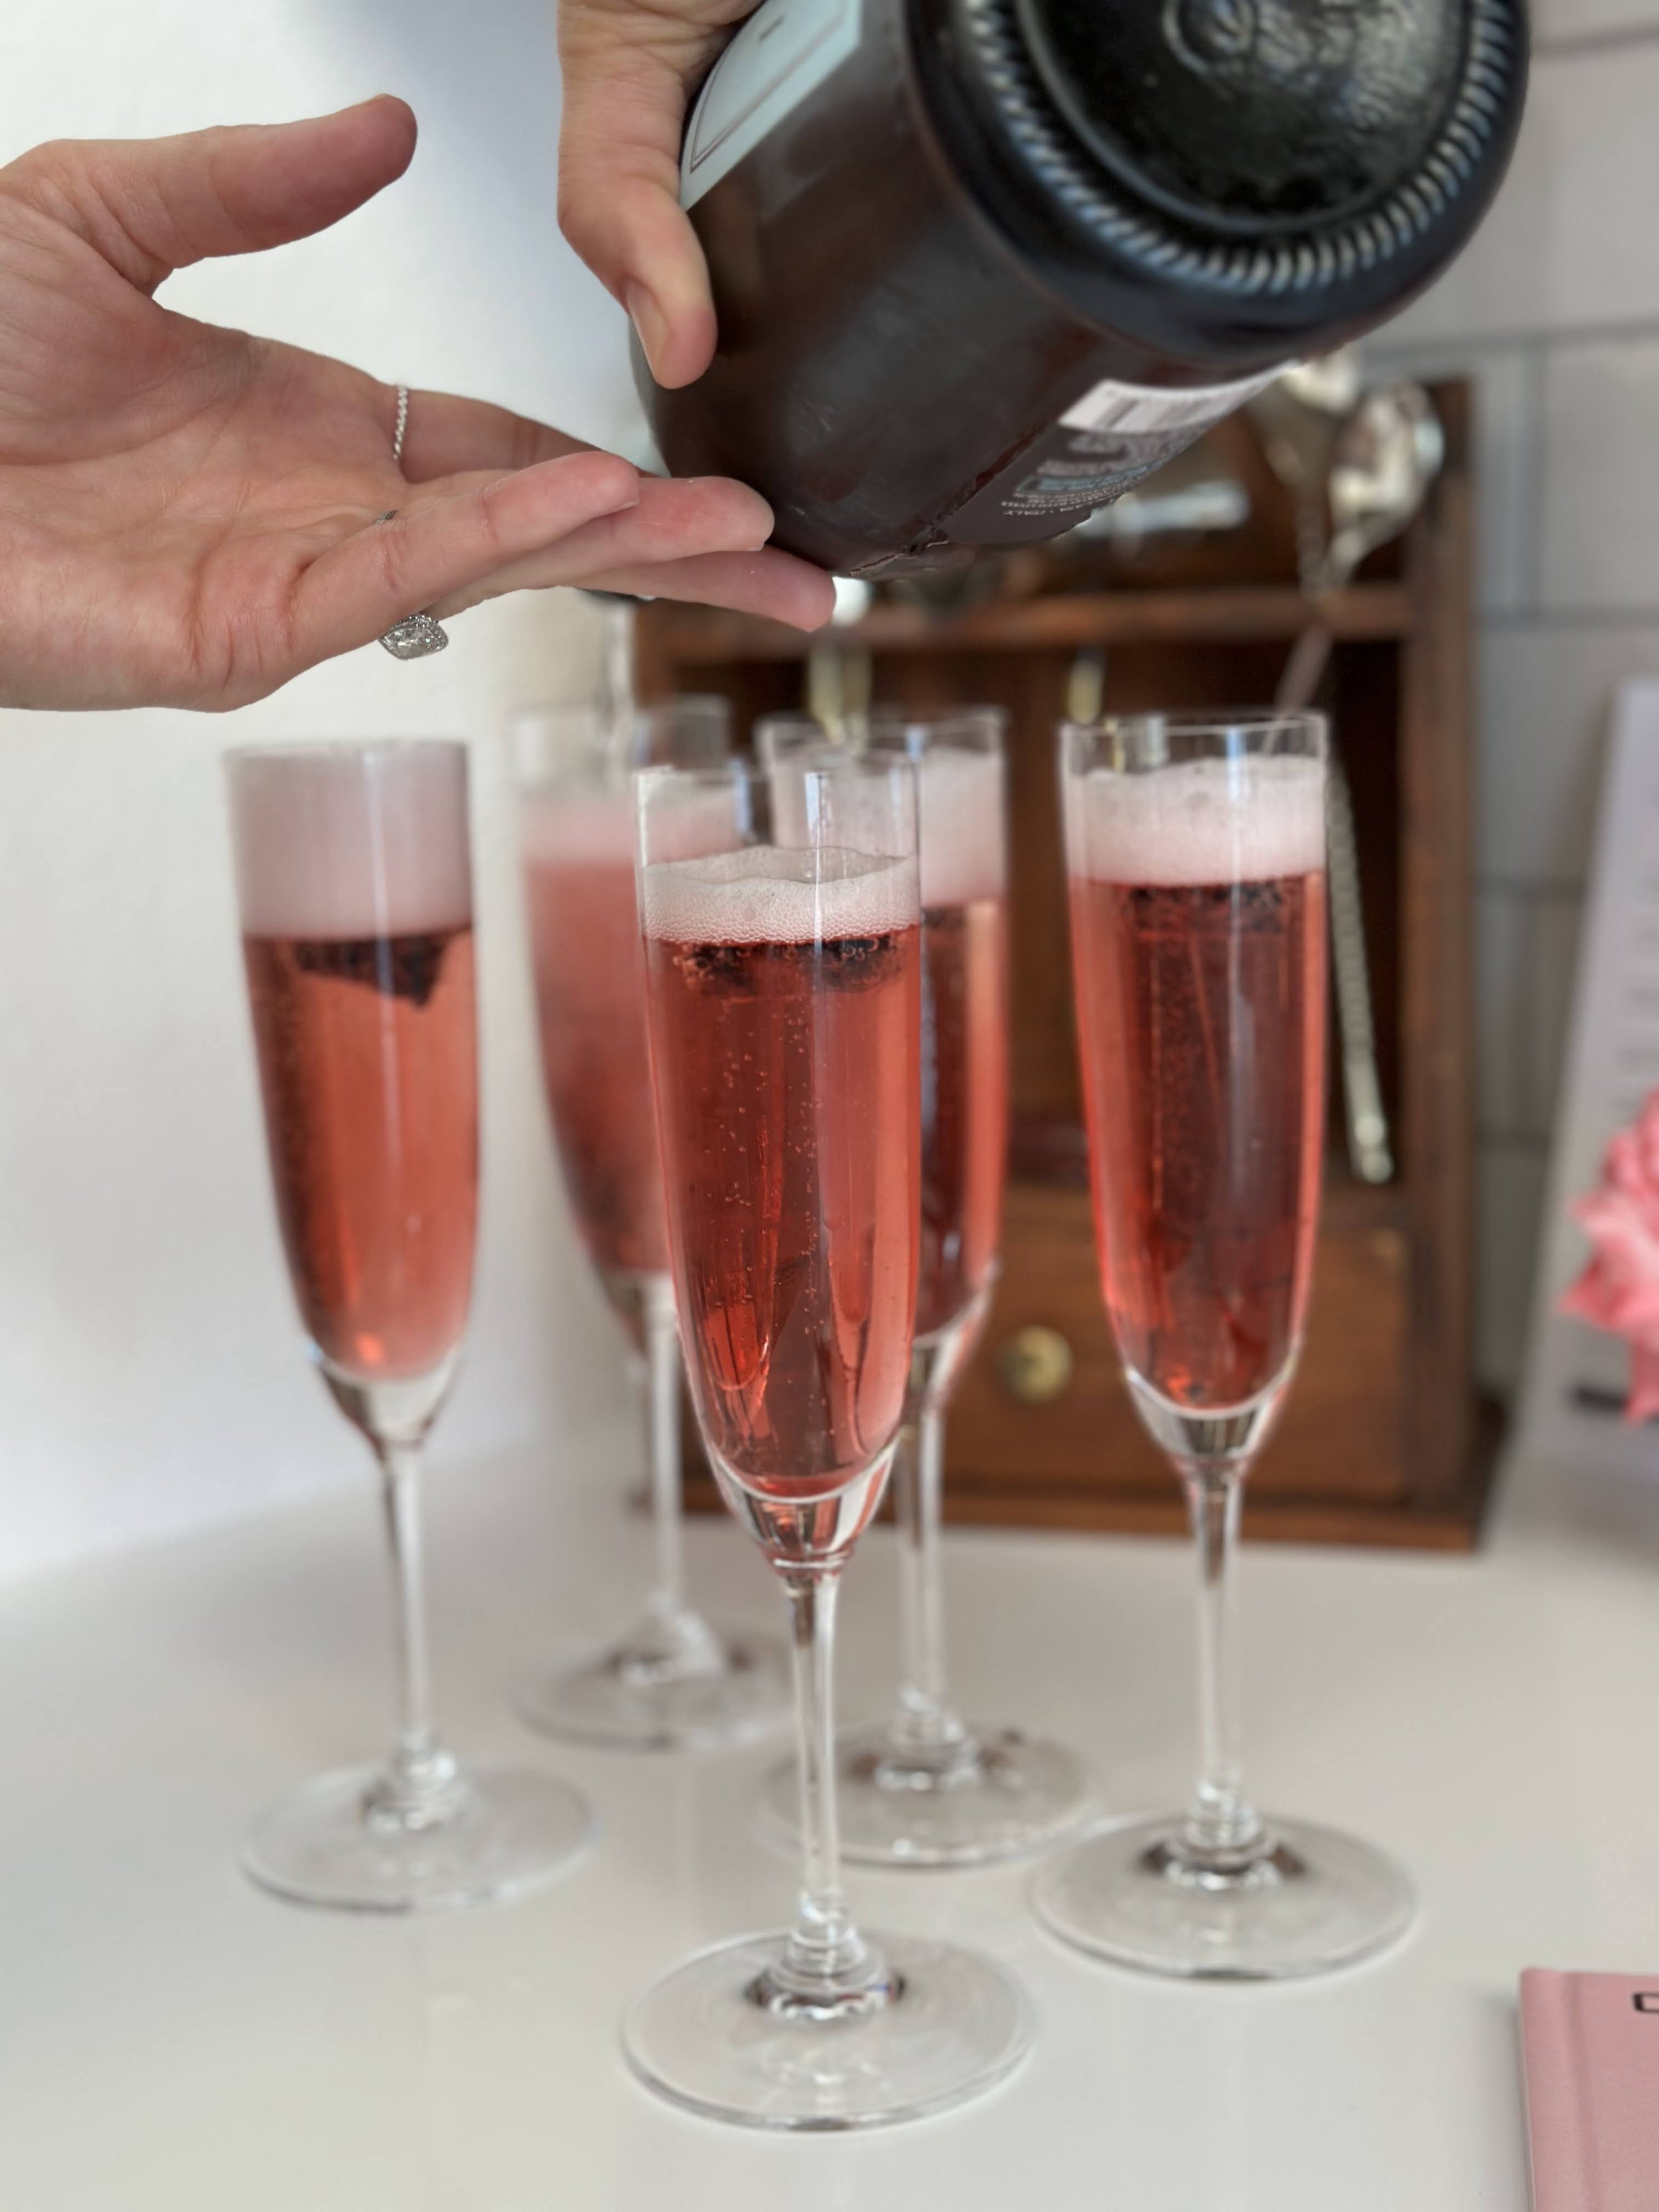
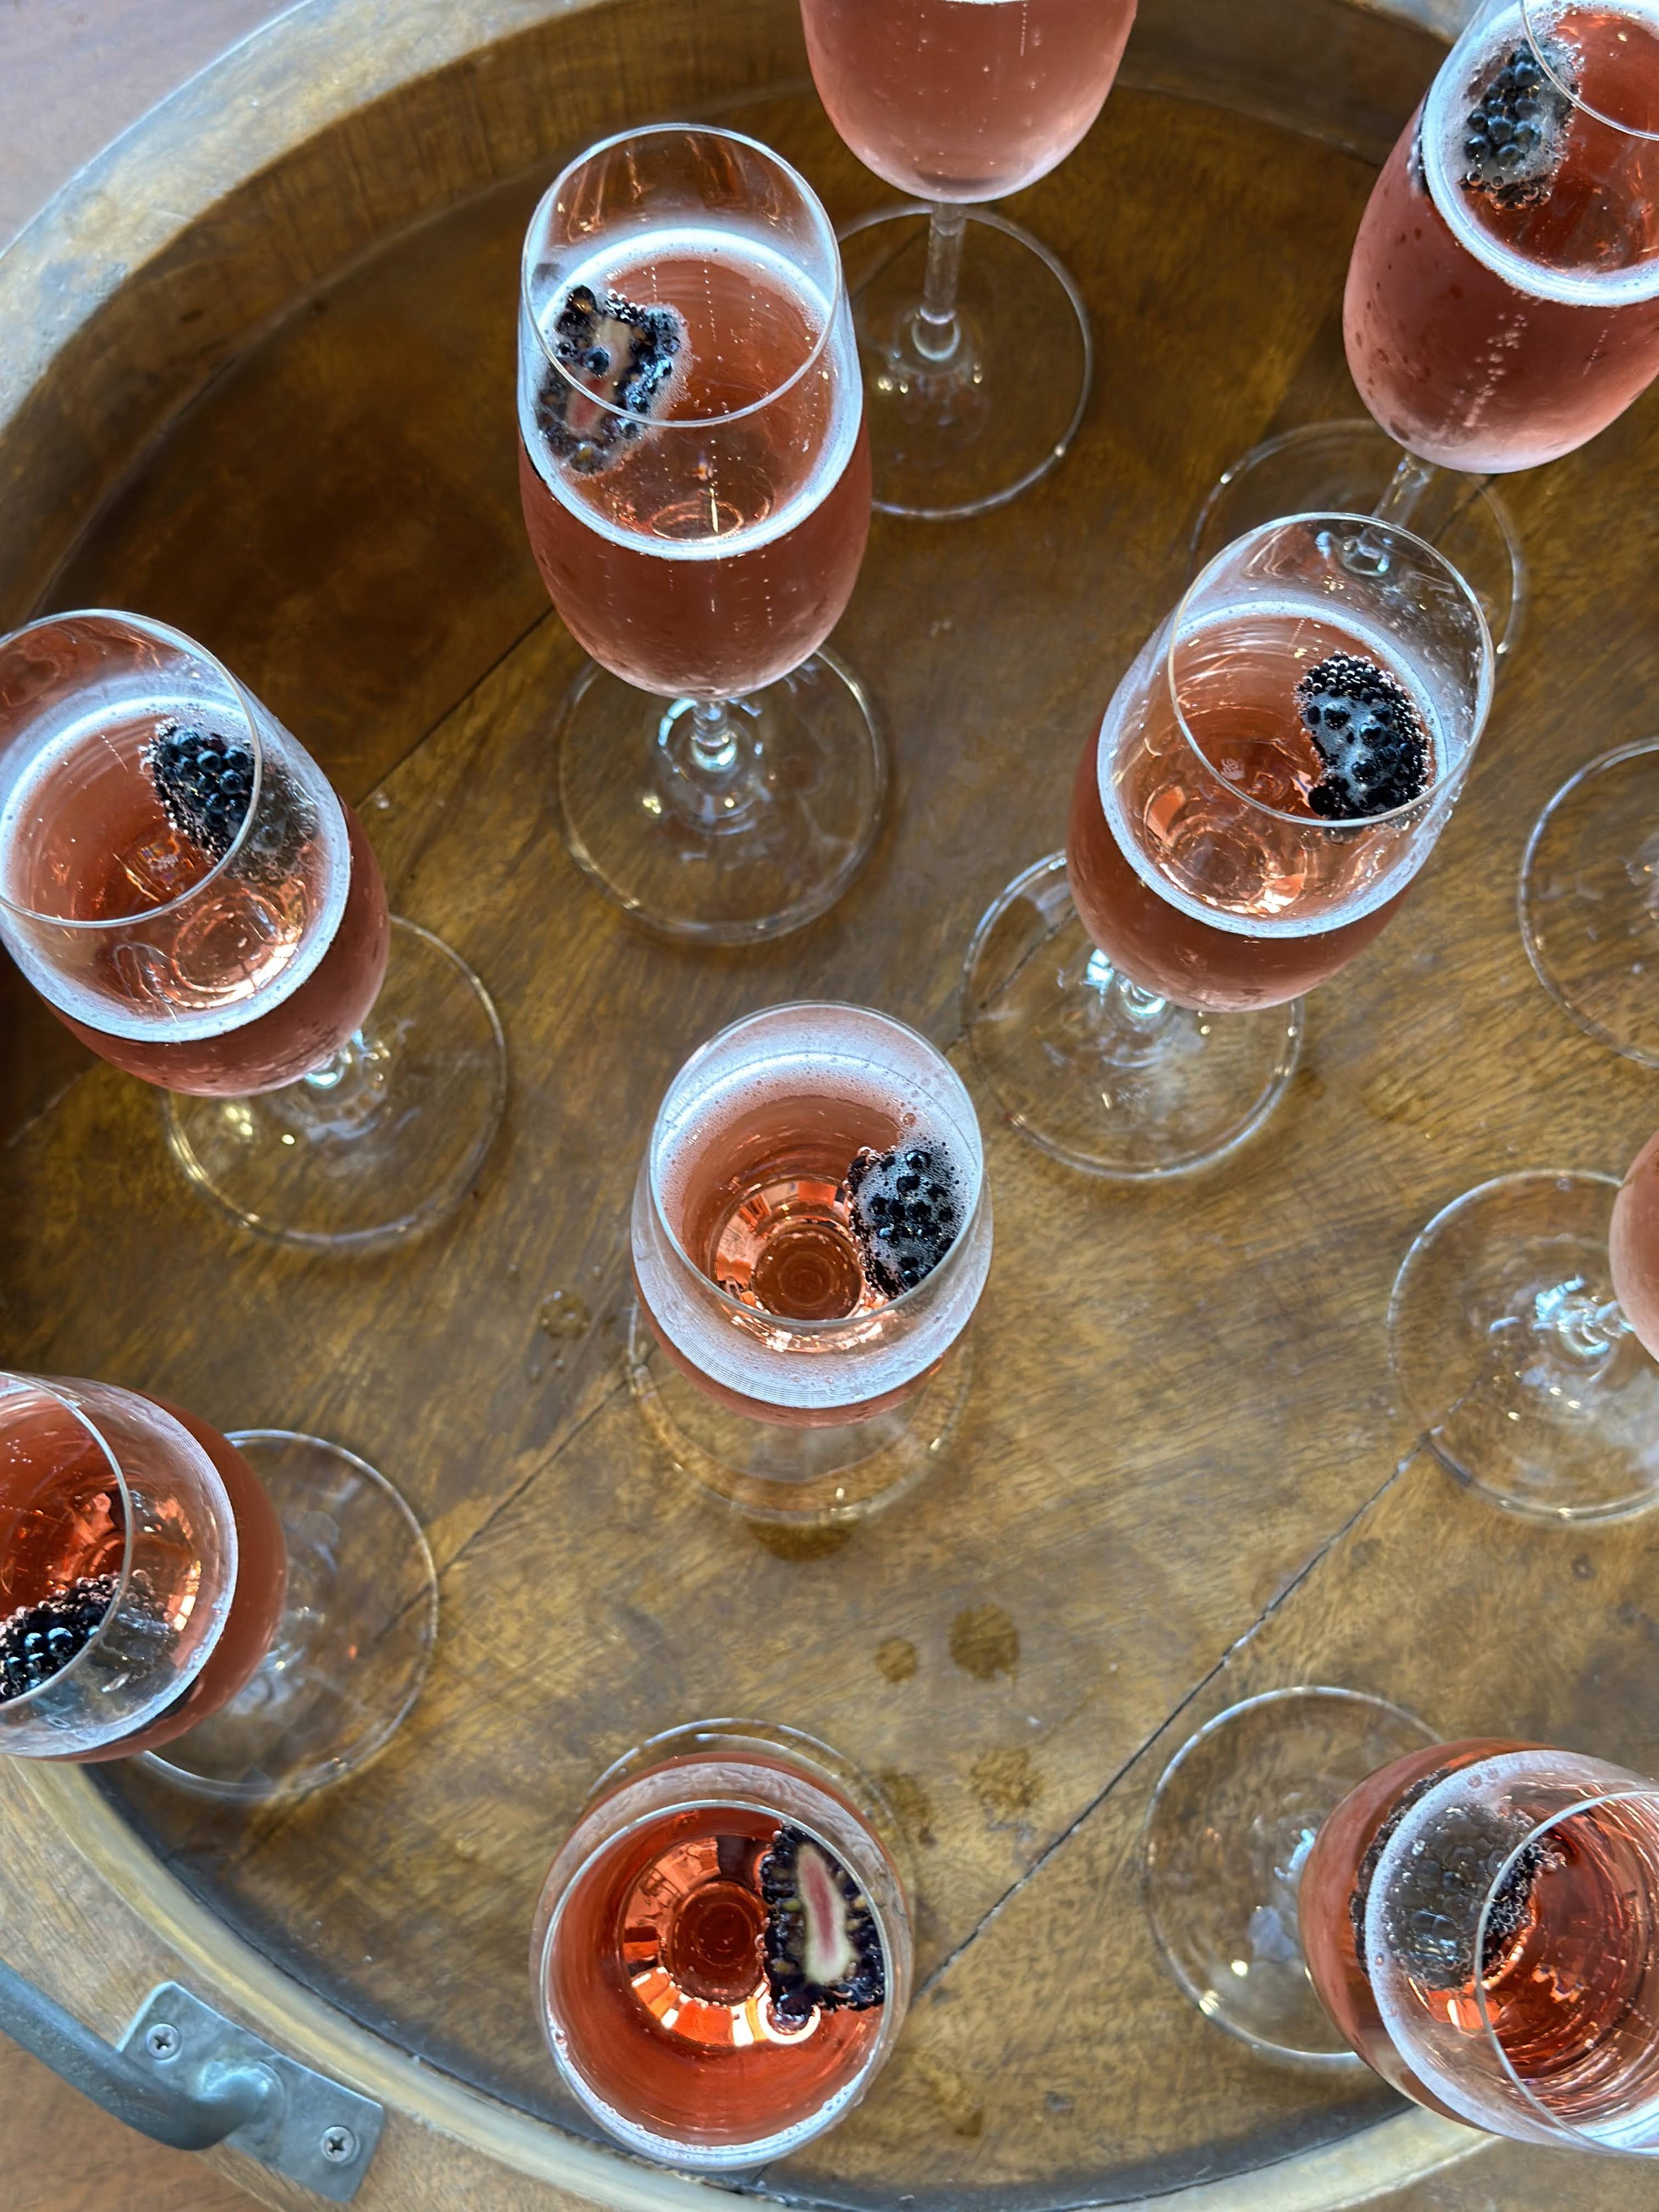
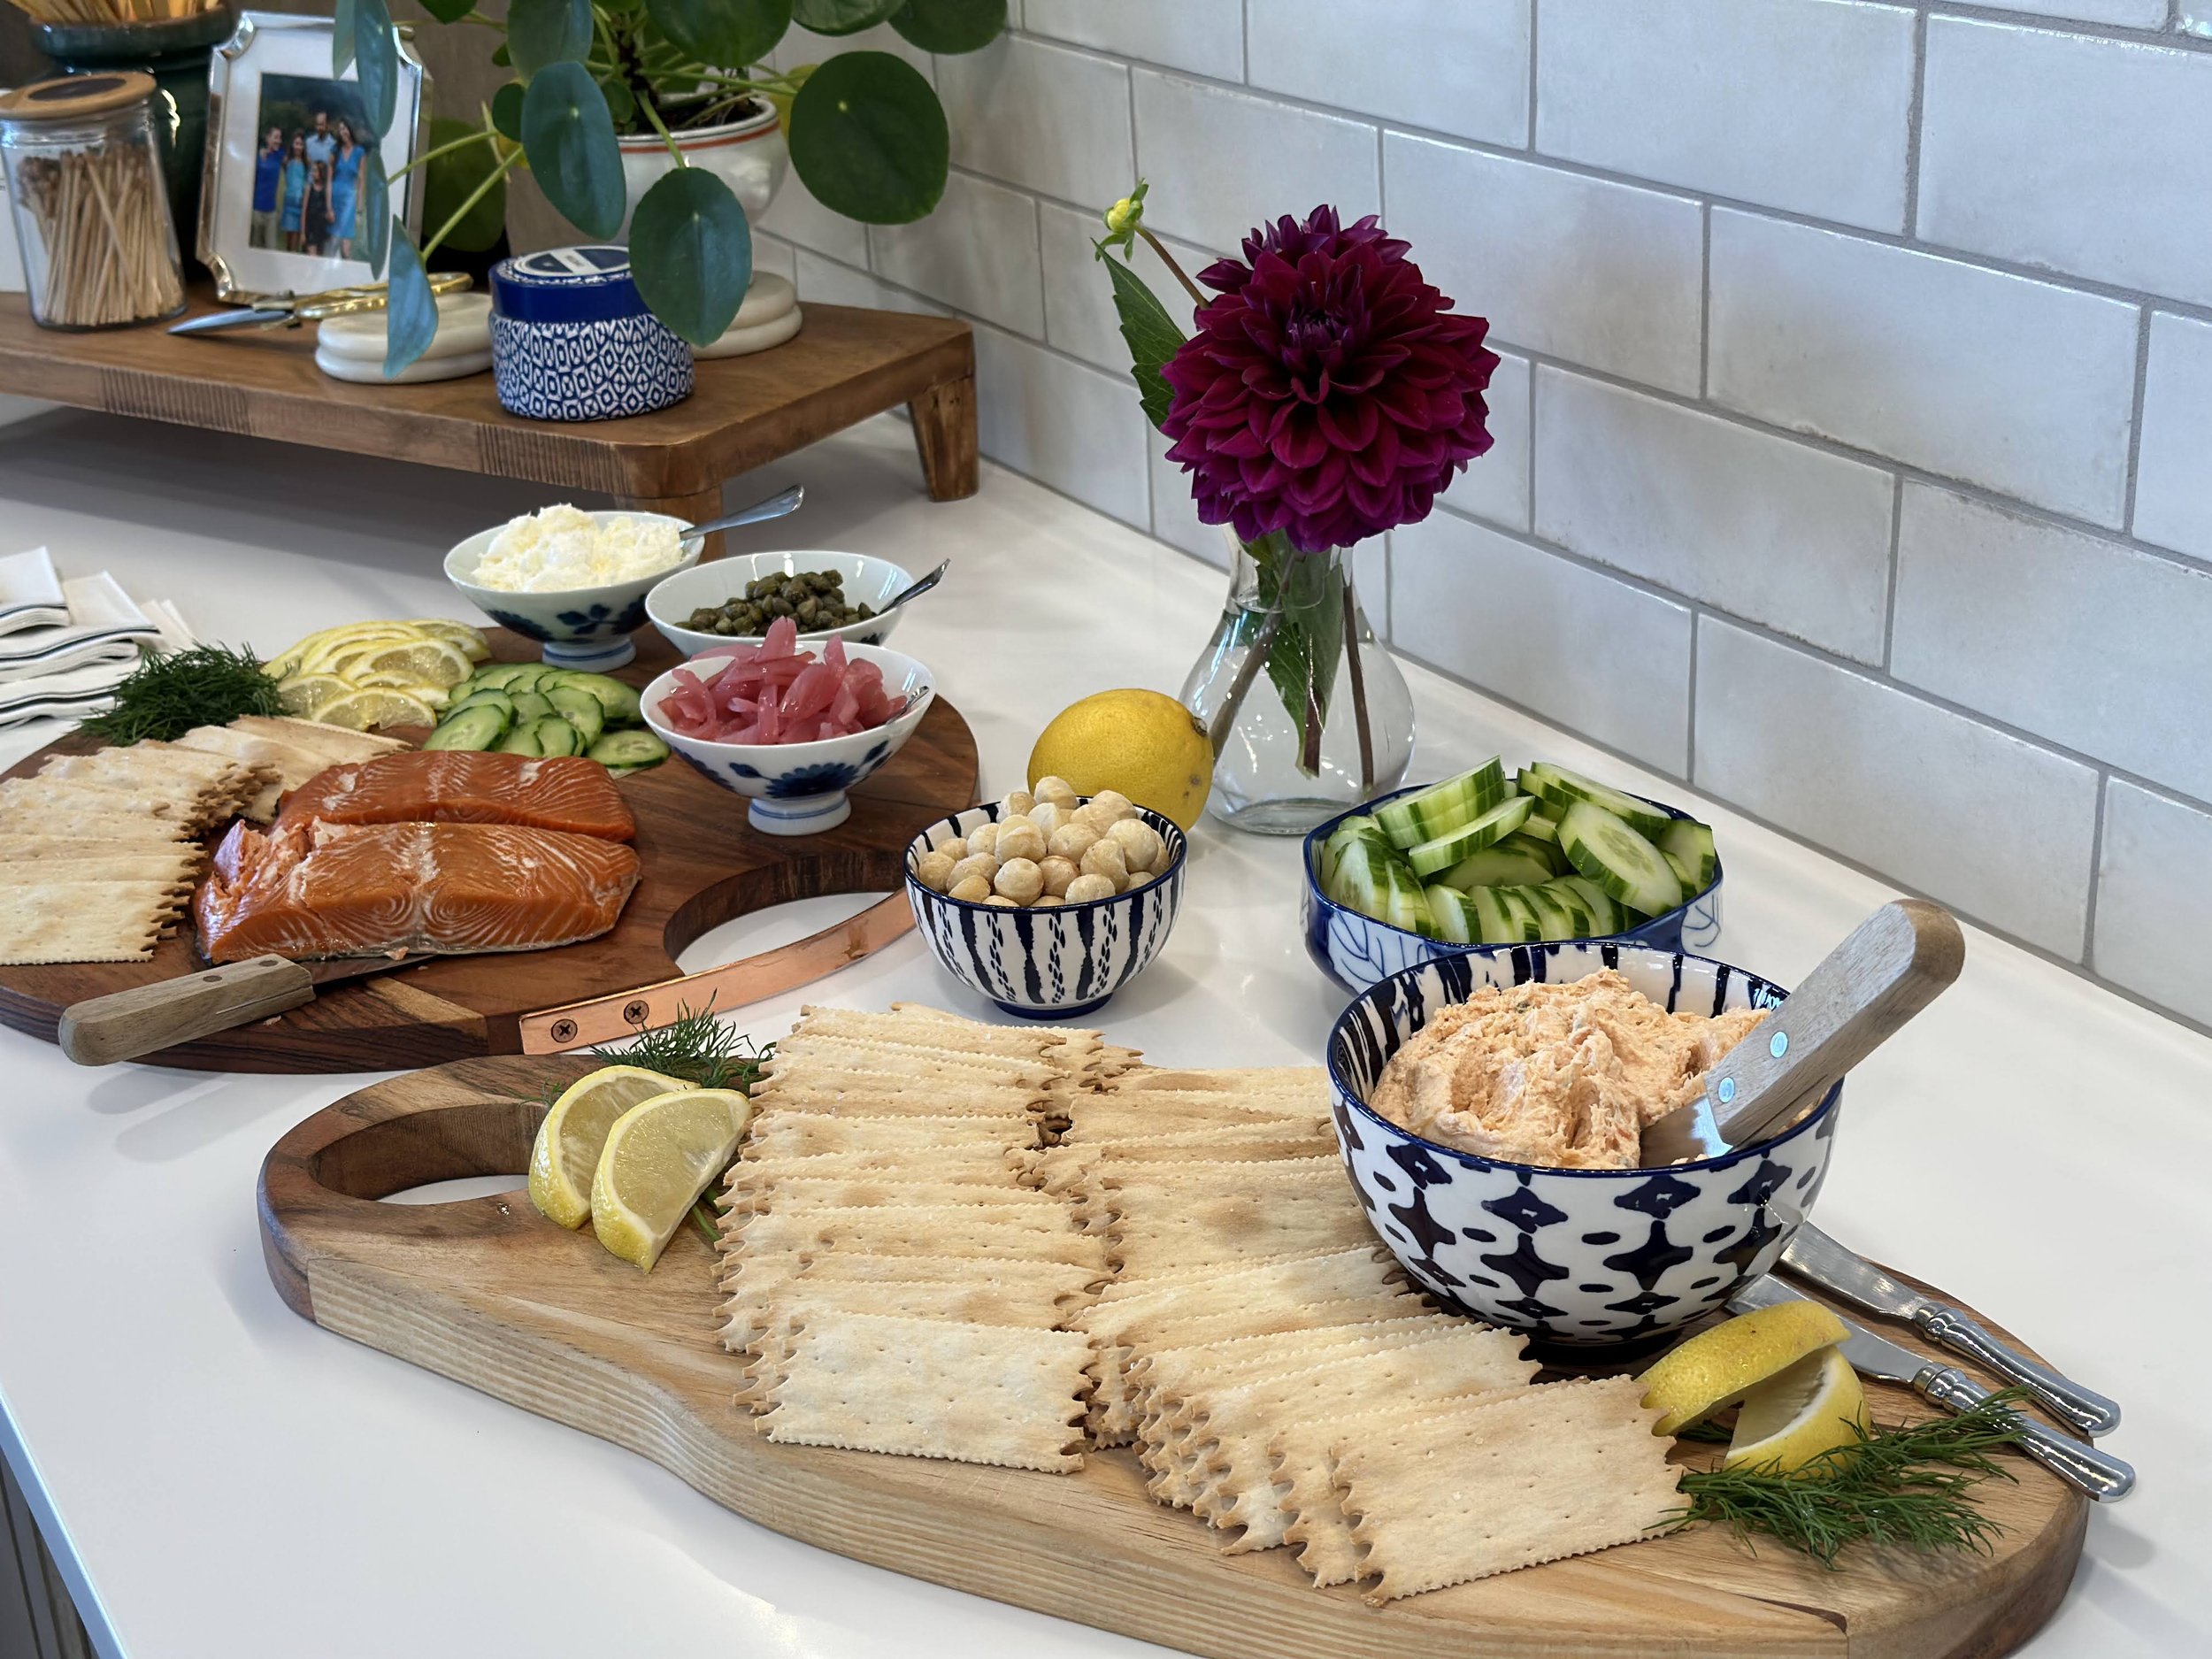
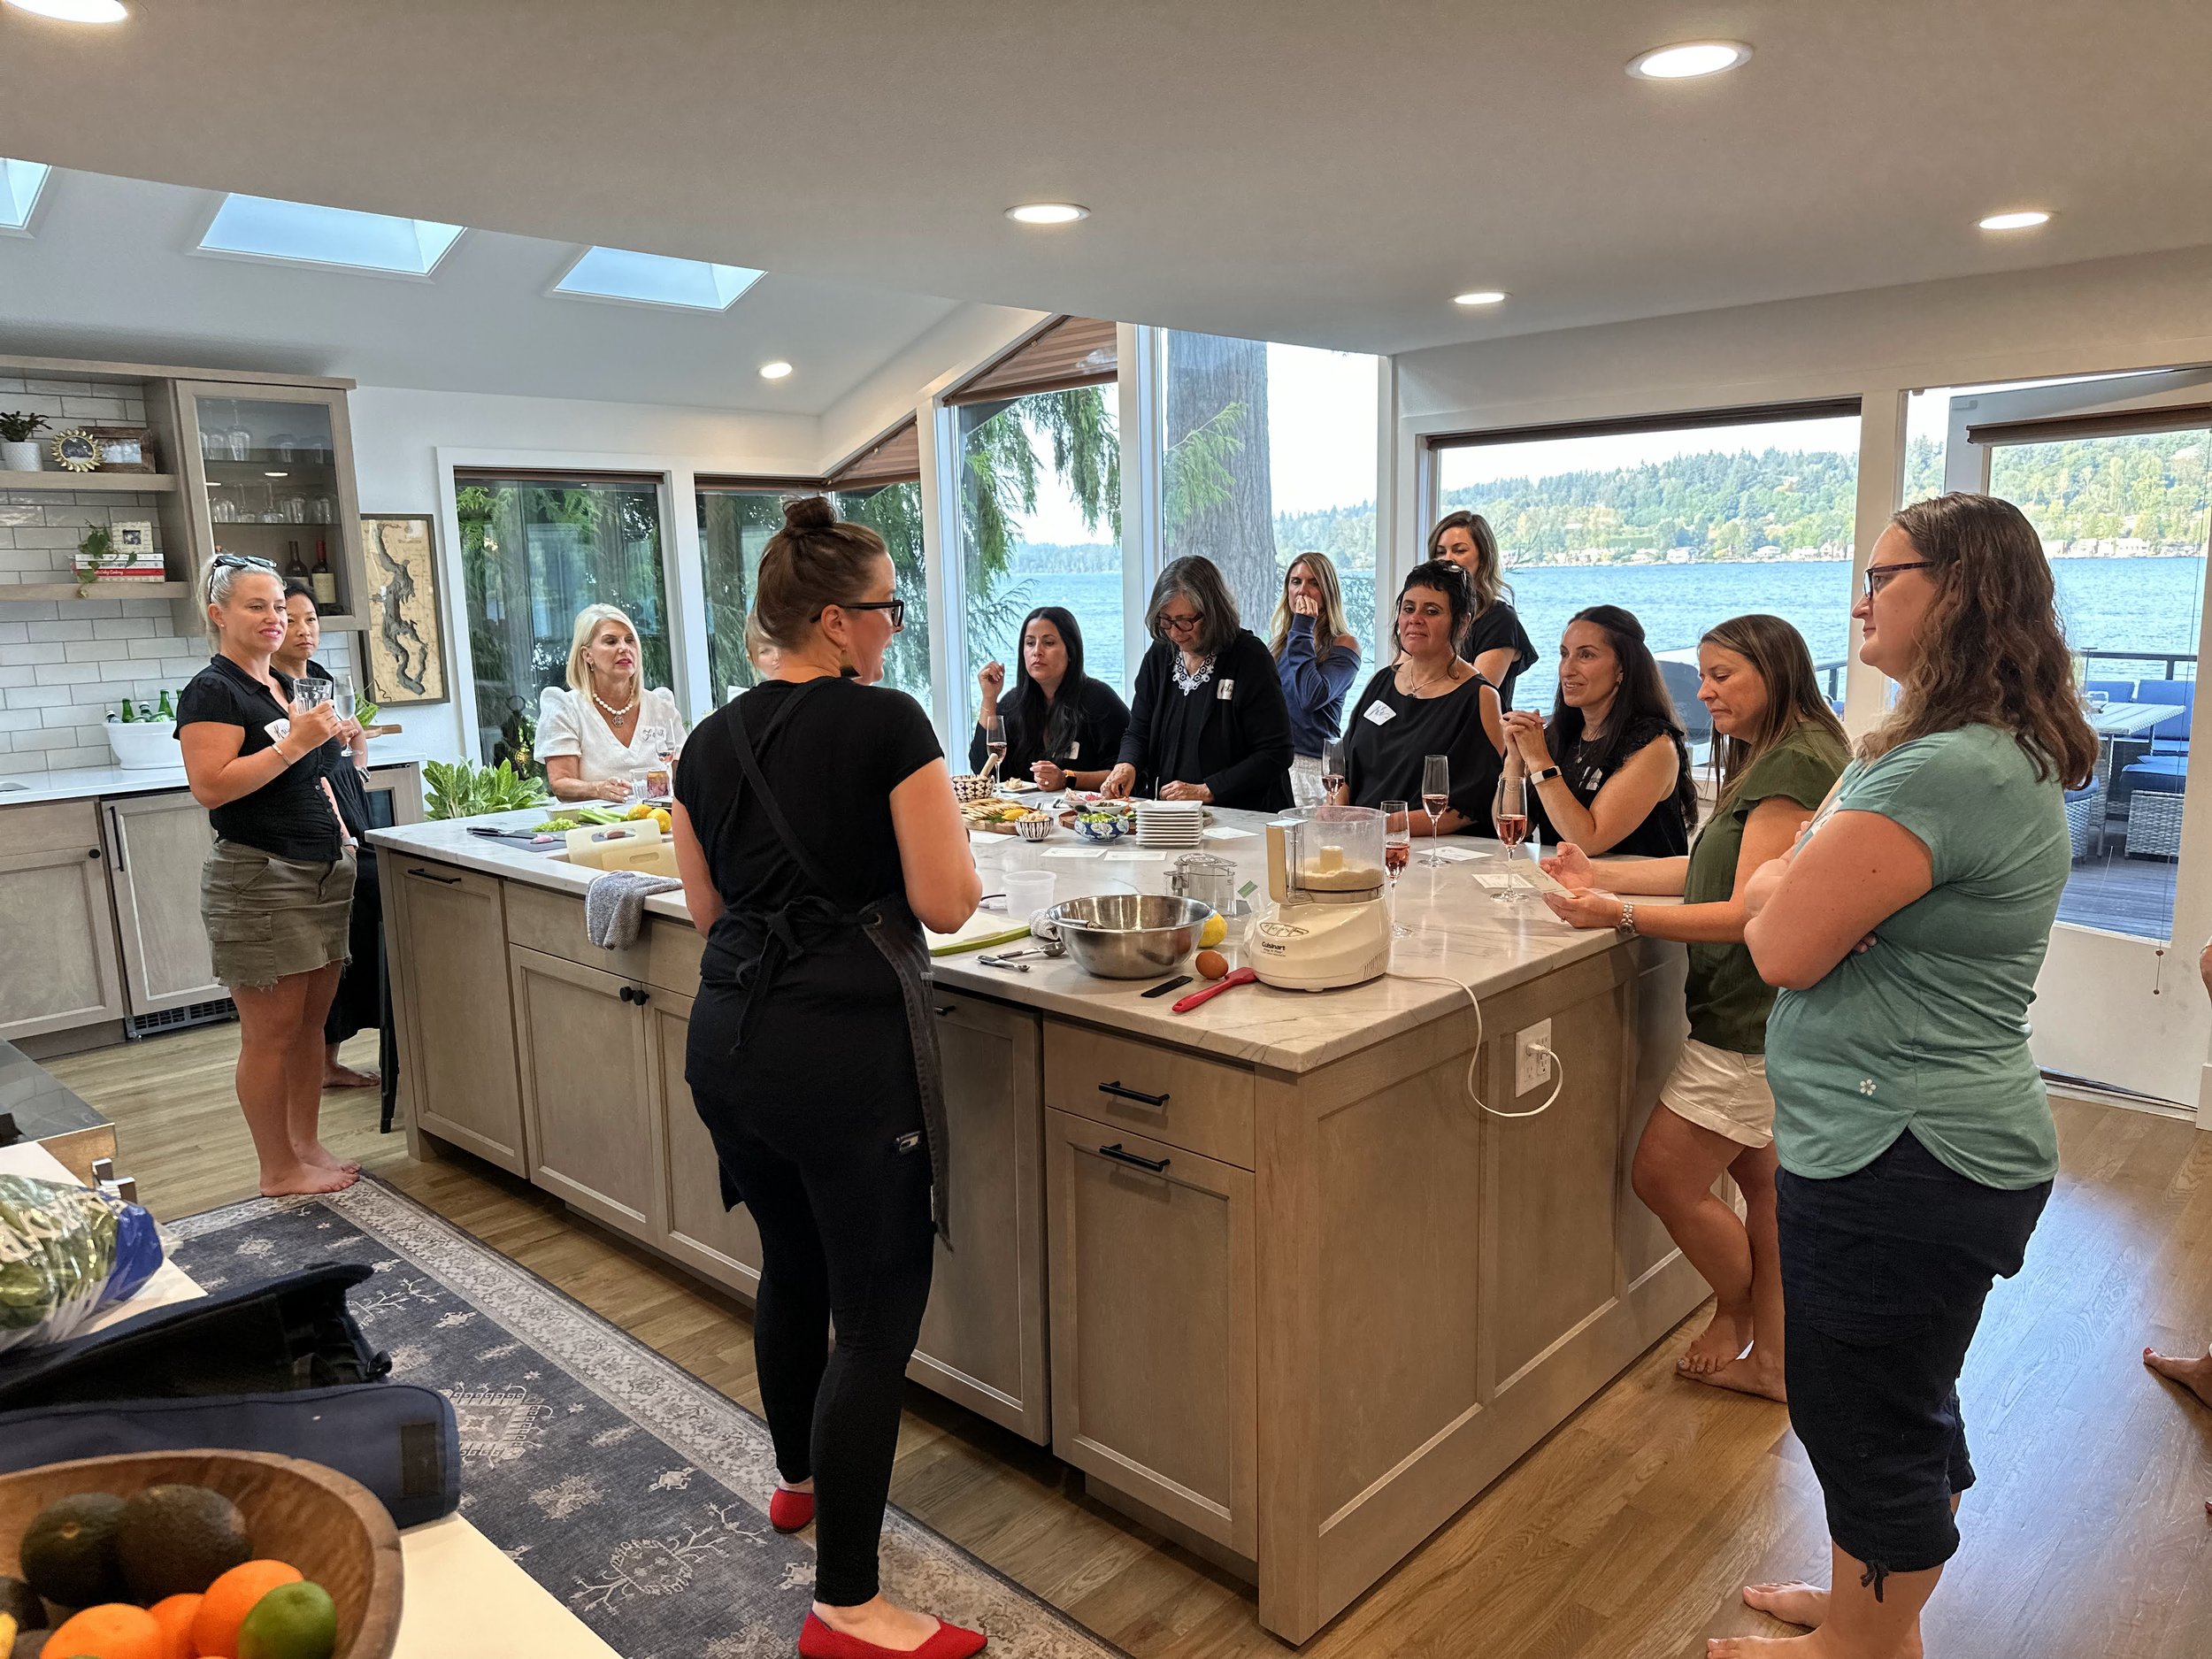
Guests were welcomed with some bubbly Kir Royals as they snacked on a board of smoked salmon prepared two ways. We nibbled on Premier Catch’s smoked salmon dip and smoked king salmon with capers, cream cheese, pickled onions and crackers. Guests spent some time mingling and getting to know one another before the cooking demonstration began. We were thrilled to have Joci Besecker and Ashley Besecker (co-founders of Premier Catch) in attendance for the evening, along with Shannon Schell who is their Marketing Director. They provided a wealth of seafood knowledge throughout the evening, along with handy tips for cooking and preparing their offerings.
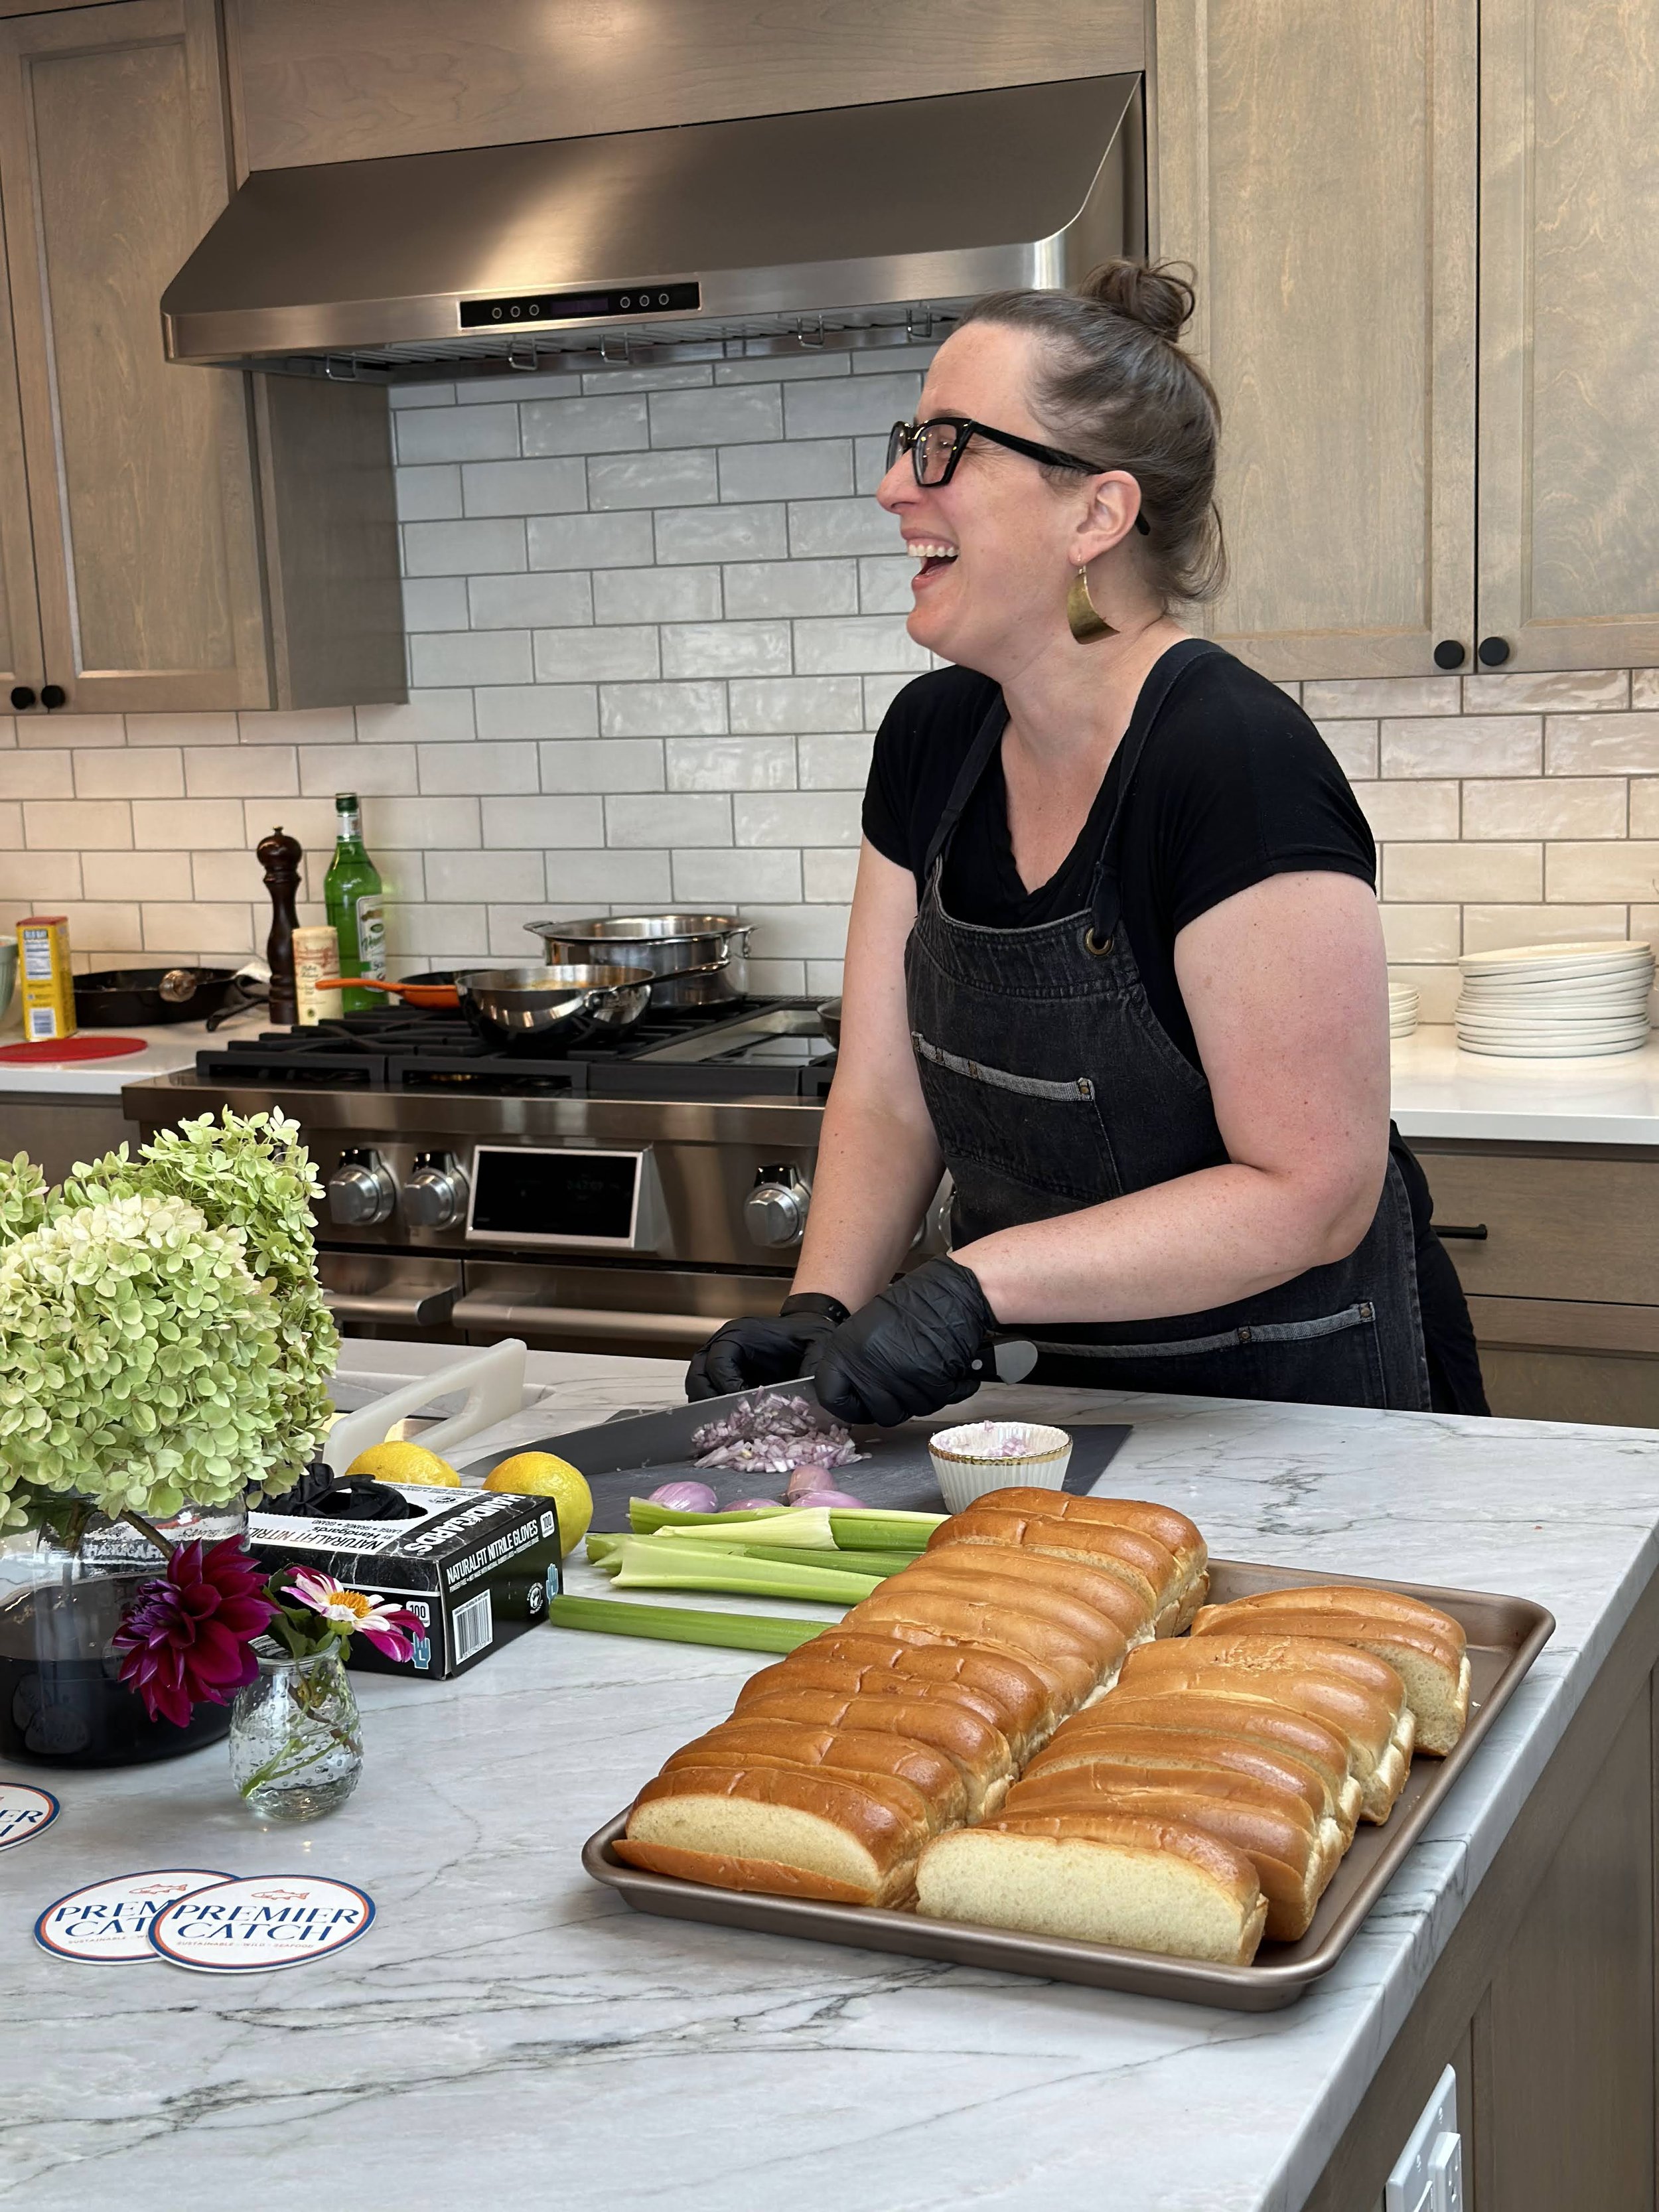
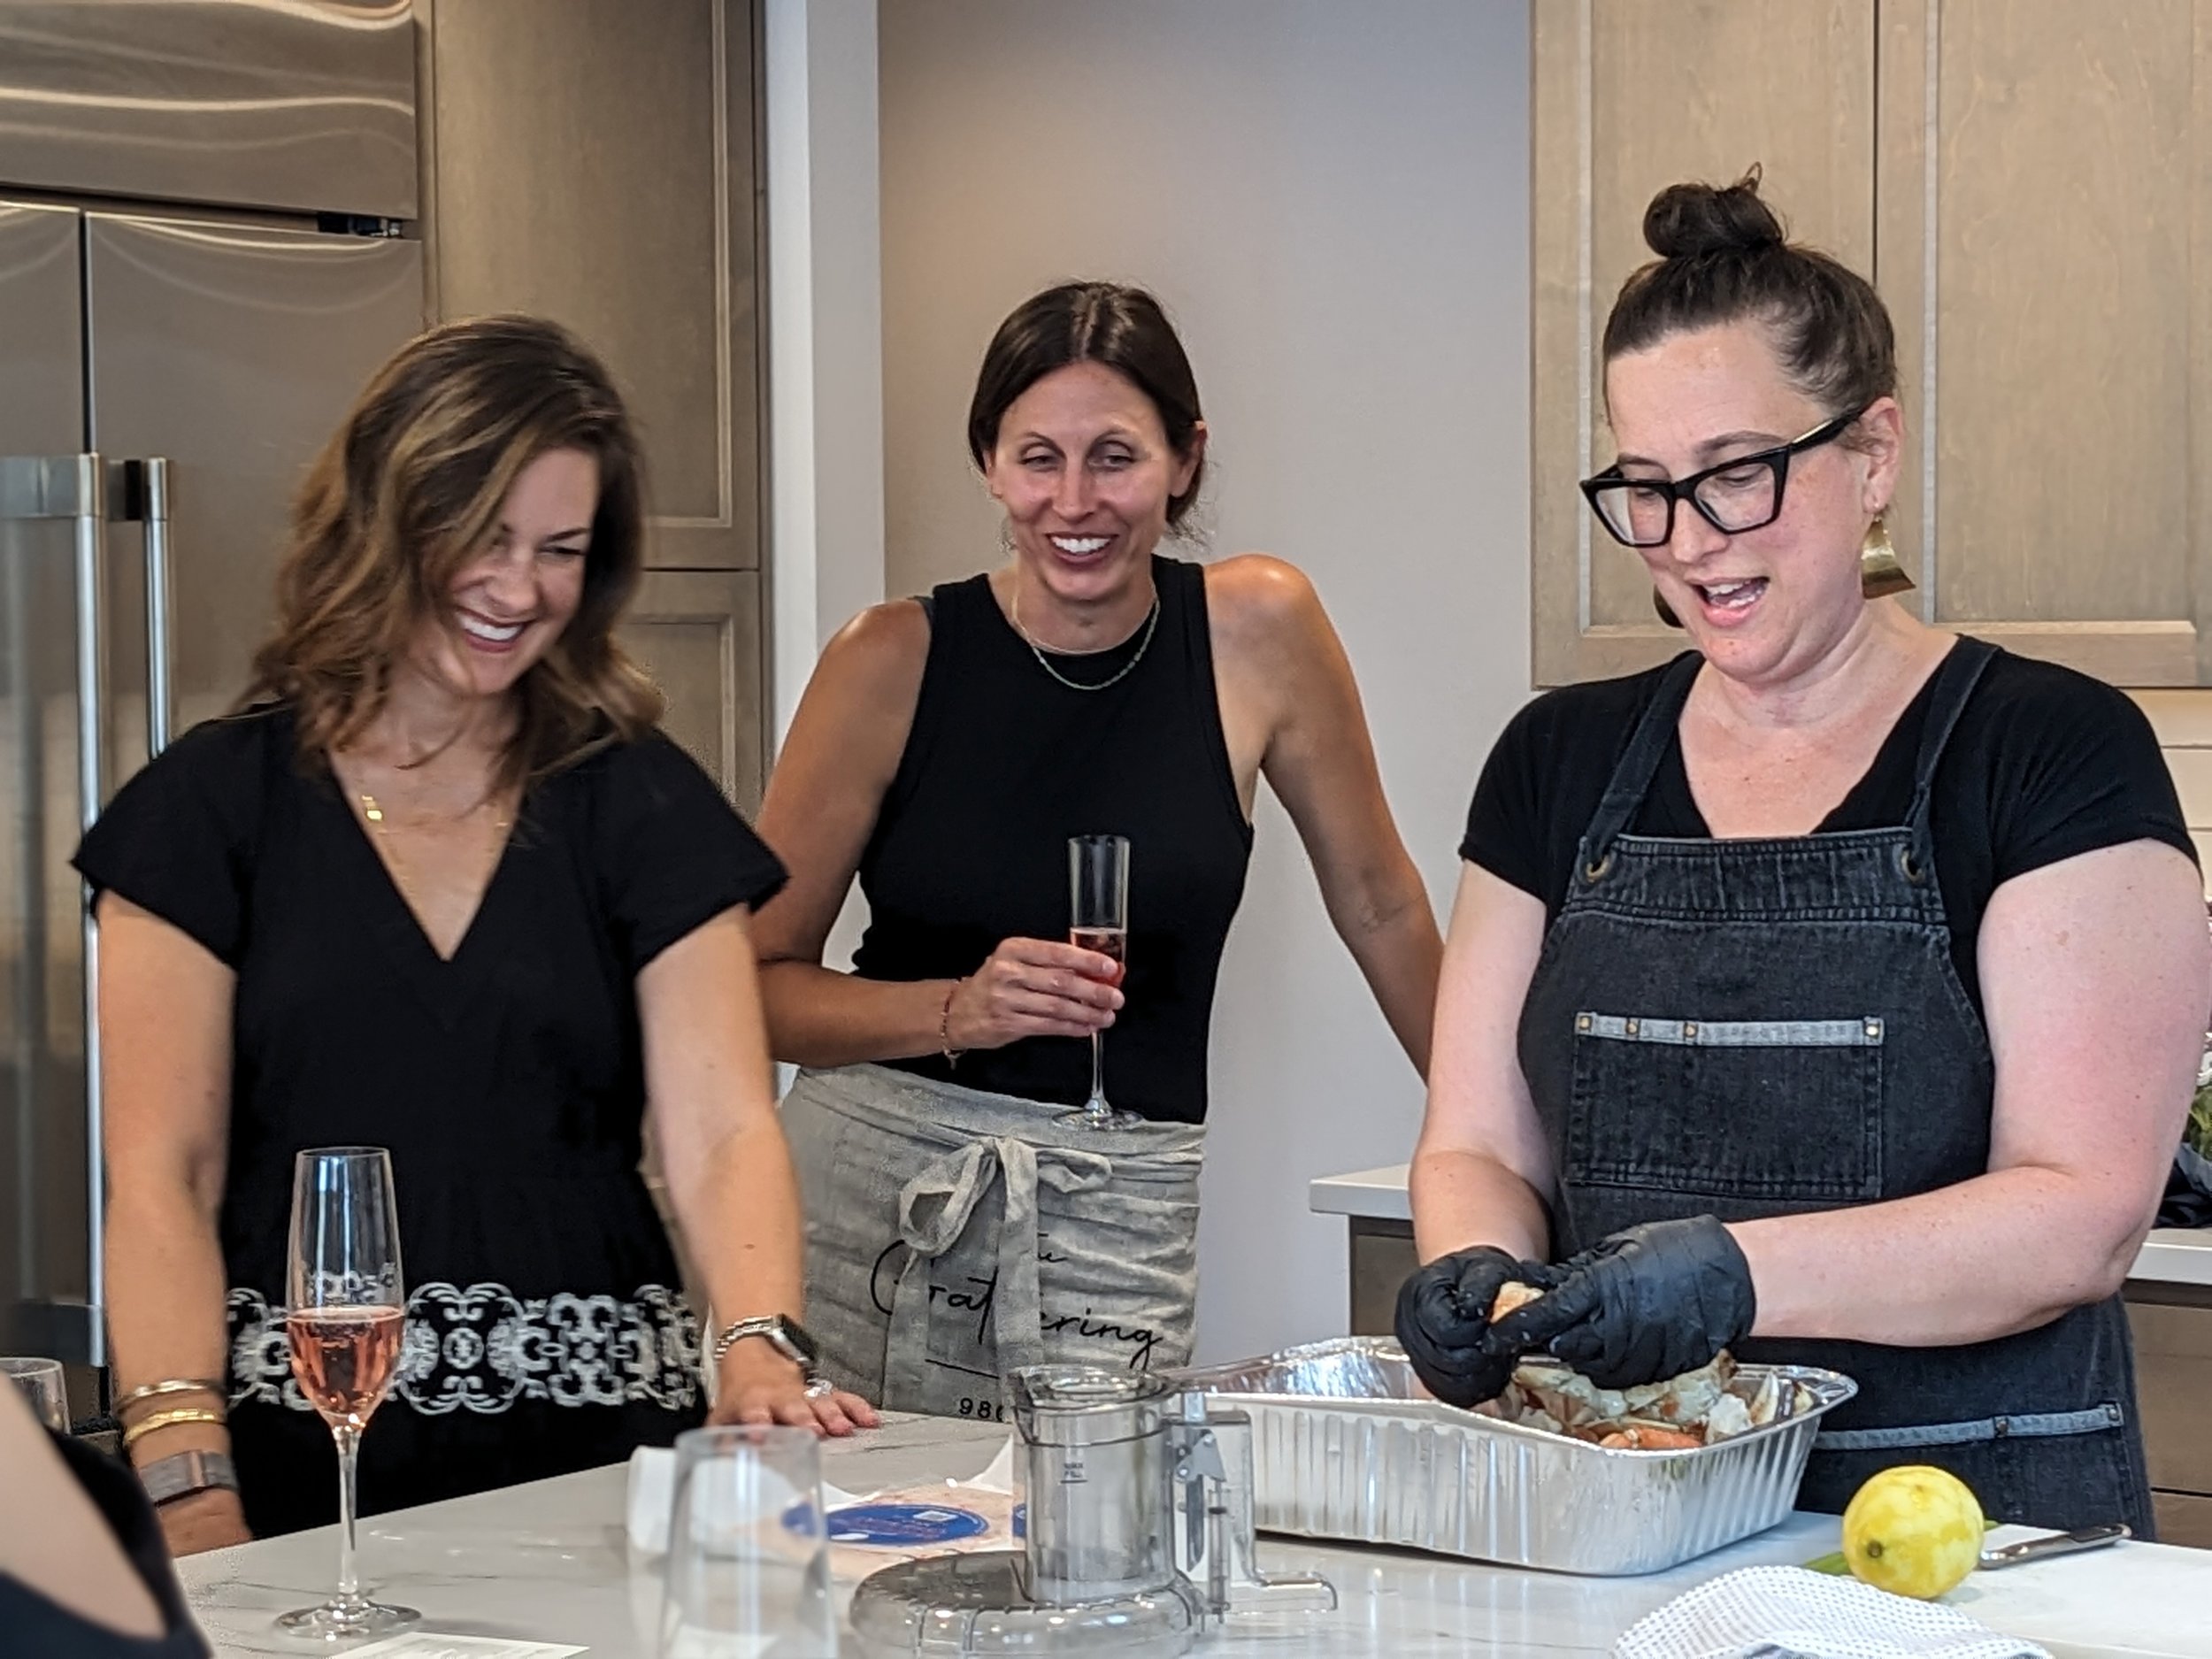
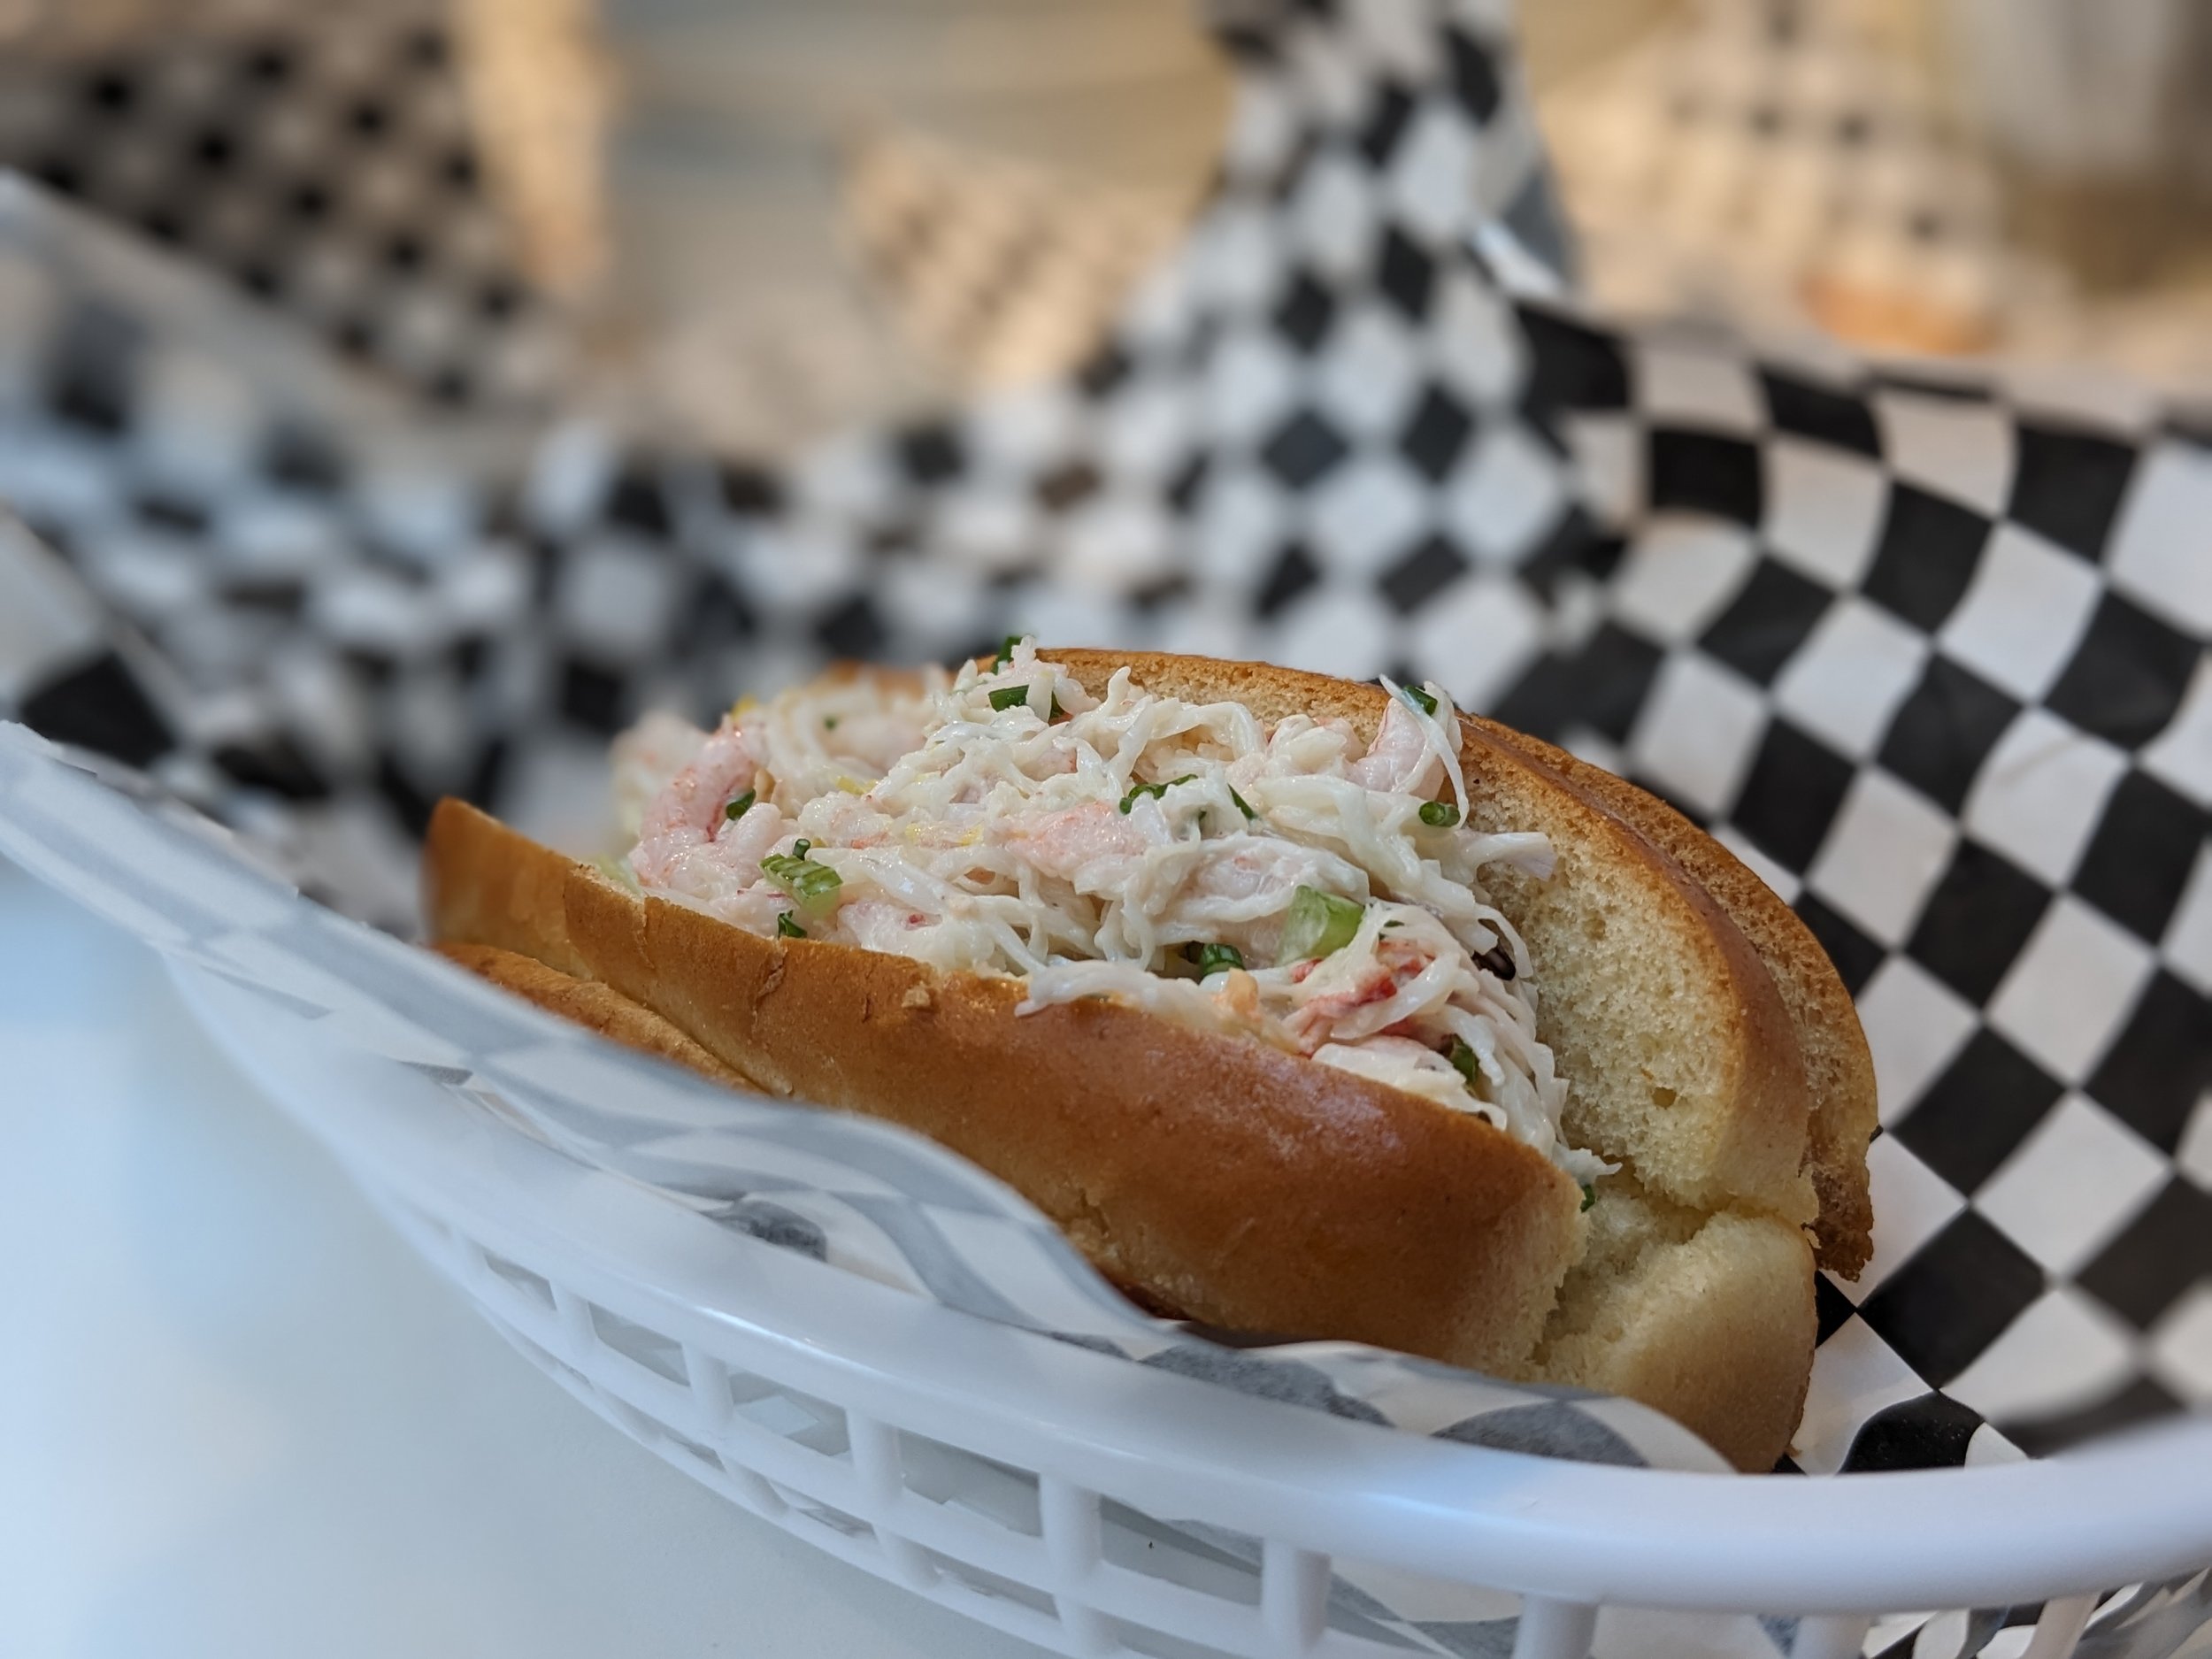
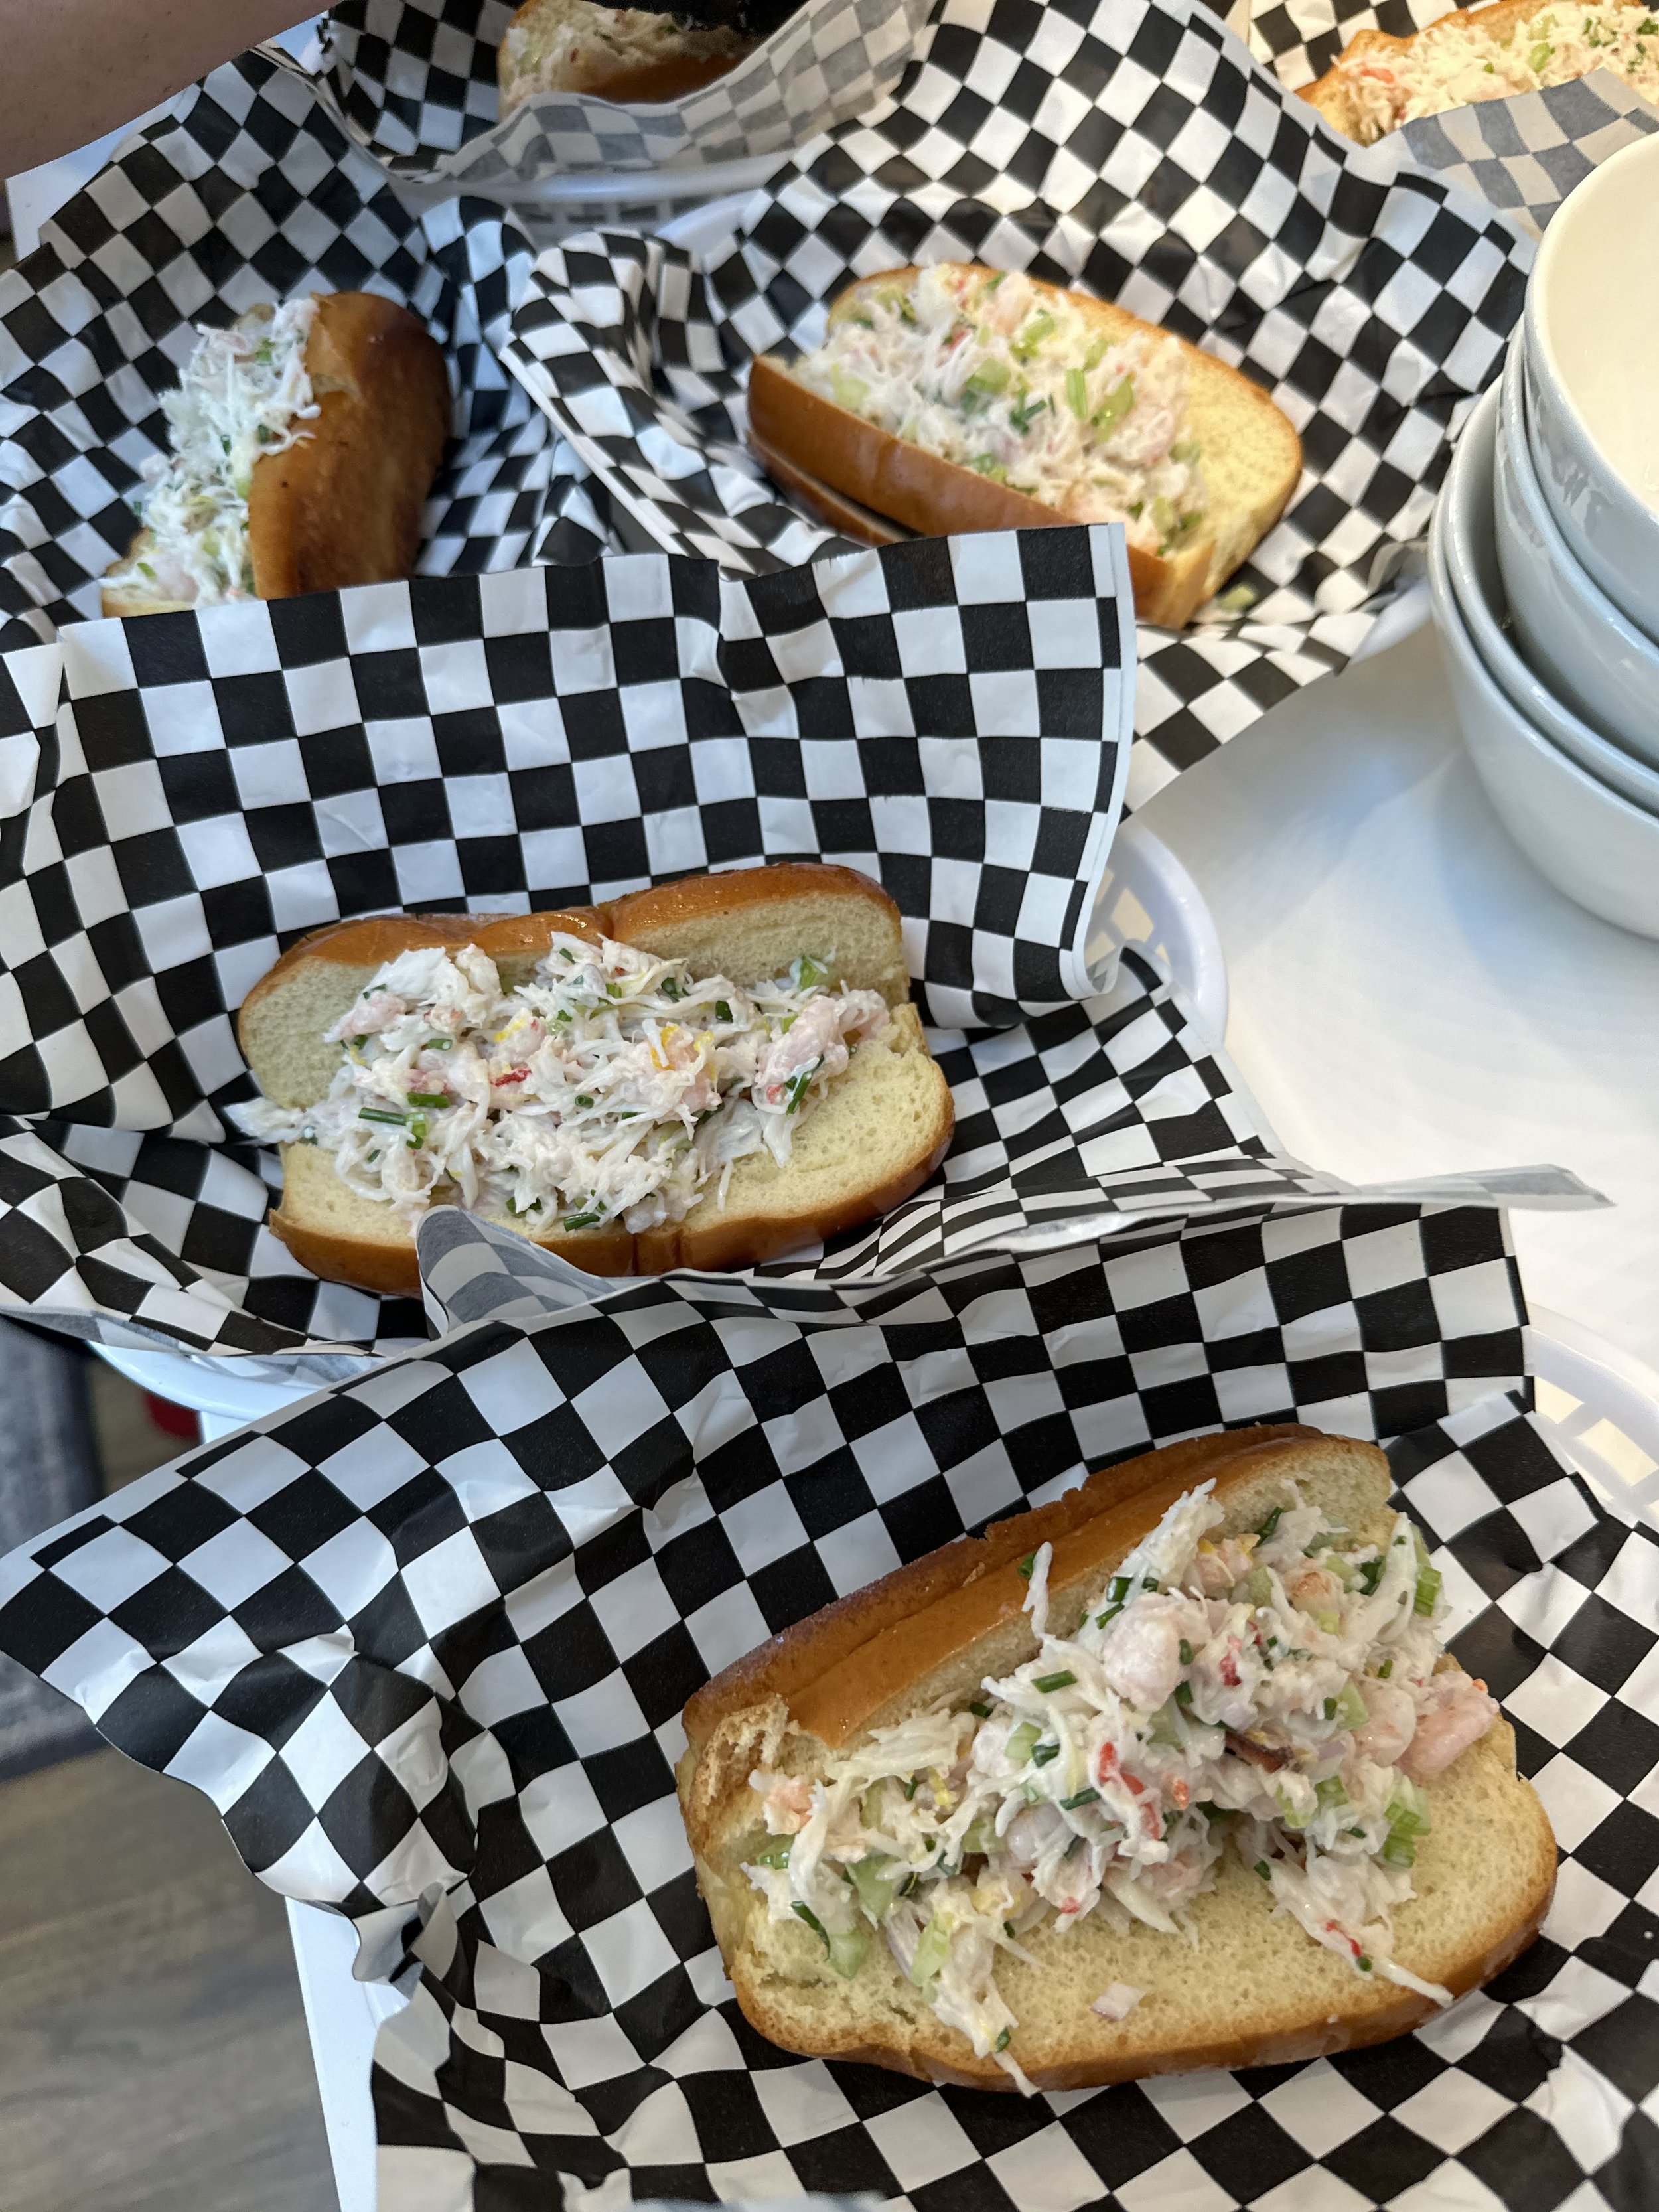
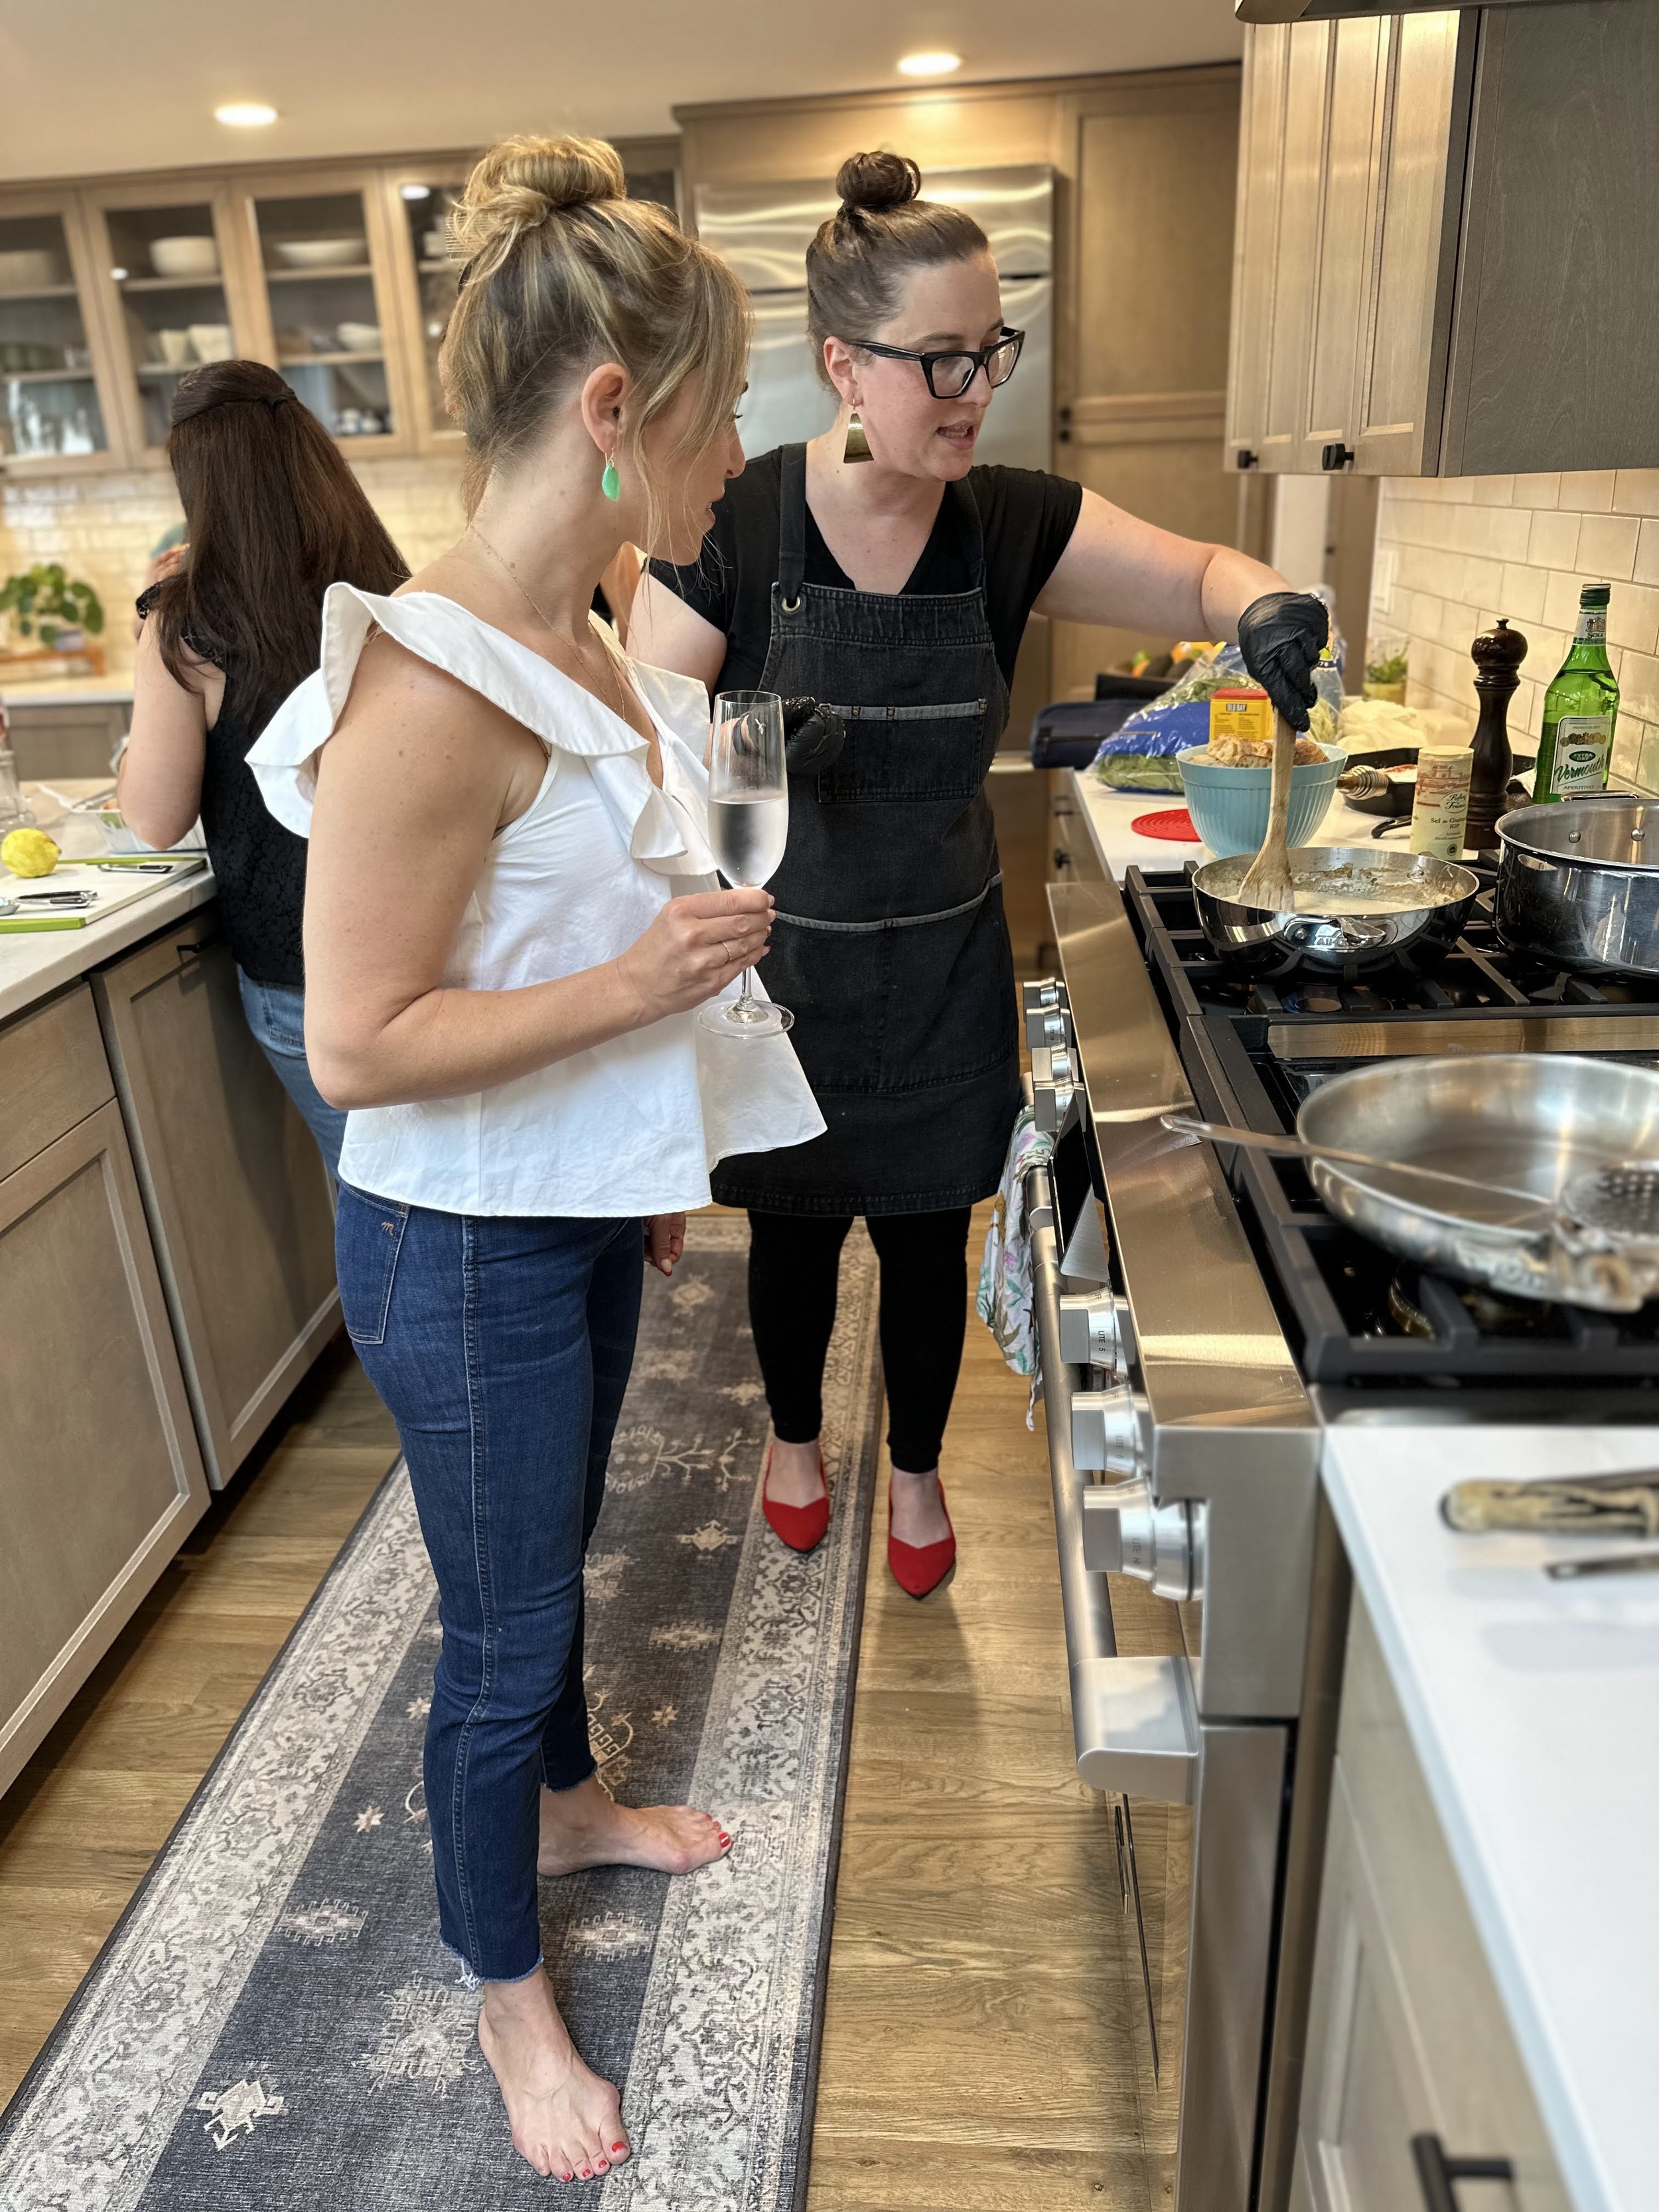
Our chef, Lisa Odegard started the evening by teaching us how to make a flavorful thyme cream sauce using scallop water (see recipe below for the how-to). It was so delicious! While the sauce was reducing, she asked for volunteers to help her crack the Premier Catch snap-n-eat crab claws, which would be used in our first course. The crab and shrimp rolls were a testament to the power of simplicity, with just a few ingredients coming together to create a delicious dish. This recipe is both delicious and impressive.
If you purchase the frozen snap-n-eat crab claws, Premier Catch says they’ll last for up to a year in your freezer. Thaw them by running the bag under cold water. These come pre-cooked and ready to eat, and can be served cold or added to your favorite crab recipe.

Crab and Shrimp Rolls
by Lisa Odegard - Serves 6
1 lb. Dungeness crab, cooked and coarsely chopped
8 oz cooked snow crab
8 oz cooked shrimp
4 brunoise cut celery ribs
5 Tbsp minced chives (you can also add shallots)
1 lemon zested and cut into 6 wedges
3 Tbsp mayonnaise
1 tsp Old Bay seasoning
⅛ tsp sea salt
3 Tbsp grass-fed butter
6 top-cut buns (you can find these at Trader Joe’s)
Place the Dungeness crab, snow crab, shrimp, brunoise cut celery ribs, 4 Tbsp of chives, lemon zest, mayonnaise, Old Bay, and sea salt into a medium size mixing bowl and mix gently. Place bowl in fridge.
Heat 12” cast iron skillet on medium heat, once it is hot, place 2 tbsp butter into the pan and swirl butter in pan until it is melted and bubbly. Add buns on their side (not top, bottom or open) and heat until golden brown on each side. Set buns on a serving plate.
Fill each toasted bun with 4 ounces of your crab mixture and add a little bit of chives to garnish. Serve immediately.

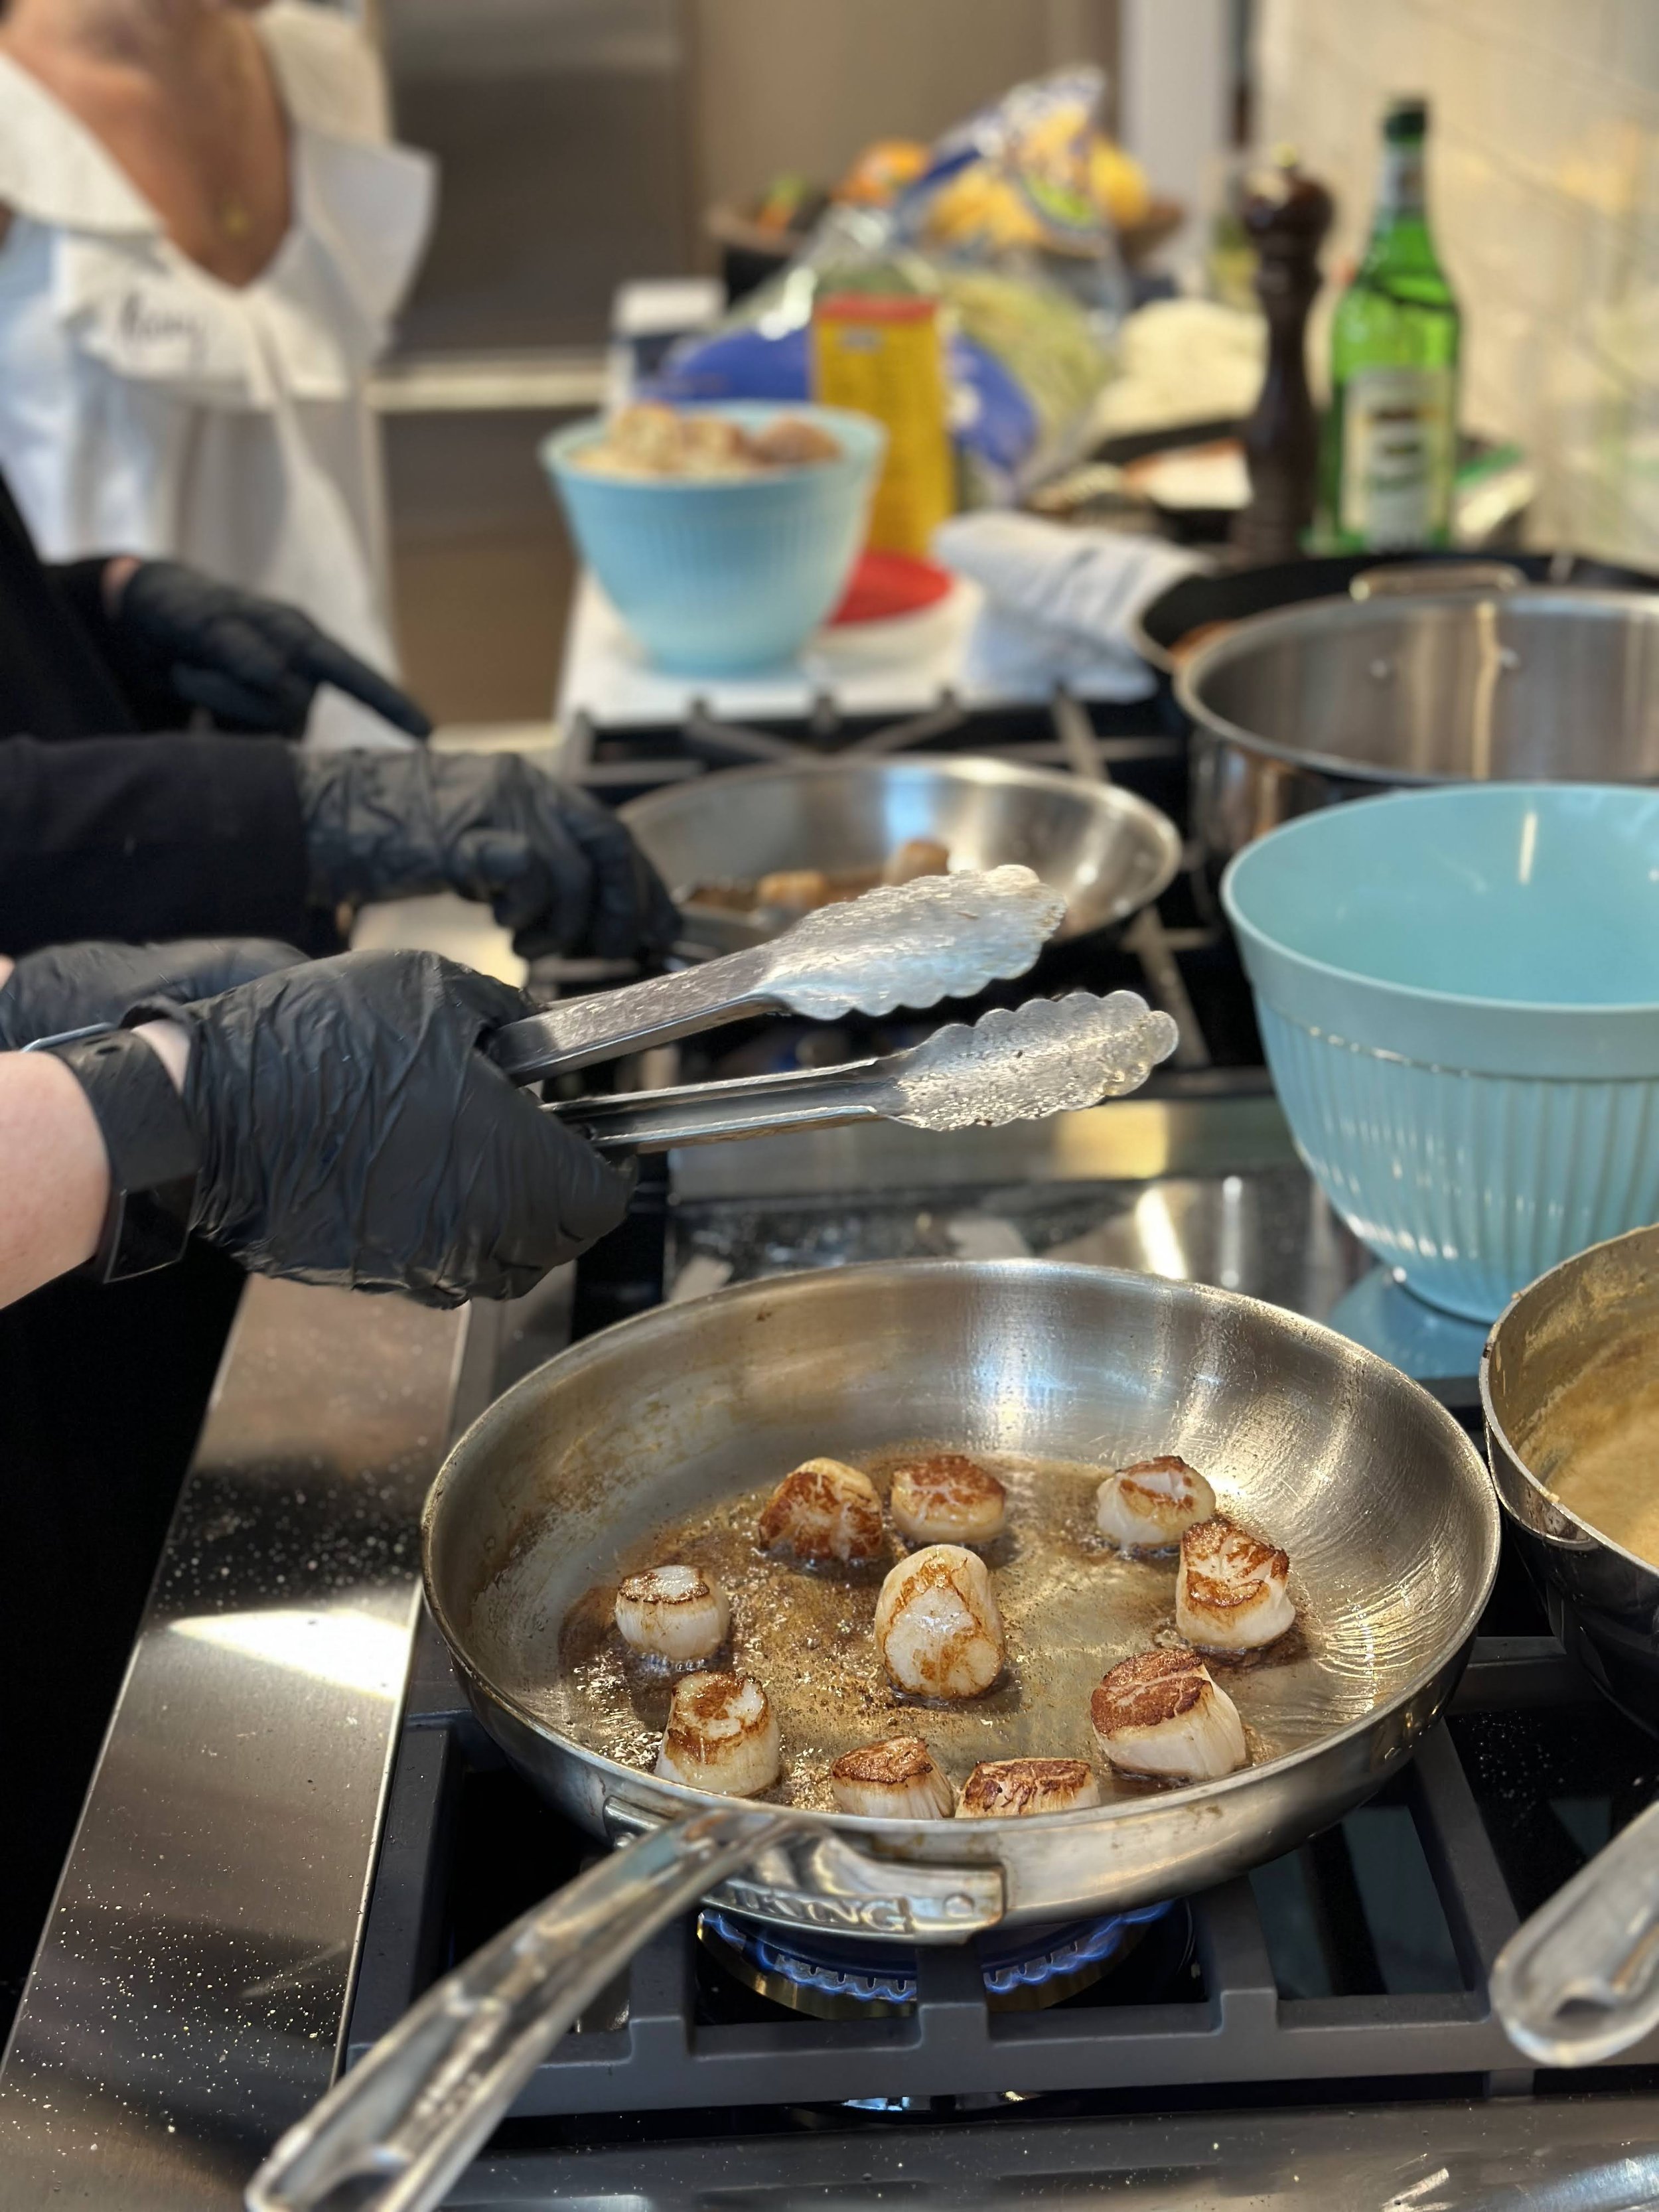
Following our first course Lisa got to work demonstrating how to perfectly sear the Alaska Weathervane Scallops. The key is to use clarified butter and to make sure your pan is sizzling hot! The cooking time for scallops will vary depending on their size, but they should be flipped as soon as they develop a golden brown crust. Do not overcrowd the pan, and avoid jostling the scallops as they cook. They need to stay in one spot to develop that perfect crust.
Lisa deglazed the scallop pan using the thyme cream sauce after searing each batch of scallops. This creates a more complex and nuanced flavor profile for the sauce.
Premier Catch’s Weathervane Scallops are caught, shucked and flash frozen within an hour on the fishing boat where they’re caught in Alaska. They’re packed dry which means there are no additives like salt water or preservatives. To defrost, place the bag in the refrigerator overnight or in a bowl of cold water for 30 minutes.
“Be sure to use clarified butter or ghee when searing your scallops. The milk fat has been removed which prevents them from burning!”

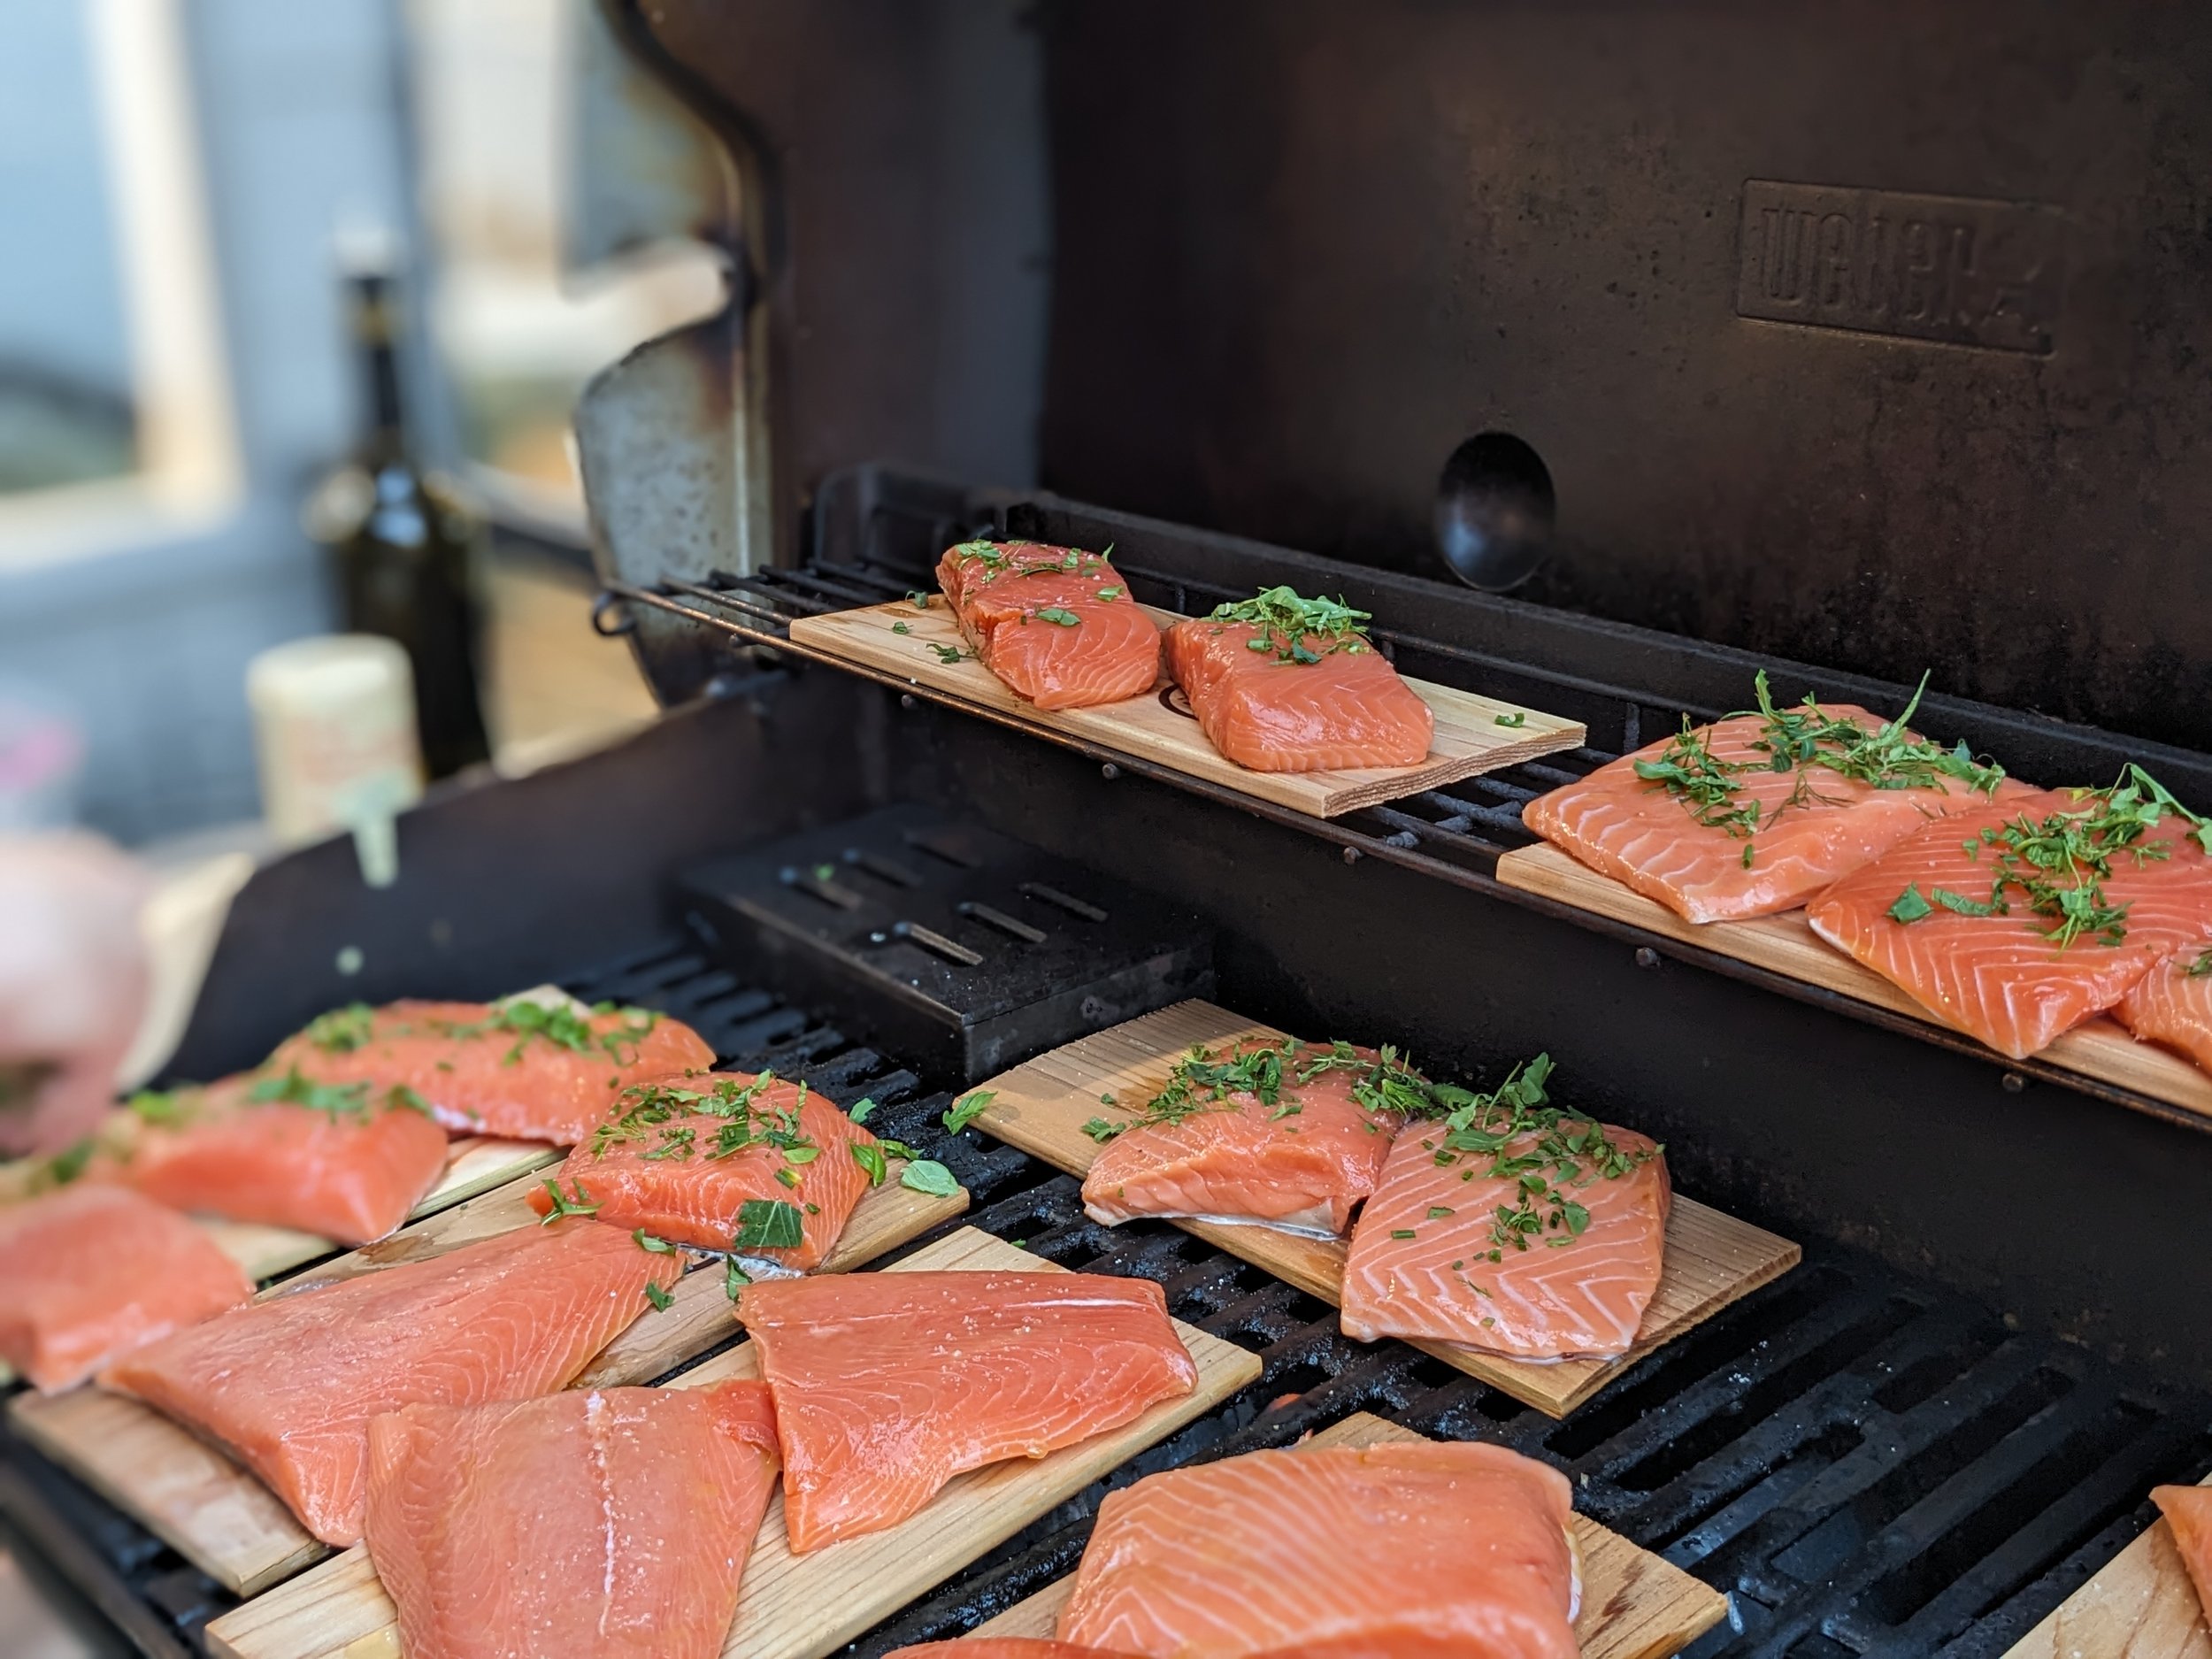
Our last seafood course was Cedar planked Salmon with fresh herbs. Lisa used a mixture of mint, basil, thyme, dill and arugula. Did you know arugula is actually an herb? Our recipe called for King Salmon which is the fattiest variety with the highest content of Omega 3’s. While Lisa began prepping the fish, Ashley shared a little bit about the different types of Salmon (Chum, Sockeye, King, Silver, Pink, etc.). Premier Catch sells their salmon de-boned (hooray!) and pre-portioned in 8 oz. cuts. Salmon can take anywhere from 5-10 minutes to cook on the grill depending on the thickness of the filet and your doneness preference (Lisa likes it just falling apart). Once you find your preferred doneness for fish, use a cooking thermometer to ensure that you get it right every time.
When cooking salmon, you may notice some white liquid coming out of the fish. This is called albumen, and it is a protein that is found in all fish. Albumen is released when the fish is cooked, and it is perfectly safe to eat. In fact, it is a good source of protein and other nutrients.

If you plan to cook your seafood on a cedar plank be sure to soak your plank prior to grilling with it to prevent burning. You can soak your plank in just water or if you’d like to add an additional flavor profile, soak it in a mixture of water and your alcohol of choice (sake, hard cider, wine, etc.), just be sure the alcohol content isn’t higher than about 9-10%. If you plan to use chardonnay, use a steel-fermented. The oak flavor will not be complementary to the cedar. Don’t soak your planks for more than 3 hours or you will begin to dilute that lovely wood flavor.
Joci likes to defrost her salmon in the sink while soaking her cedar planks. This is a great way to multitask and get dinner ready quickly. The salmon will be defrosted and the cedar planks will be soaked in about 30 minutes, so everything will be ready to grill at the same time.
After grilling the salmon, Lisa added a generous sprinkle of herbs and a drizzle of basil-infused oil to finish it off.
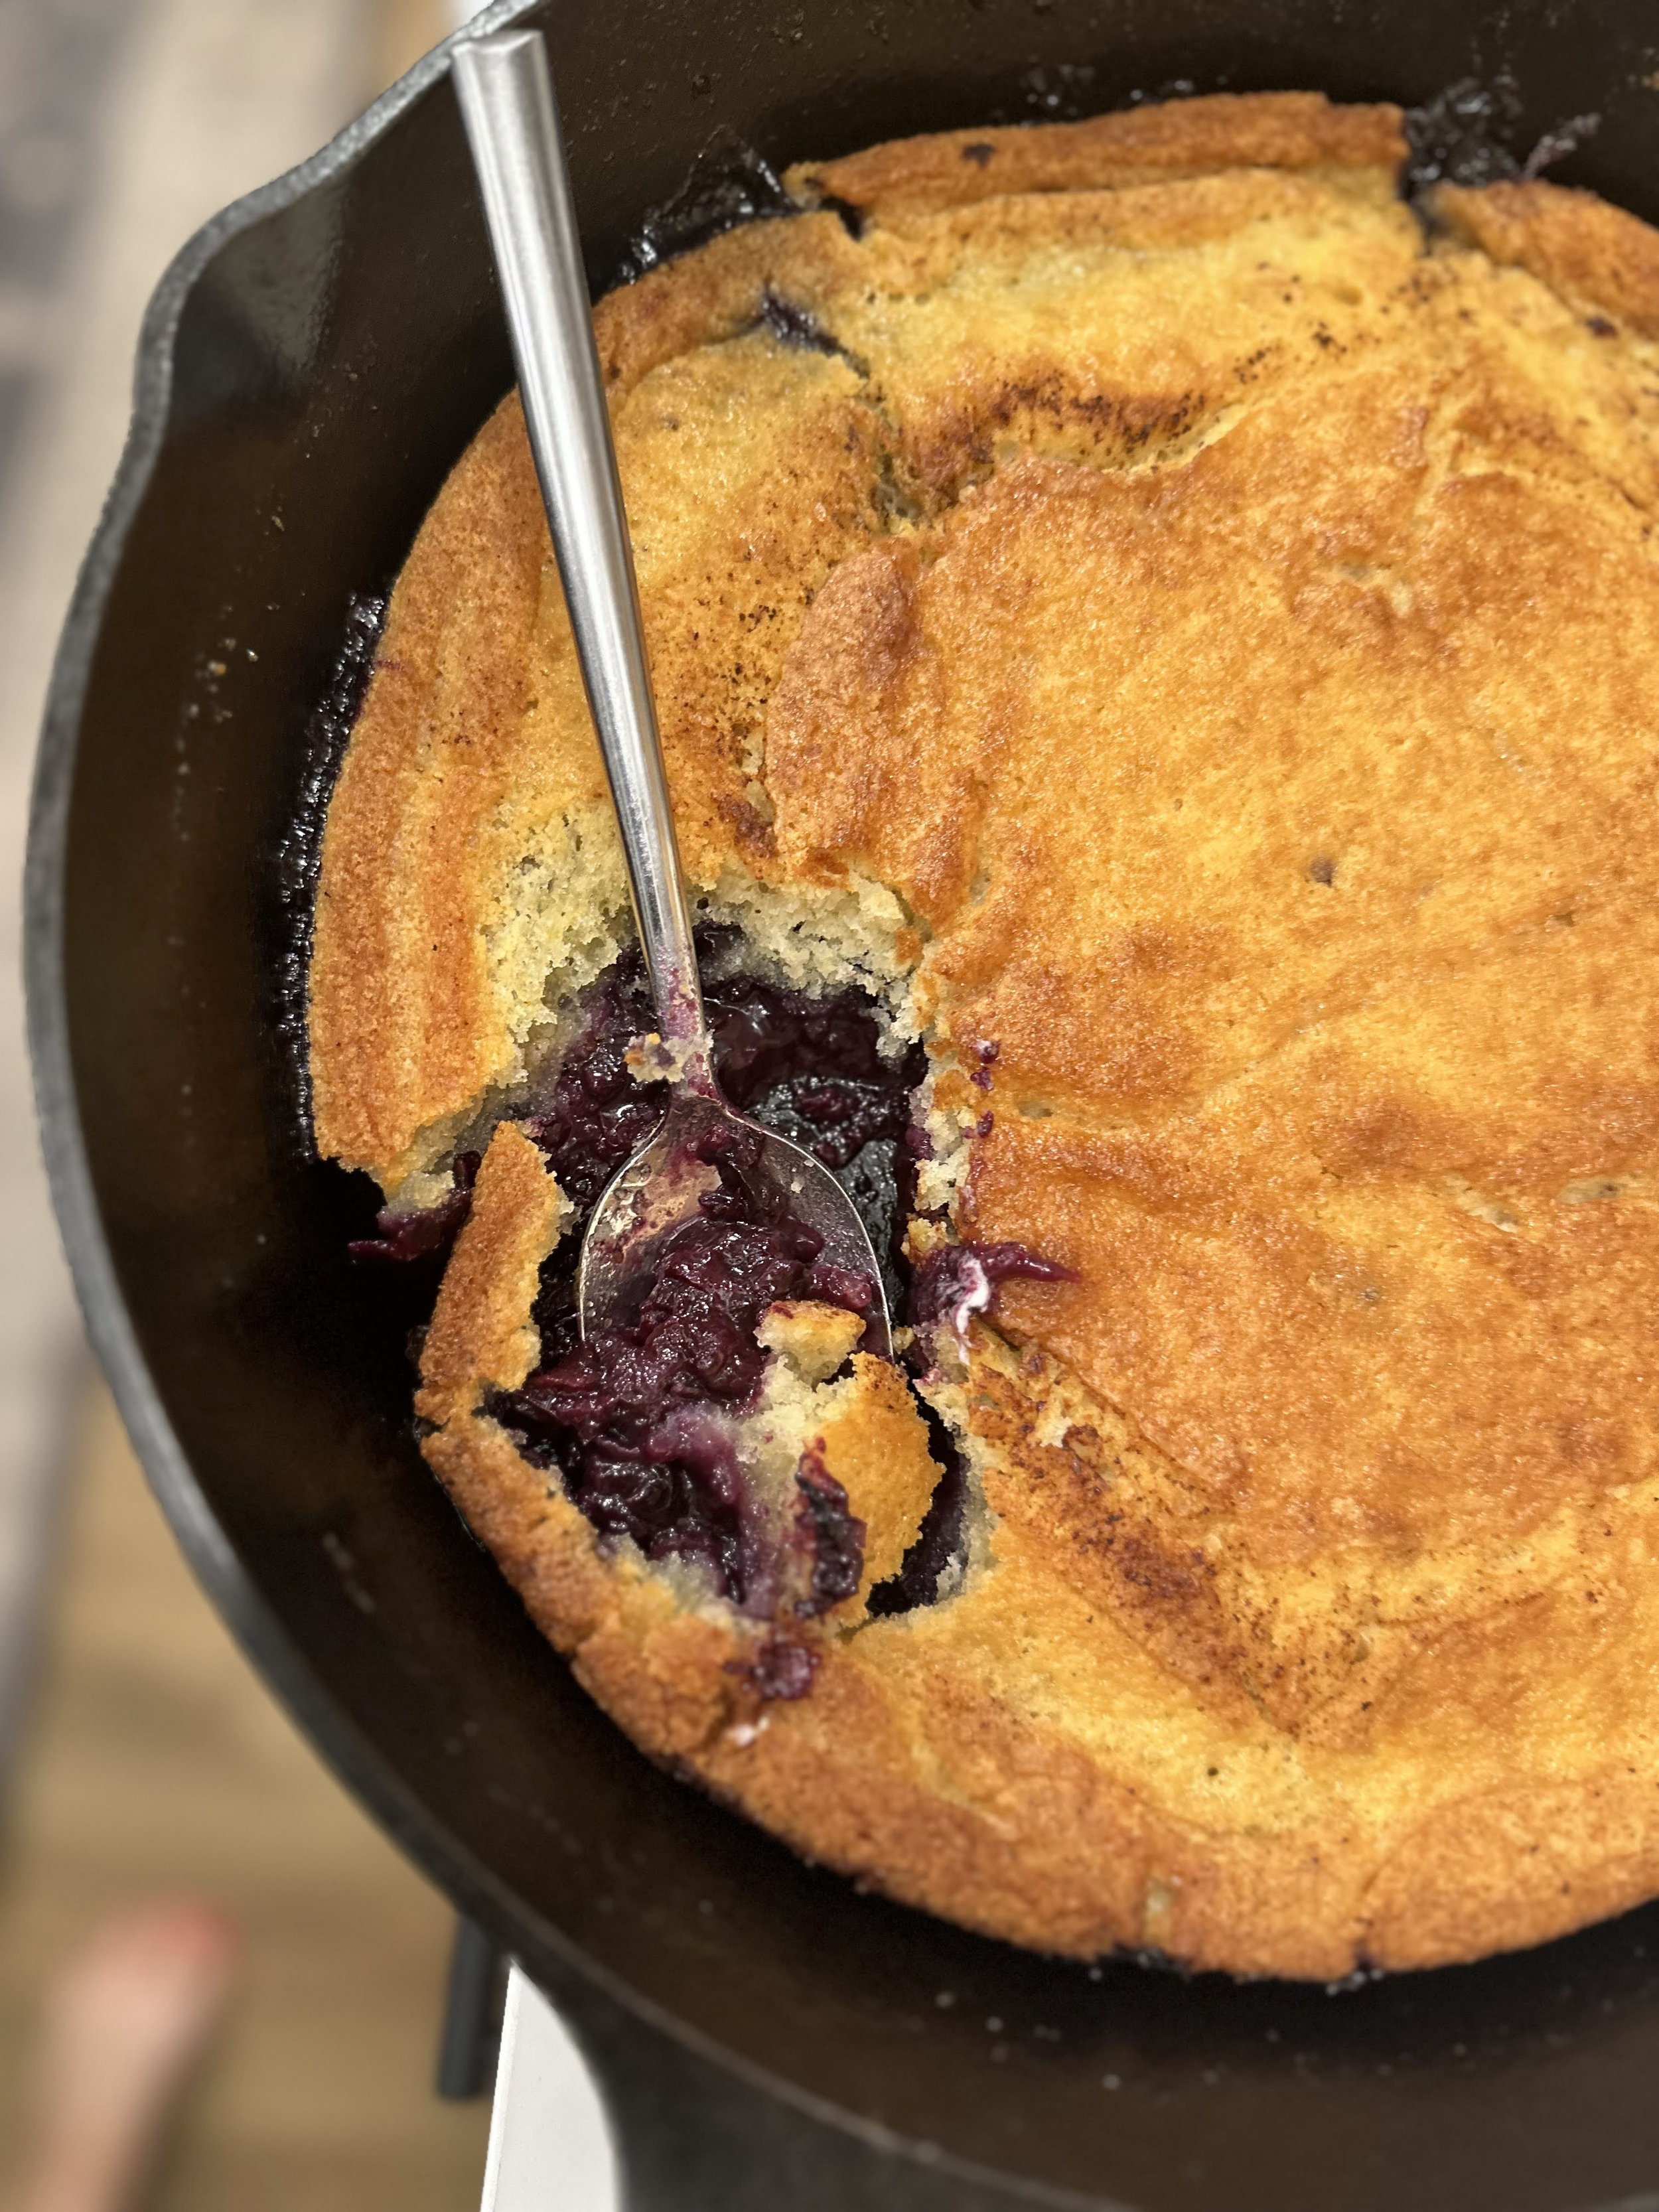
Our final course of the evening was a Blueberry Clafoutis. This easy and rustic dessert is packed with flavor and can be enjoyed at any time of the day (we wouldn’t say no to eating it for breakfast!). Save time at your next gathering by making this recipe ahead. It can be made up to two days in advance. Lisa made quick work of chopping the blueberries by using a mezzaluna blade (also works great for chopping herbs quickly). Let your blueberries macerate with the sugar while you prep the rest of the ingredients. Lisa recommends zesting your lemon over your bowl so that you collect all of that flavorful lemon oil that gets released during the zesting process. Adding lemon extract gives this recipe a more intense lemon flavor that compliments the blueberries perfectly. When mixing dry ingredients together mix flour in last so that it does not get tough (this can happen if you mix it in too soon).
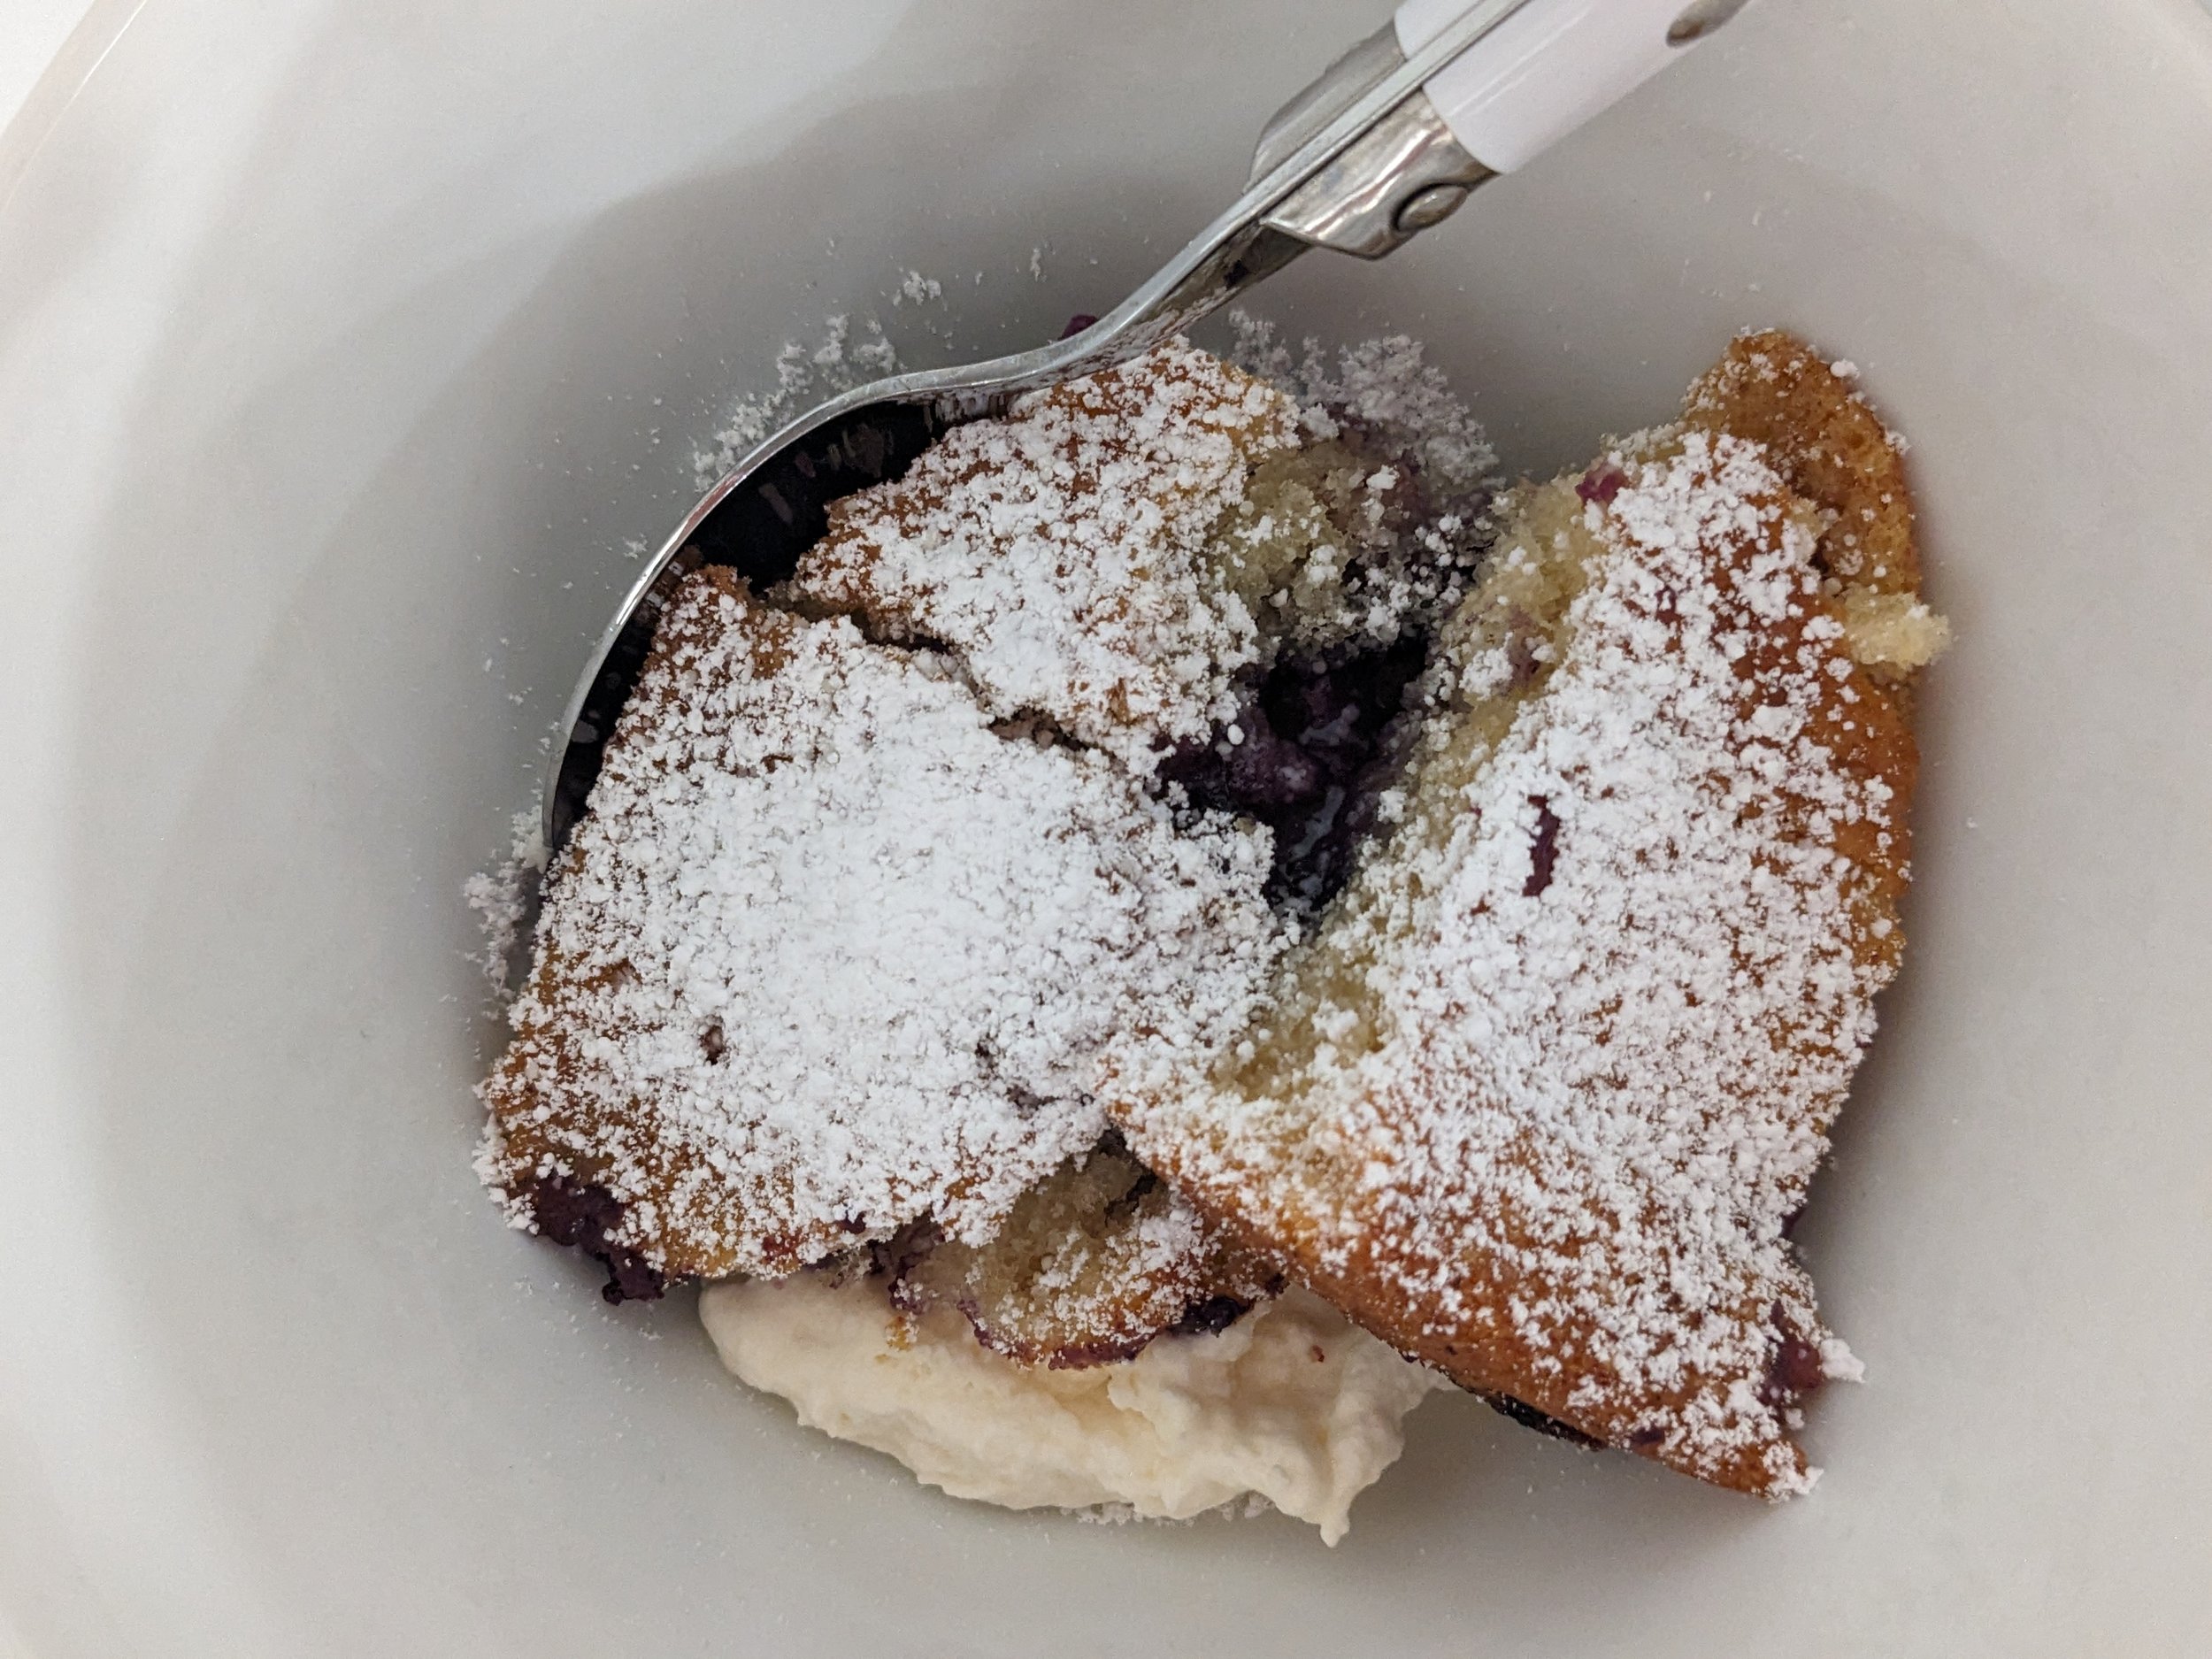
Our dessert was baked in a full size cast iron pan, but you could easily bake the clafoutis in individual size cast iron pans. When your clafoutis comes out of the oven sprinkle it with powdered sugar, top with fresh whipped cream and serve! You can also serve this dessert with vanilla ice cream. In case you are wondering about the difference between a cobbler and a clafoutis, a clafoutis generally includes an egg while a cobbler does not. This recipe would also be delicious with cherries instead of blueberries. Cherries have the right pH level to bake up perfectly in this dish.
Lisa’s seafood tips and tricks (full recipes below):
Sautéed Scallops with Spinach And Thyme Cream Sauce:
Use tender young sprigs of thyme. Avoid woody stems as they will impart a bitterness.
Use dry vermouth. Sweet vermouth’s flavor profile is not complementary to this dish.
The foot is on the side of the scallop. It doesn’t taste bad but it is tougher than the rest of the scallop. If you buy scallops that have the feet attached you can toss them in your sauce to add extra flavor. Remove before serving.
Use ghee or clarified butter to prevent burning (these can be used interchangeably).
Always buy your scallops from a trusted source and always buy “dry” which means no chemicals have been added.
Cedar Planked Salmon with Fresh Herbs:
For a more wood infused flavor, take the skin of the salmon off so that the flesh is in direct contact with the cedar.
Don’t soak the plank for more than 4 hours. If you do, you run the risk of minimizing the flavor of the wood. There is no right or wrong side to use when grilling the plank for the first time.
You can re-use your wood plank a few times if it’s not too charred (Lisa’s used them more than three times!).
Fresh herbs you can include are: arugula, chives, dill, tarragon, thyme, parsley, chervil, sorrel, savory, mint, and fennel fronds. Lisa recommends sprinkling the herbs on your fish once it’s inside the grill to prevent making a mess on your counter top.
You can bring your salmon to temperature on the counter before cooking (like you do with meat), just don’t let it sit out for more than two hours.


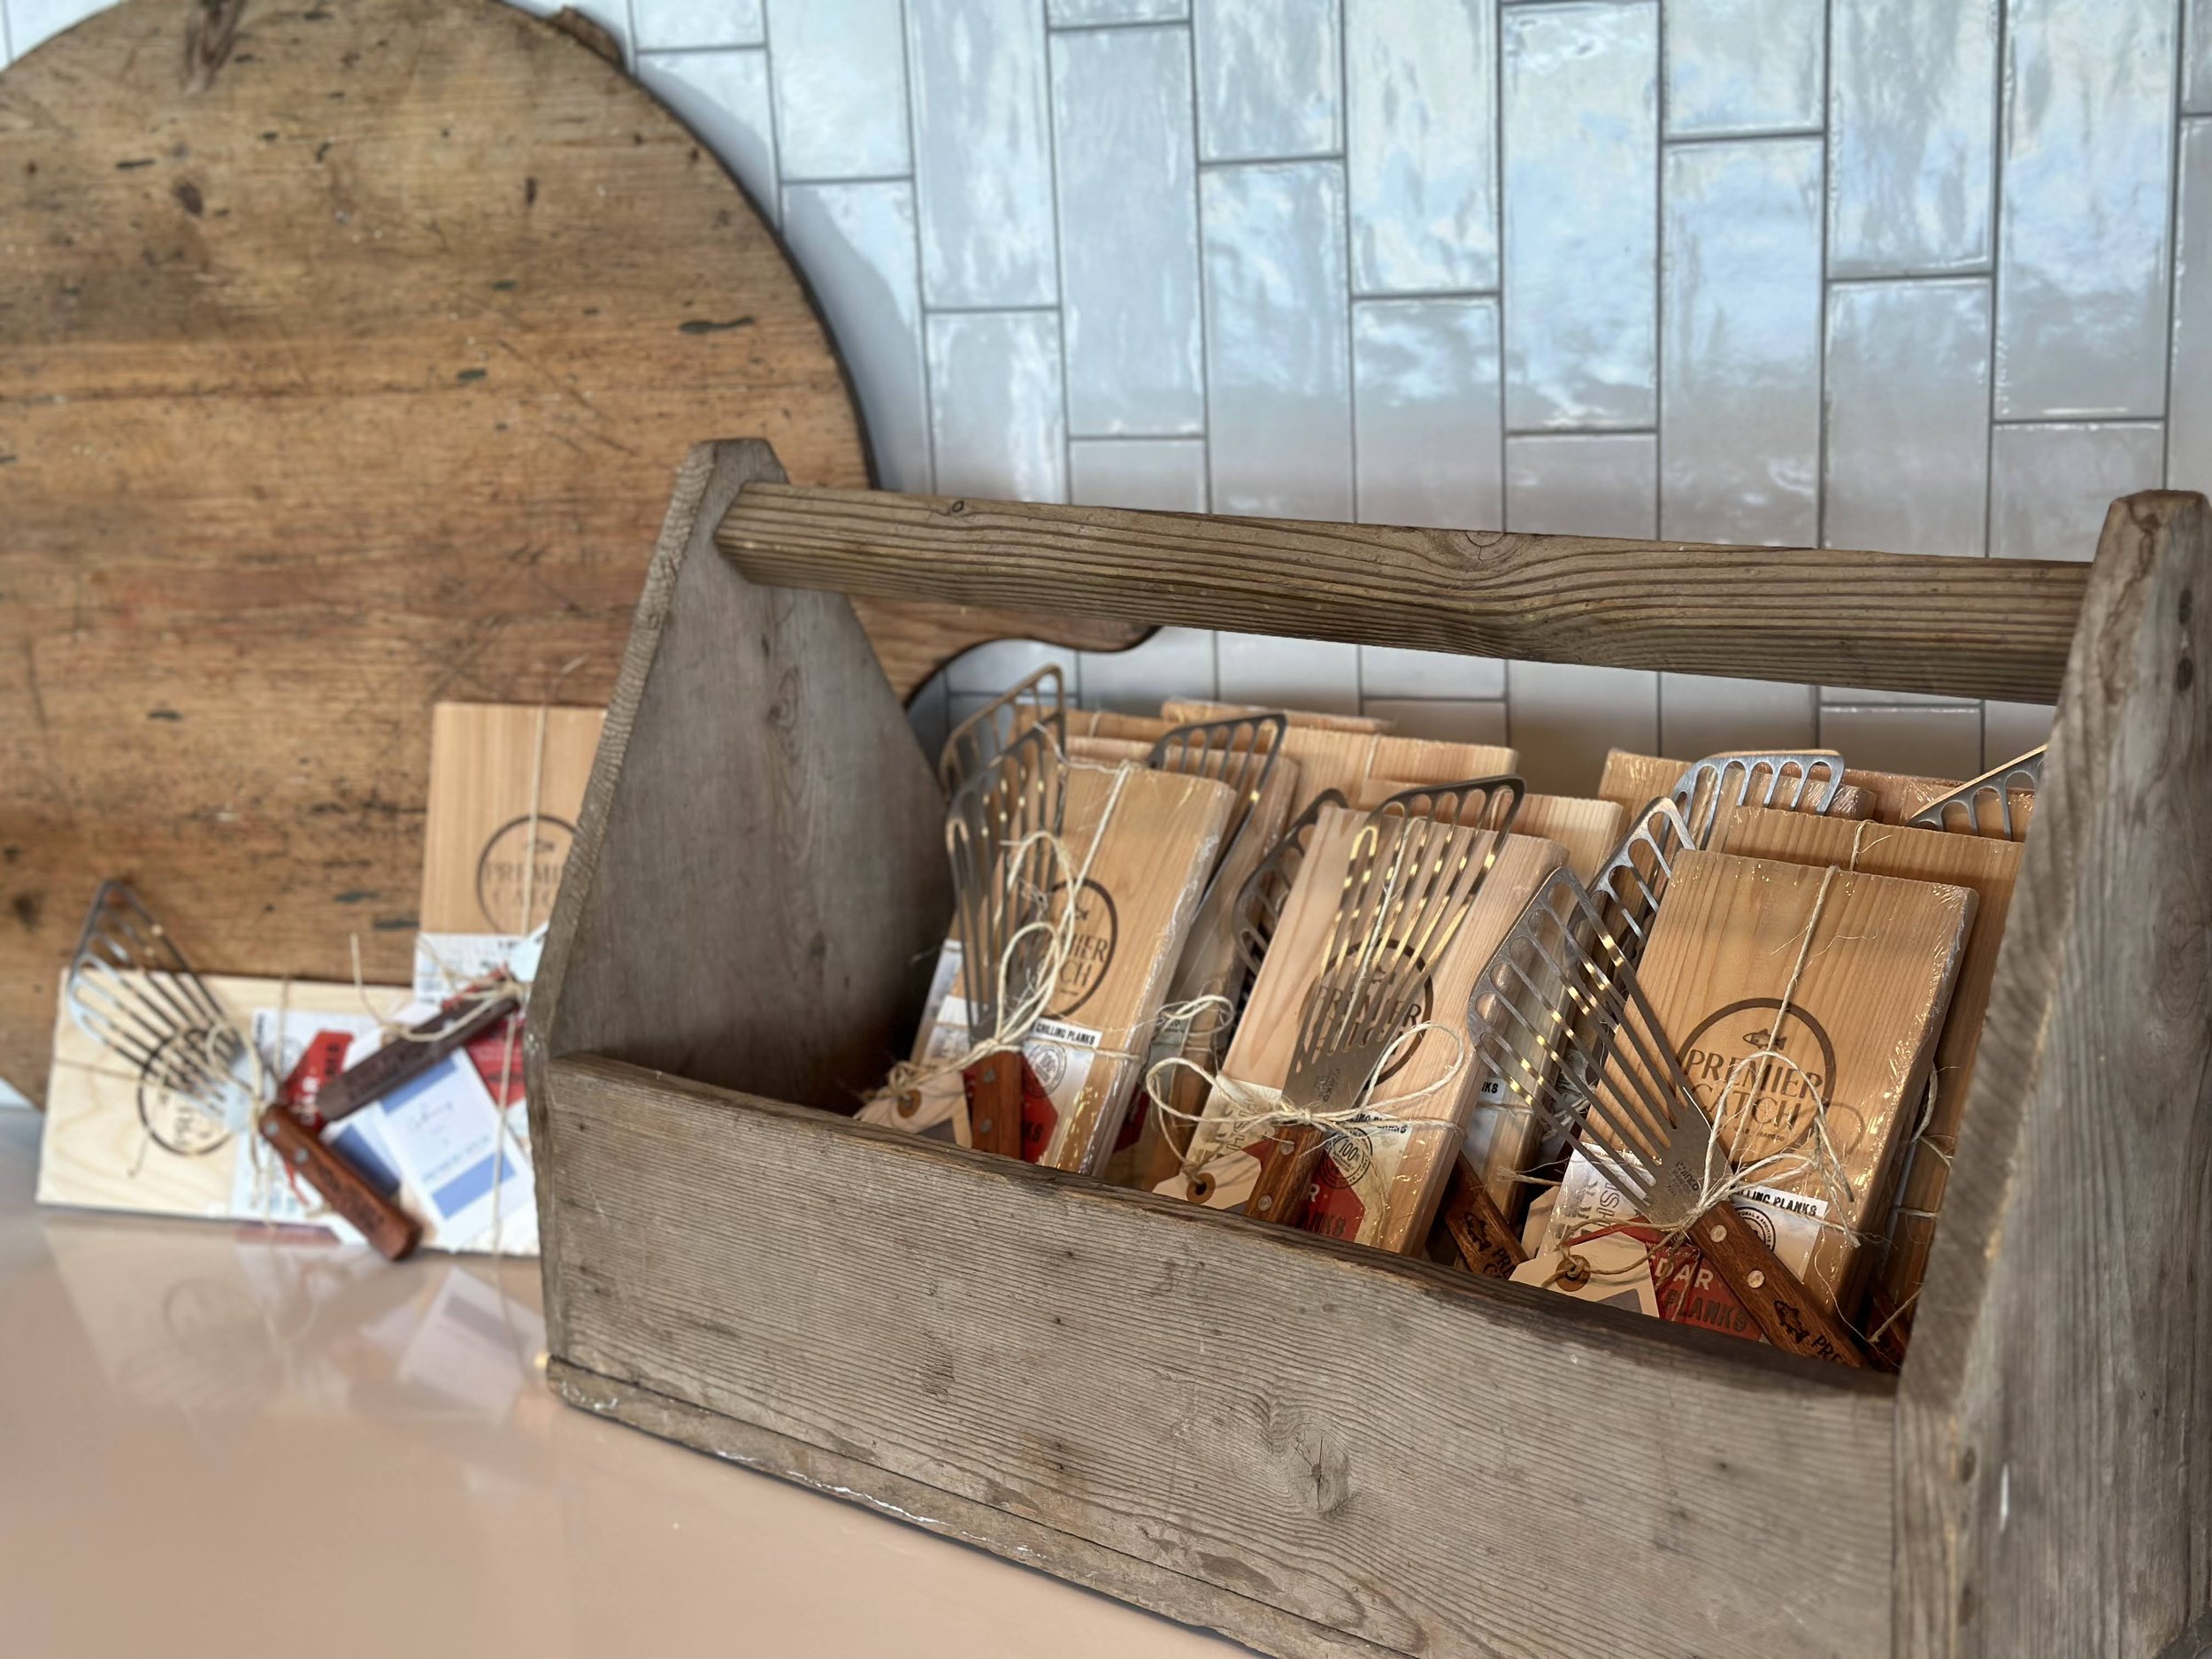
At the end of the evening, attendees received awesome takeaways from Premier Catch that included two cedar planks for grilling at home and a fish spatula. They also left with recipe cards from the four dishes Lisa cooked, a coupon code for a 15% discount for their first online order from Premier Catch (ask a friend that attended to share their code with you) and a new found confidence for cooking up seafood at home.
We hope that you find these recipes as enjoyable as our guests did at the event. Please let us know if you have any questions, and we would be happy to help. Bon appétit!
-
by Lisa Odegard -Serves 6
18-24 scallops
10 sprigs of thyme
1 qt heavy cream
⅓ tsp sea salt
⅛ tsp white pepper
¼ cup clarified butter
2 shallots, small dice
Spinach
Splash of vermouth
1 Demi baguette or ficelle, sliced
Place a 3-quart saucepan on the stove. Fill the pot with 1 1/2 quarts of water. Heat until at a simmer, not quite boiling.
Take raw scallops and dip them into the hot water for 5 seconds. Take them out and place in a shallow bowl, or half sheet pan. Place in the fridge to cool.
Boil the water mixture until the pot is dry and starts to caramelize. Take scallops out of the fridge & pour any excess liquid from scallops into your hot pot. Let that reduce until your saucepan is almost dry again.
Deglaze pot with cream. Scraping all the wonderful, caramelized bits into the cream. Add thyme, salt, pepper and reduce mixture by half on medium heat.
While cream is reducing, take the feet off your scallops & discard. Once reduced by half, turn heat to the lowest setting to keep warm
Heat a 10-to-12-inch fry pan with 2 Tbsp of clarified butter. Once the butter is hot enough, quickly place the scallops in the pan, top side down and caramelize on each side. Quickly remove scallops and place on a warm plate.
Deglaze the hot pan with the reduced cream. Reduced by 1/3rd.
While cream is reducing, heat a 4qt sauté pan on medium heat with 1 Tbsp of clarified butter. Once the pan is hot, add shallots and sauté for about a minute. Add spinach and sauté for a minute. Pour a splash of vermouth to help wilt the spinach.
Quickly ladle hot cream, evenly on 6 hors d'oeuvres or salad plates or bowls. Squeeze the excess liquid out of the spinach, place a mound of spinach on top of the cream sauce in the middle of the plate, surround with scallops and serve immediately.
-
by Lisa Odegard – Serves
2 ¼ lb. king salmon
12 oz mixture of fresh herbs
Salt
Pepper
-
by Lisa Odegard
1 ½ cup sugar
14 oz blueberries,
10 Tbsp butter sliced into 10 pieces
¼ tsp kosher salt
2 ½ tsp baking powder
1/8 tsp pure lemon extract
1 large lemon, zested
1 large egg
1 Tbsp vanilla extract
1 cup whole milk
¼ cup heavy cream
1 c plus 1 Tbsp all-purpose flour
Topping: 1 Tbsp powdered sugar, whipped cream (optional)
Take a medium mixing bowl, place chopped blueberries with a 1/2 cup sugar, and toss them until combined. Set aside.
Add the remaining 1 cup of sugar, salt, baking powder, lemon extract, and lemon zest to an 11-cup food processor and turn on high for 5 seconds. Set the food processor aside but don’t remove the bowl.
Preheat the oven to 375f. Place 5 tbsp butter in a 12” cast iron pan and put into the oven until butter is fully melted (about 5 min)
Turn the food processor back on while the cast iron is in the oven and add egg and heavy cream. Mix for 10 seconds. Then add the flour, whole milk, and warm butter, and mix until incorporated.
Pull the cast iron pan out of the oven and place it on top of the stove (butter should be hot and bubbly). Quickly pour 1 ½ cup batter into a hot pan and sprinkle 1/2 of the blueberries on top. Pour the rest of the batter over the blueberries and top the last of the batter with the rest of the blueberries in the oven for 35-40 minutes.
Serve immediately or at room temp with a sprinkle of powdered sugar.

Can’t get enough of the delicious Weathervane Scallops? Be sure to try this recipe from Premier Catch for scallop tacos. They adapted it from the Alaska Weathervane Food Truck and we can vouch that they may just be one of the most delectable scallop recipes we’ve ever tried!
Scallops Tacos (Scallorito):
1.25 pounds Alaska Weathervane Scallops (20/30s), 1/4 cup of basil pesto, 3/4 cup mayonnaise (Joci likes to sub plain greek yogurt), 2 cups shredded cabbage, 6 - 6" flour tortillas, 1/2 cup chopped fresh cilantro, 1/2 cup diced onions, 12 slices cooked bacon, crispy, Tony's Creole Seasoning
Directions: Season scallops lightly on both sides with Tony Chachere’s Original Creole seasoning or your favorite seasoning. In a small bowl, mix pesto & mayonnaise (or greek yogurt) together. Heat a skillet until almost smoking. Add 1 tablespoon olive oil. Add the scallops to the hot pan and sear on one side until a rich, dark brown, 1-2 minutes. Turn over and repeat on the other side. While scallops are cooking, heat tortillas in a lightly oiled skillet. Divide the pesto sauce between each warm flour tortilla and top each with the shredded cabbage. Divide the bacon & seared scallops between each tortilla and garnish with cilantro & onions.
Serve and eat immediately!
Our top picks for cooking seafood at home
Now that you’re ready to tackle any type of seafood at home, we’ve rounded up some of our team’s favorite products to assist you. We hope you love them as much as we do!

Seafood Spatula: No more broken fish fillets! Flip your fish and plate your meal like a pro with this stainless steel seafood spatula. Trust us - you’ll wonder how you ever lived without it! Seafood Spatula
Cedar Grilling Planks: Cook up restaurant quality planked seafood at home with these Western Red Cedar planks. These planks are from a local company called Wildwood Grilling located in Sandpoint, Idaho. They infuse the perfect amount smoky, spicy flavor into your Salmon or Halibut. They are oven and grill safe. Cedar Grilling Planks
Steel Mezzaluna: This steel chopping blade makes quick work of chopping herbs, blueberries, veggies and more! Steel Mezzaluna
Lodge Cast Iron Pan: You can spend a lot of money on a pan, but nothing beats this tried and true, super affordable classic cast iron. They are so easy to maintain. Whether you're in the "salt-clean only", or "suds it up baby" camp, this pan will be your trusty companion. If you haven't jumped on the cast iron bandwagon, now is the time. They are simple, straight-forward, and incredibly versatile. Lodge Cast Iron Pan
Fish Bone Tweezers: No one enjoys finding a bone in their fish mid-bite. Upgrade from whatever you’ve been using and purchase these affordable tweezers. Fish Bone Tweezers

Infused Basil Oil: This basil infused olive oil is delicious on salads, used as a finishing oil, in dips and more! Lisa drizzled this over the top of our grilled salmon and it added a delicious little extra pop of flavor! Basil Oil
Graza “Sizzle” Extra Virgin Olive Oil: You didn't know you needed squeezable olive oil, but trust us, you do. This olive oil, specifically for cooking, is both delicious and affordable. Produced only from Picual olives in Spain, it's single-origin, never blended, and truly divine. Stop fussing with a screw cap and start squeezing like the pros do. Graza "Sizzle" EVOO

Graza “Drizzle” Extra Virgin Olive Oil: The higher-end sister to Sizzle, this finishing oil is meant to never be cooked with, and should be your go-to choice for salad dressings, topping caprese, and any other use where you want the flavor of your oil to shine. They suggest topping vanilla ice cream with it, and you haven't lived until you've tried it. Graza "Drizzle" EVOO
***These Amazon links for the Graza oils are great for one-off purchases or when you are unexpectedly running low, but do note that you can also schedule to have it auto-shipped through the Graza website if that makes life a little easier.
Until we gather again!
**As Amazon Associates we earn from qualifying purchases.